HOW TO MAKE A WREATH SASH
Wreath sashes are so trendy right now. They are the perfect simple project for the machine embroiderer as most reflect a monogram or they can be left blank and still look elegant. They are so easy to make.
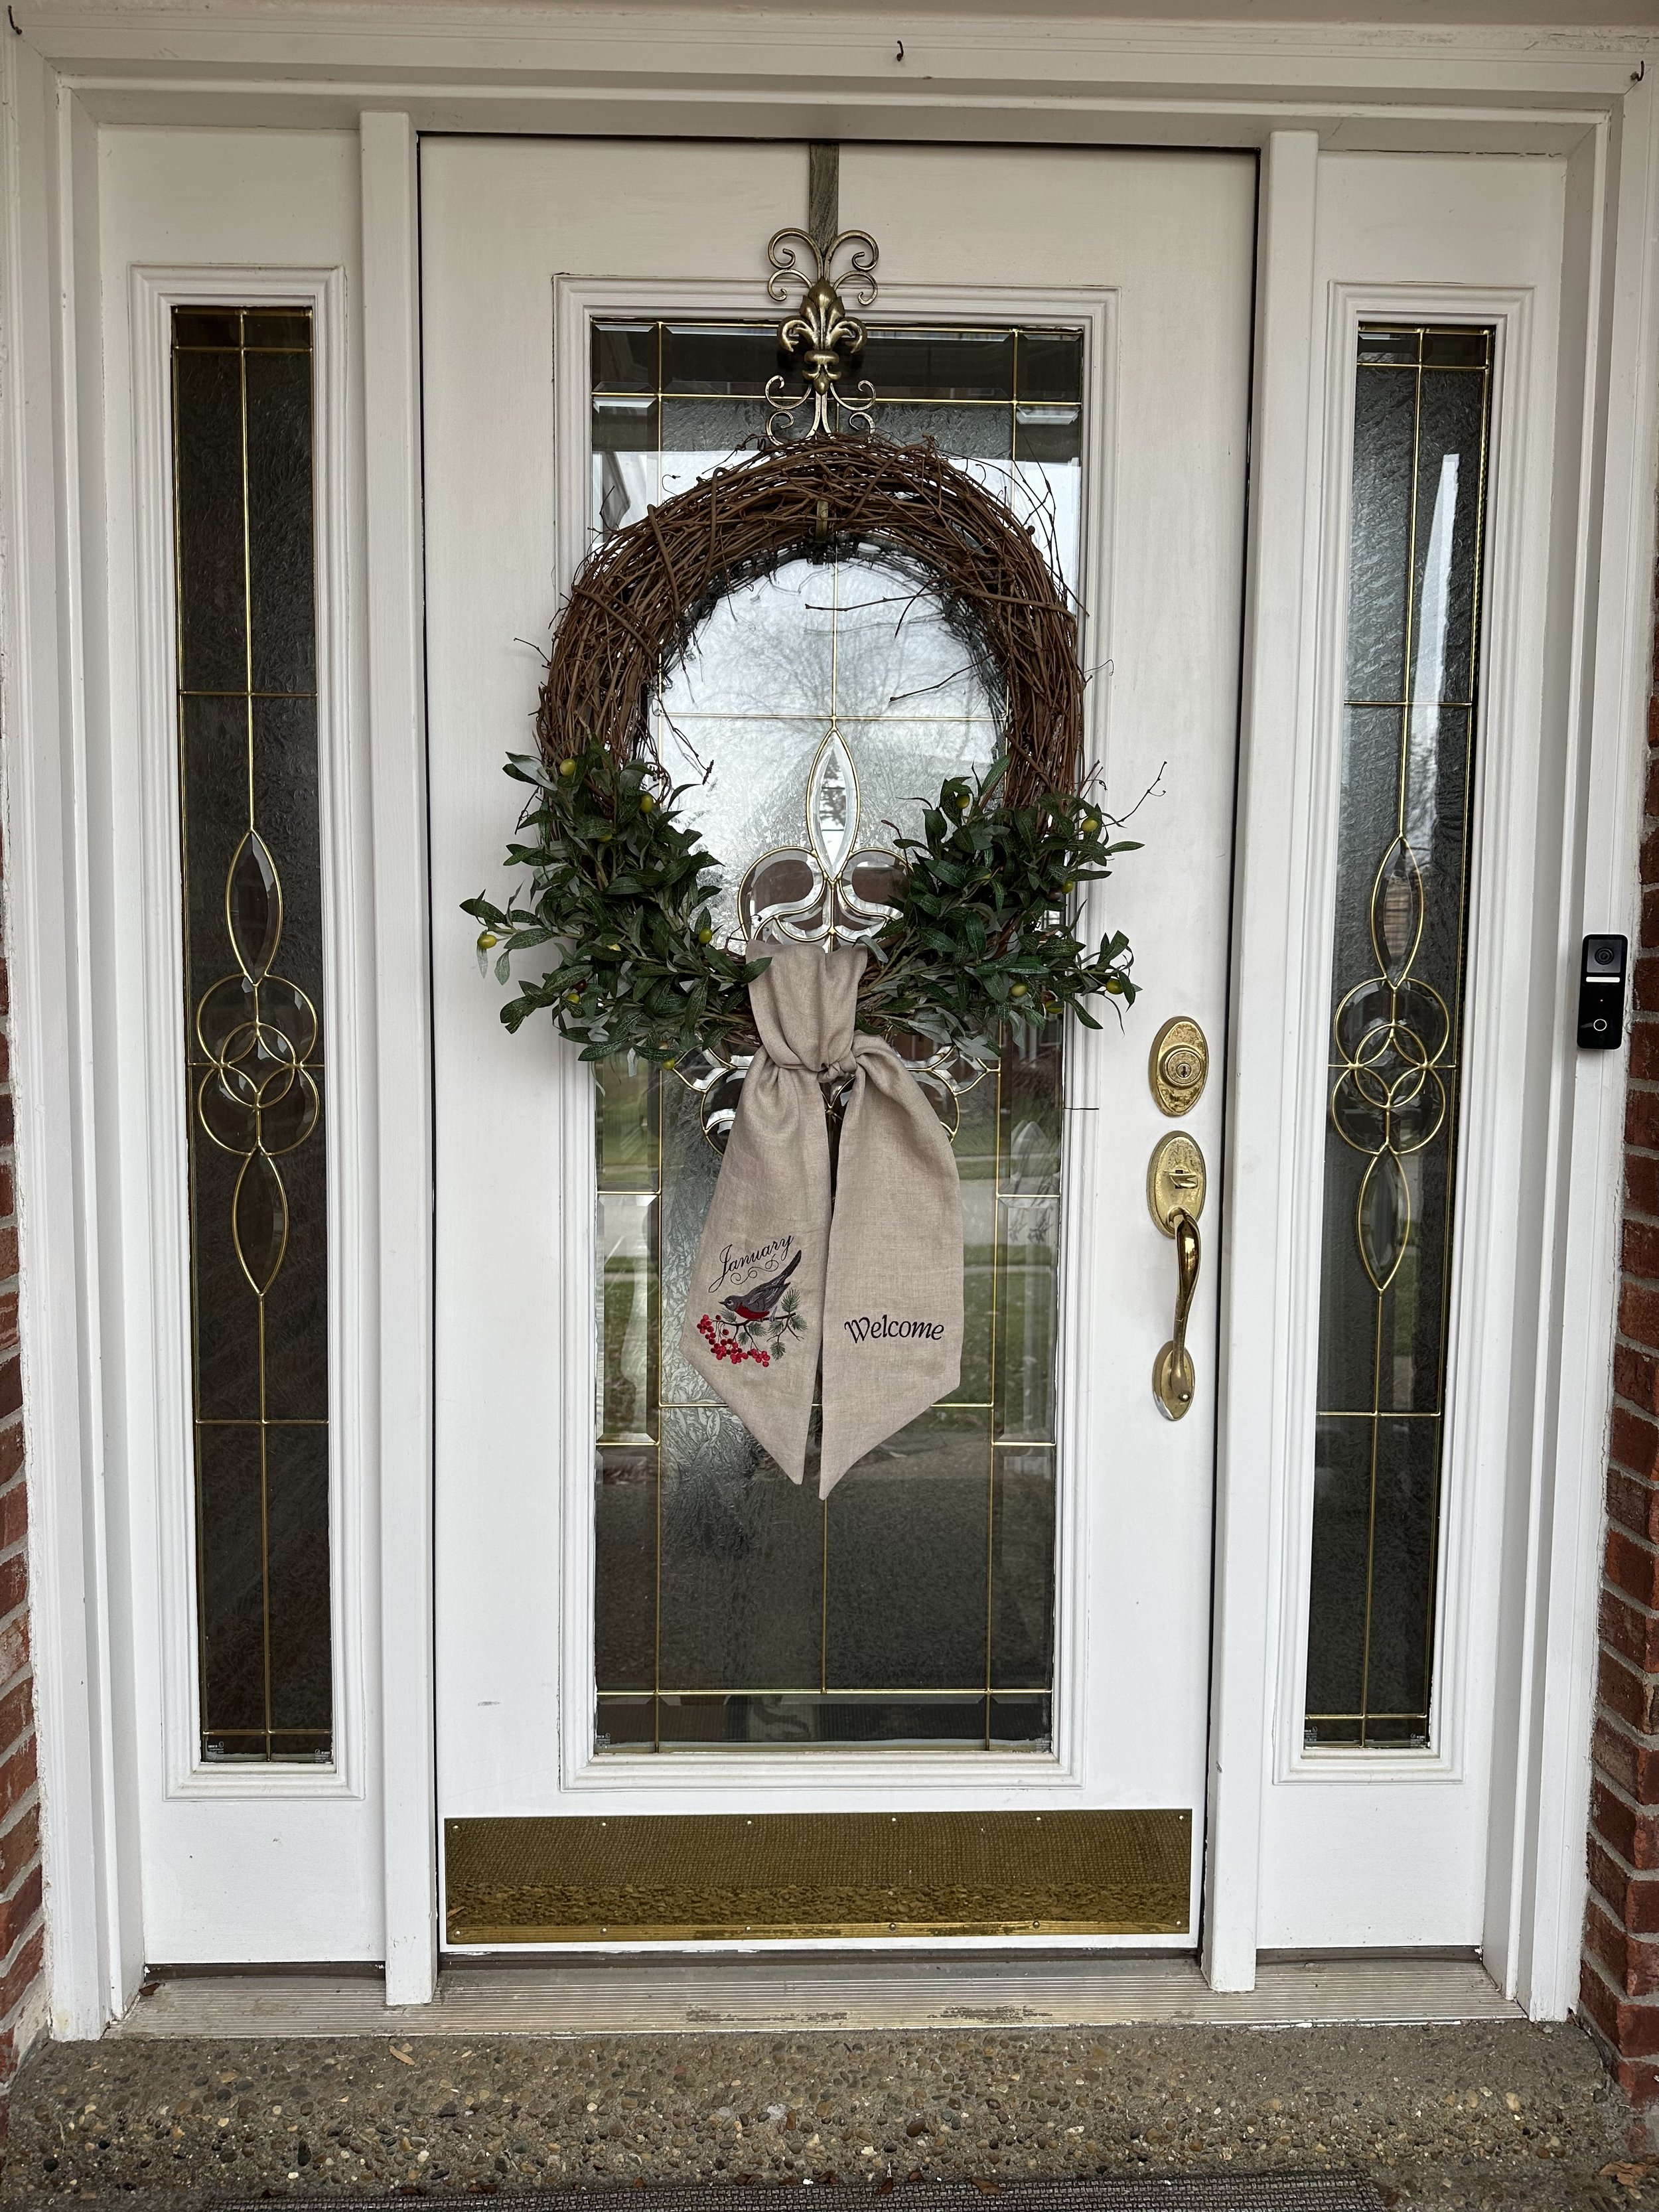
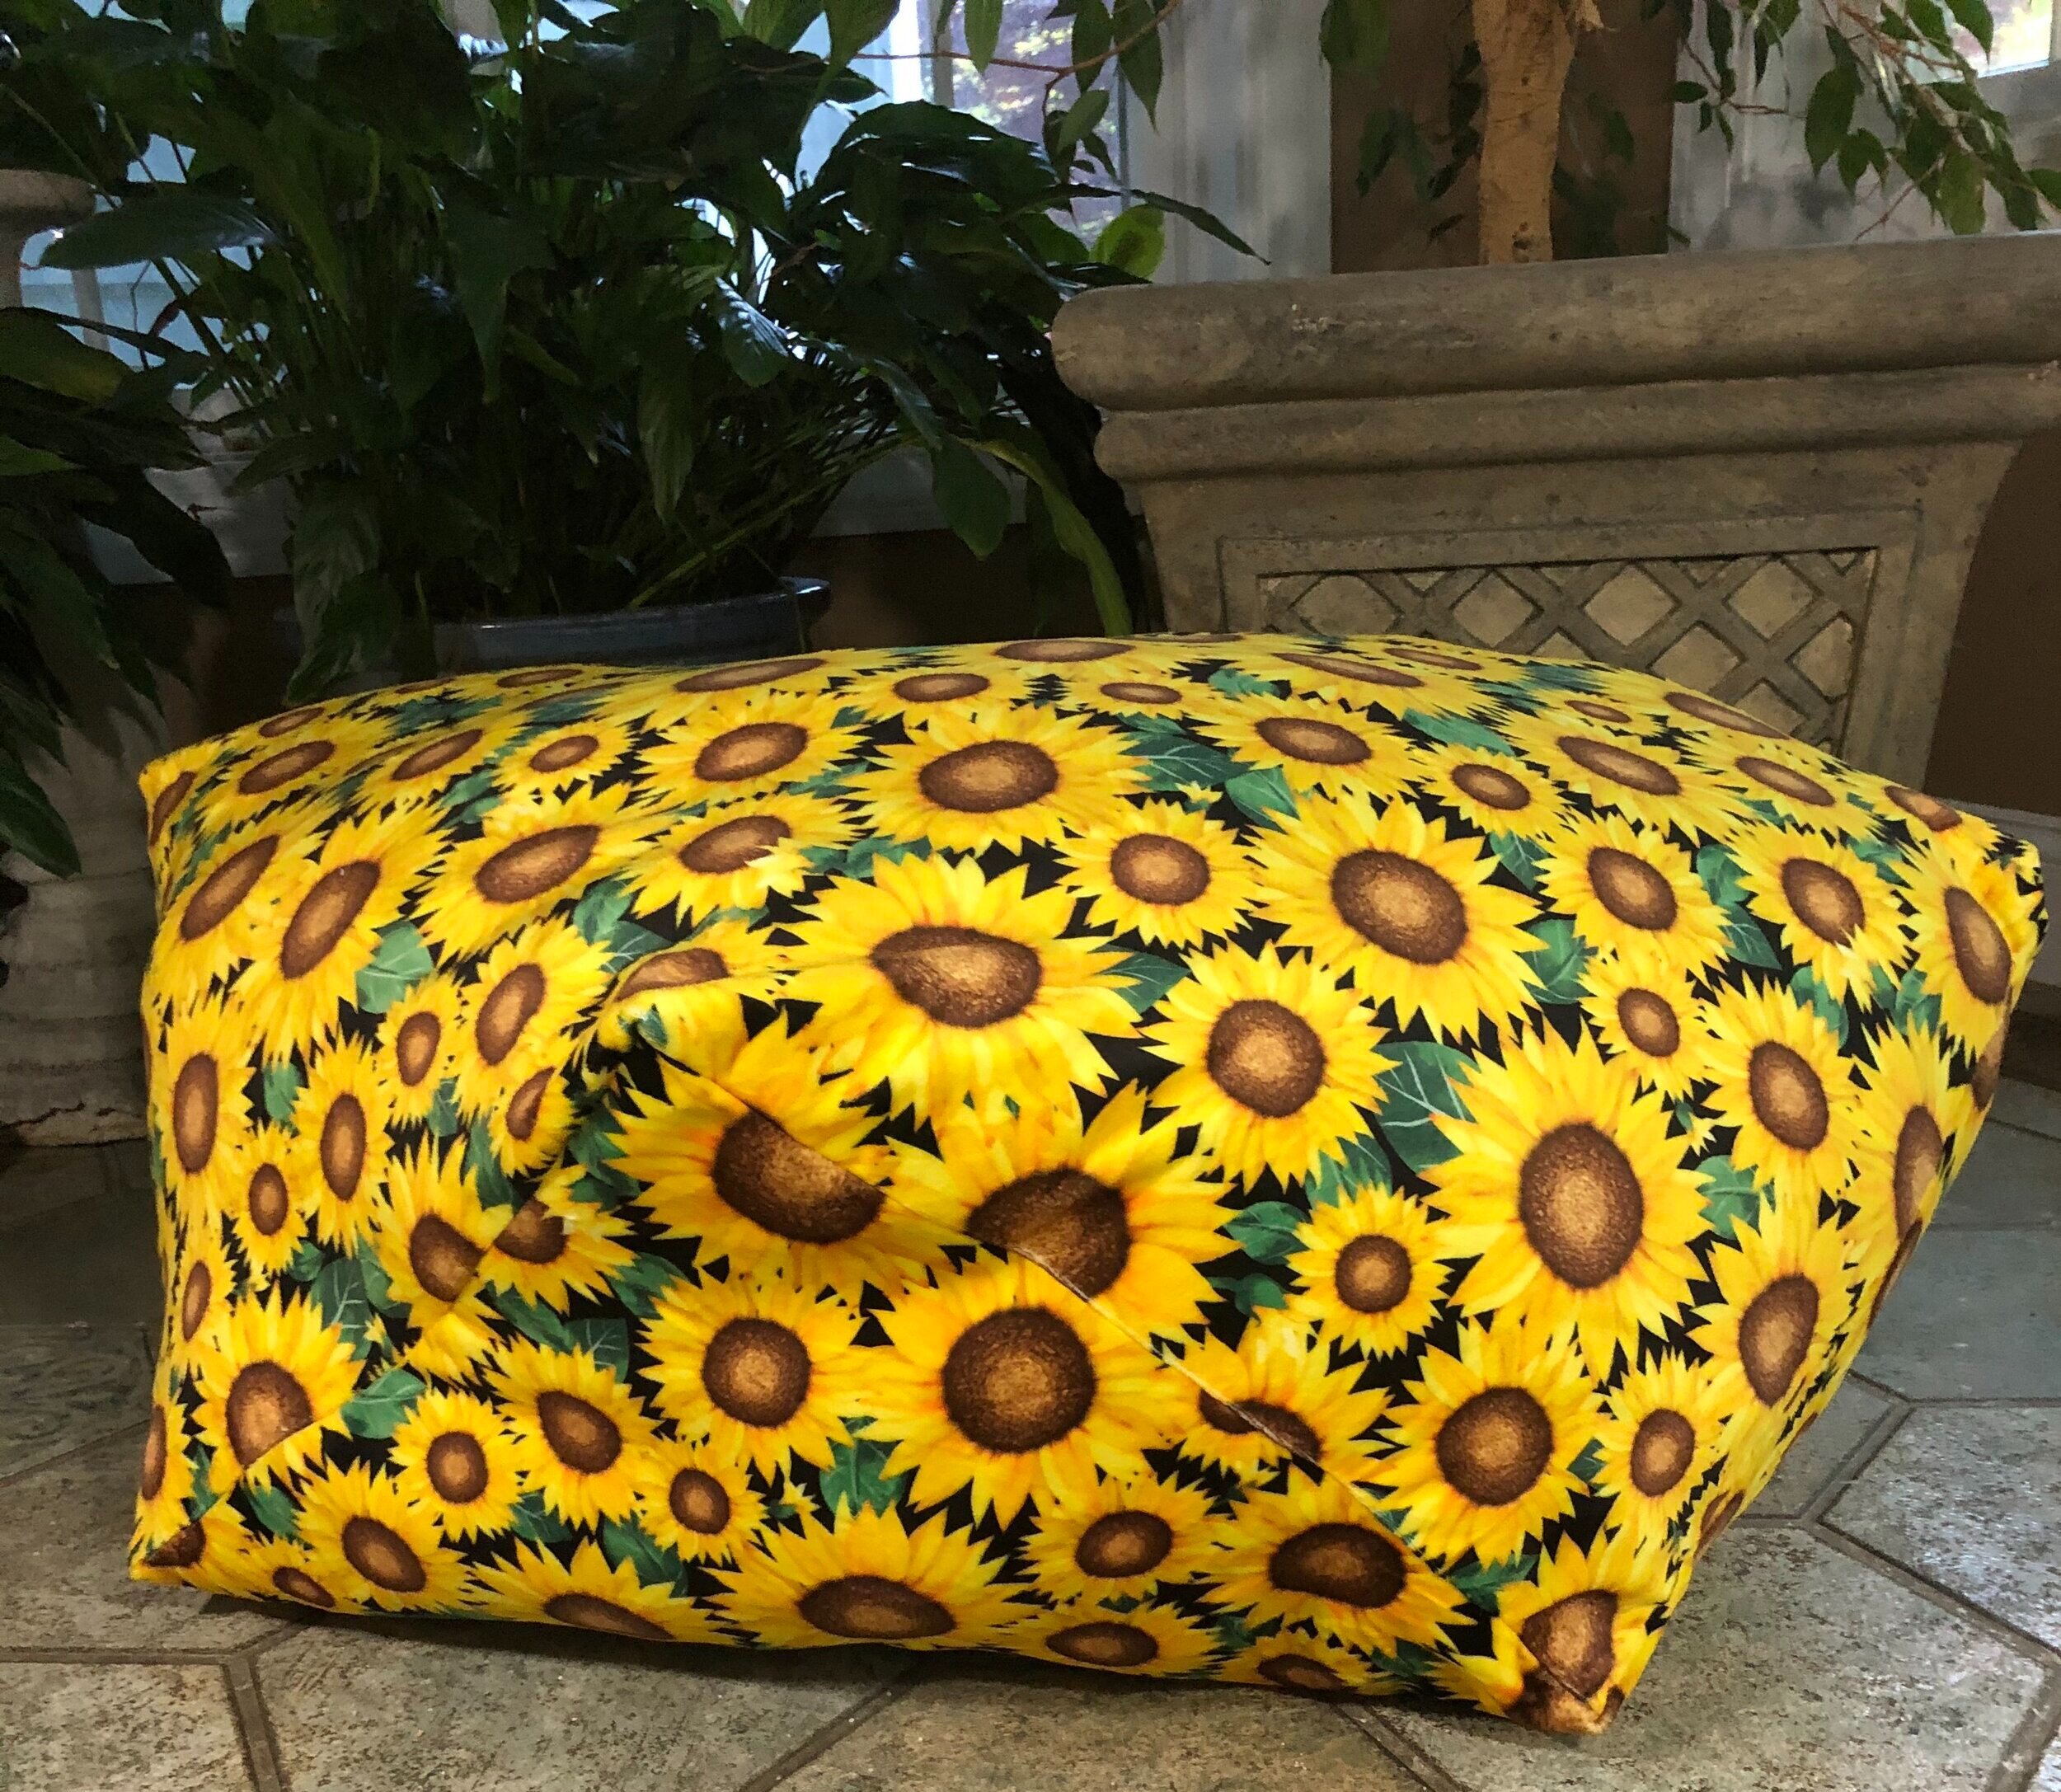
Wreath Sash with “January Robin” and “Welcome” designs by Evy Hawkins
DECISIONS:
You will need to decide how long and how wide you would like your sash. The standard appears to be 55” long and 5” wide. I chose 60” long because I knew my wreath was slightly wide when tying the bow. Since I wanted to use the monthly bird designs and the “Welcome” by Evy Hawkins at A Bit of Stitch. I decided it would be 6.5” to allow for a little margin. Adjust the instructions below accordingly.
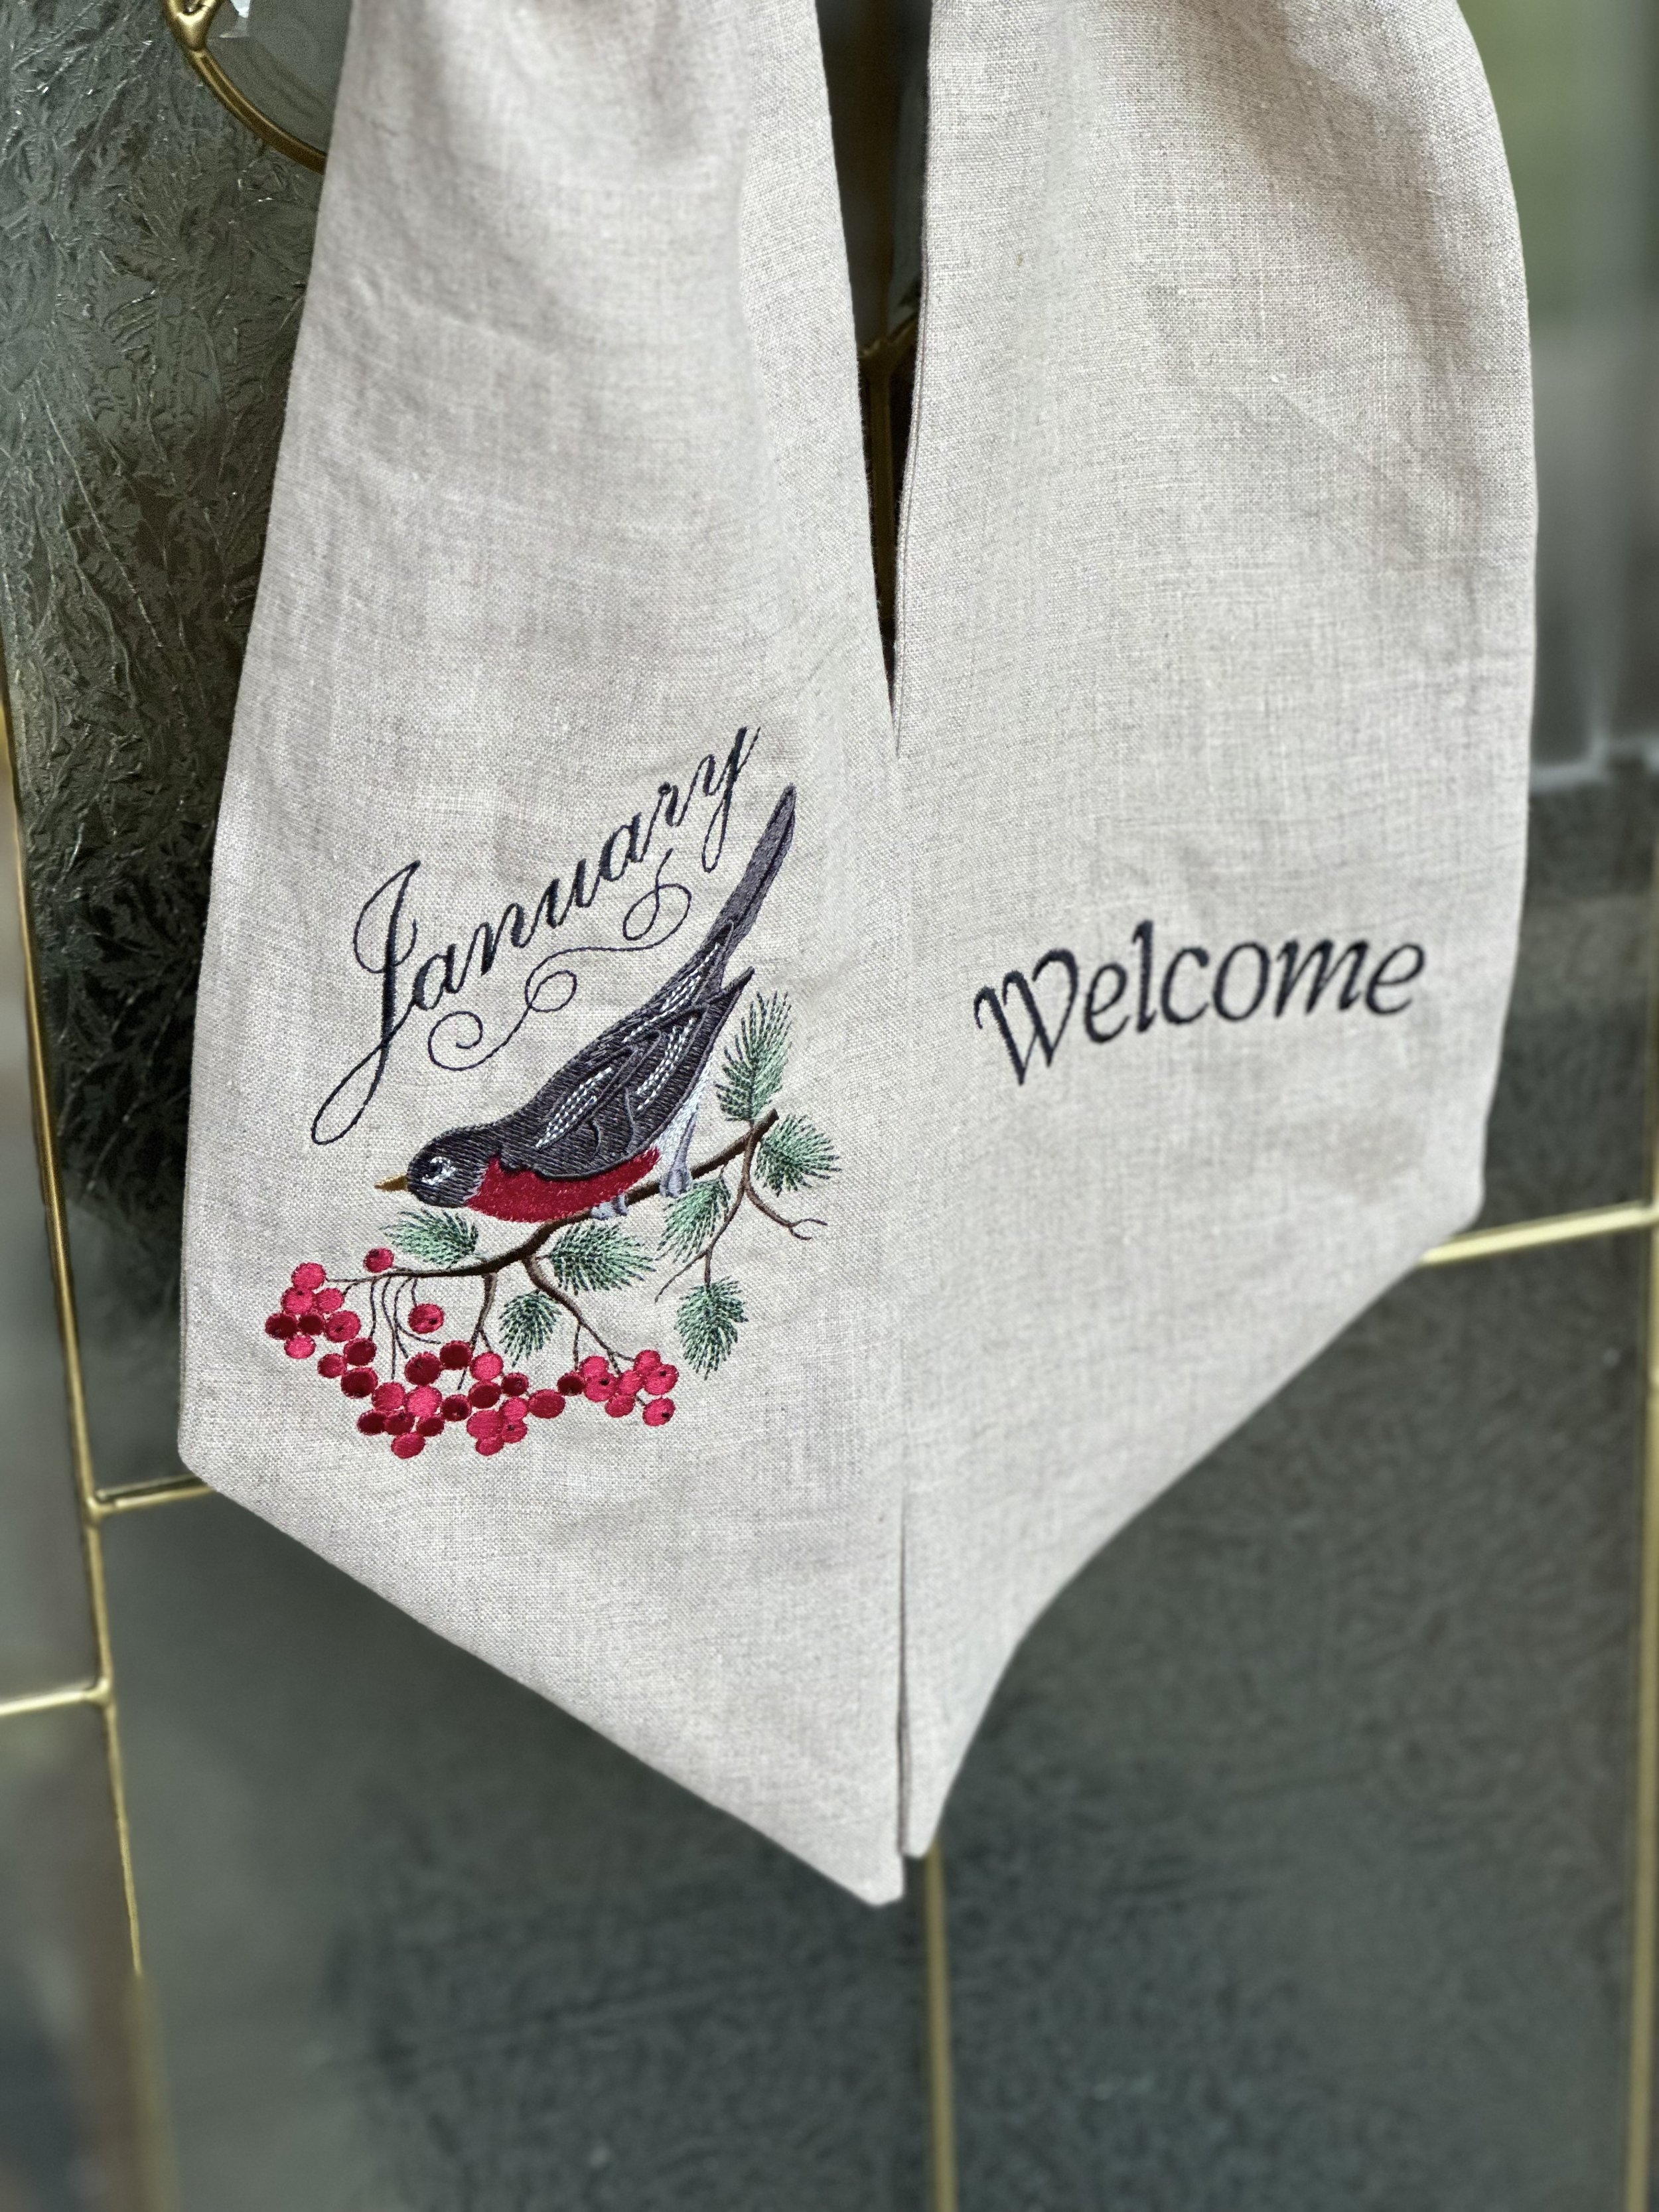
“January Robin” and “Welcome” designs by Evy Hawkins
The other consideration is fabric. My porch is covered, and I live in a very moderate climate – not too hot and not too cold. I love the look of natural linen and had several yards in my stash. If your wreath will face the elements, you might want to consider a more weatherproof fabric.
WREATH SASH INSTRUCTIONS
Finished size is 60” x 6.5”

Sashes can be used other than for wreaths
STEP 1
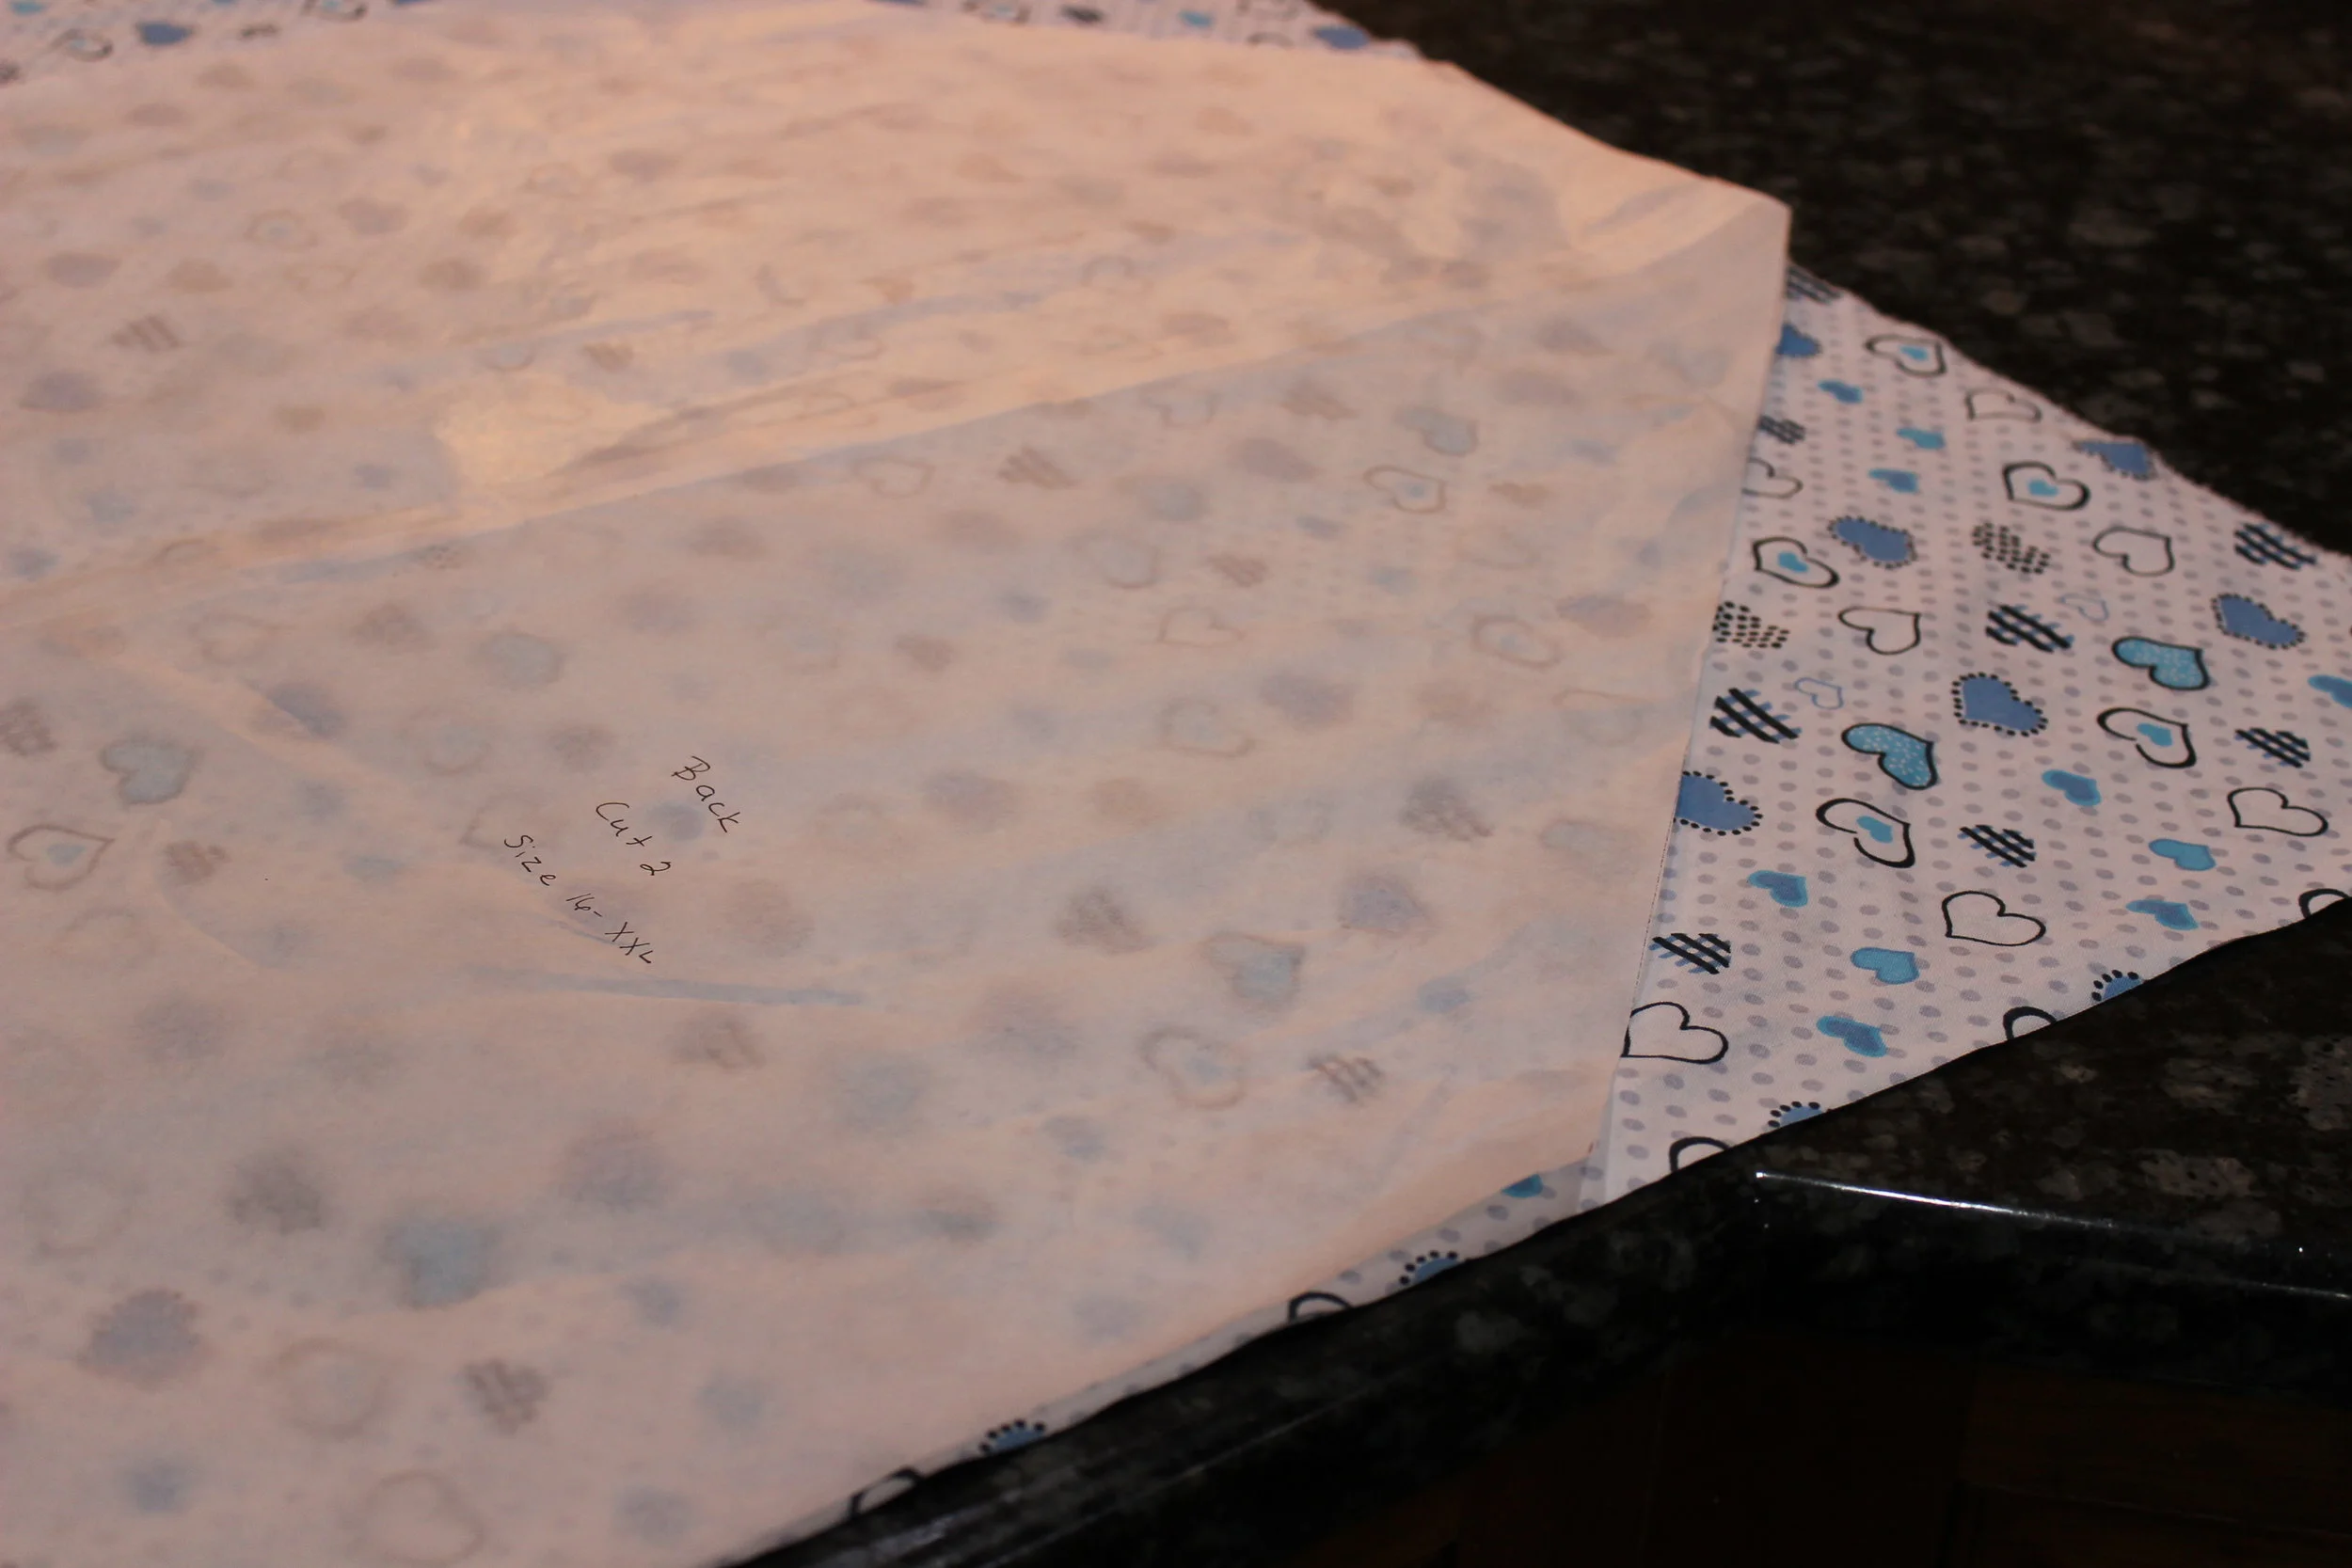
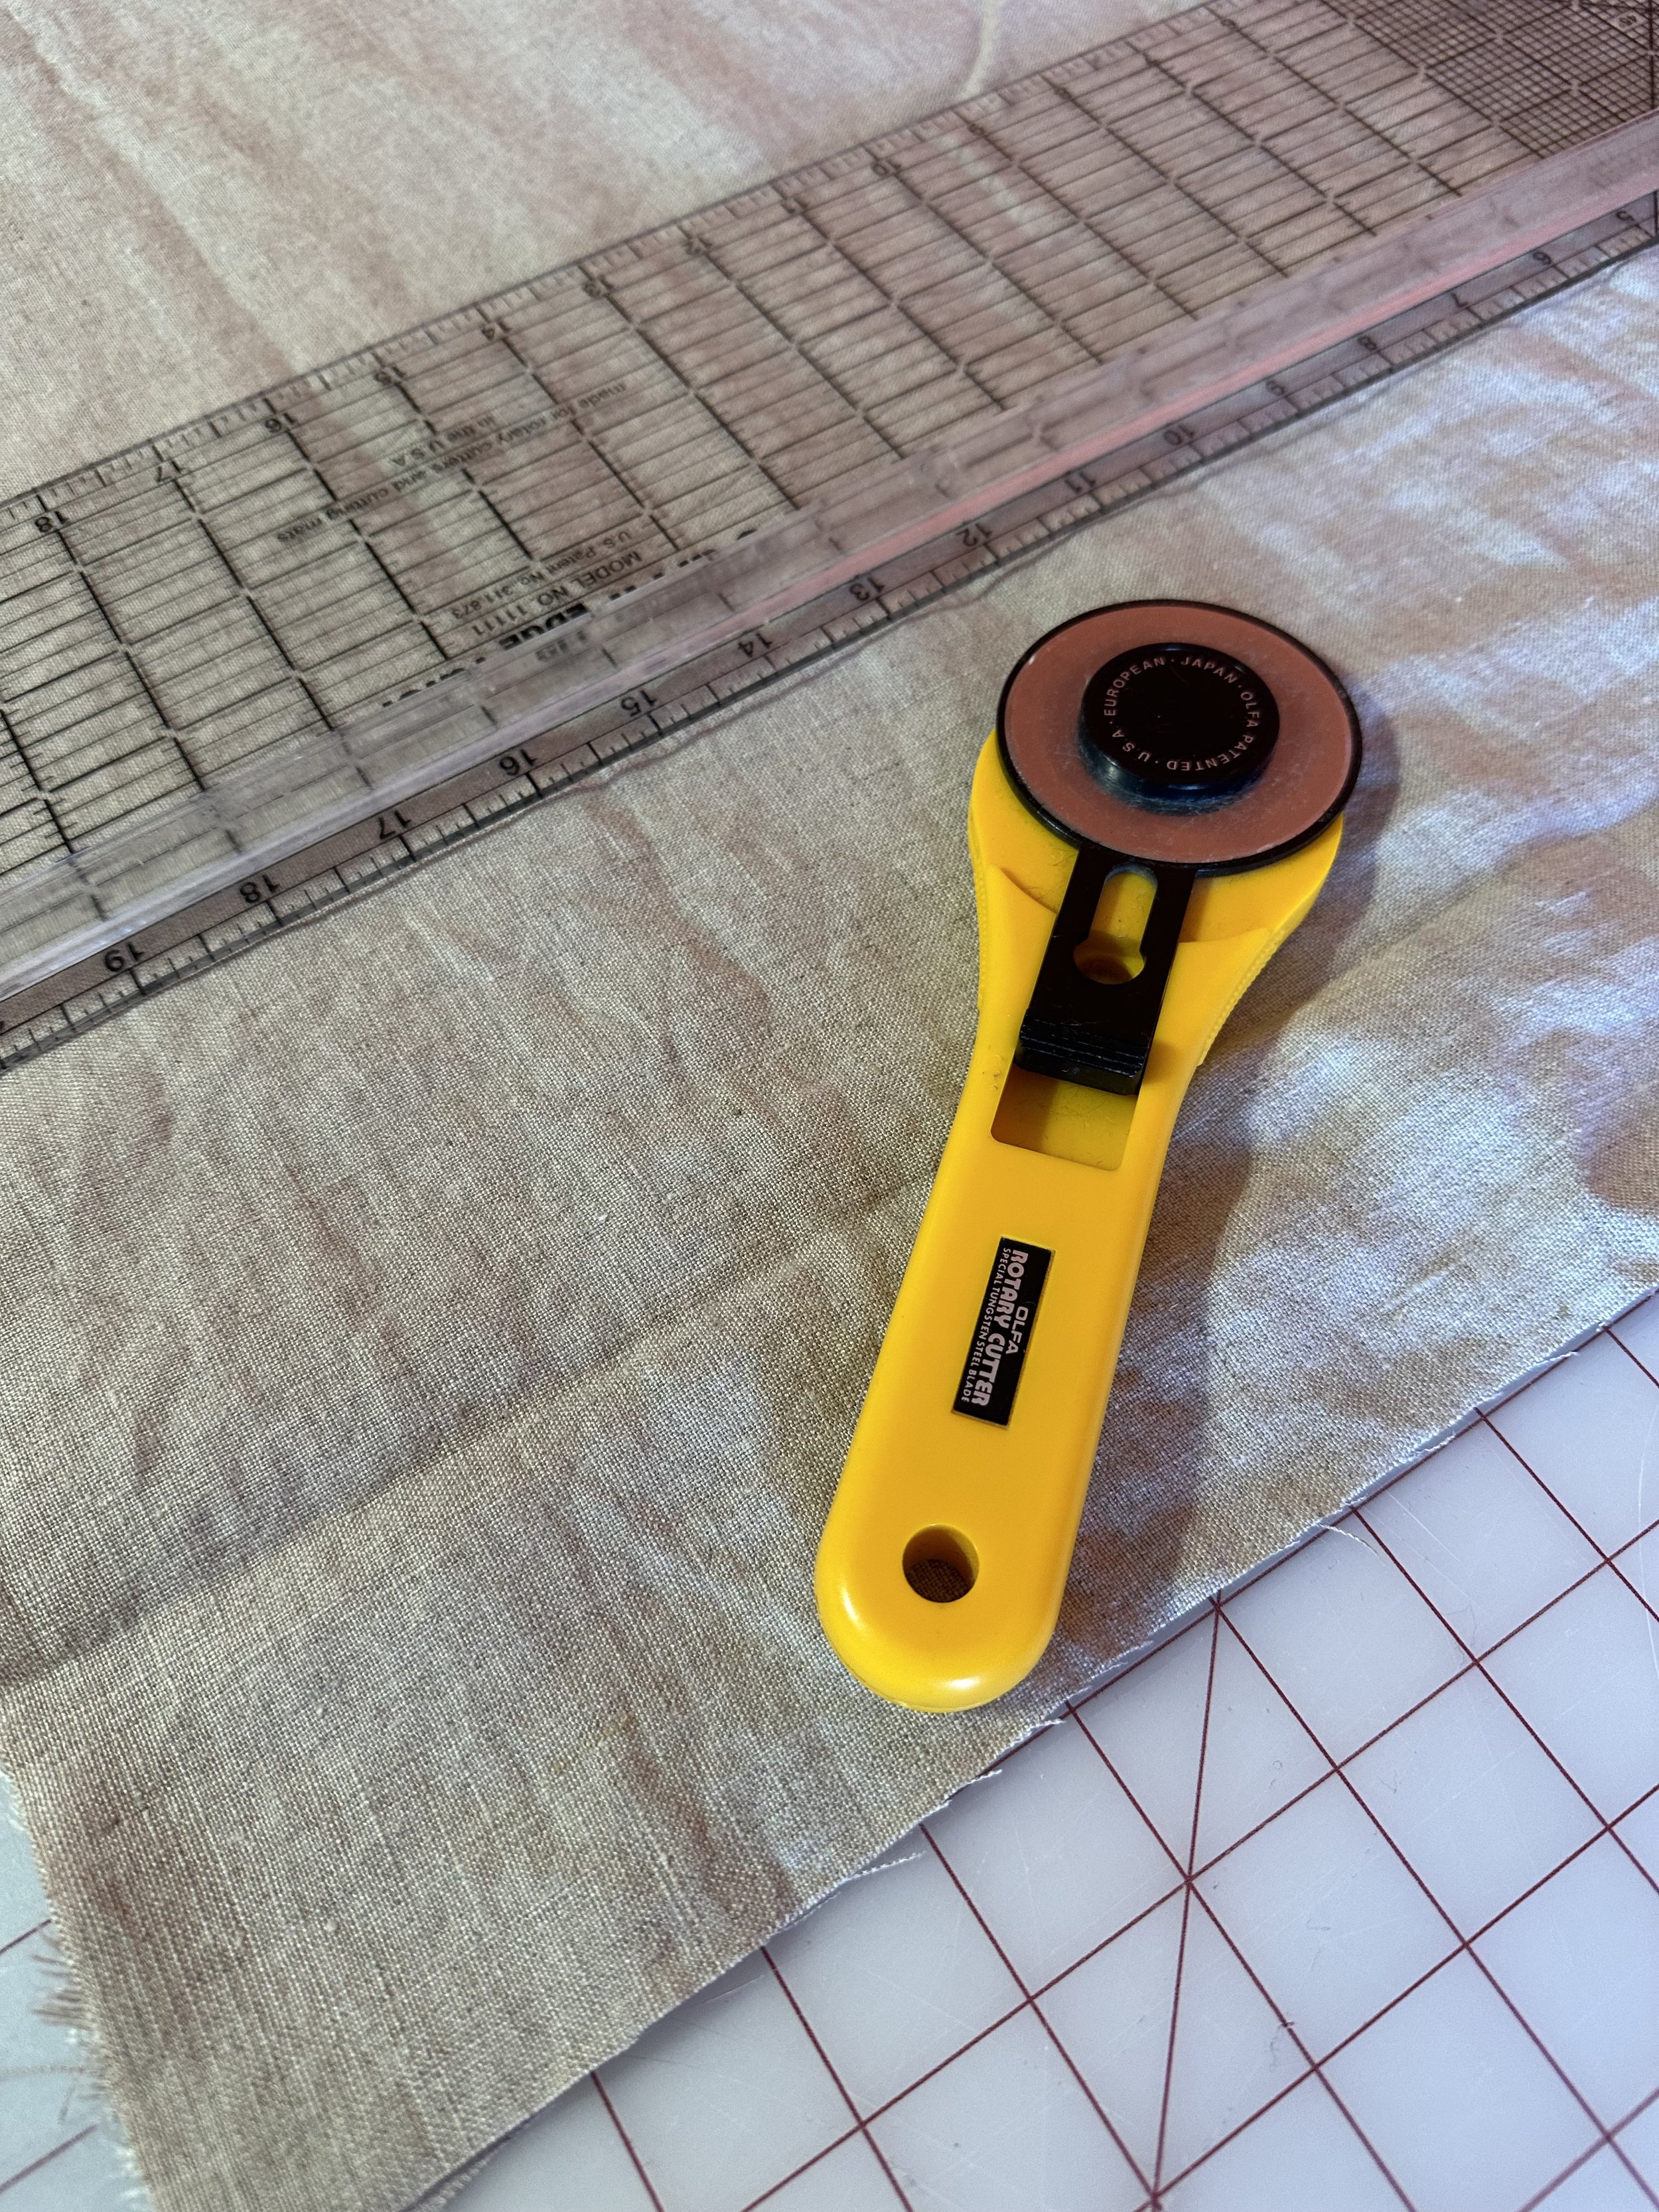
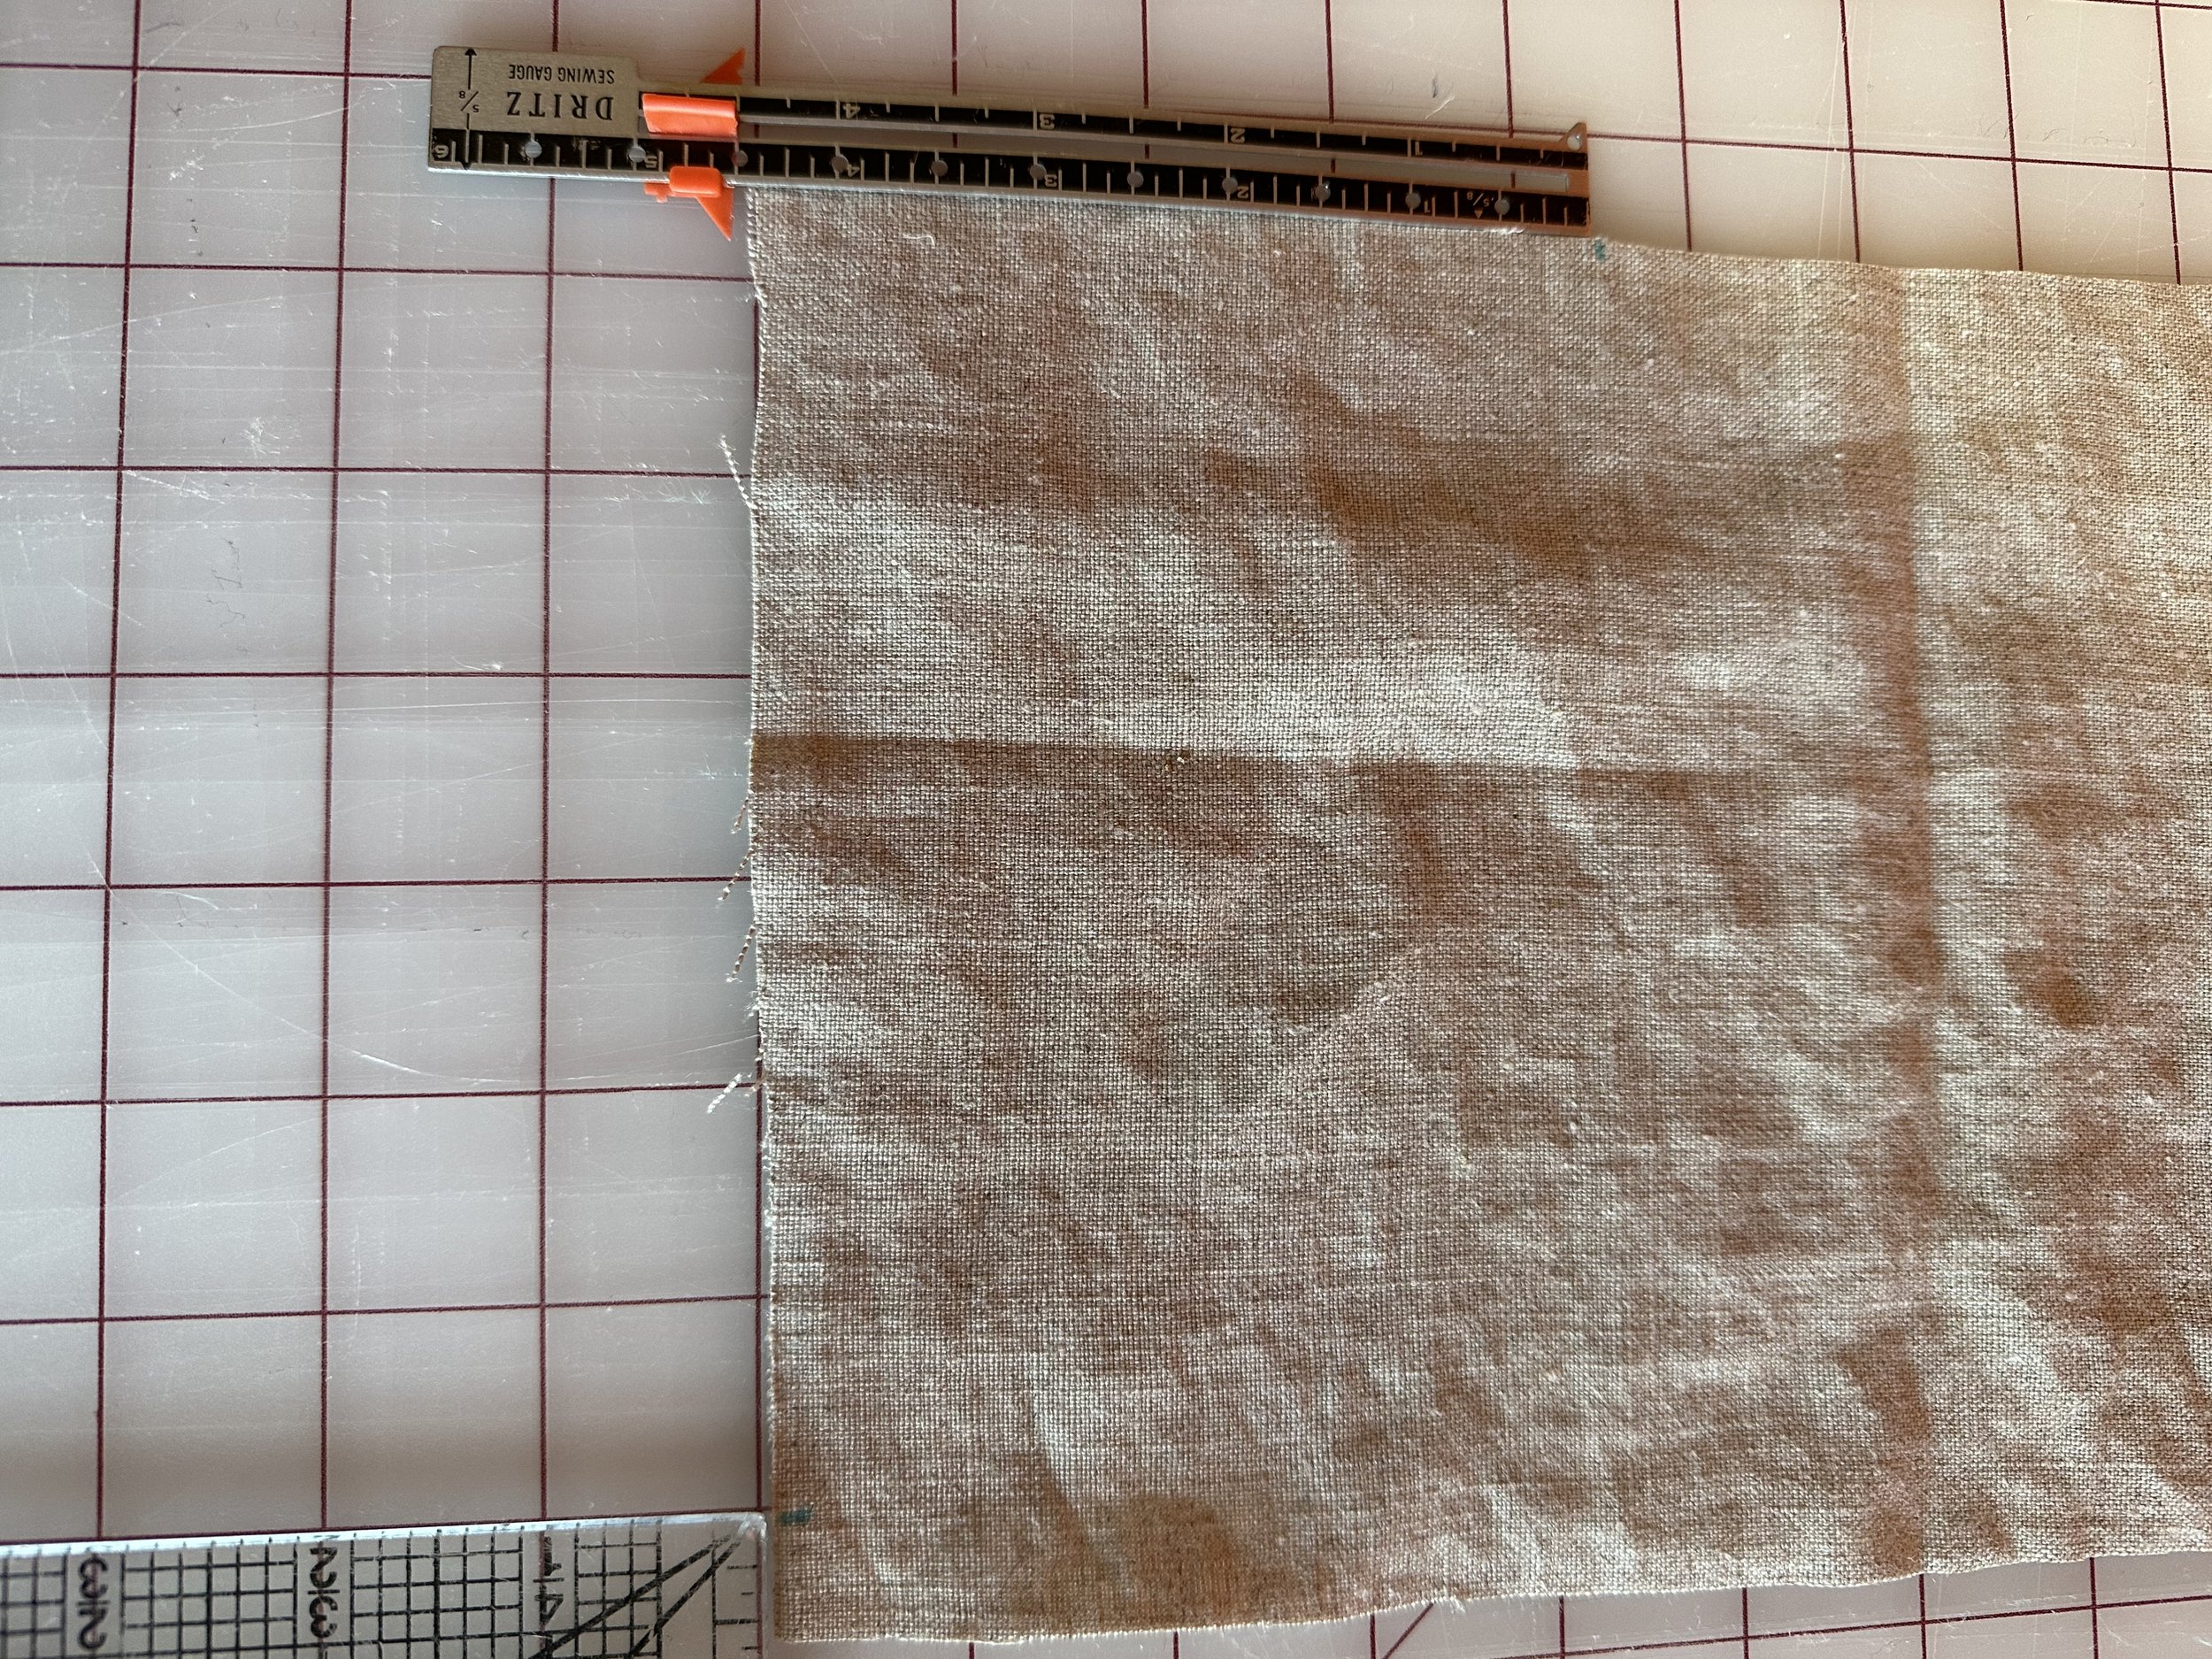
Cut 2 pieces of fabric 61” by 7”.
Cut 2 pieces of fabric
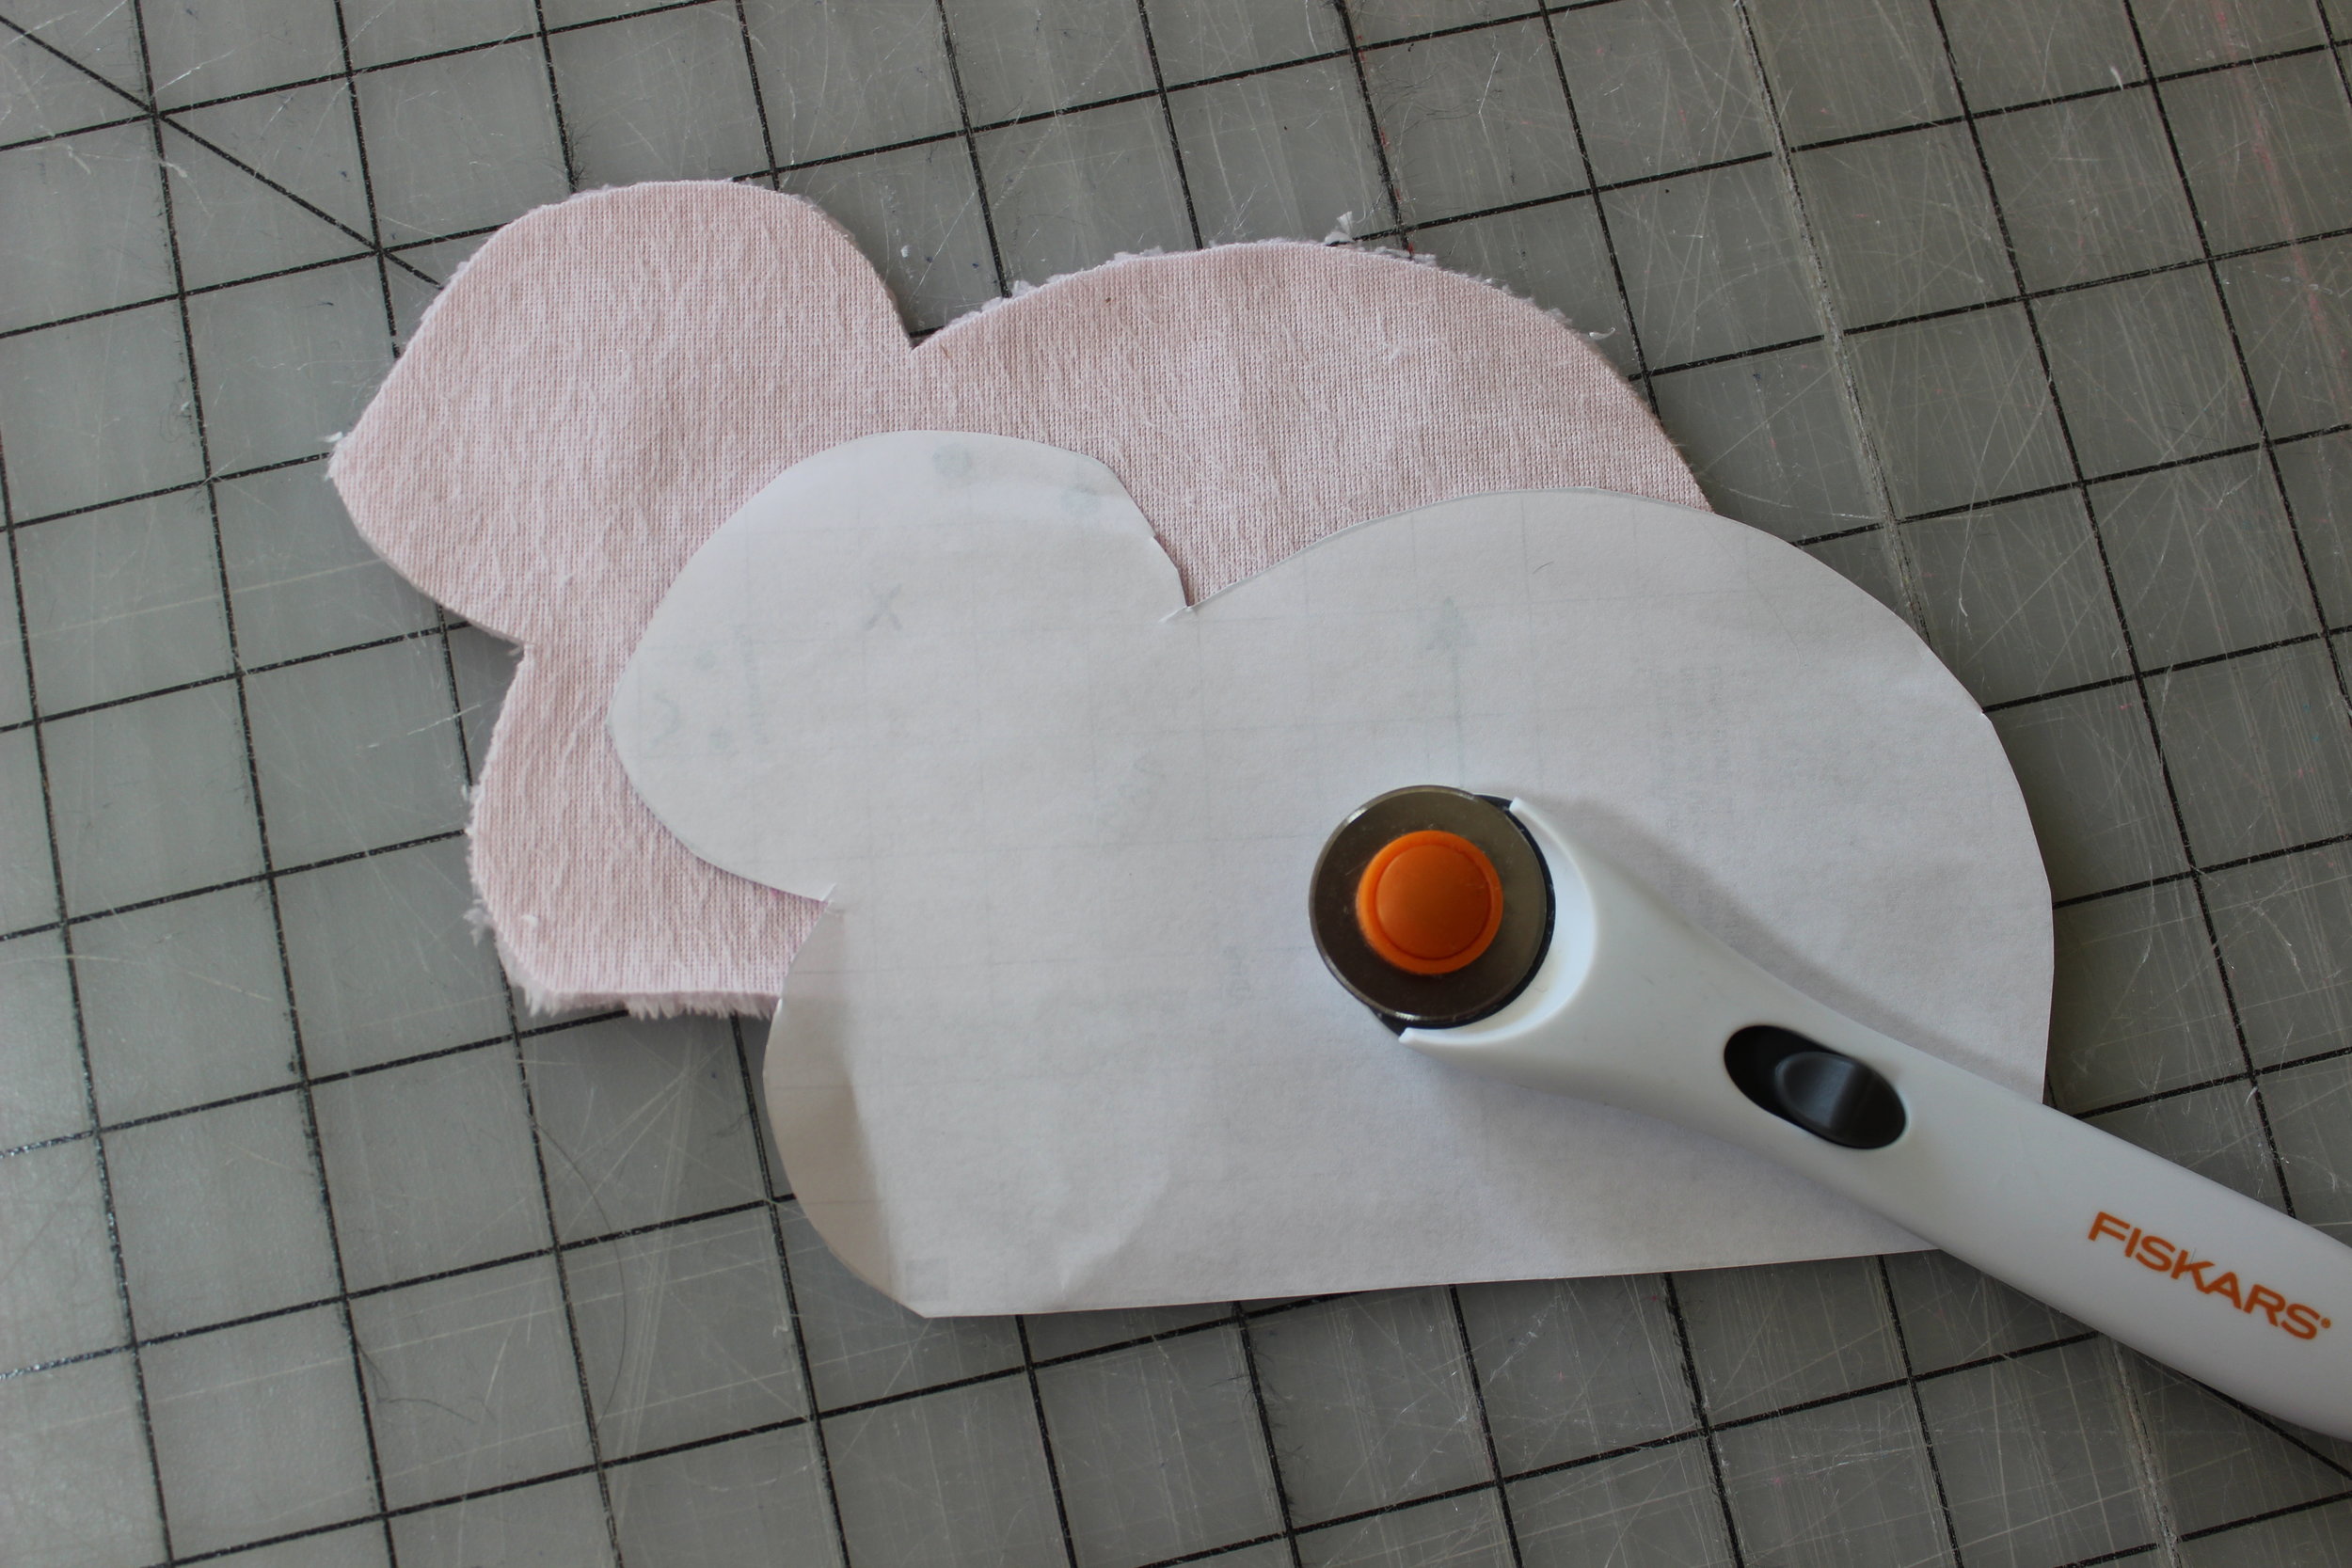
STEP 2
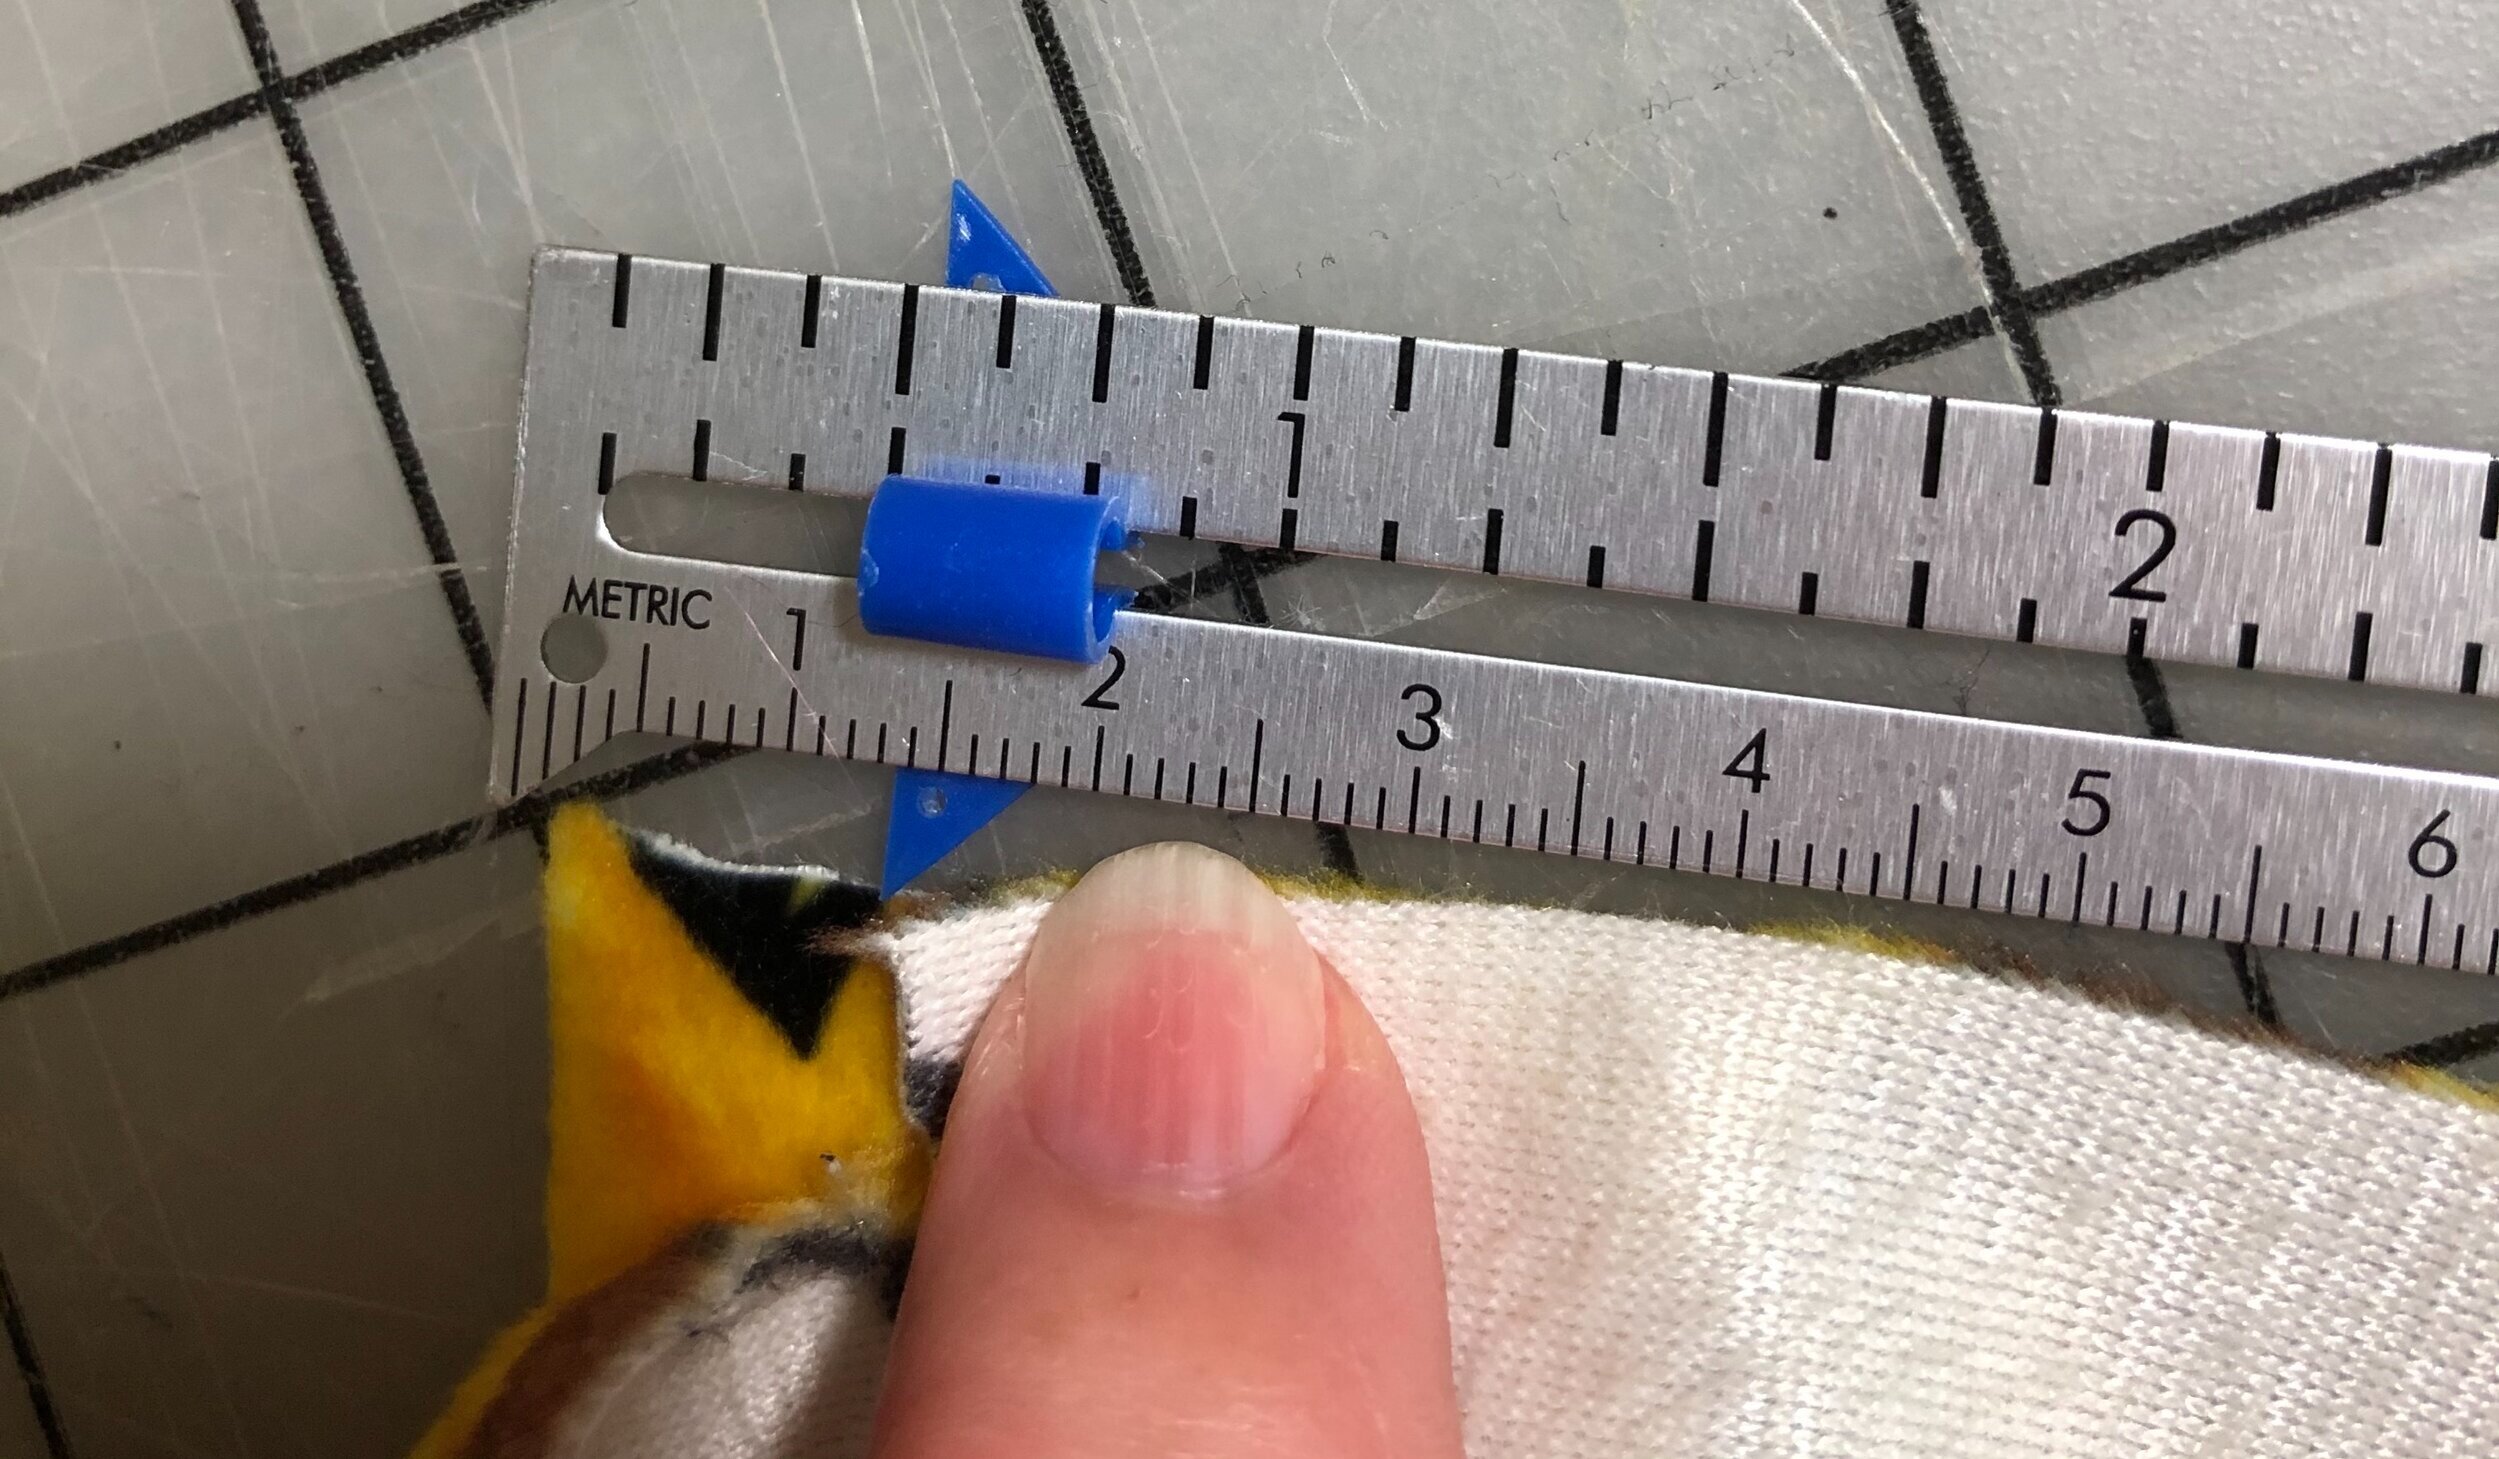
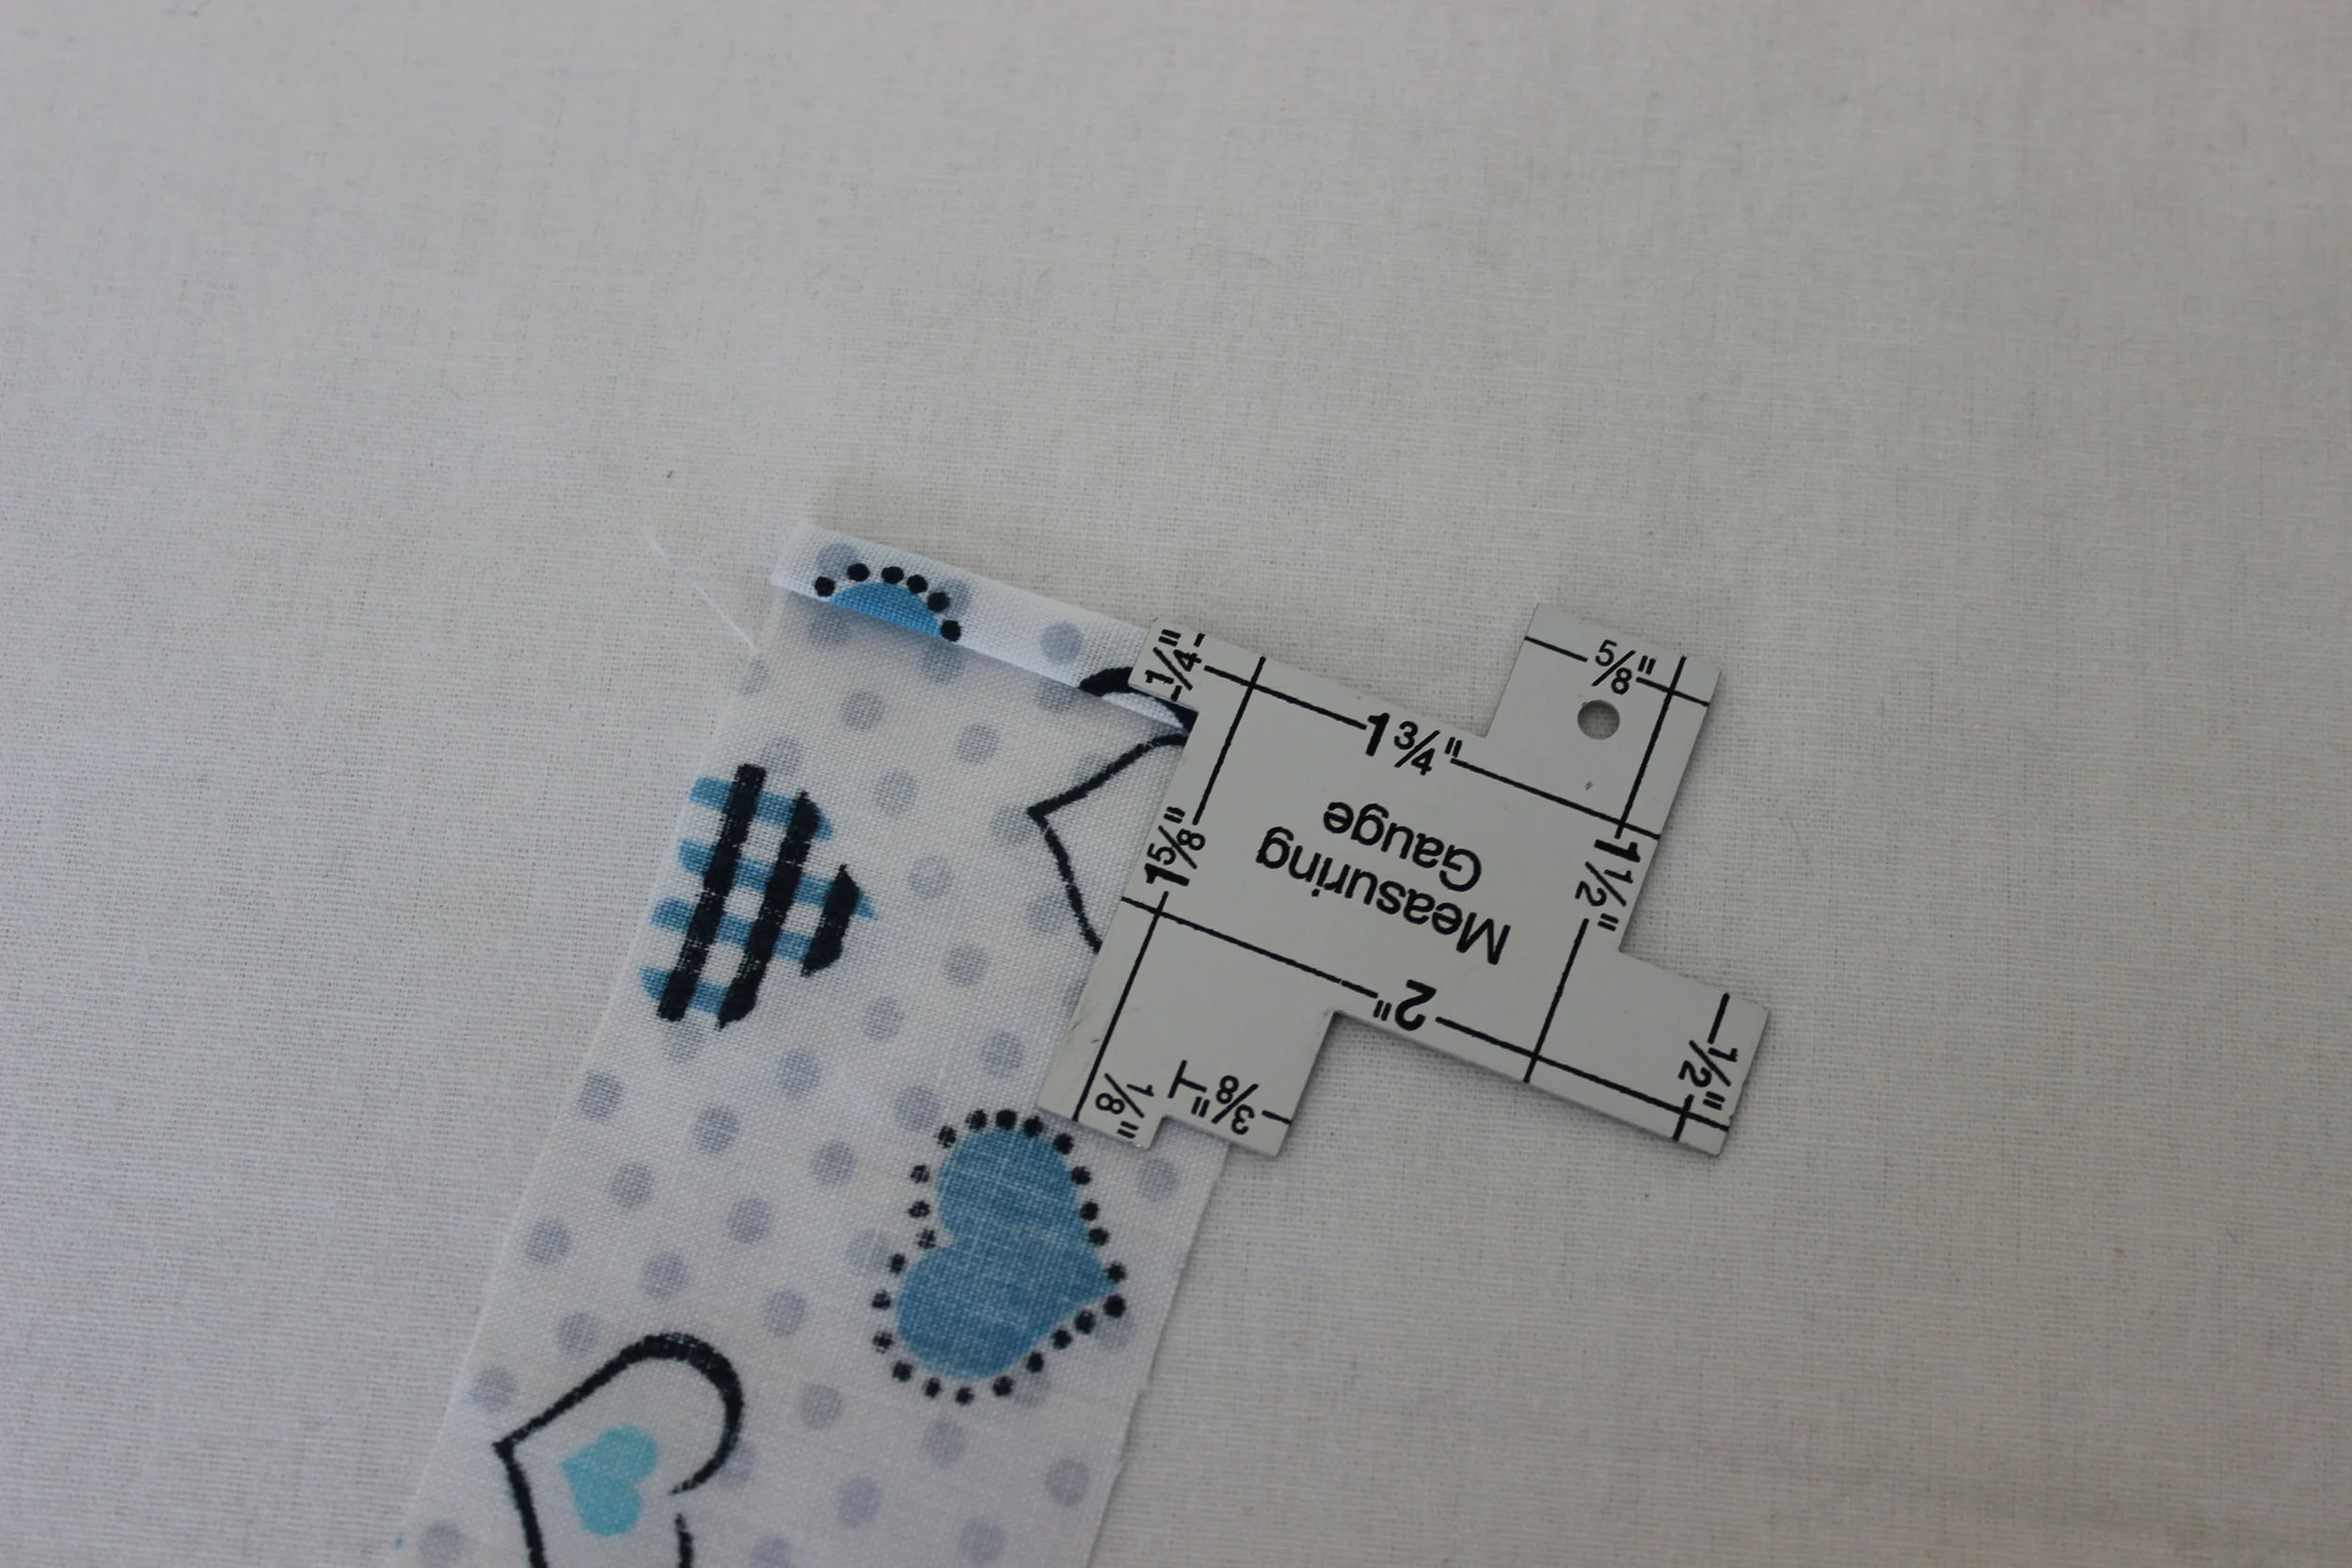
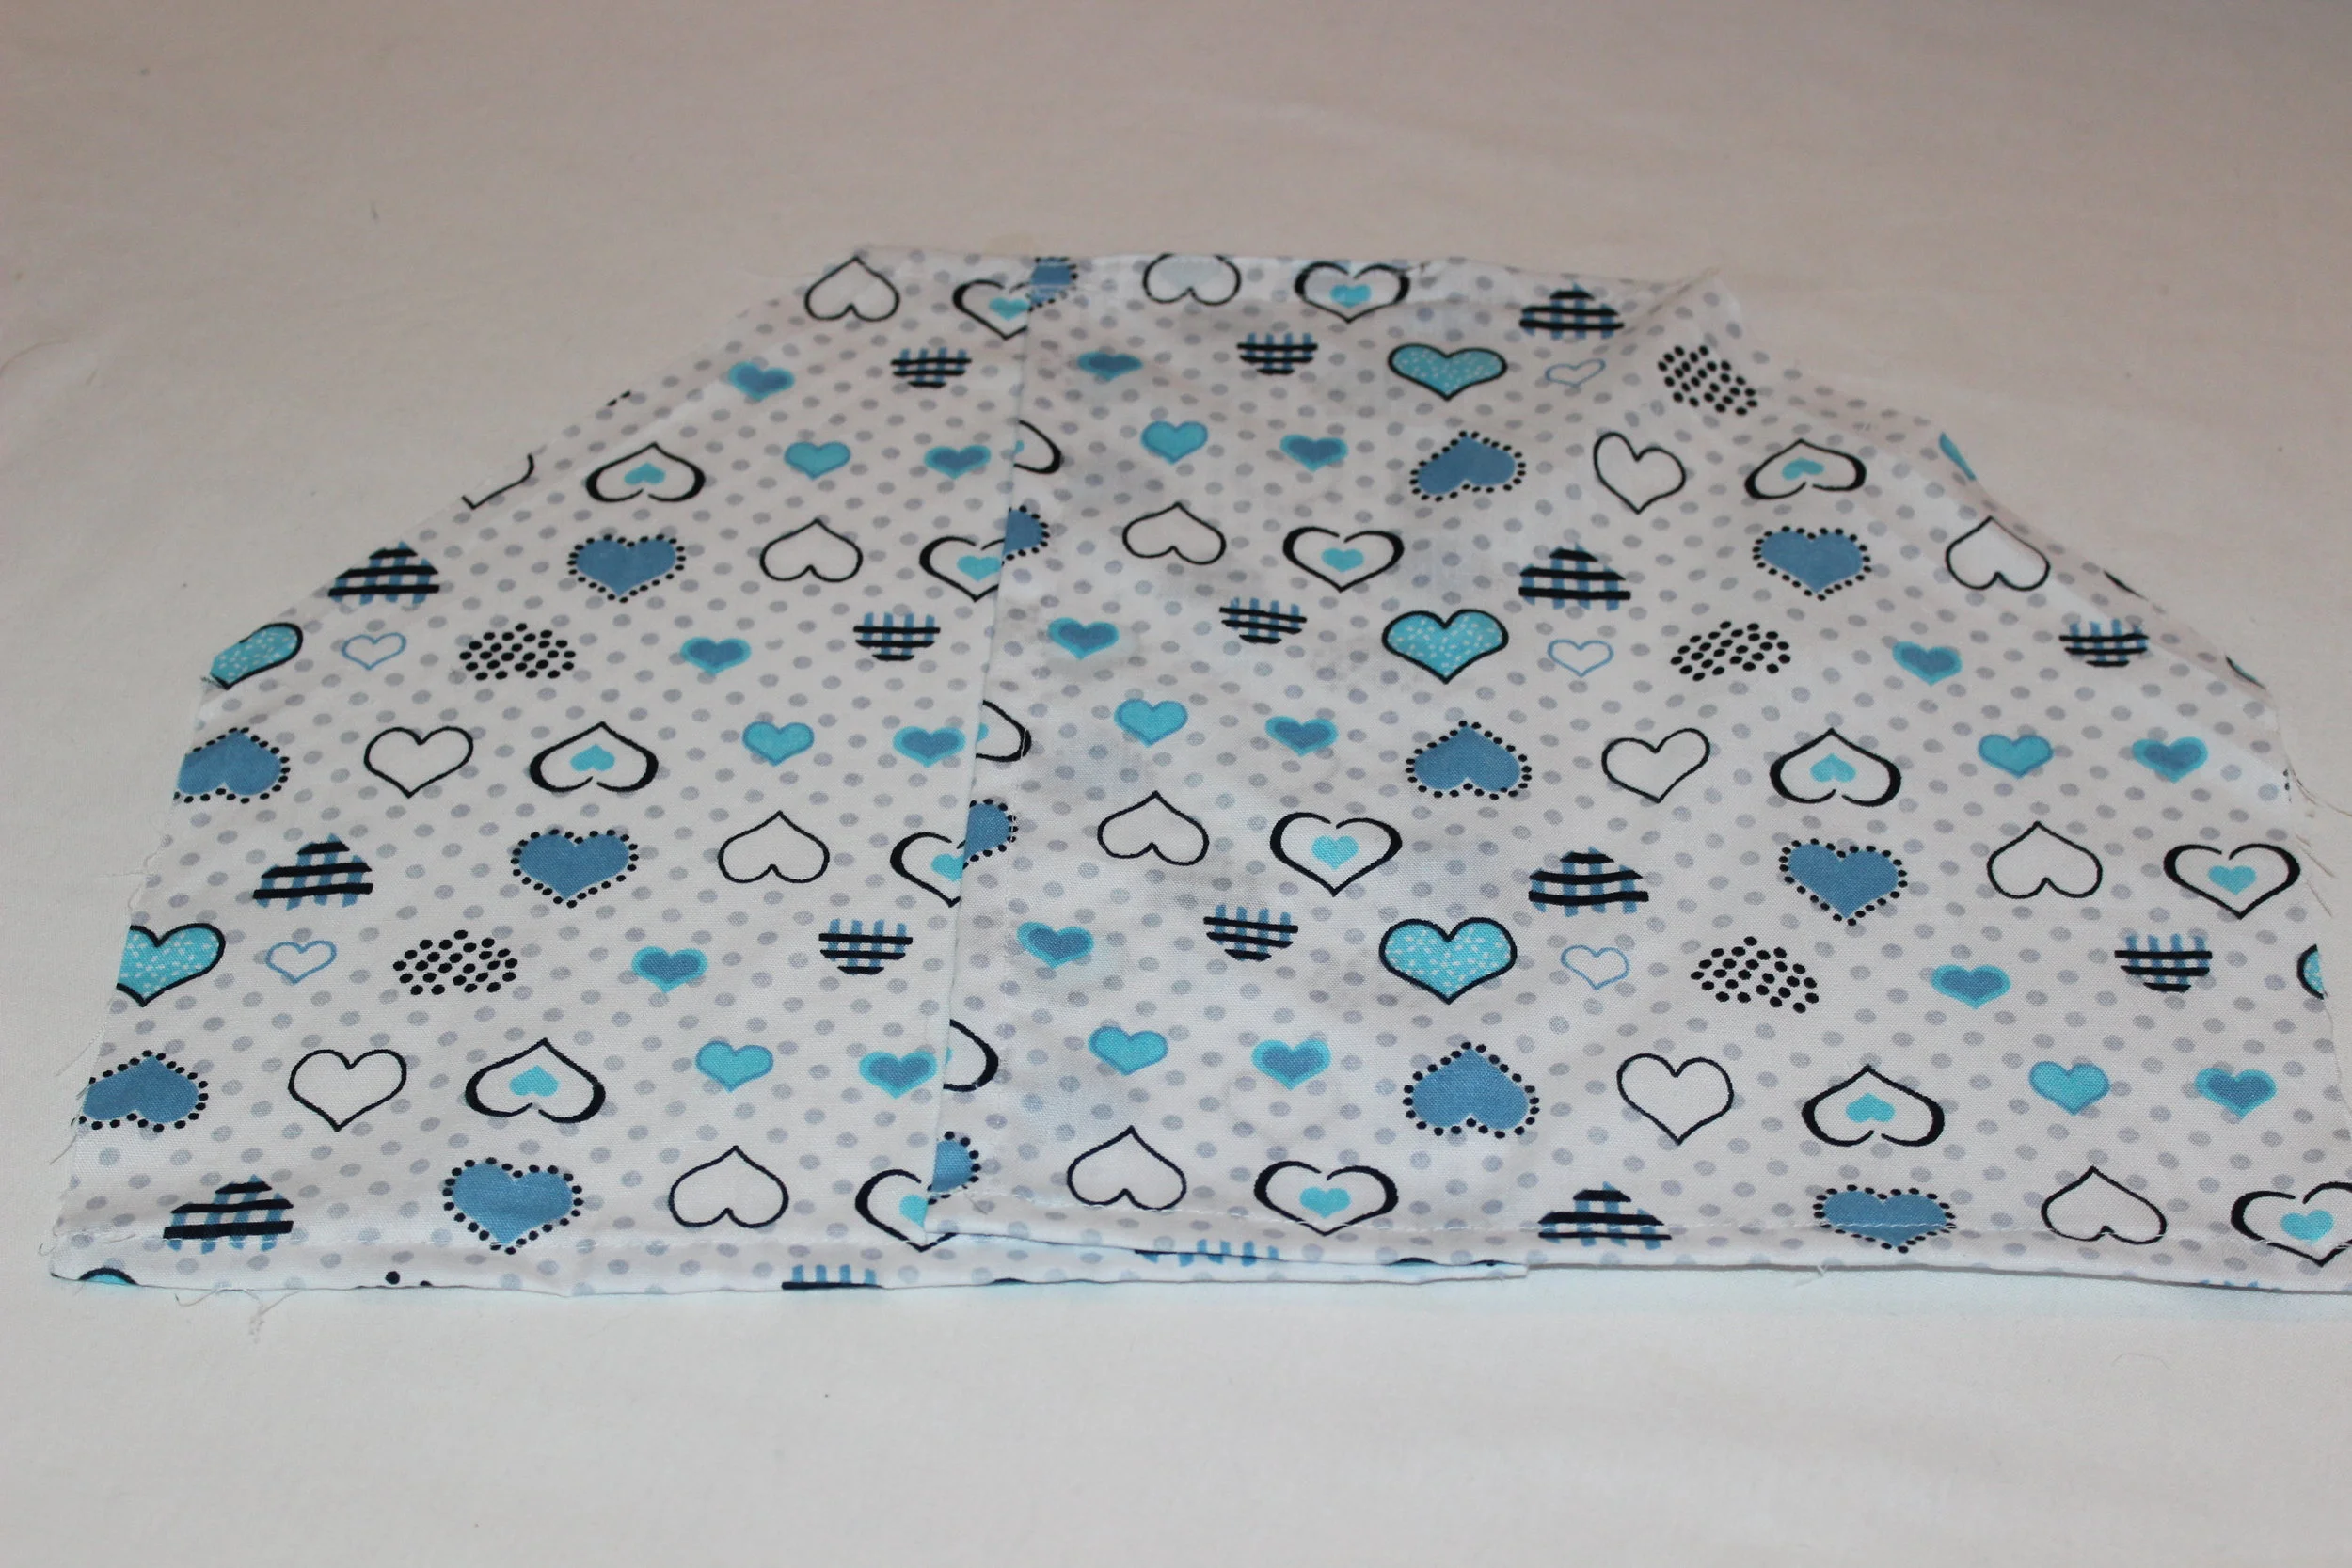
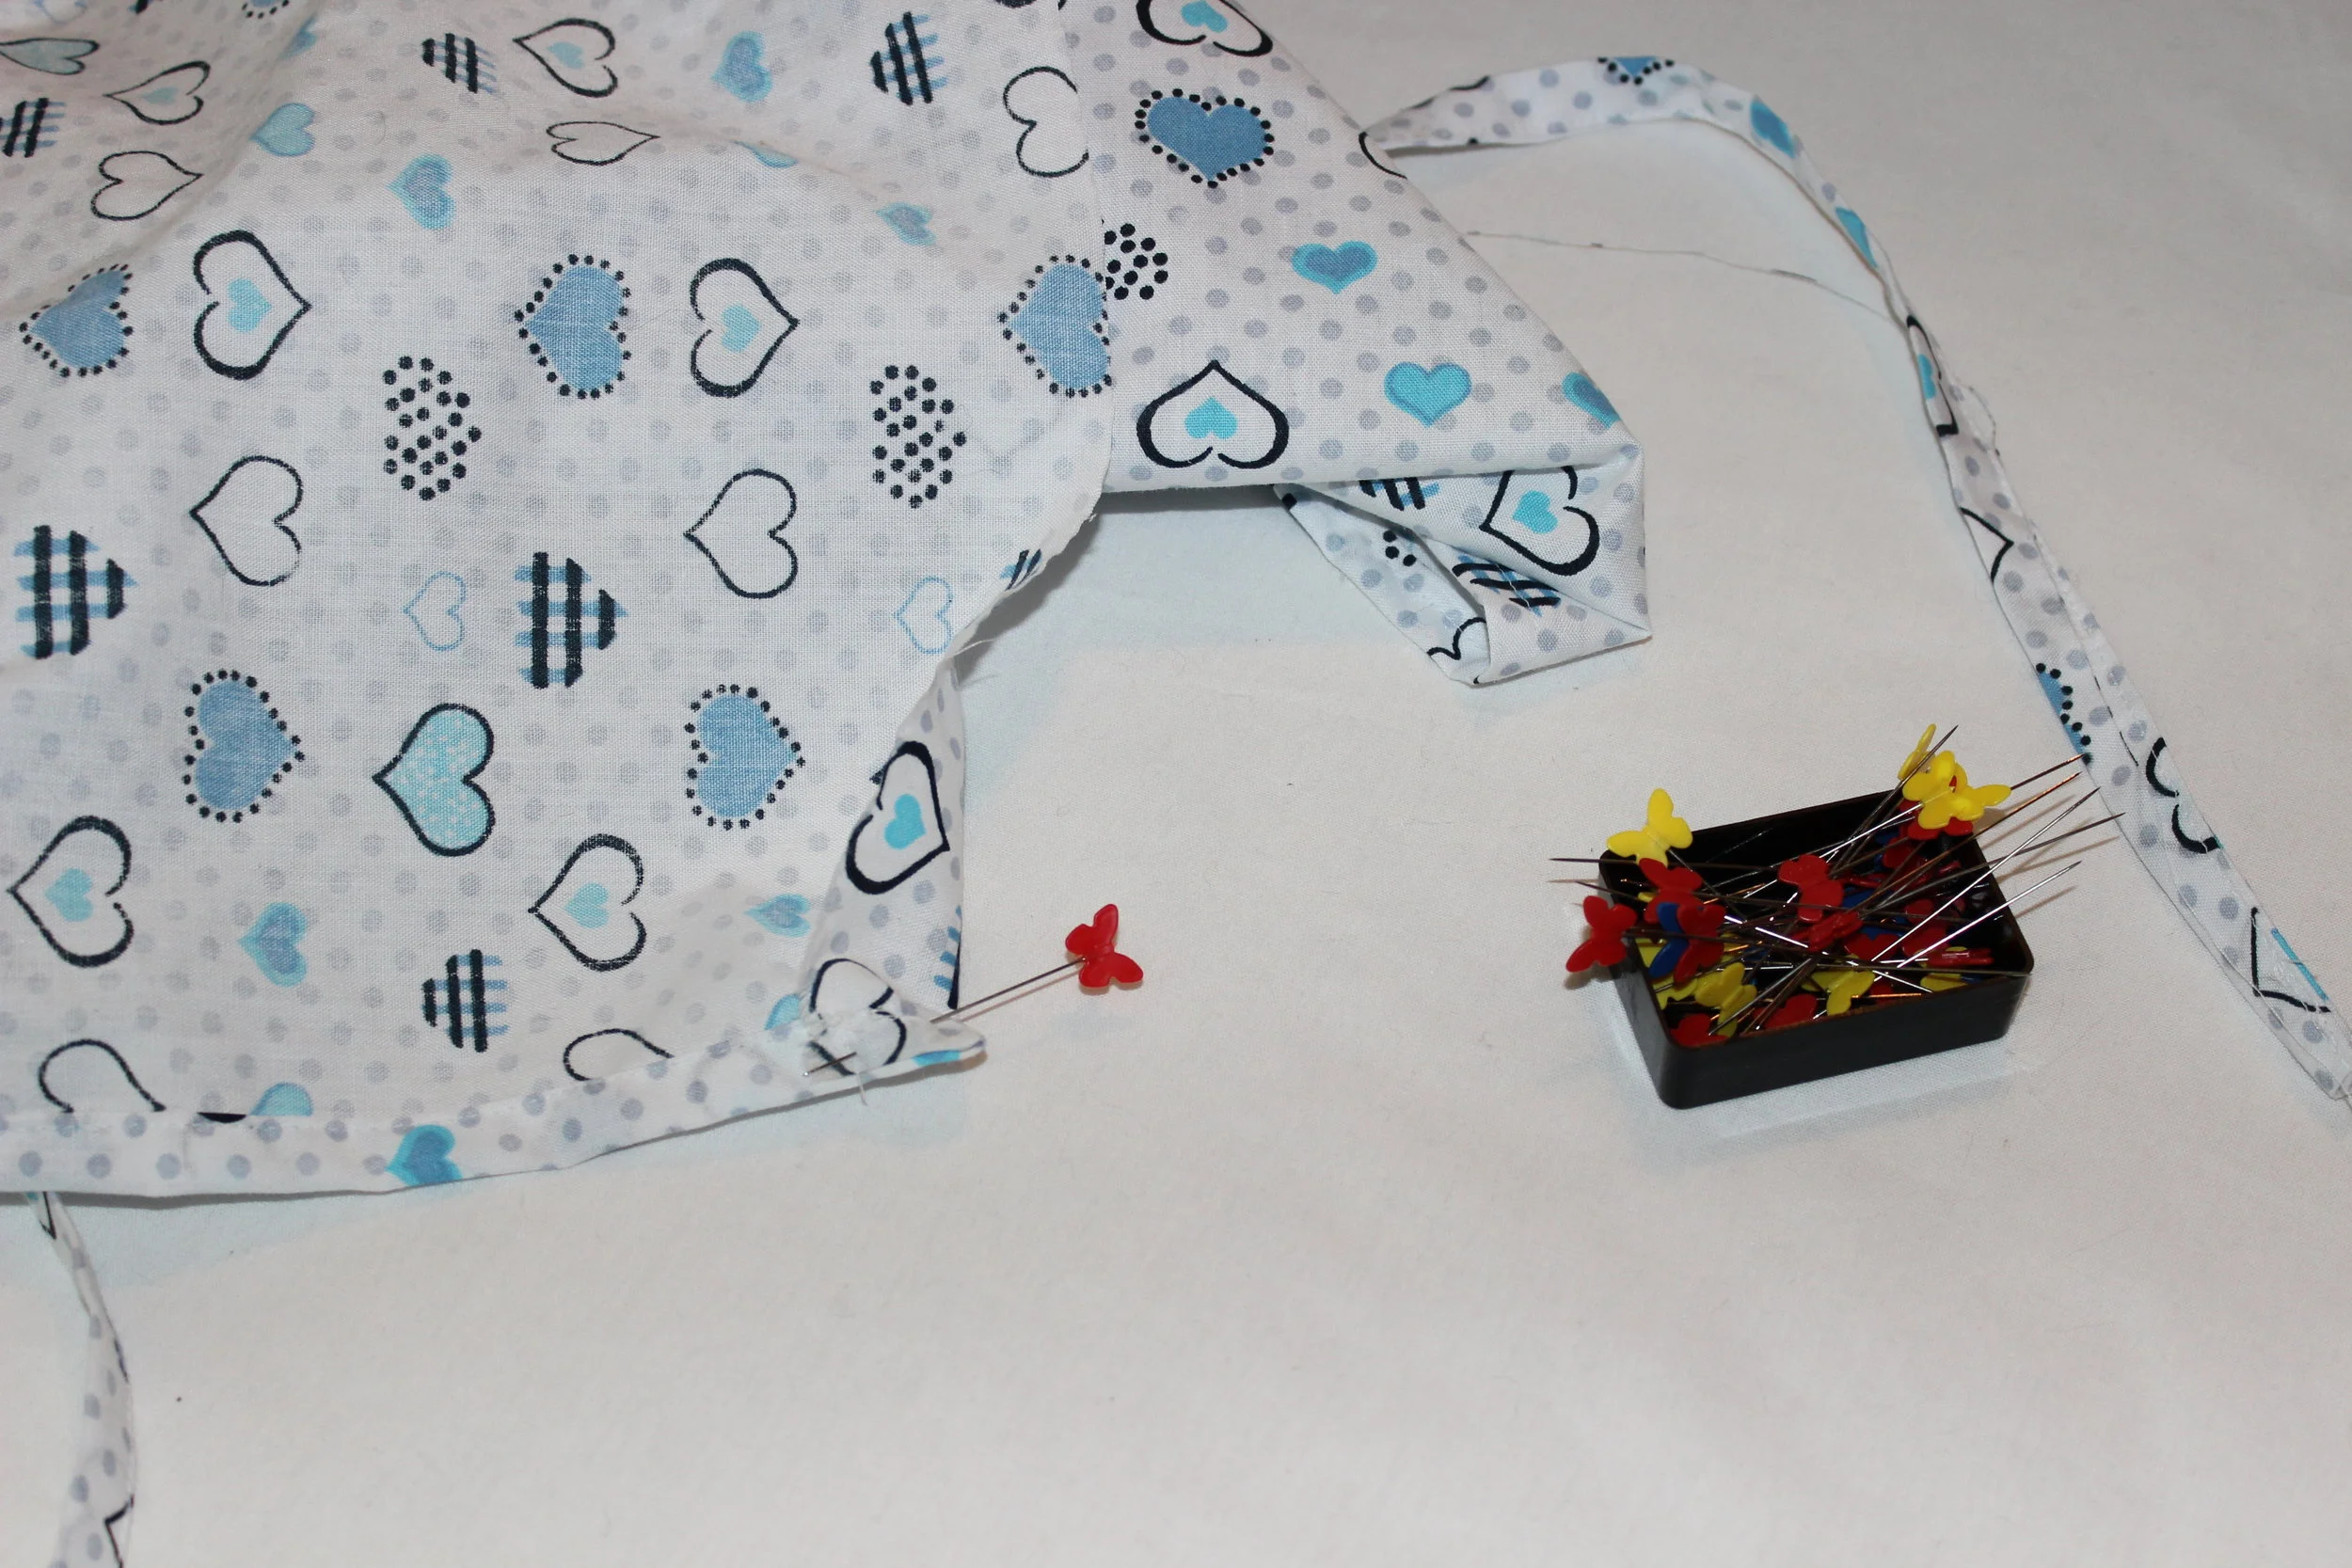
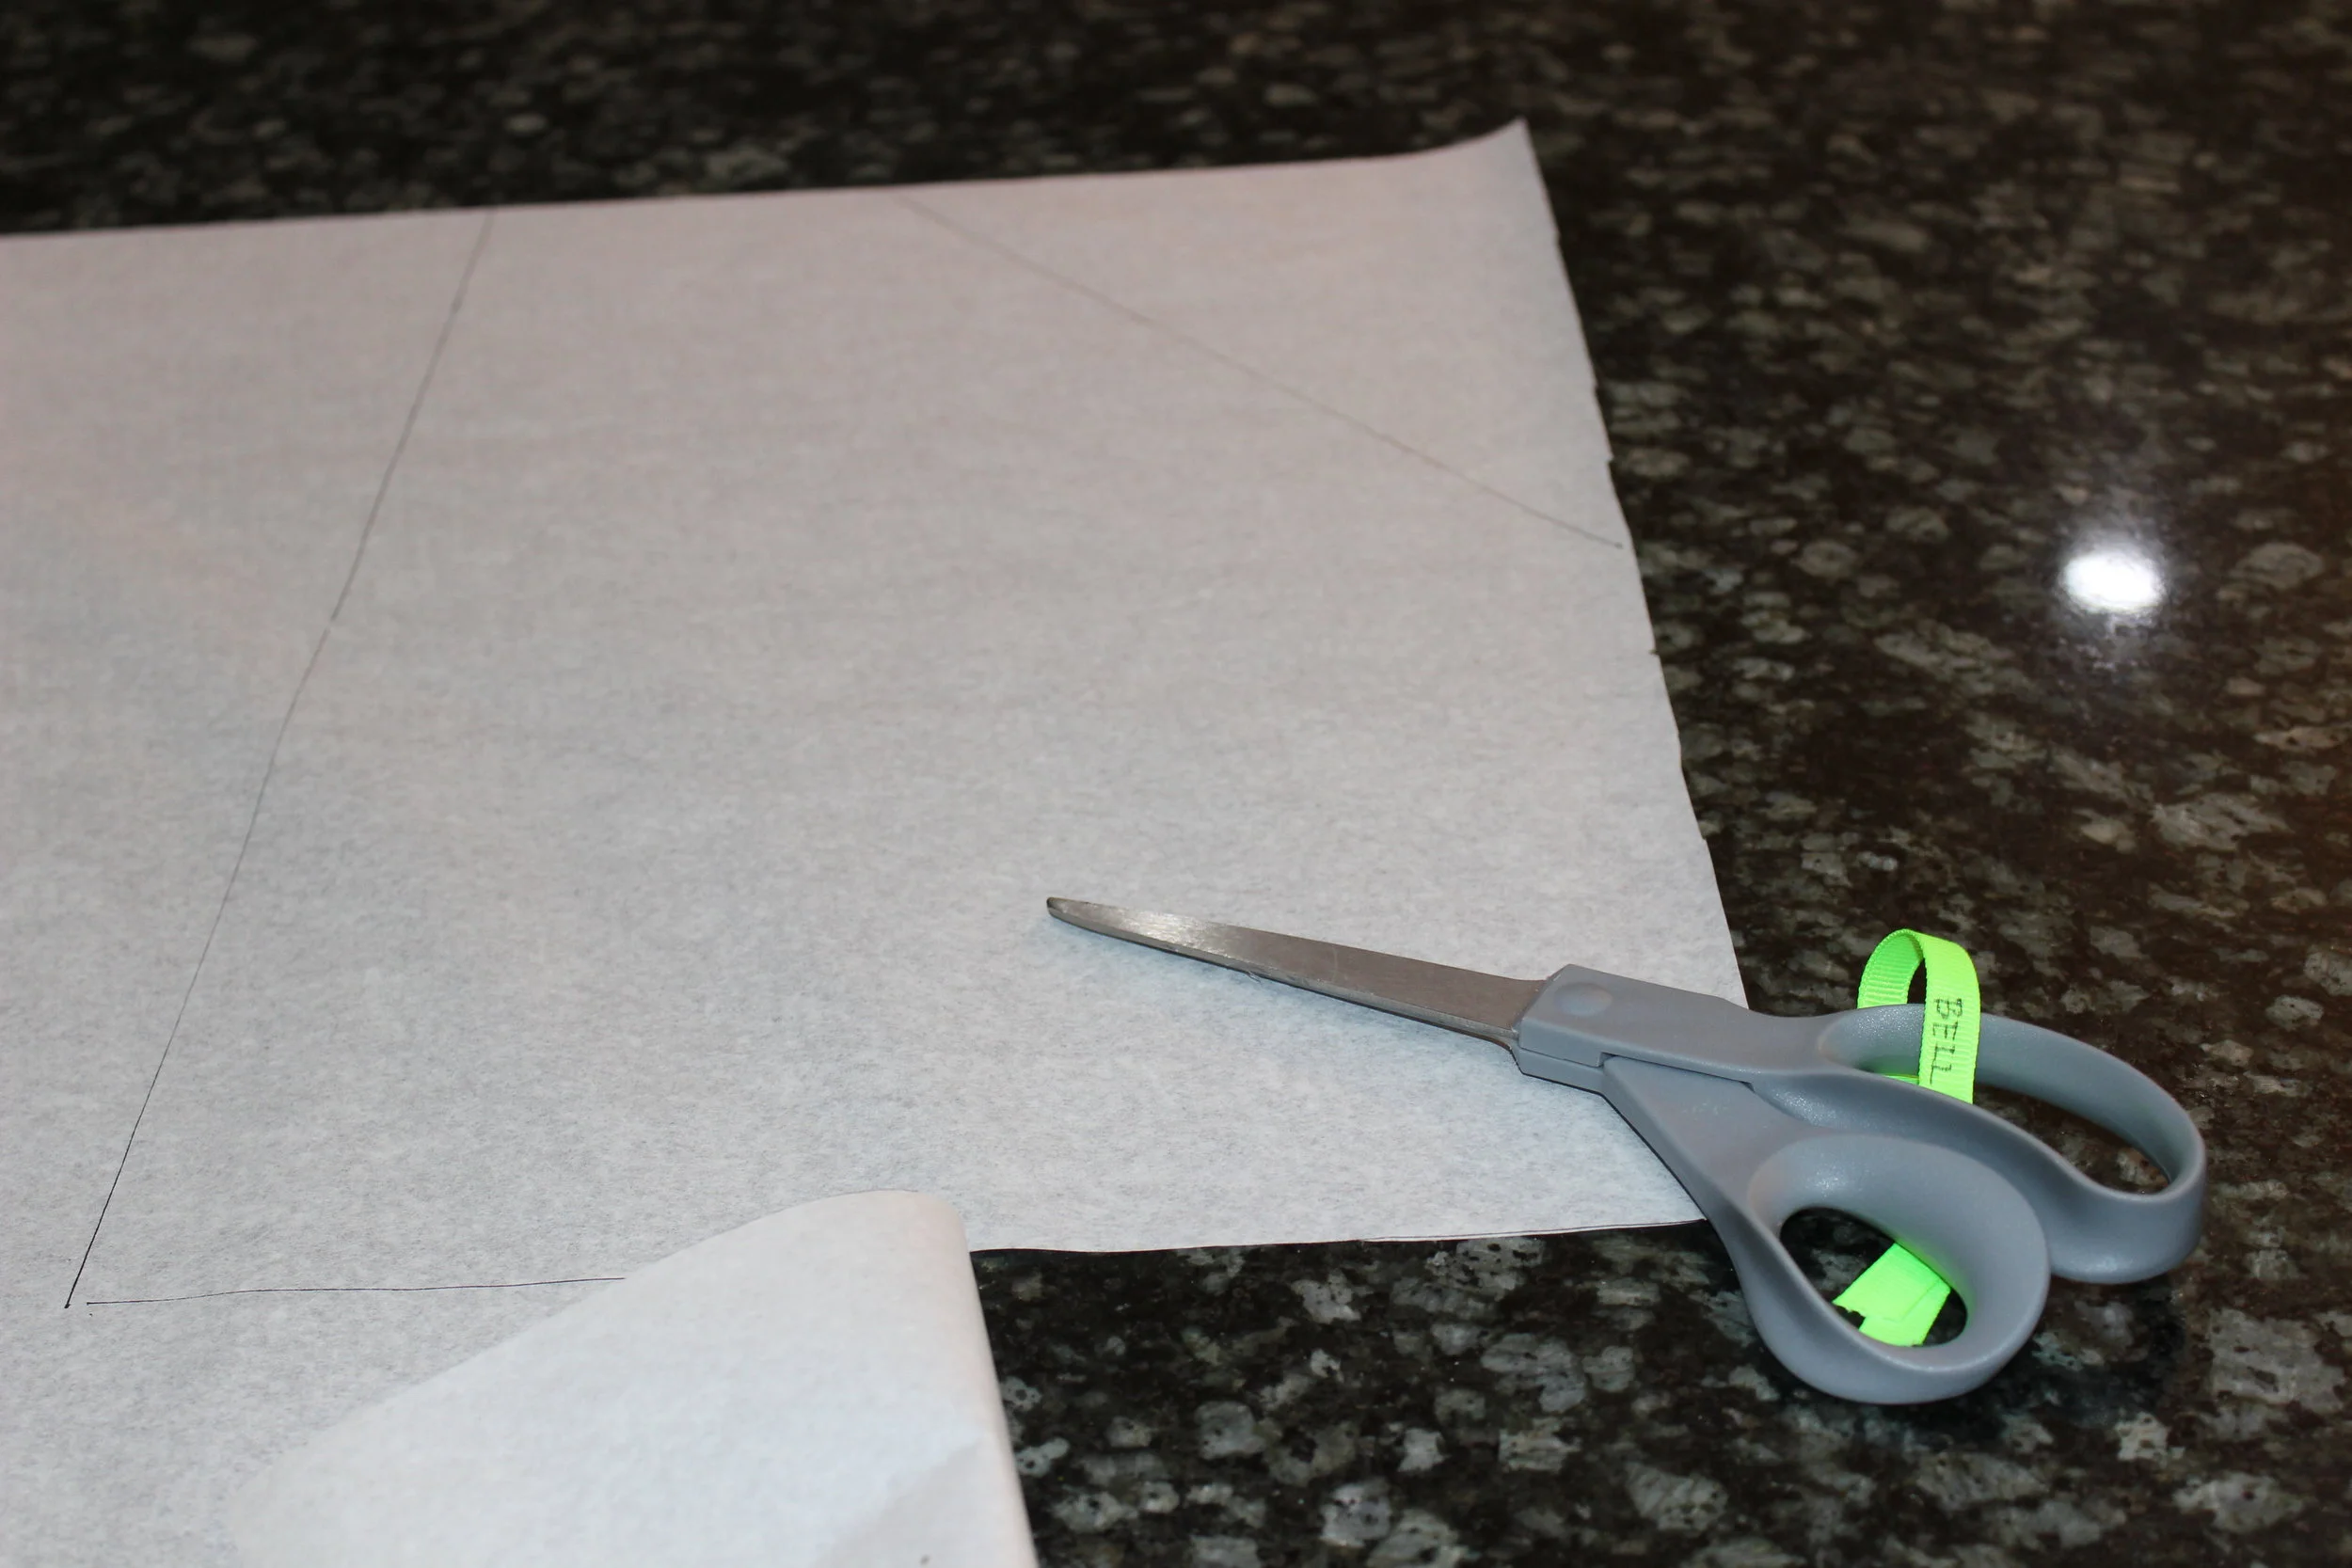
Trim the ends of all four pieces to form a triangle. Measure ½” from one side and mark. Measure 4 ½” from the other side and mark. Connect the two marks with a diagonal line and cut along that line. Do this for all four ends giving attention to the direction of the diagonal for the front and back as well as having the points rest in the center.
Mark fabric
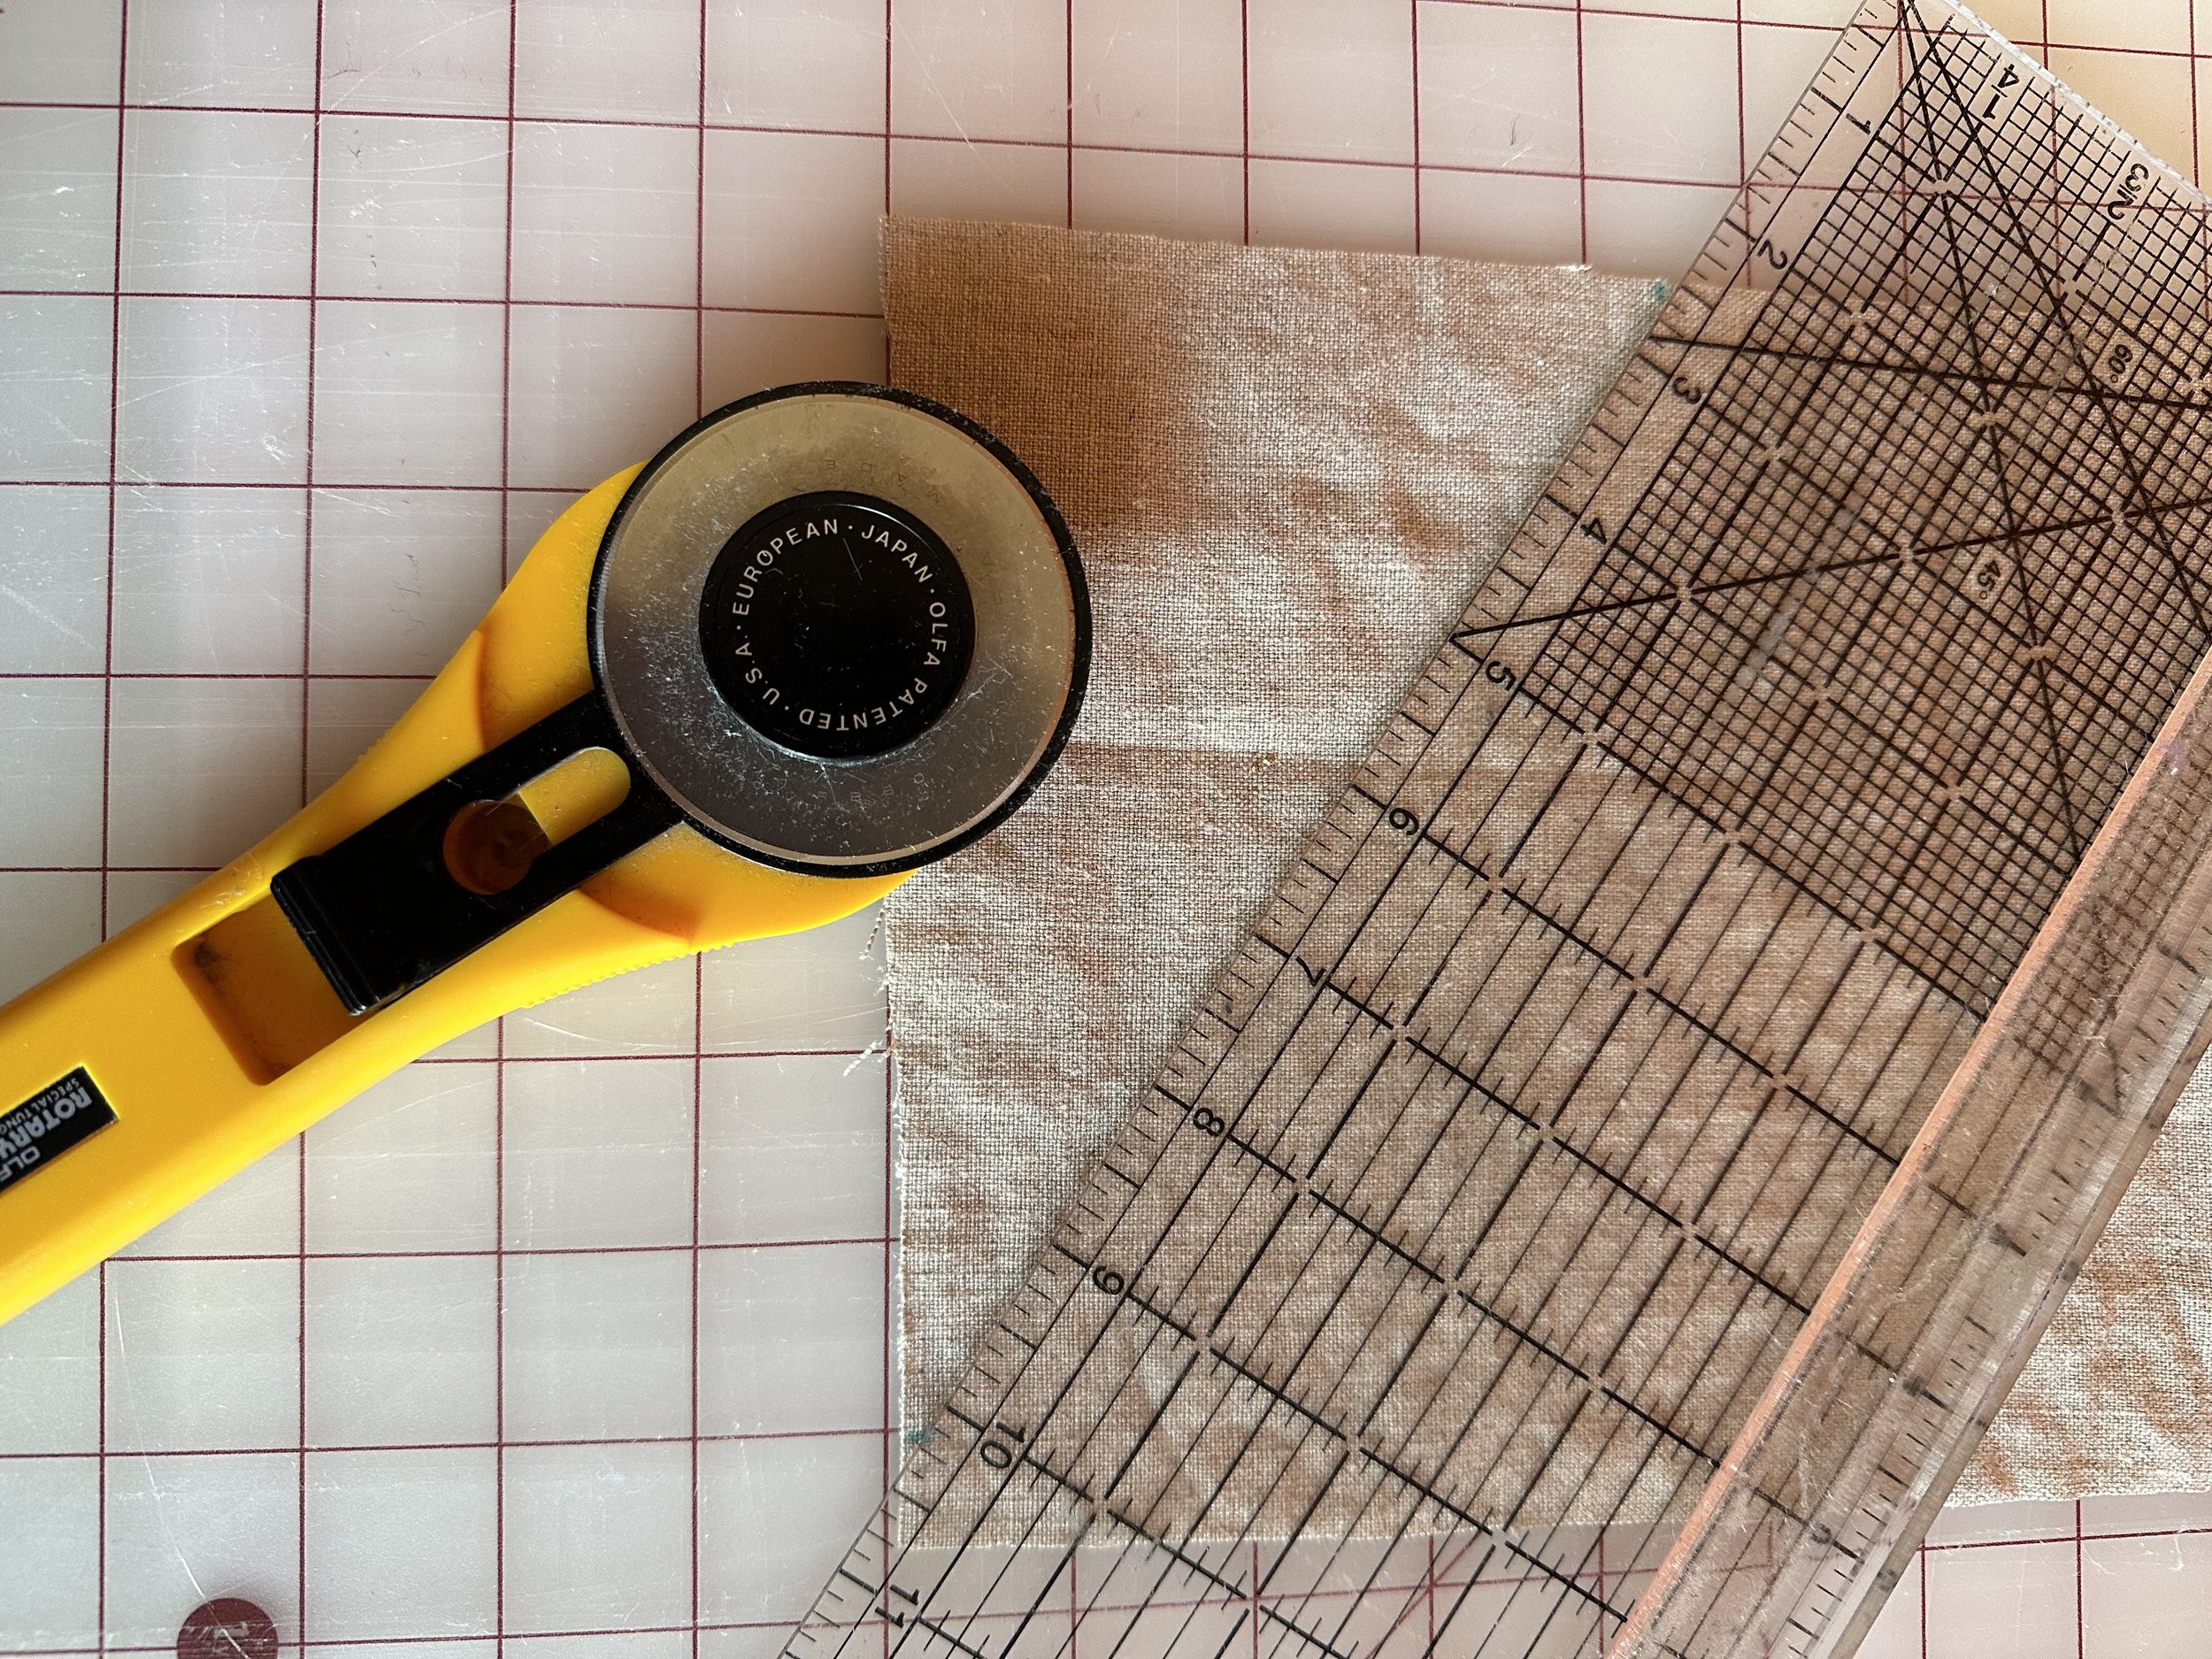
Cut diagonal
STEP 3
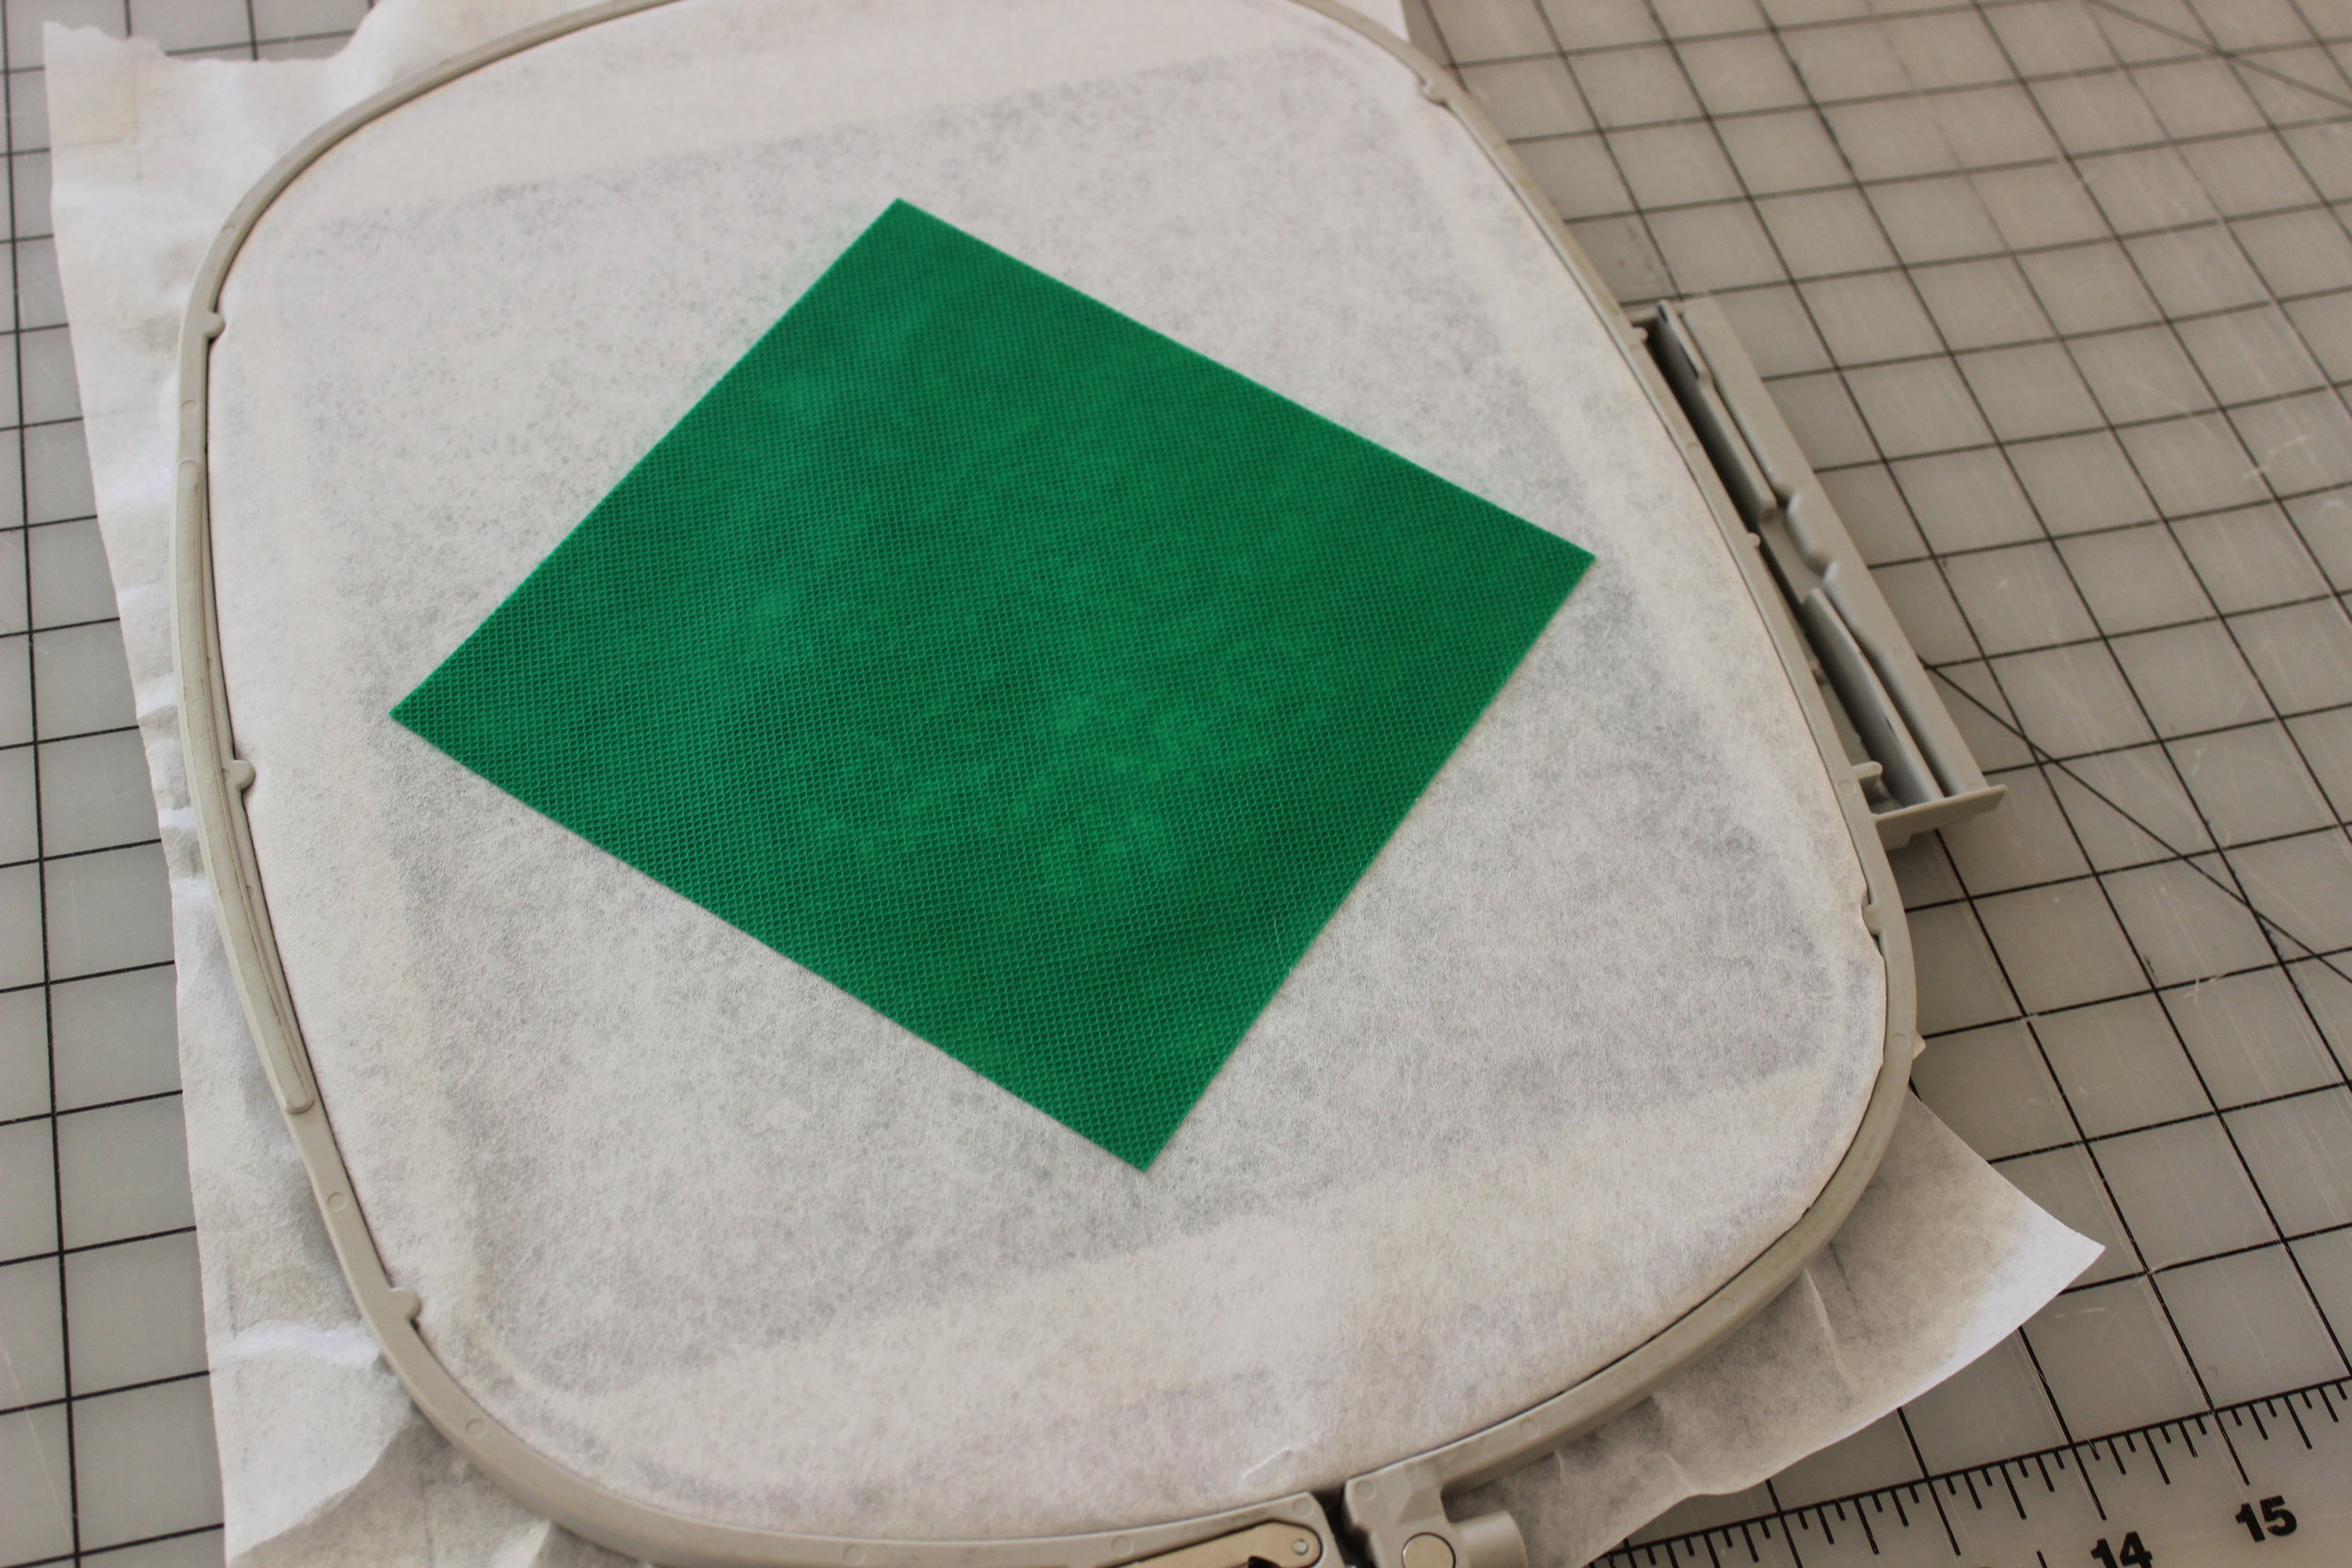
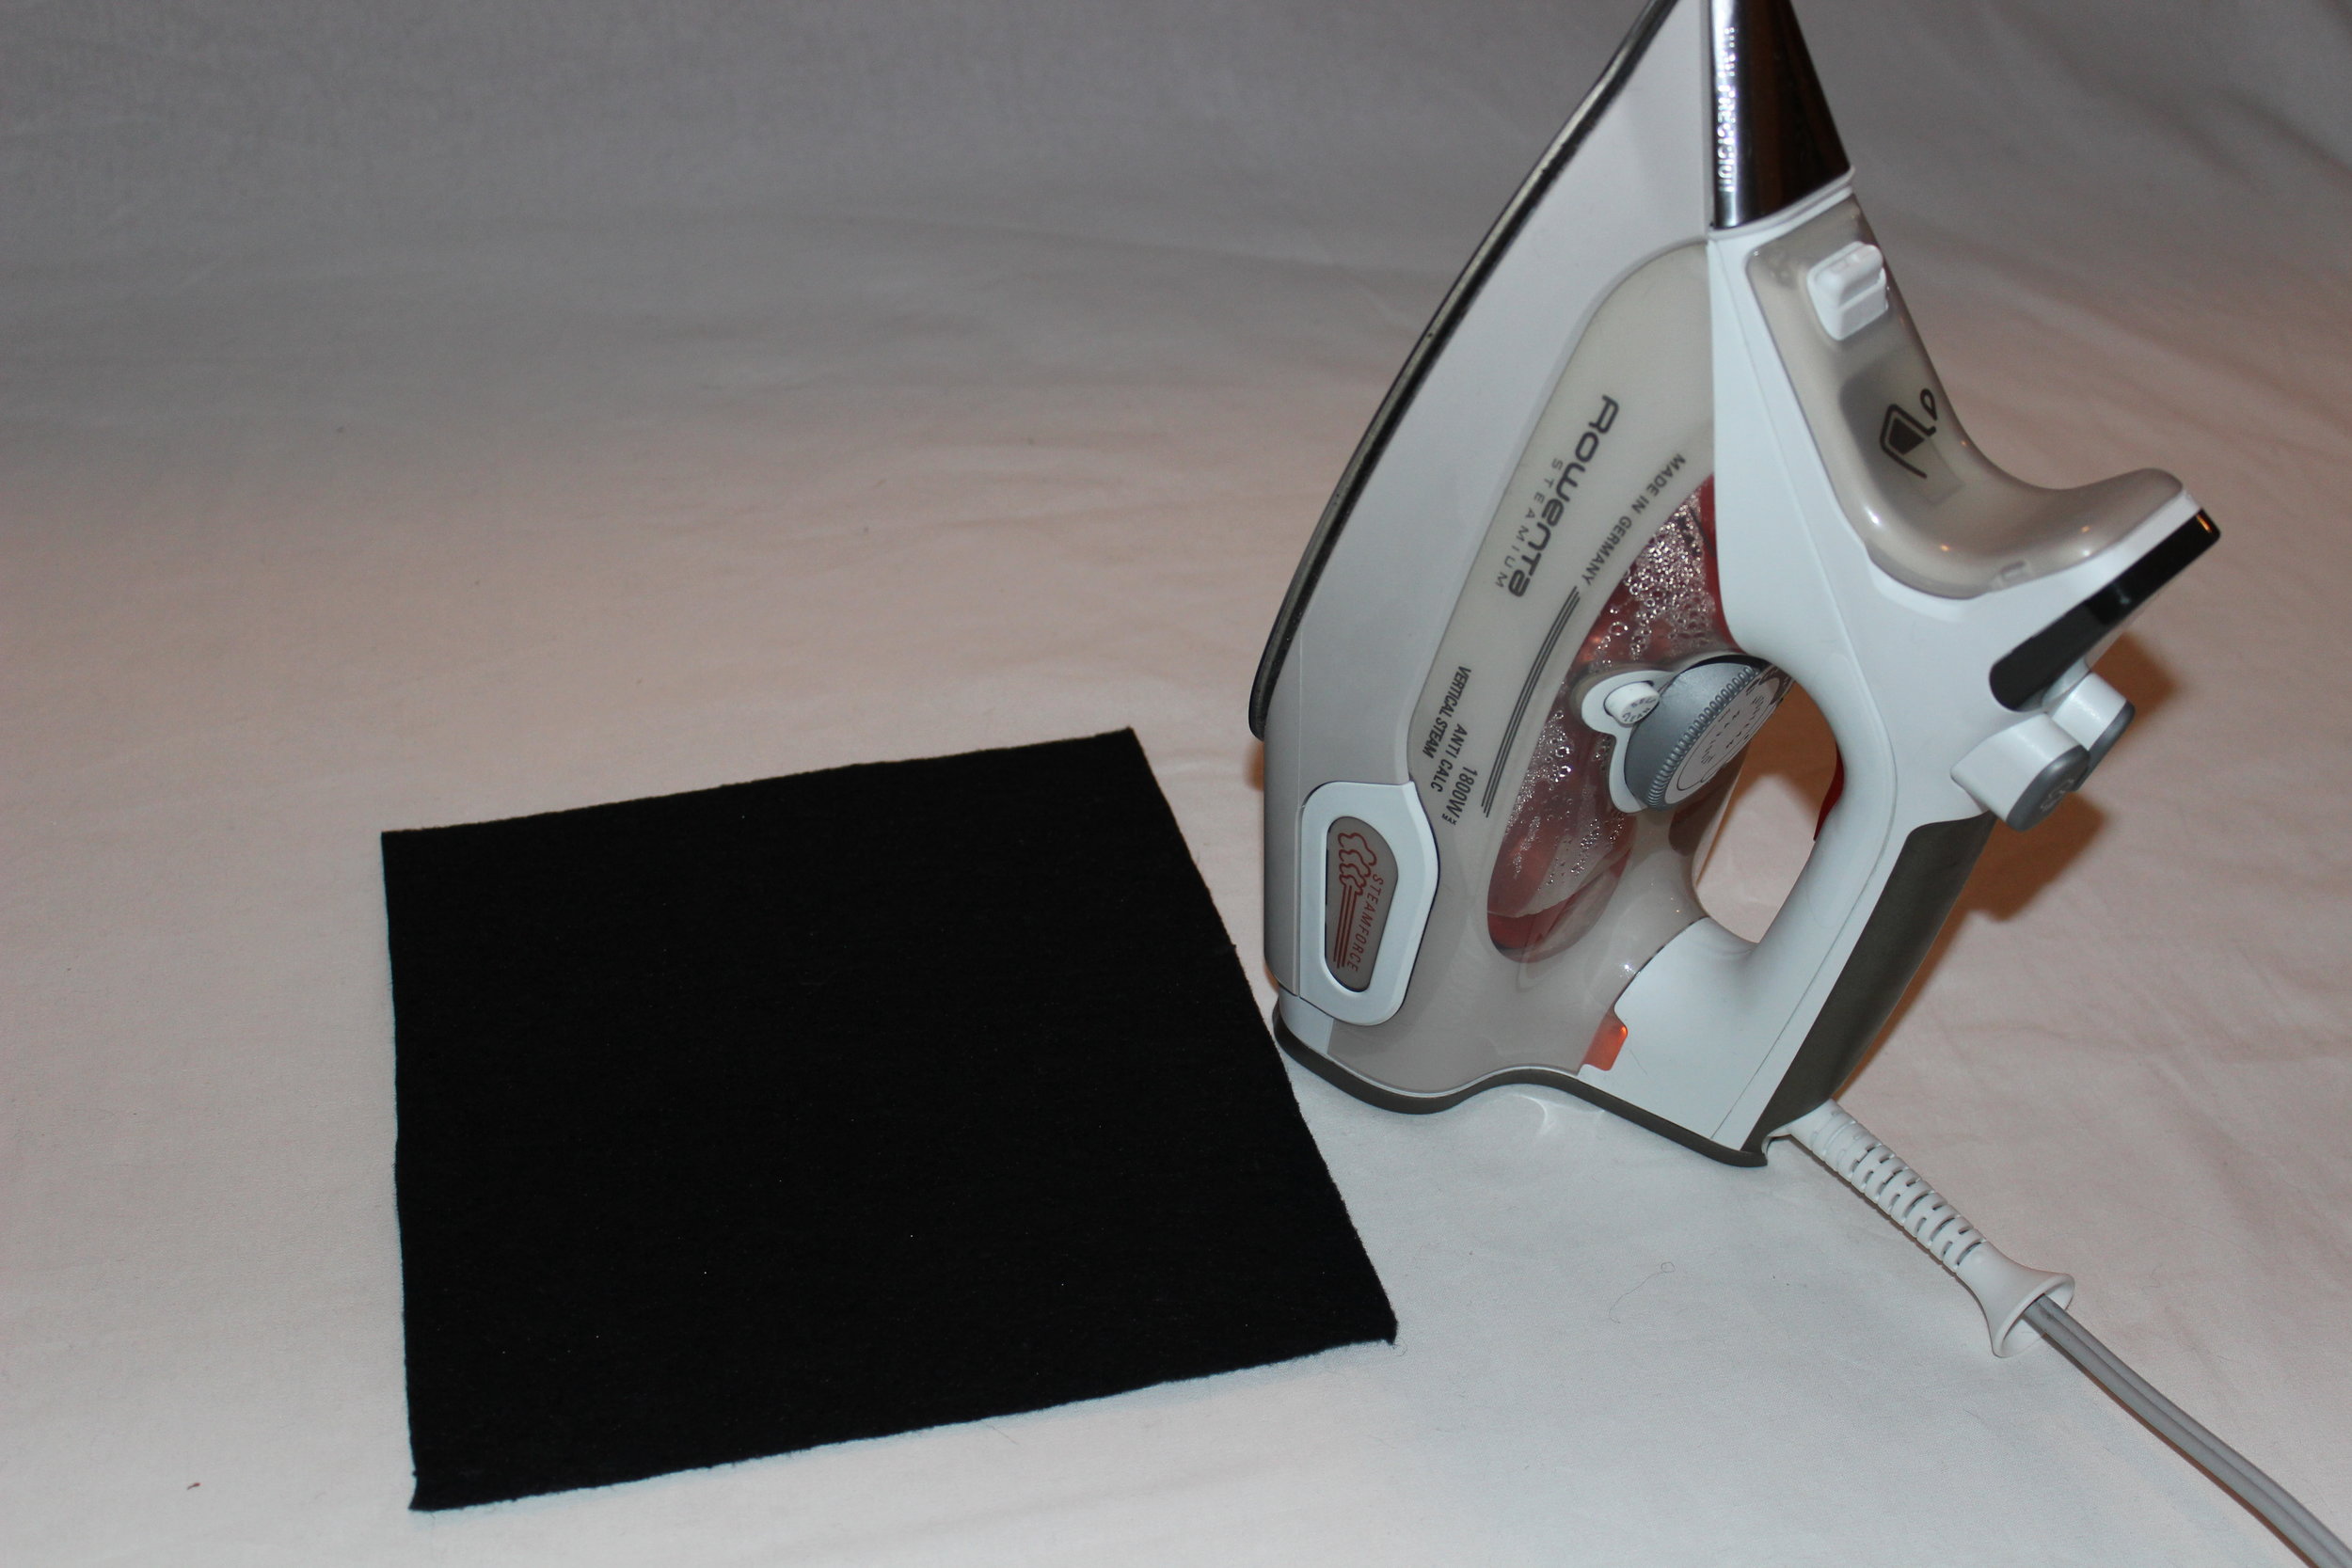
Press at least the front side that needs to be embroidered.
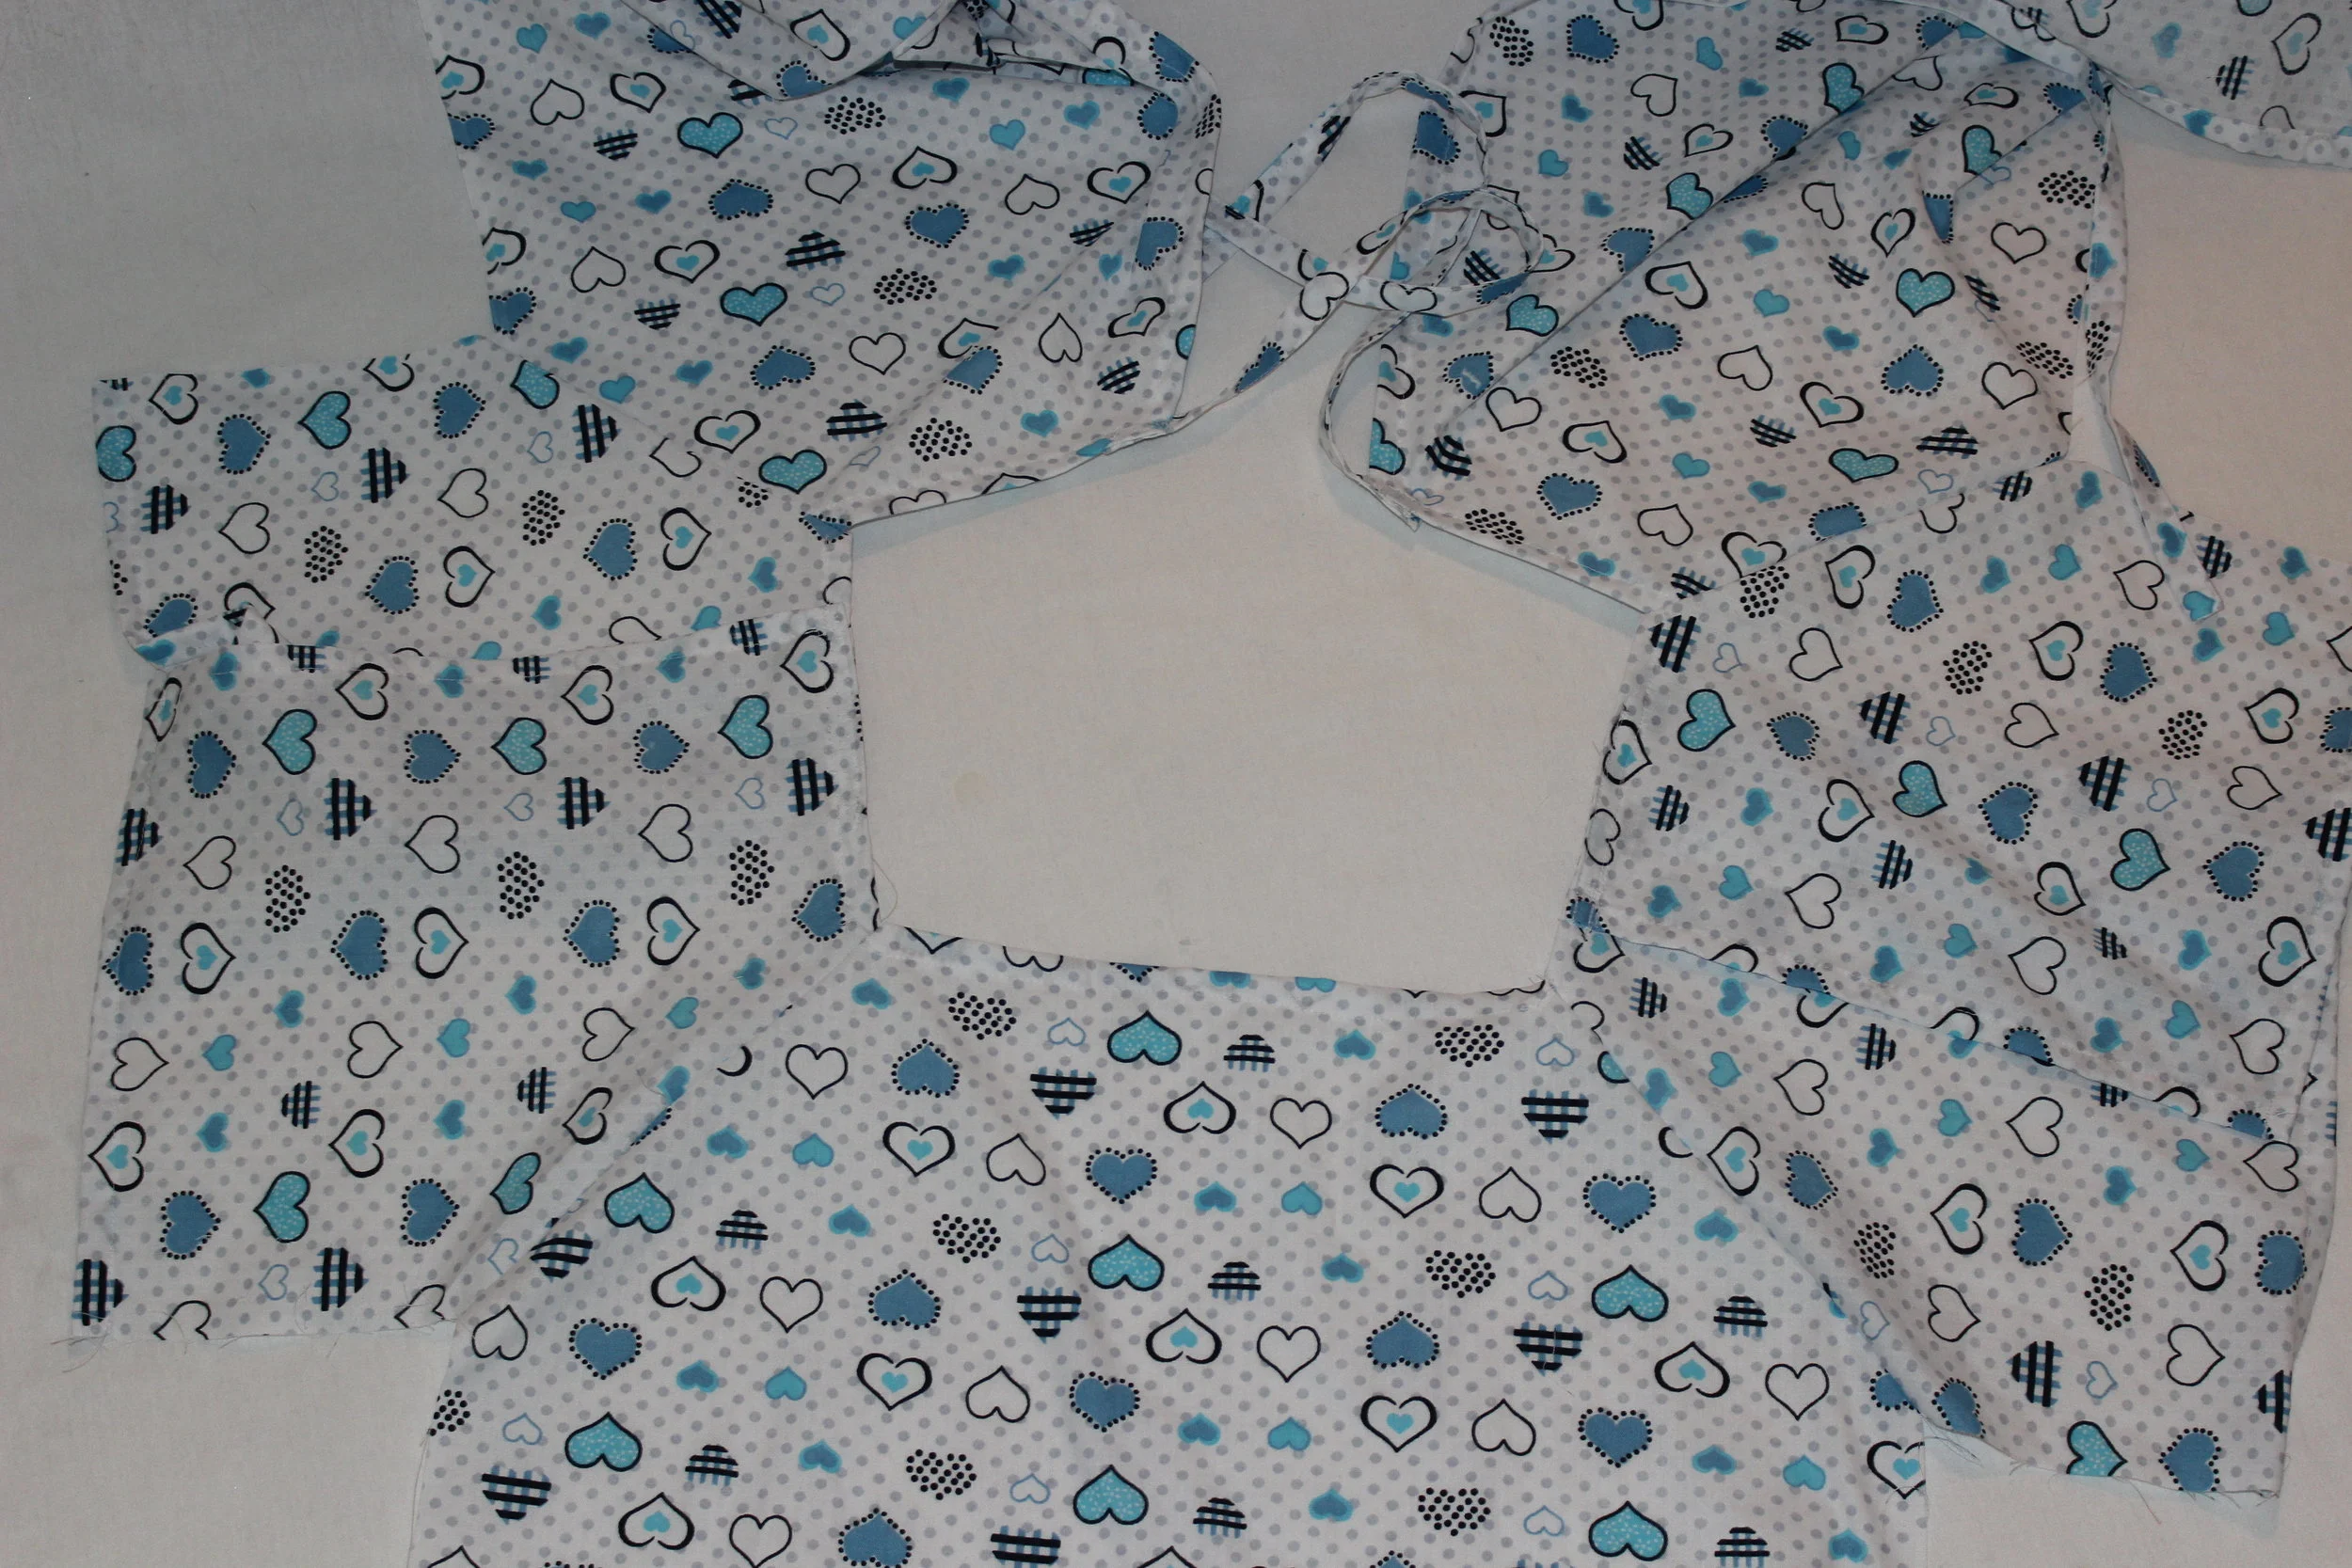
STEP 4
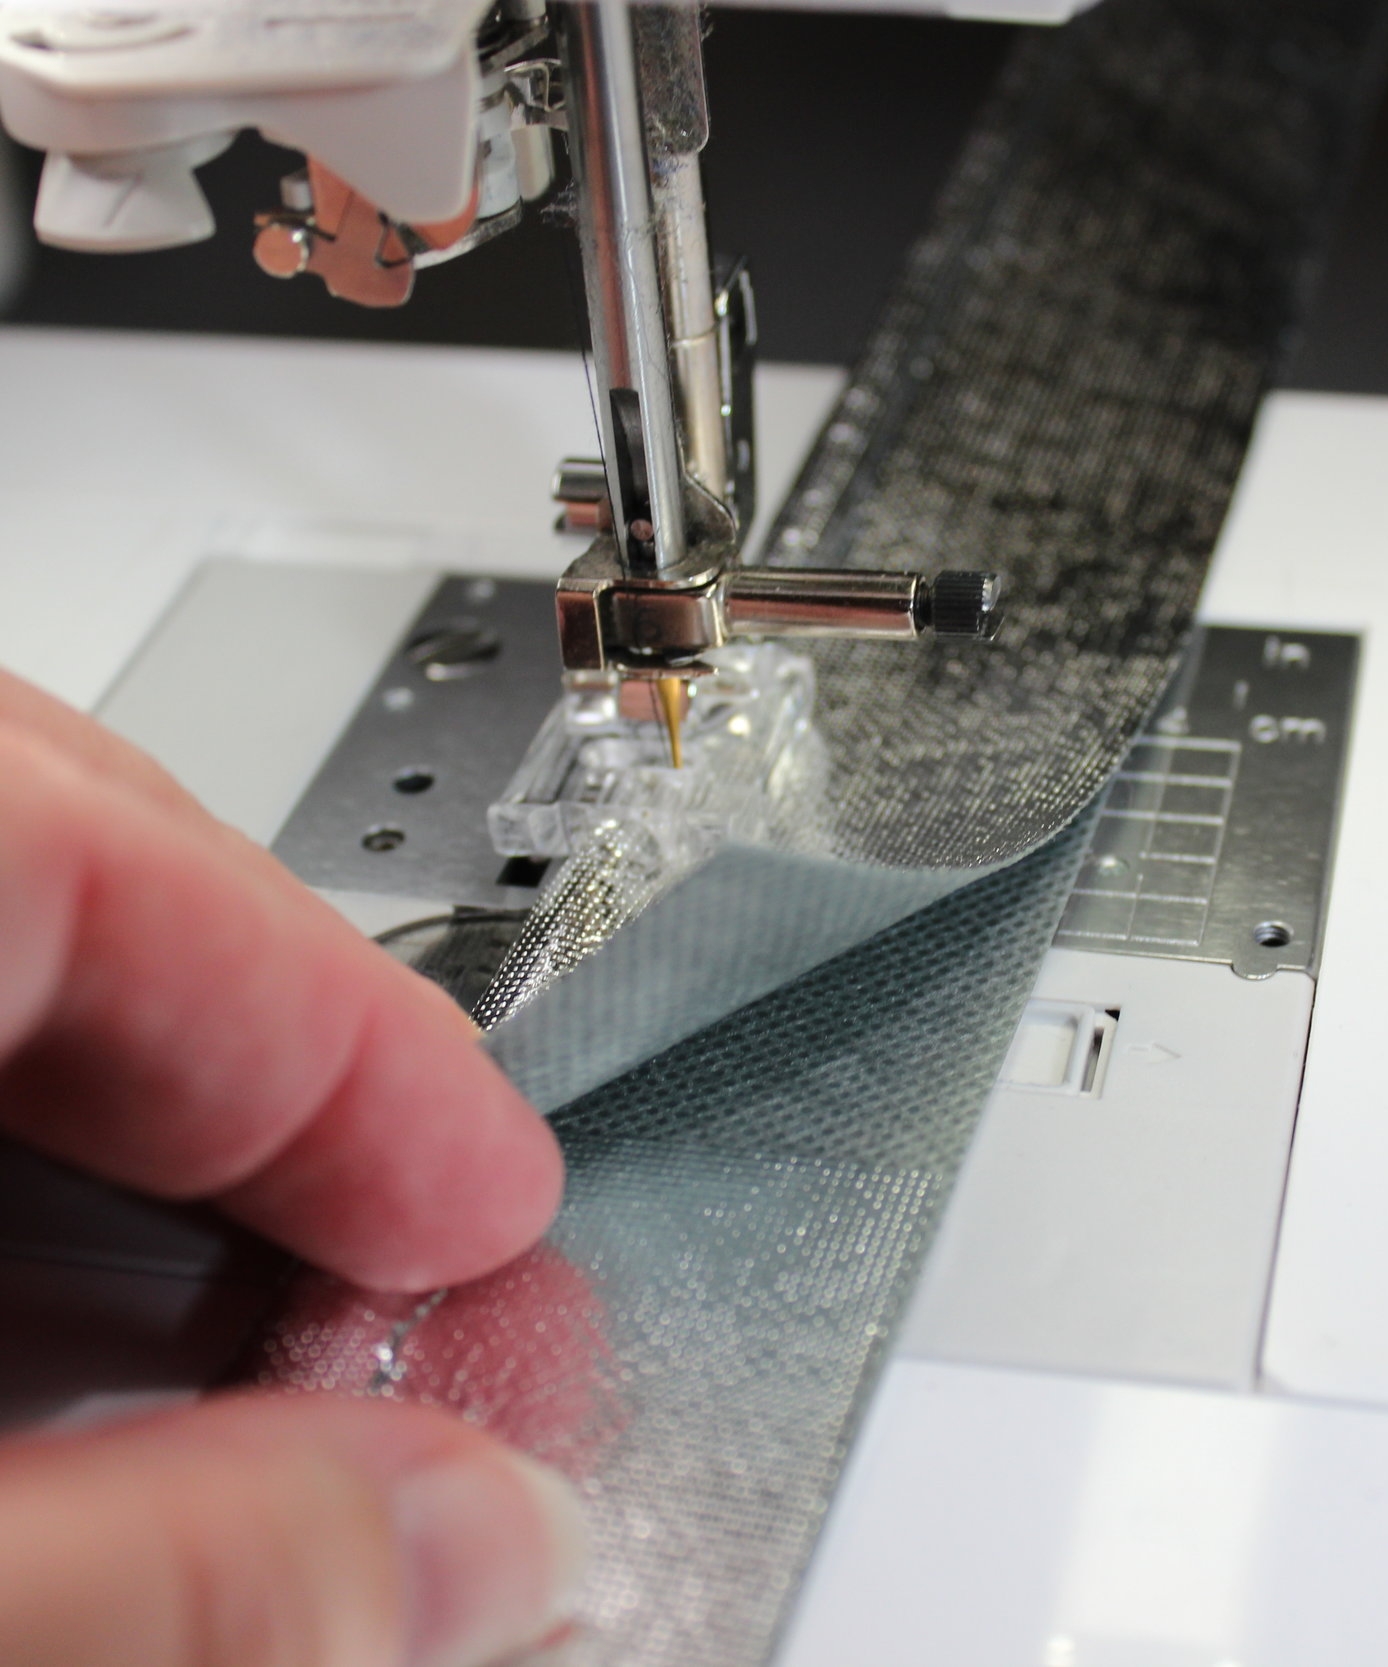
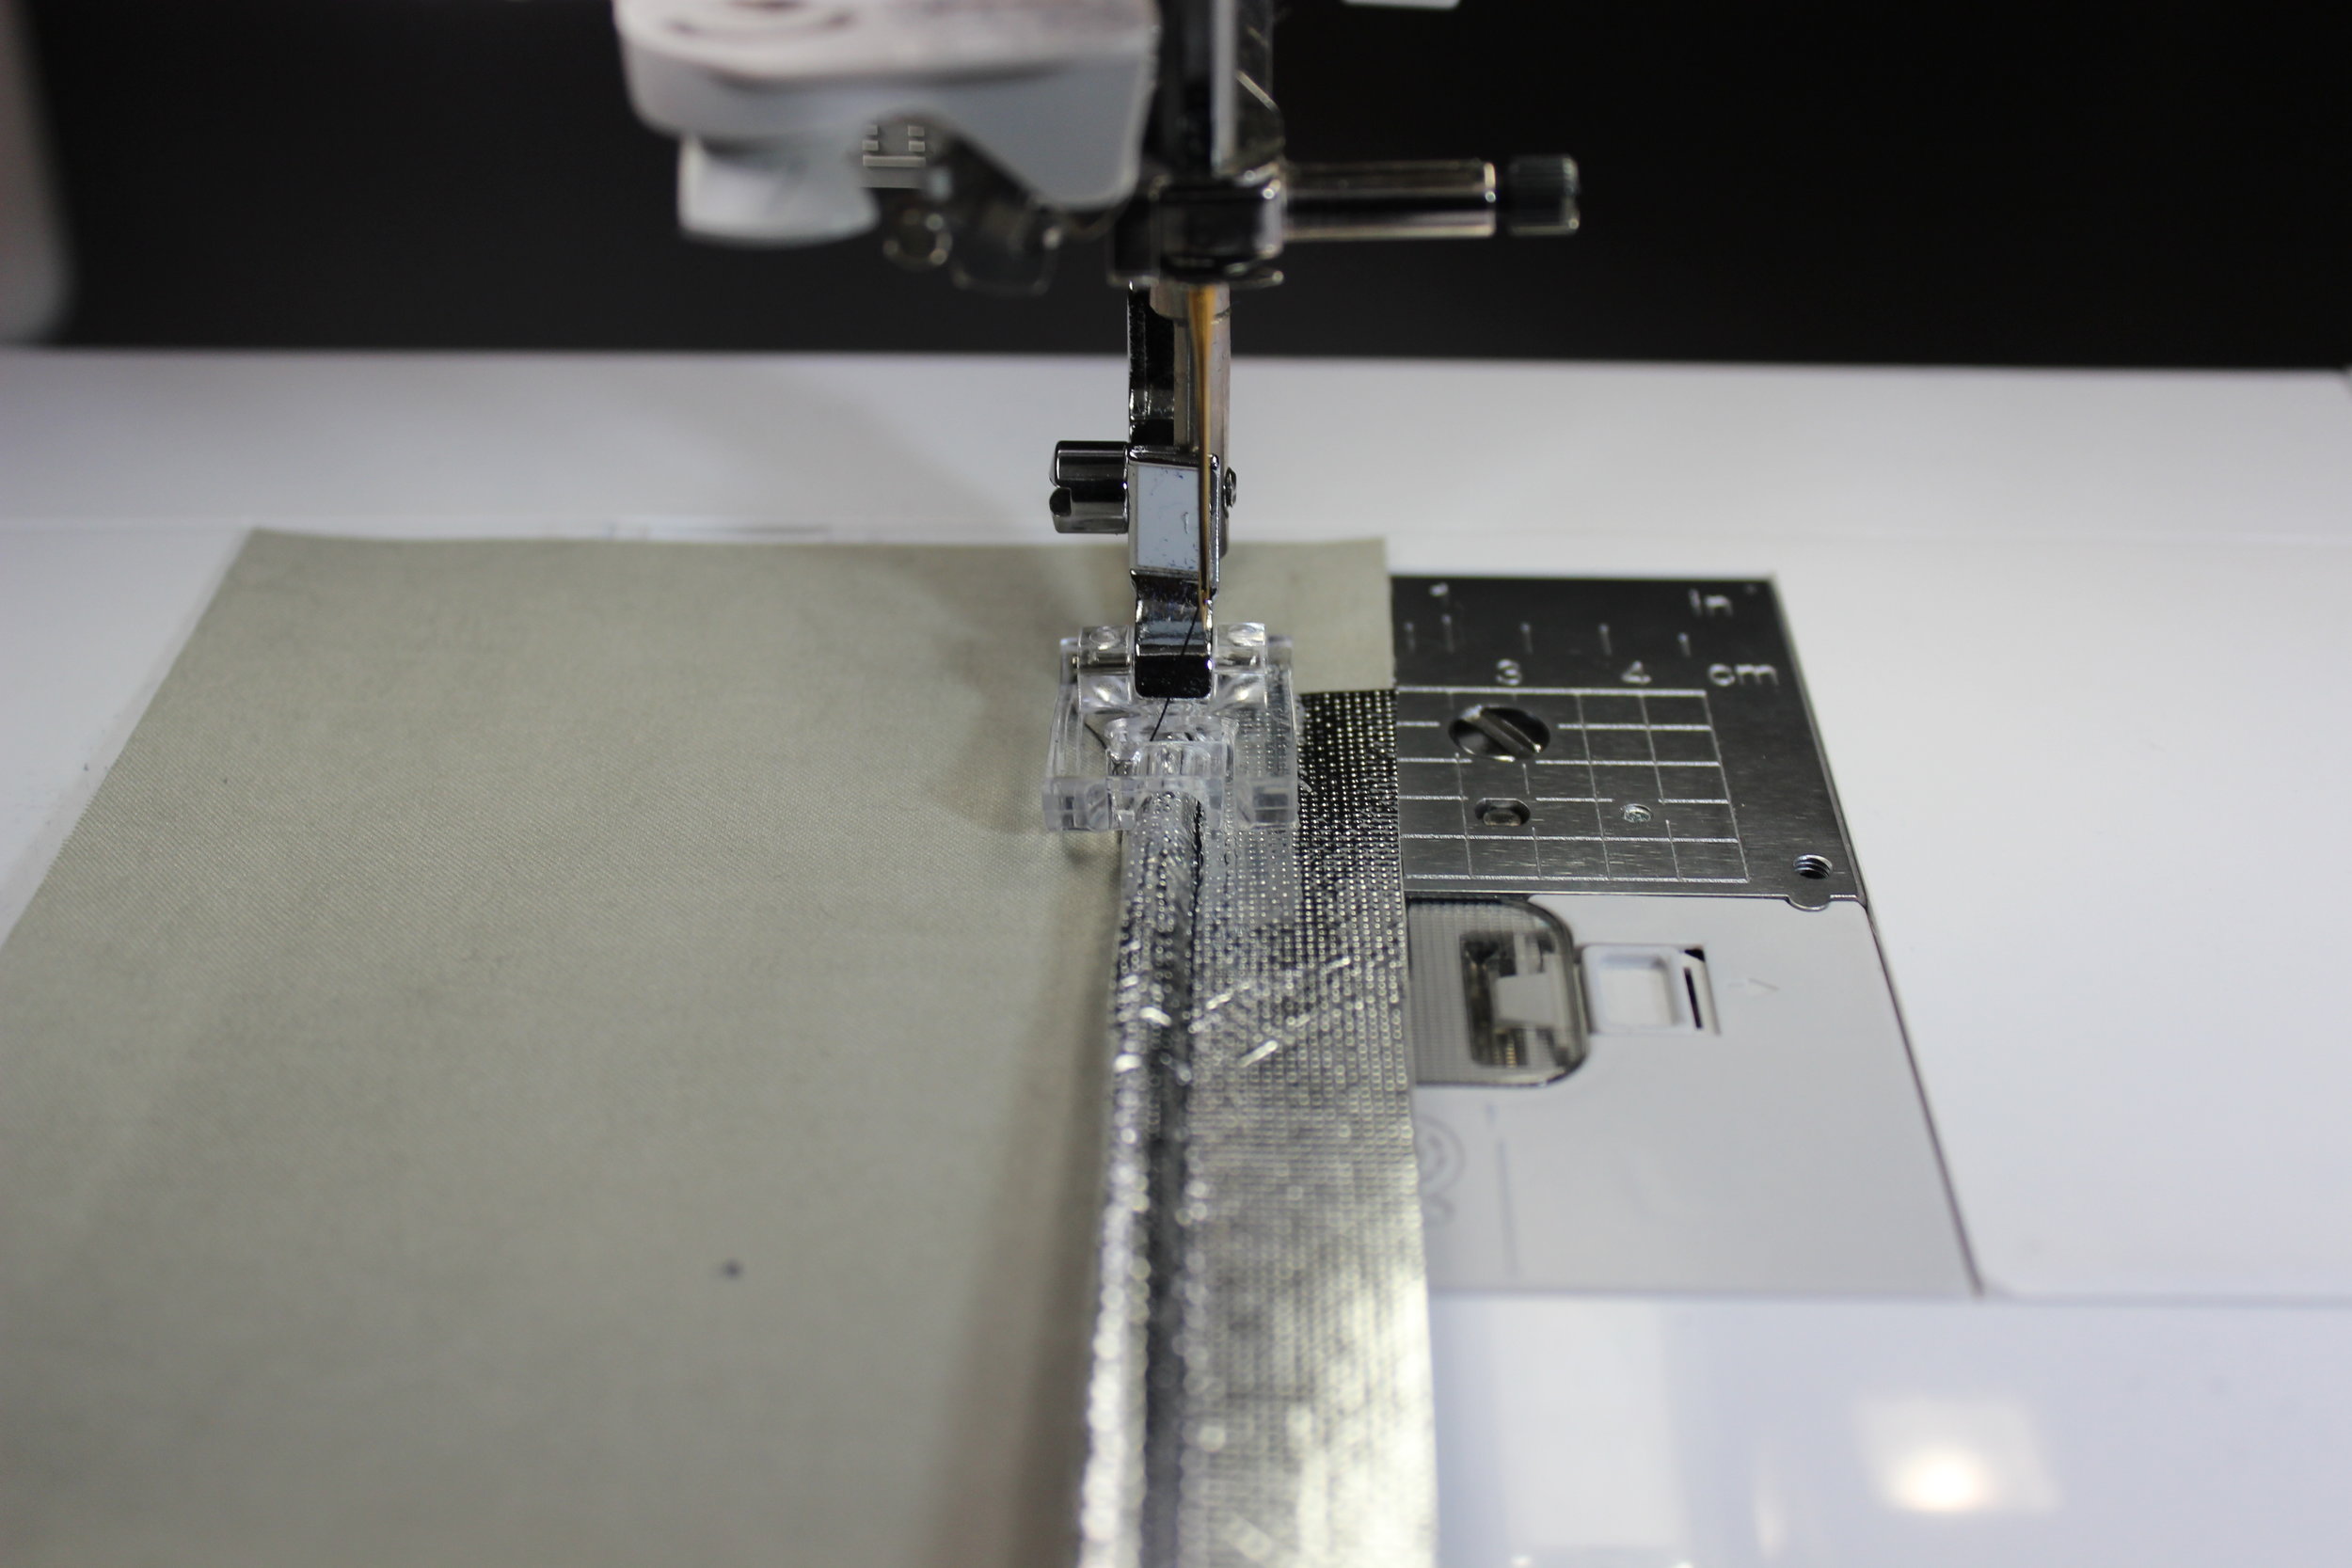
If desired, machine embroider the designs on both ends of the front sash centering them as desired.

Complete the embroidery process
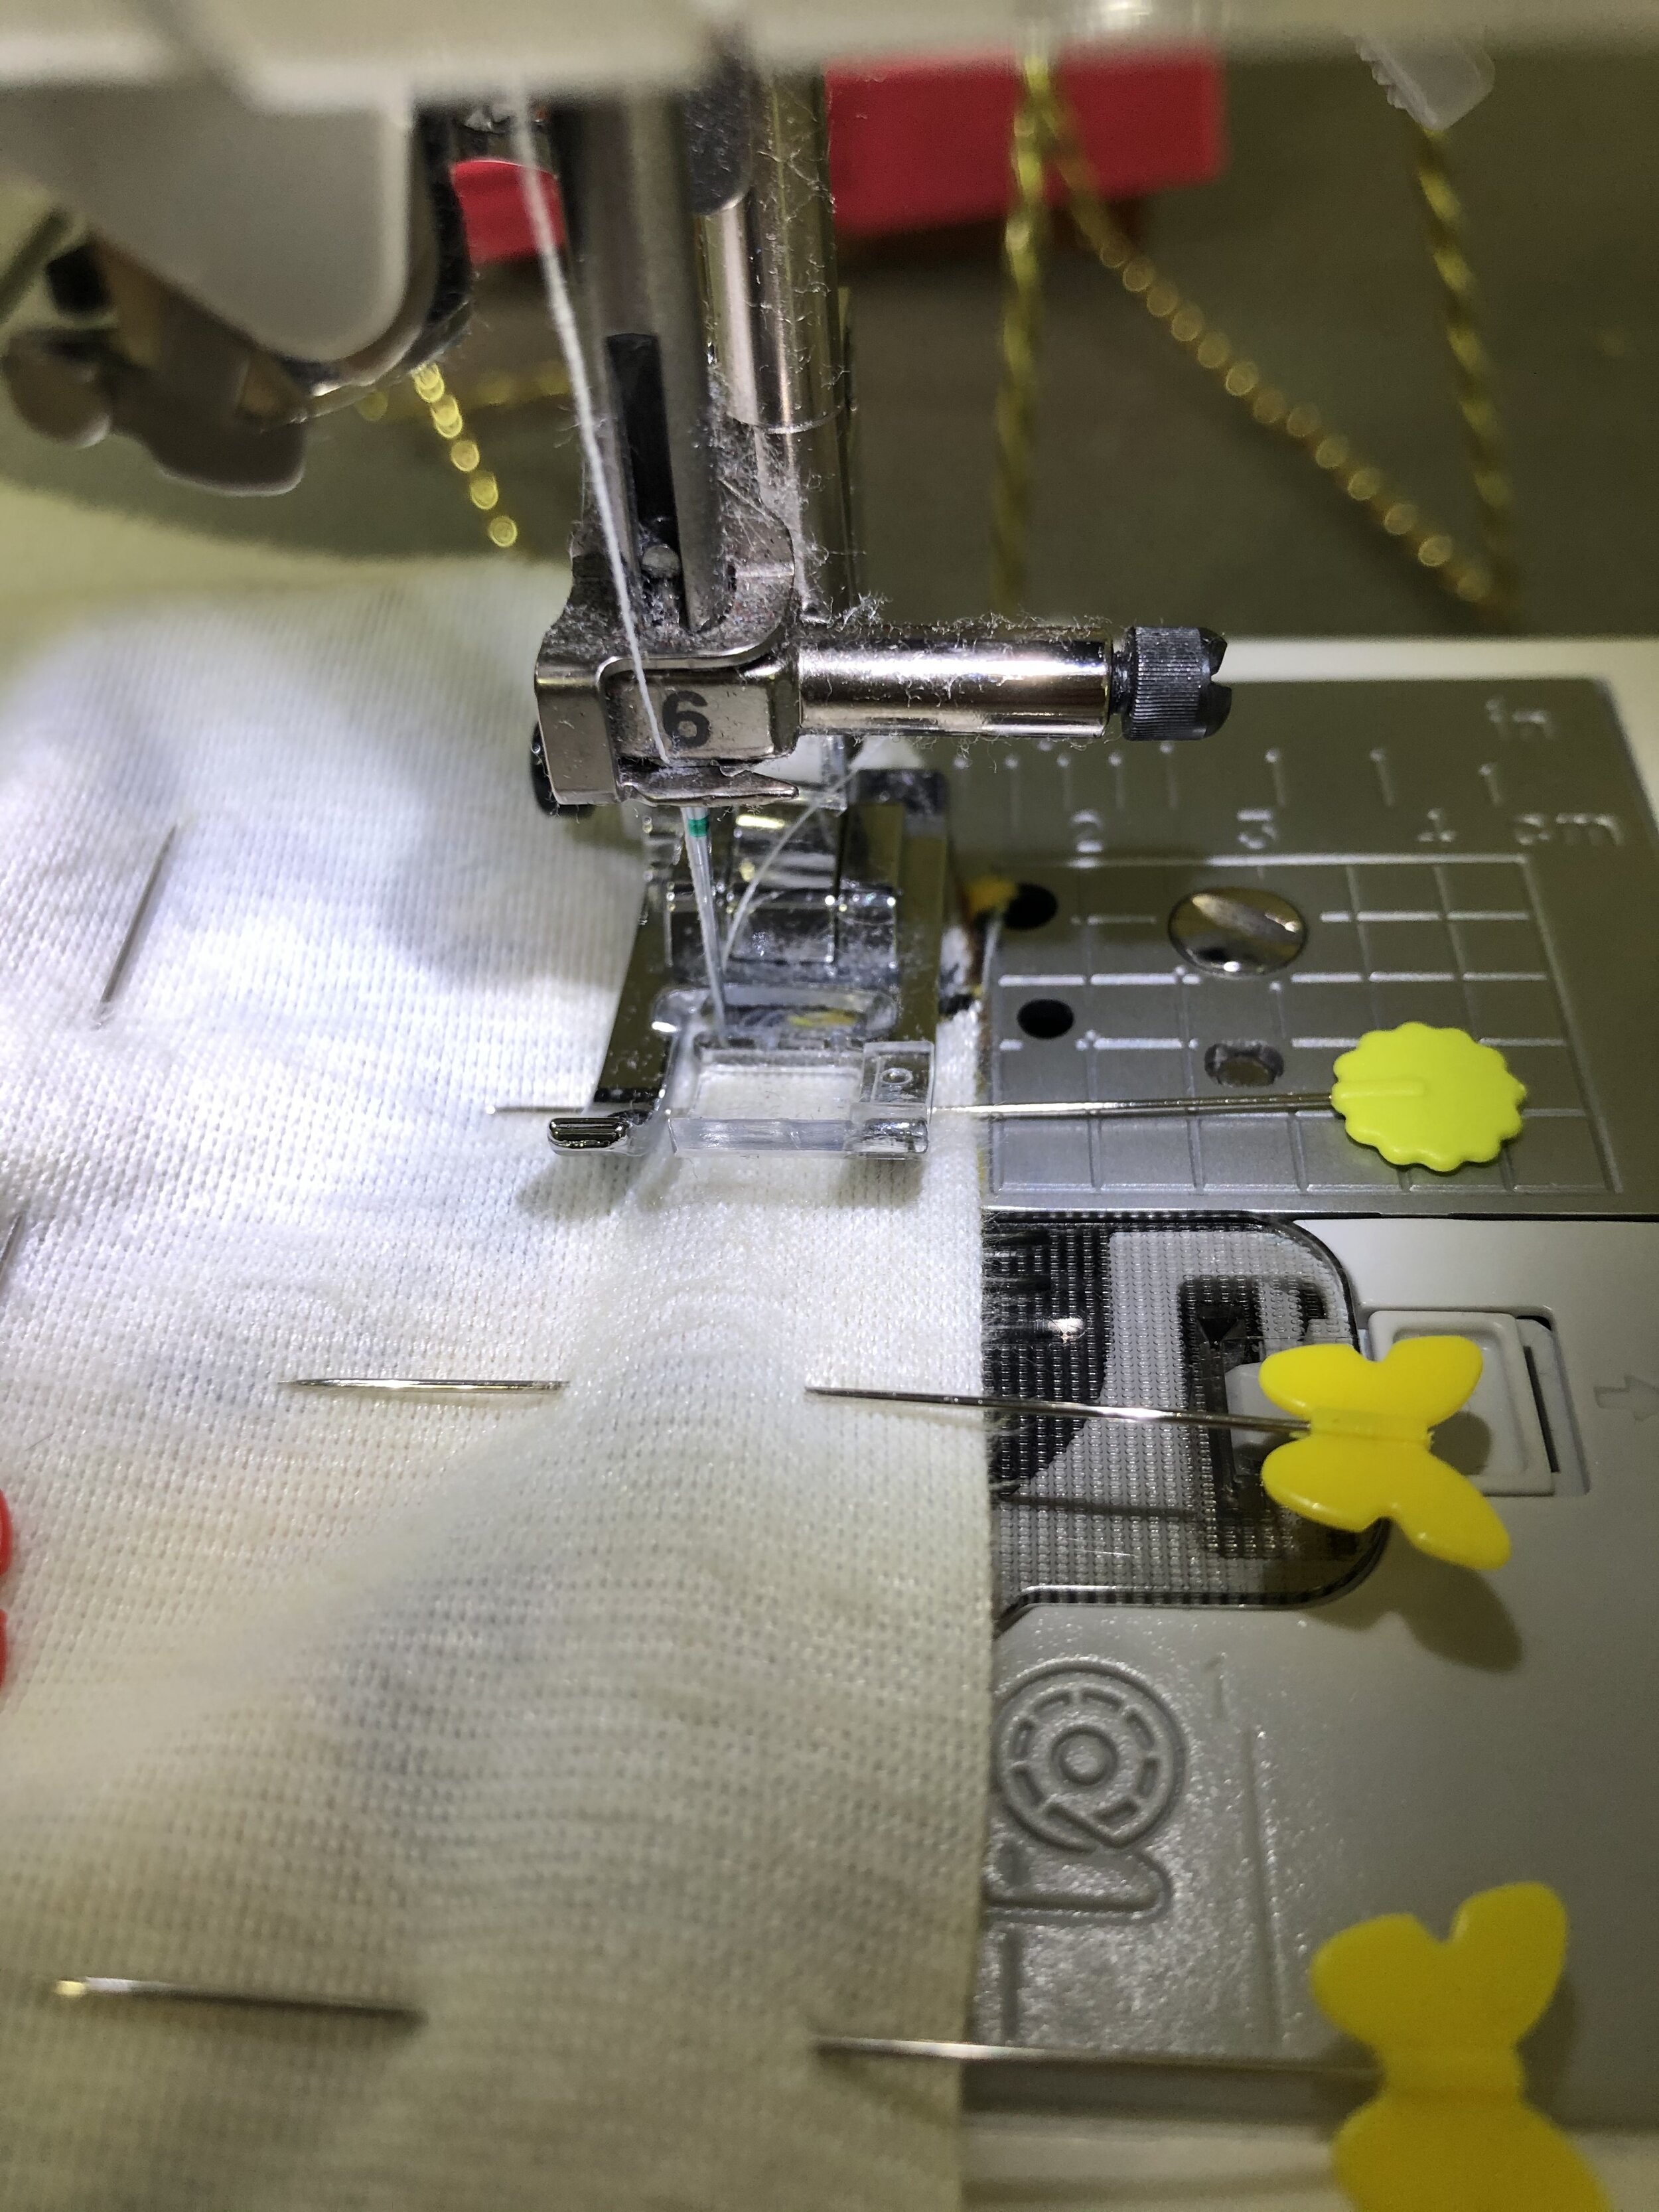
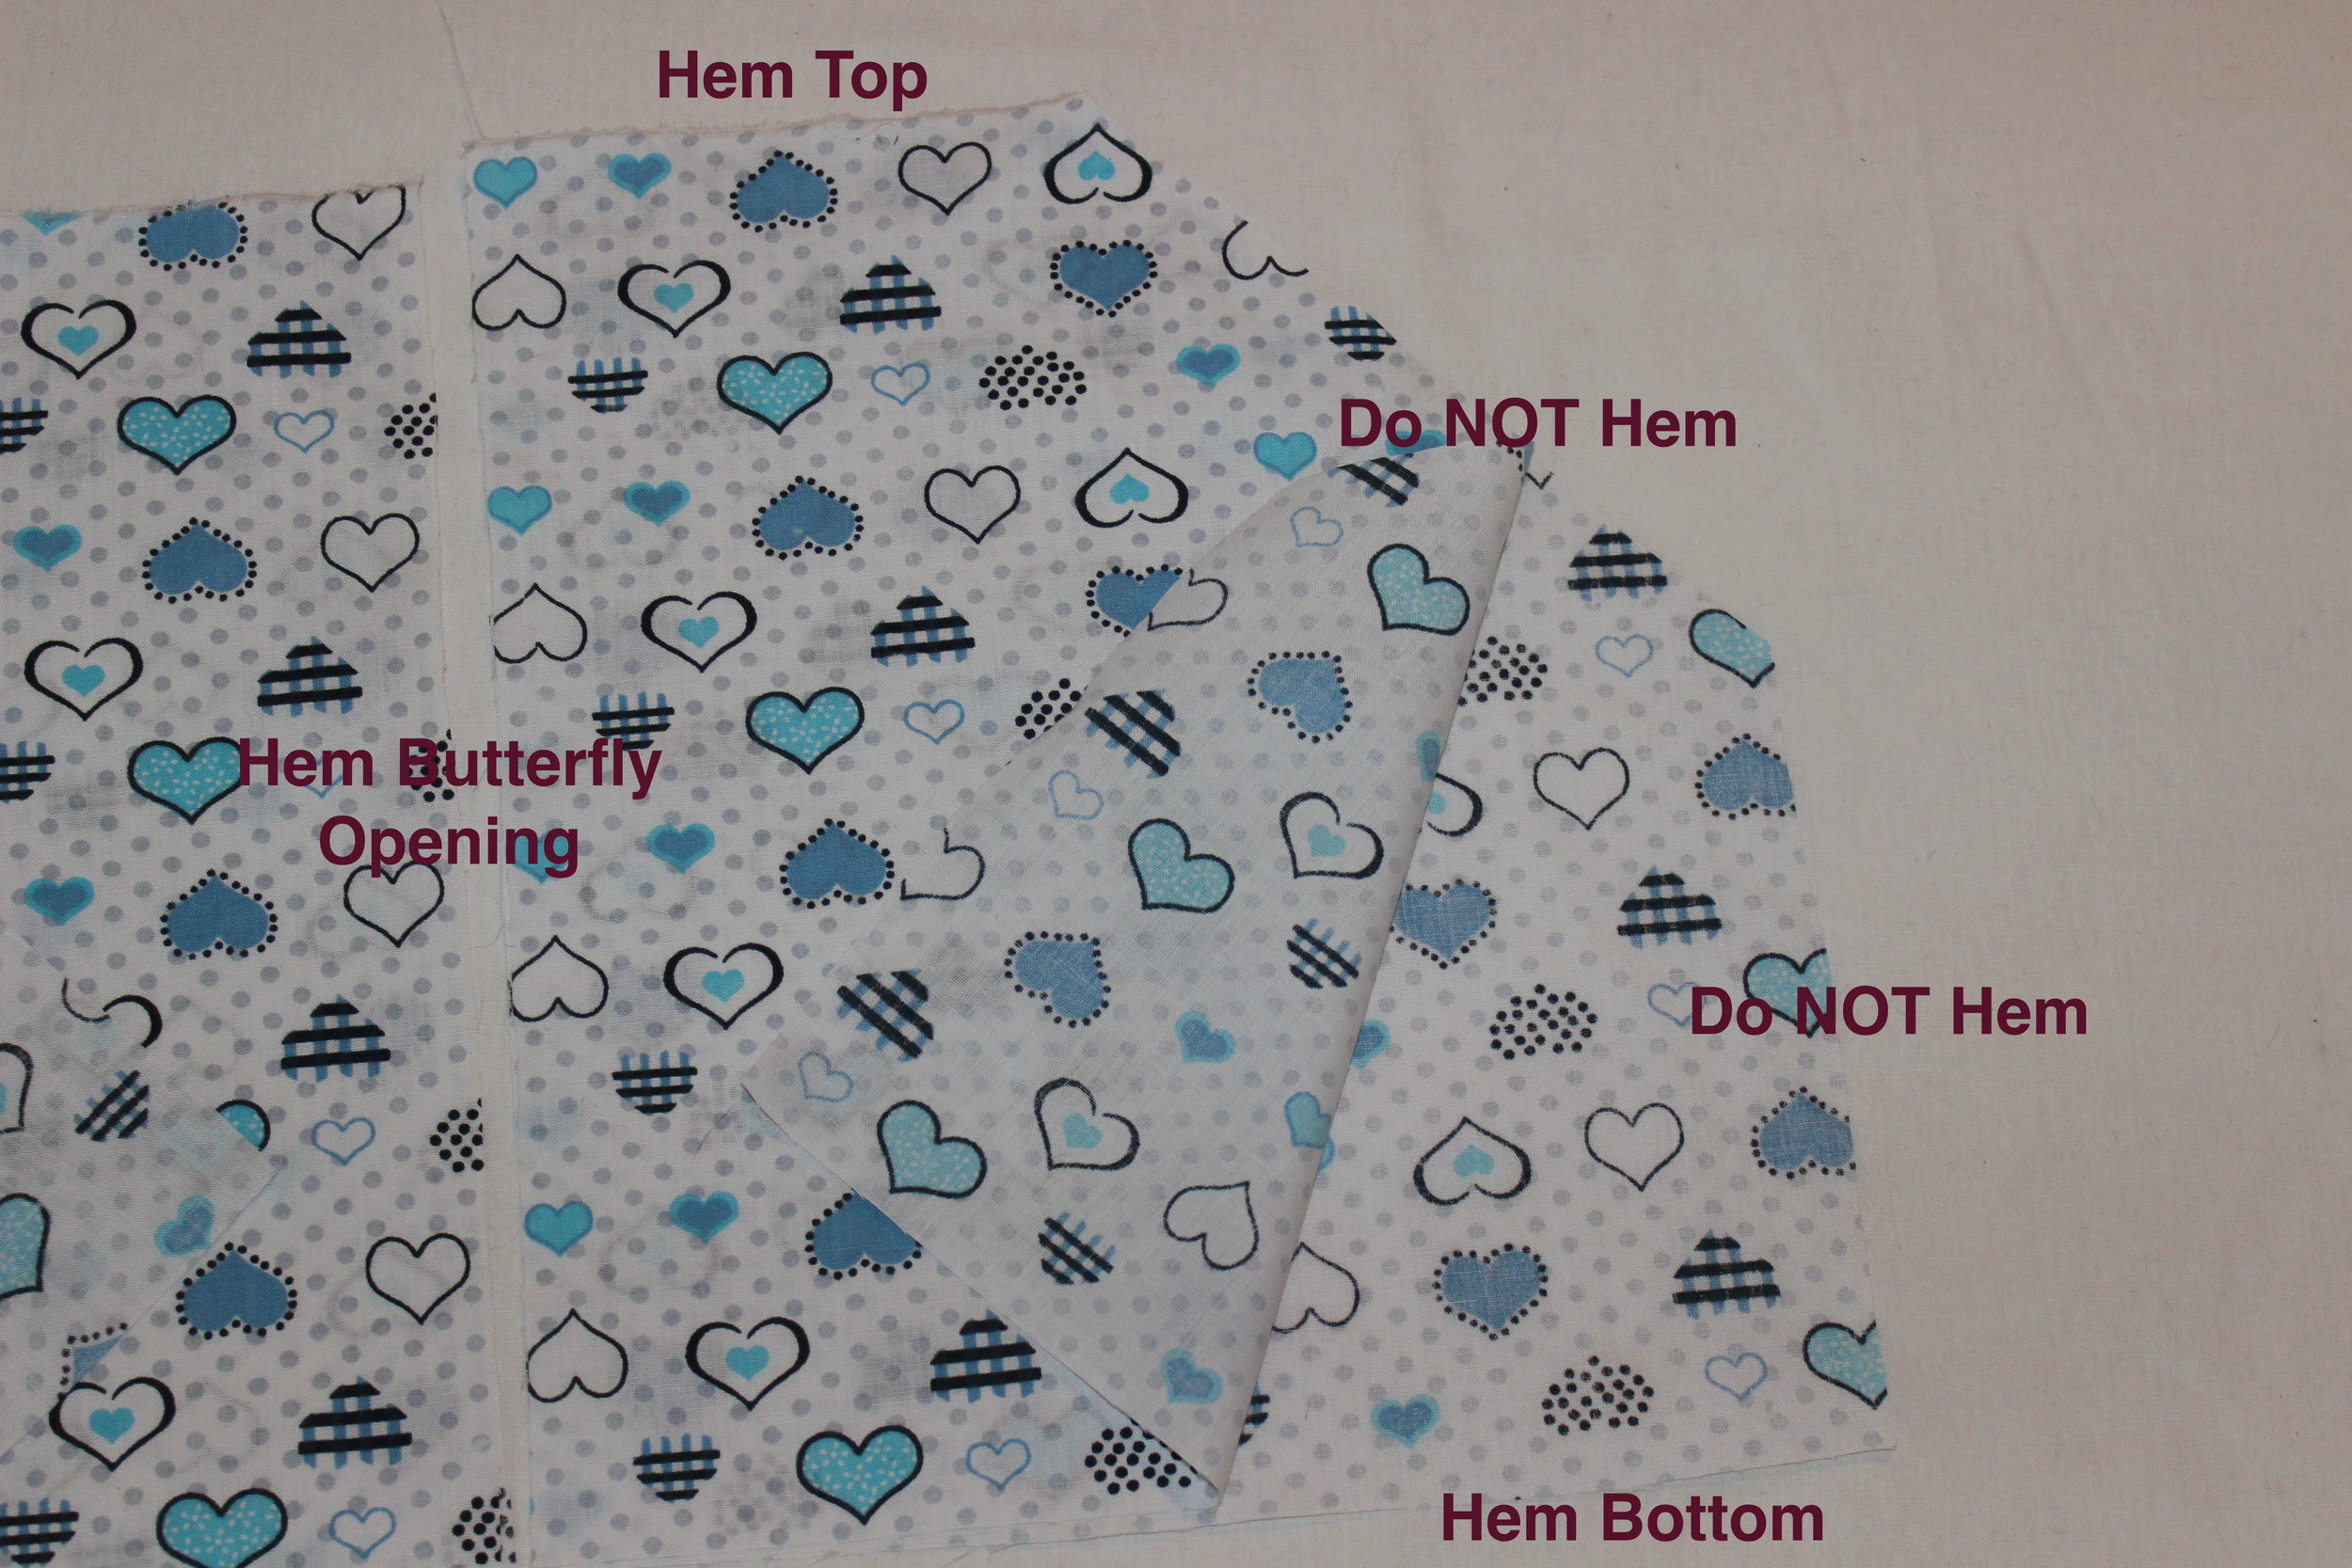
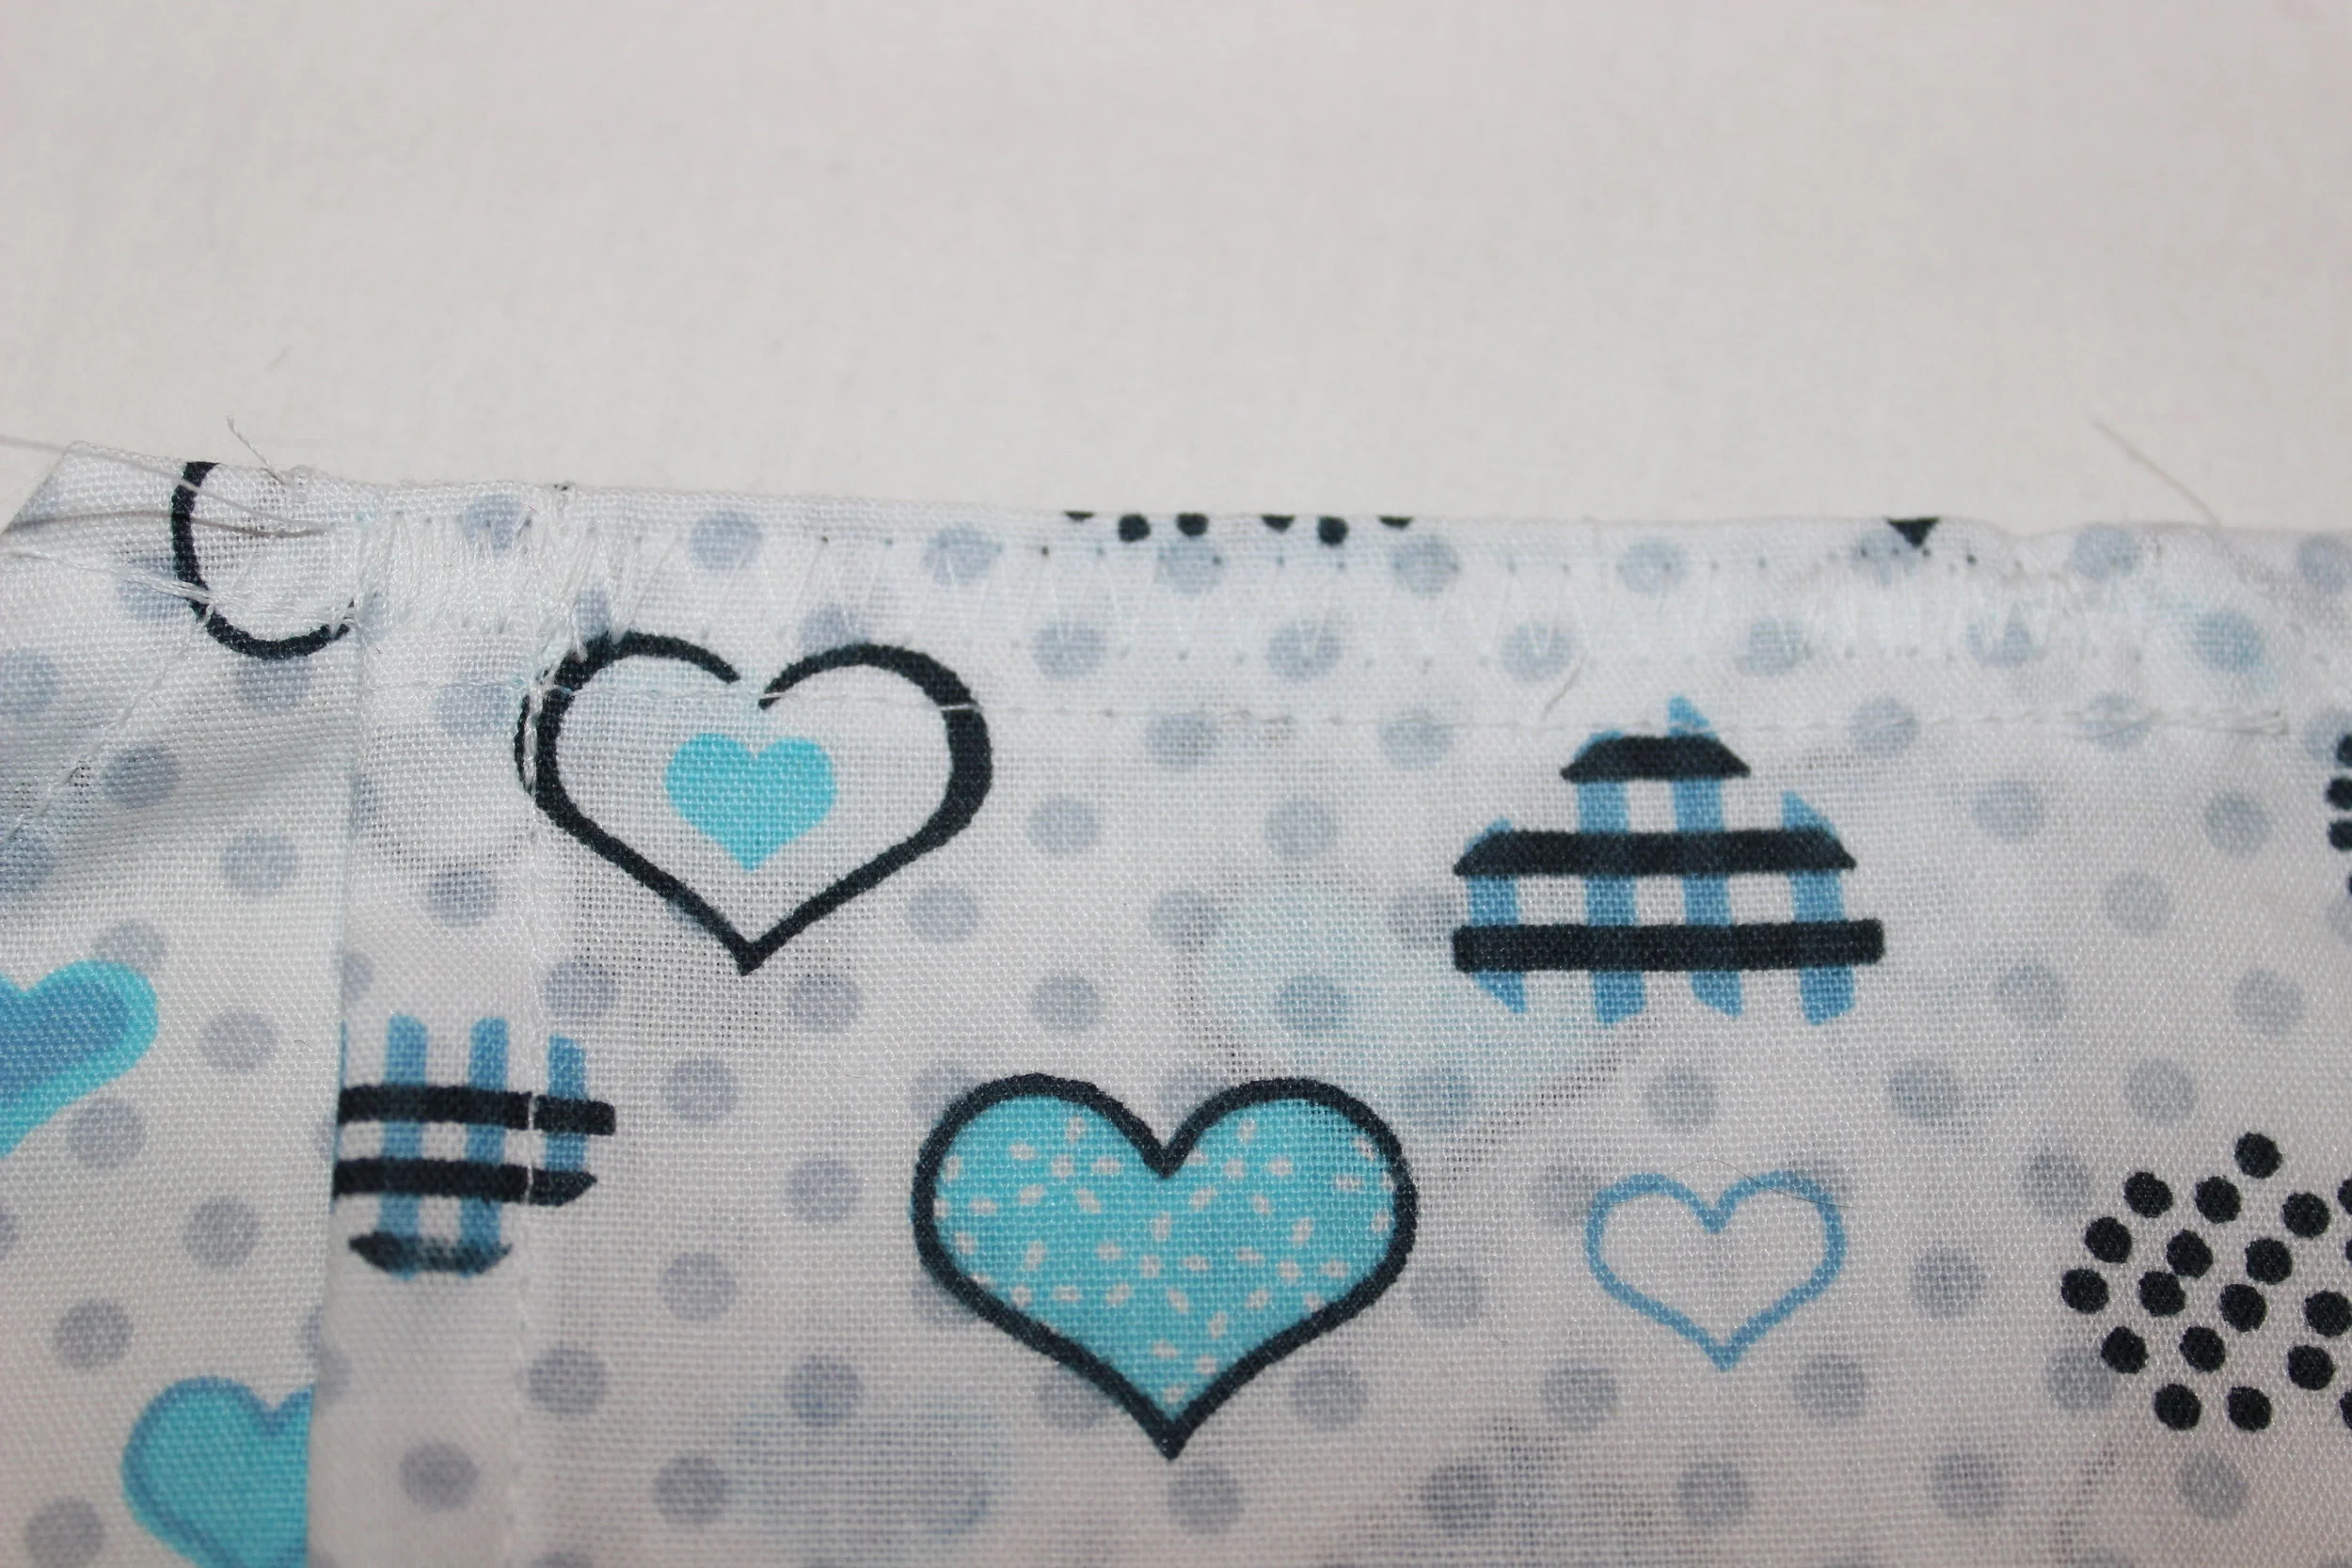
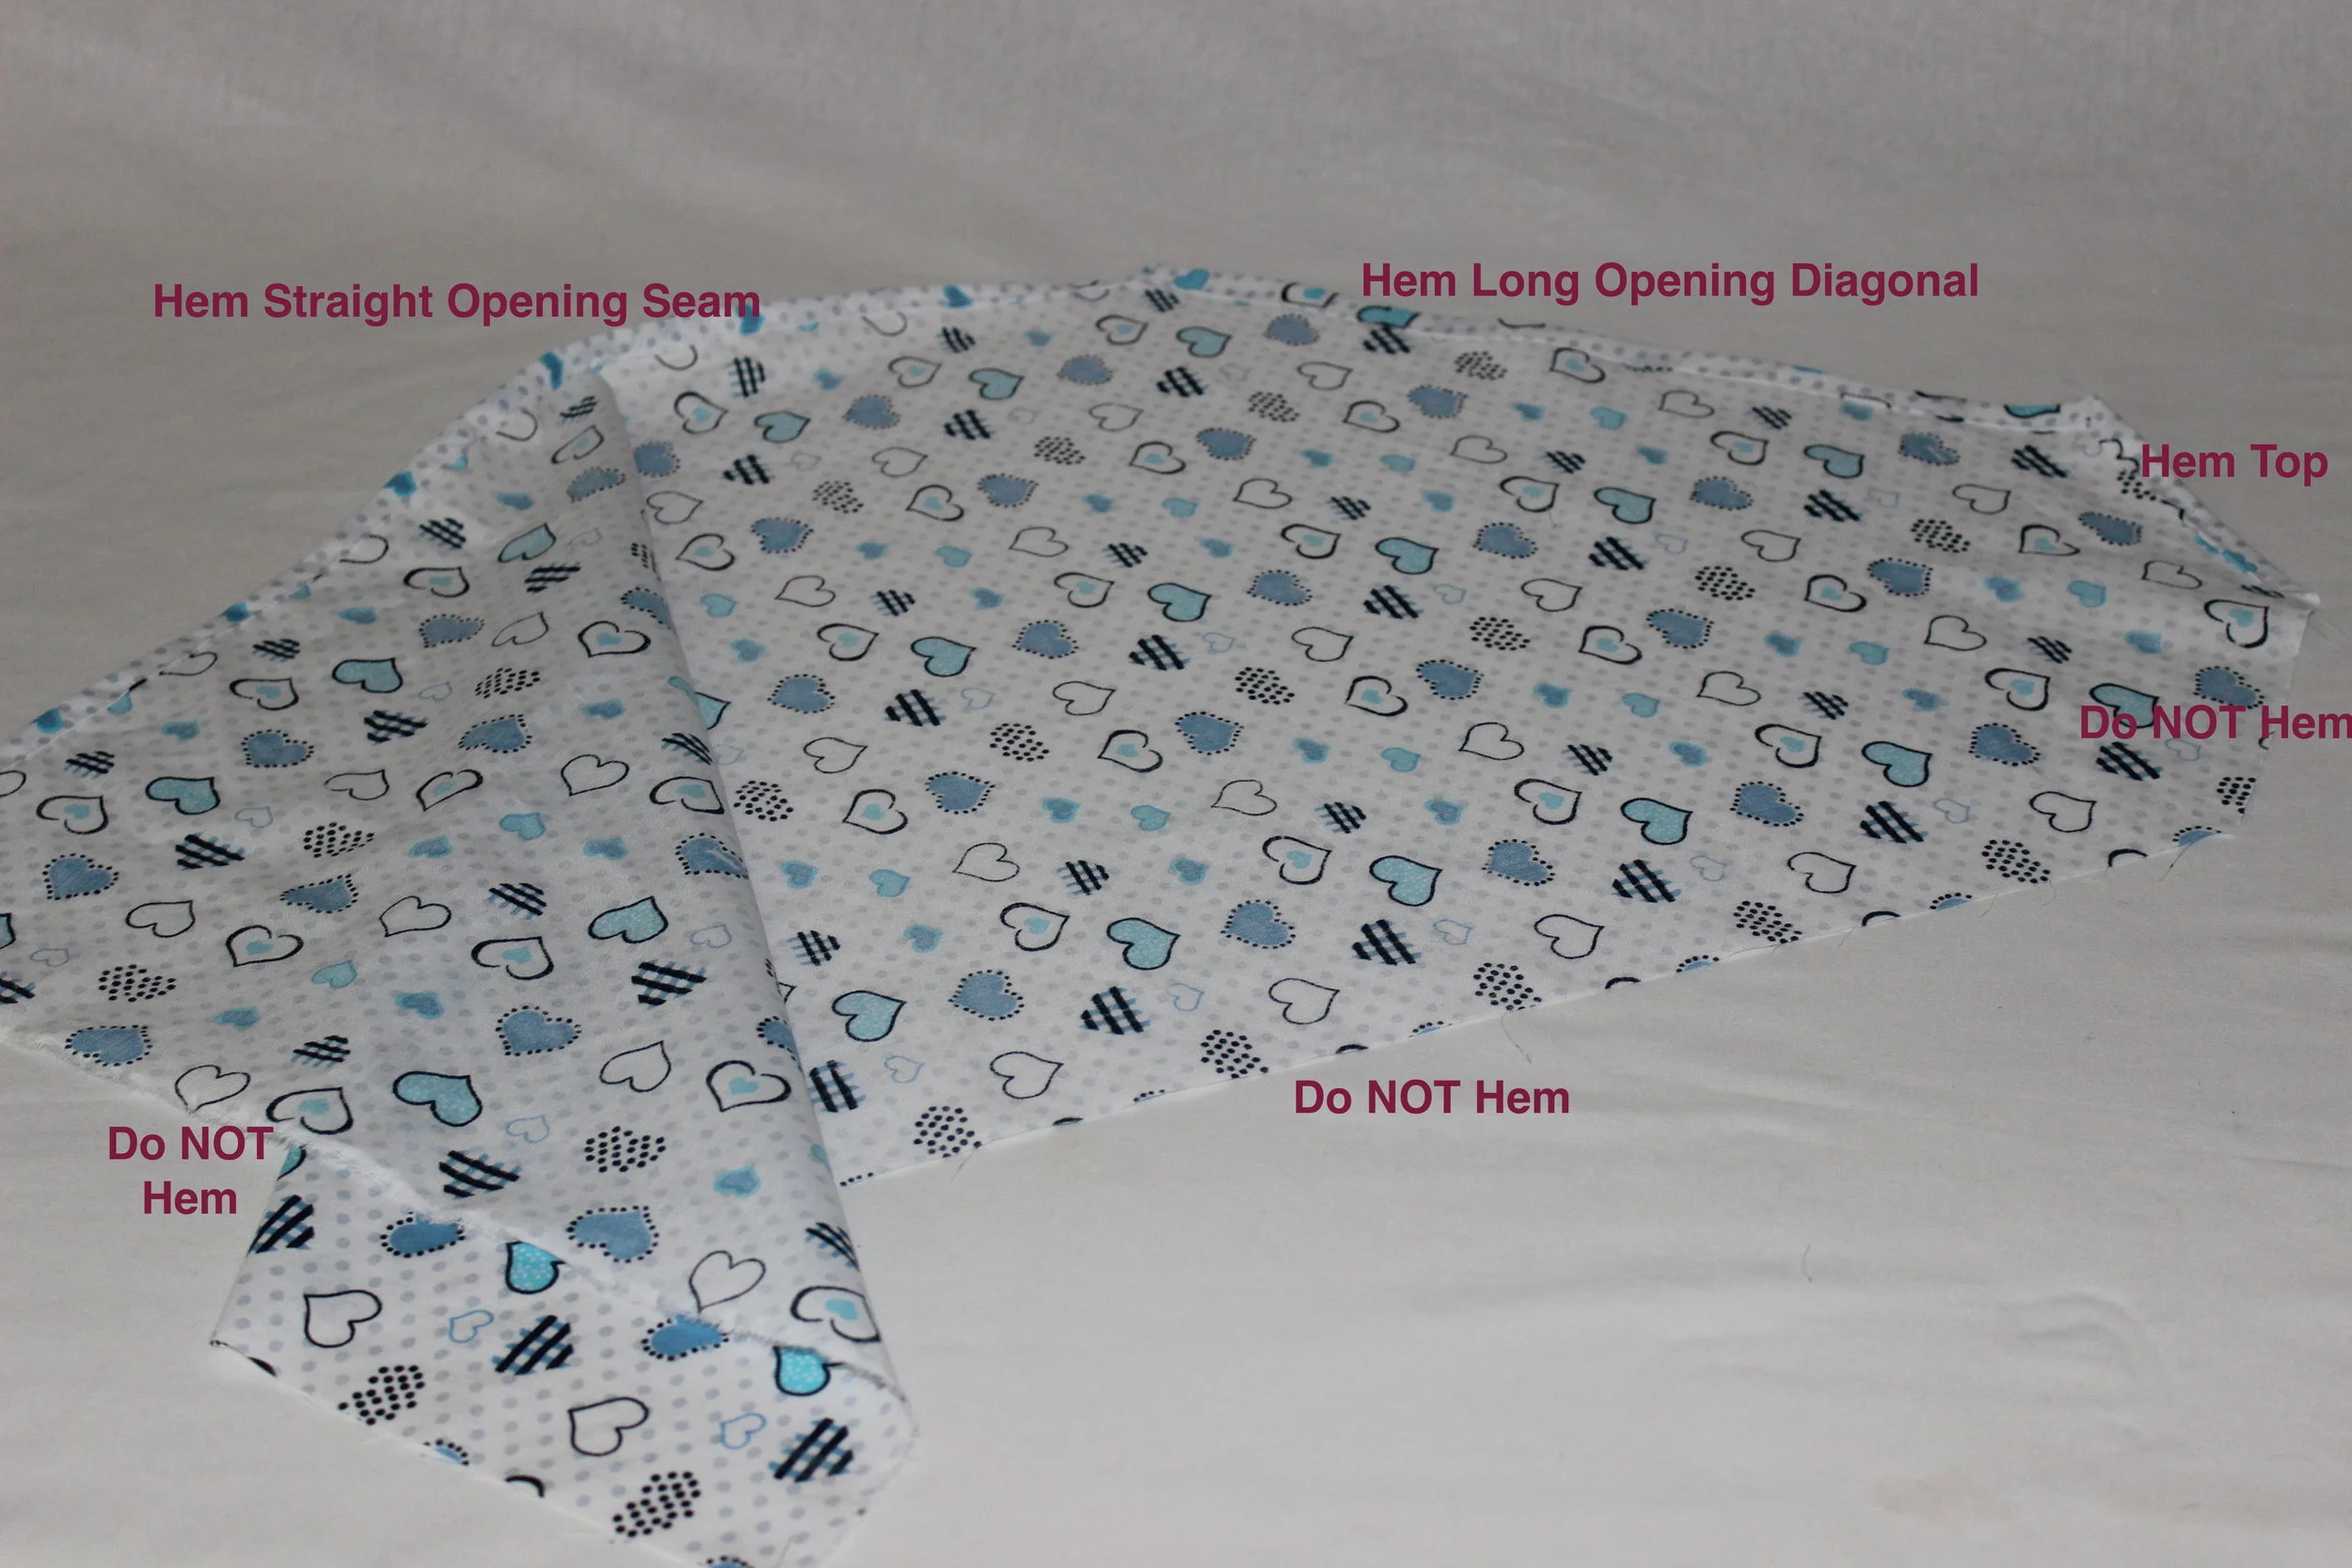
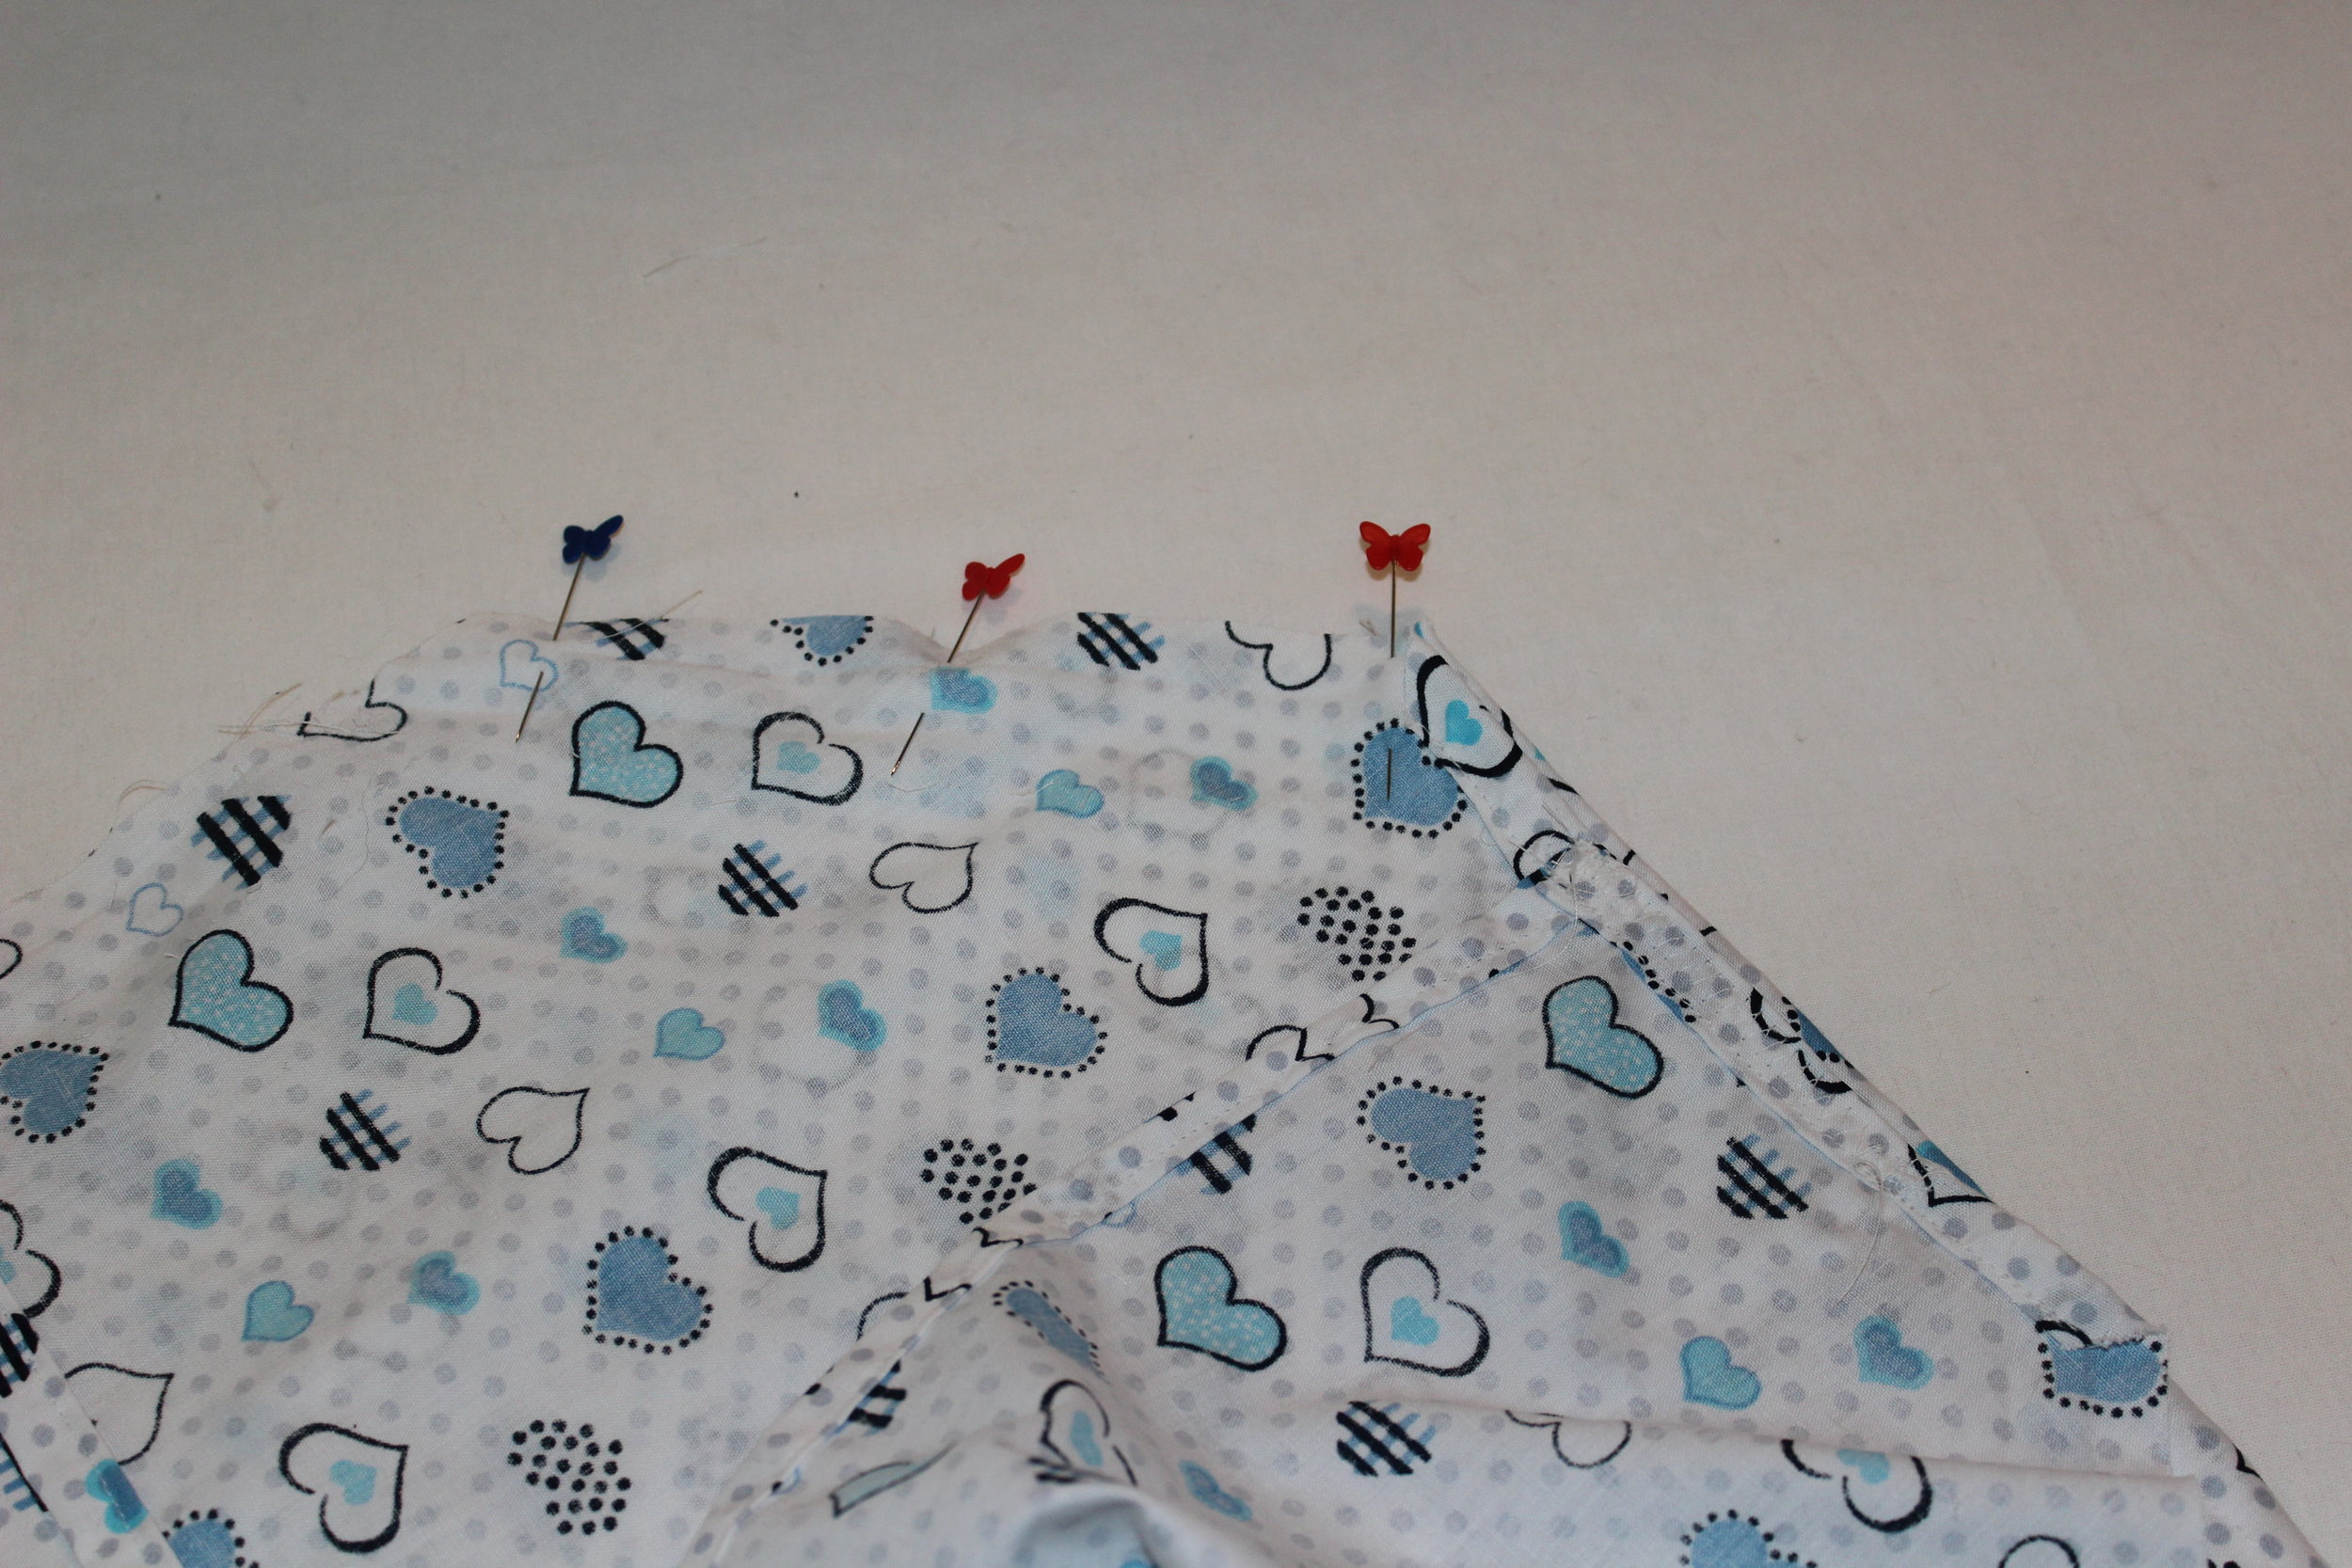
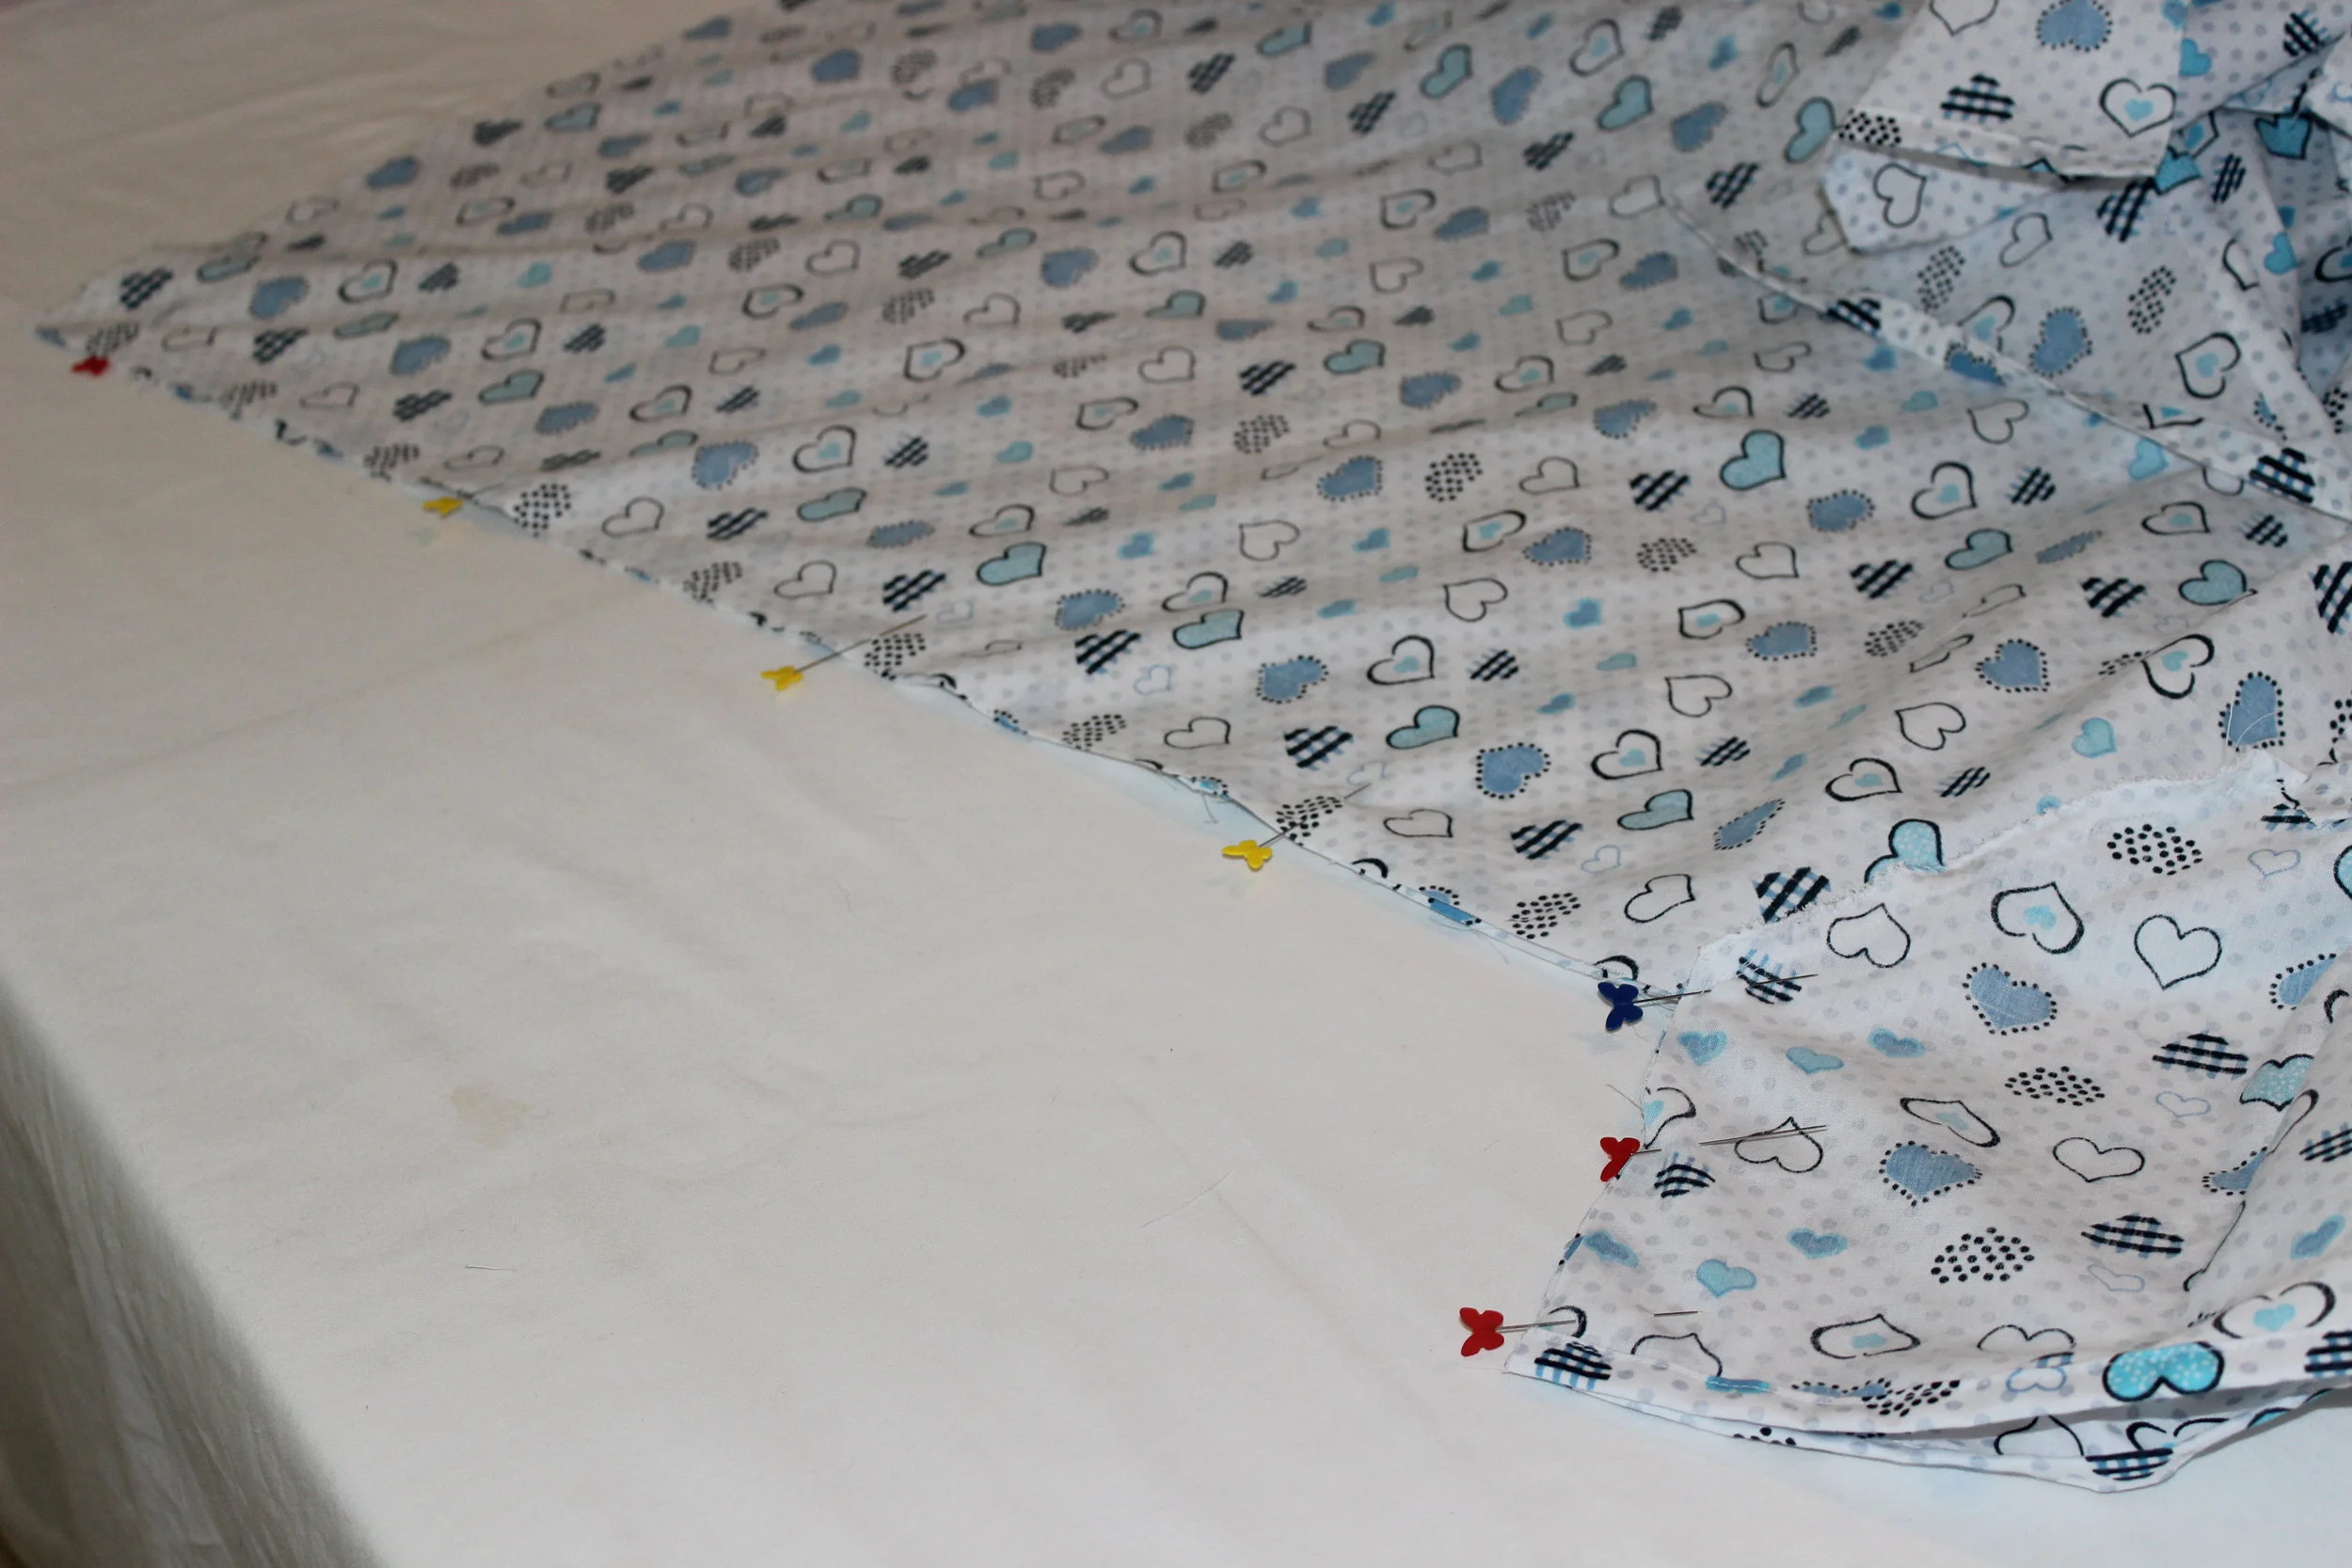
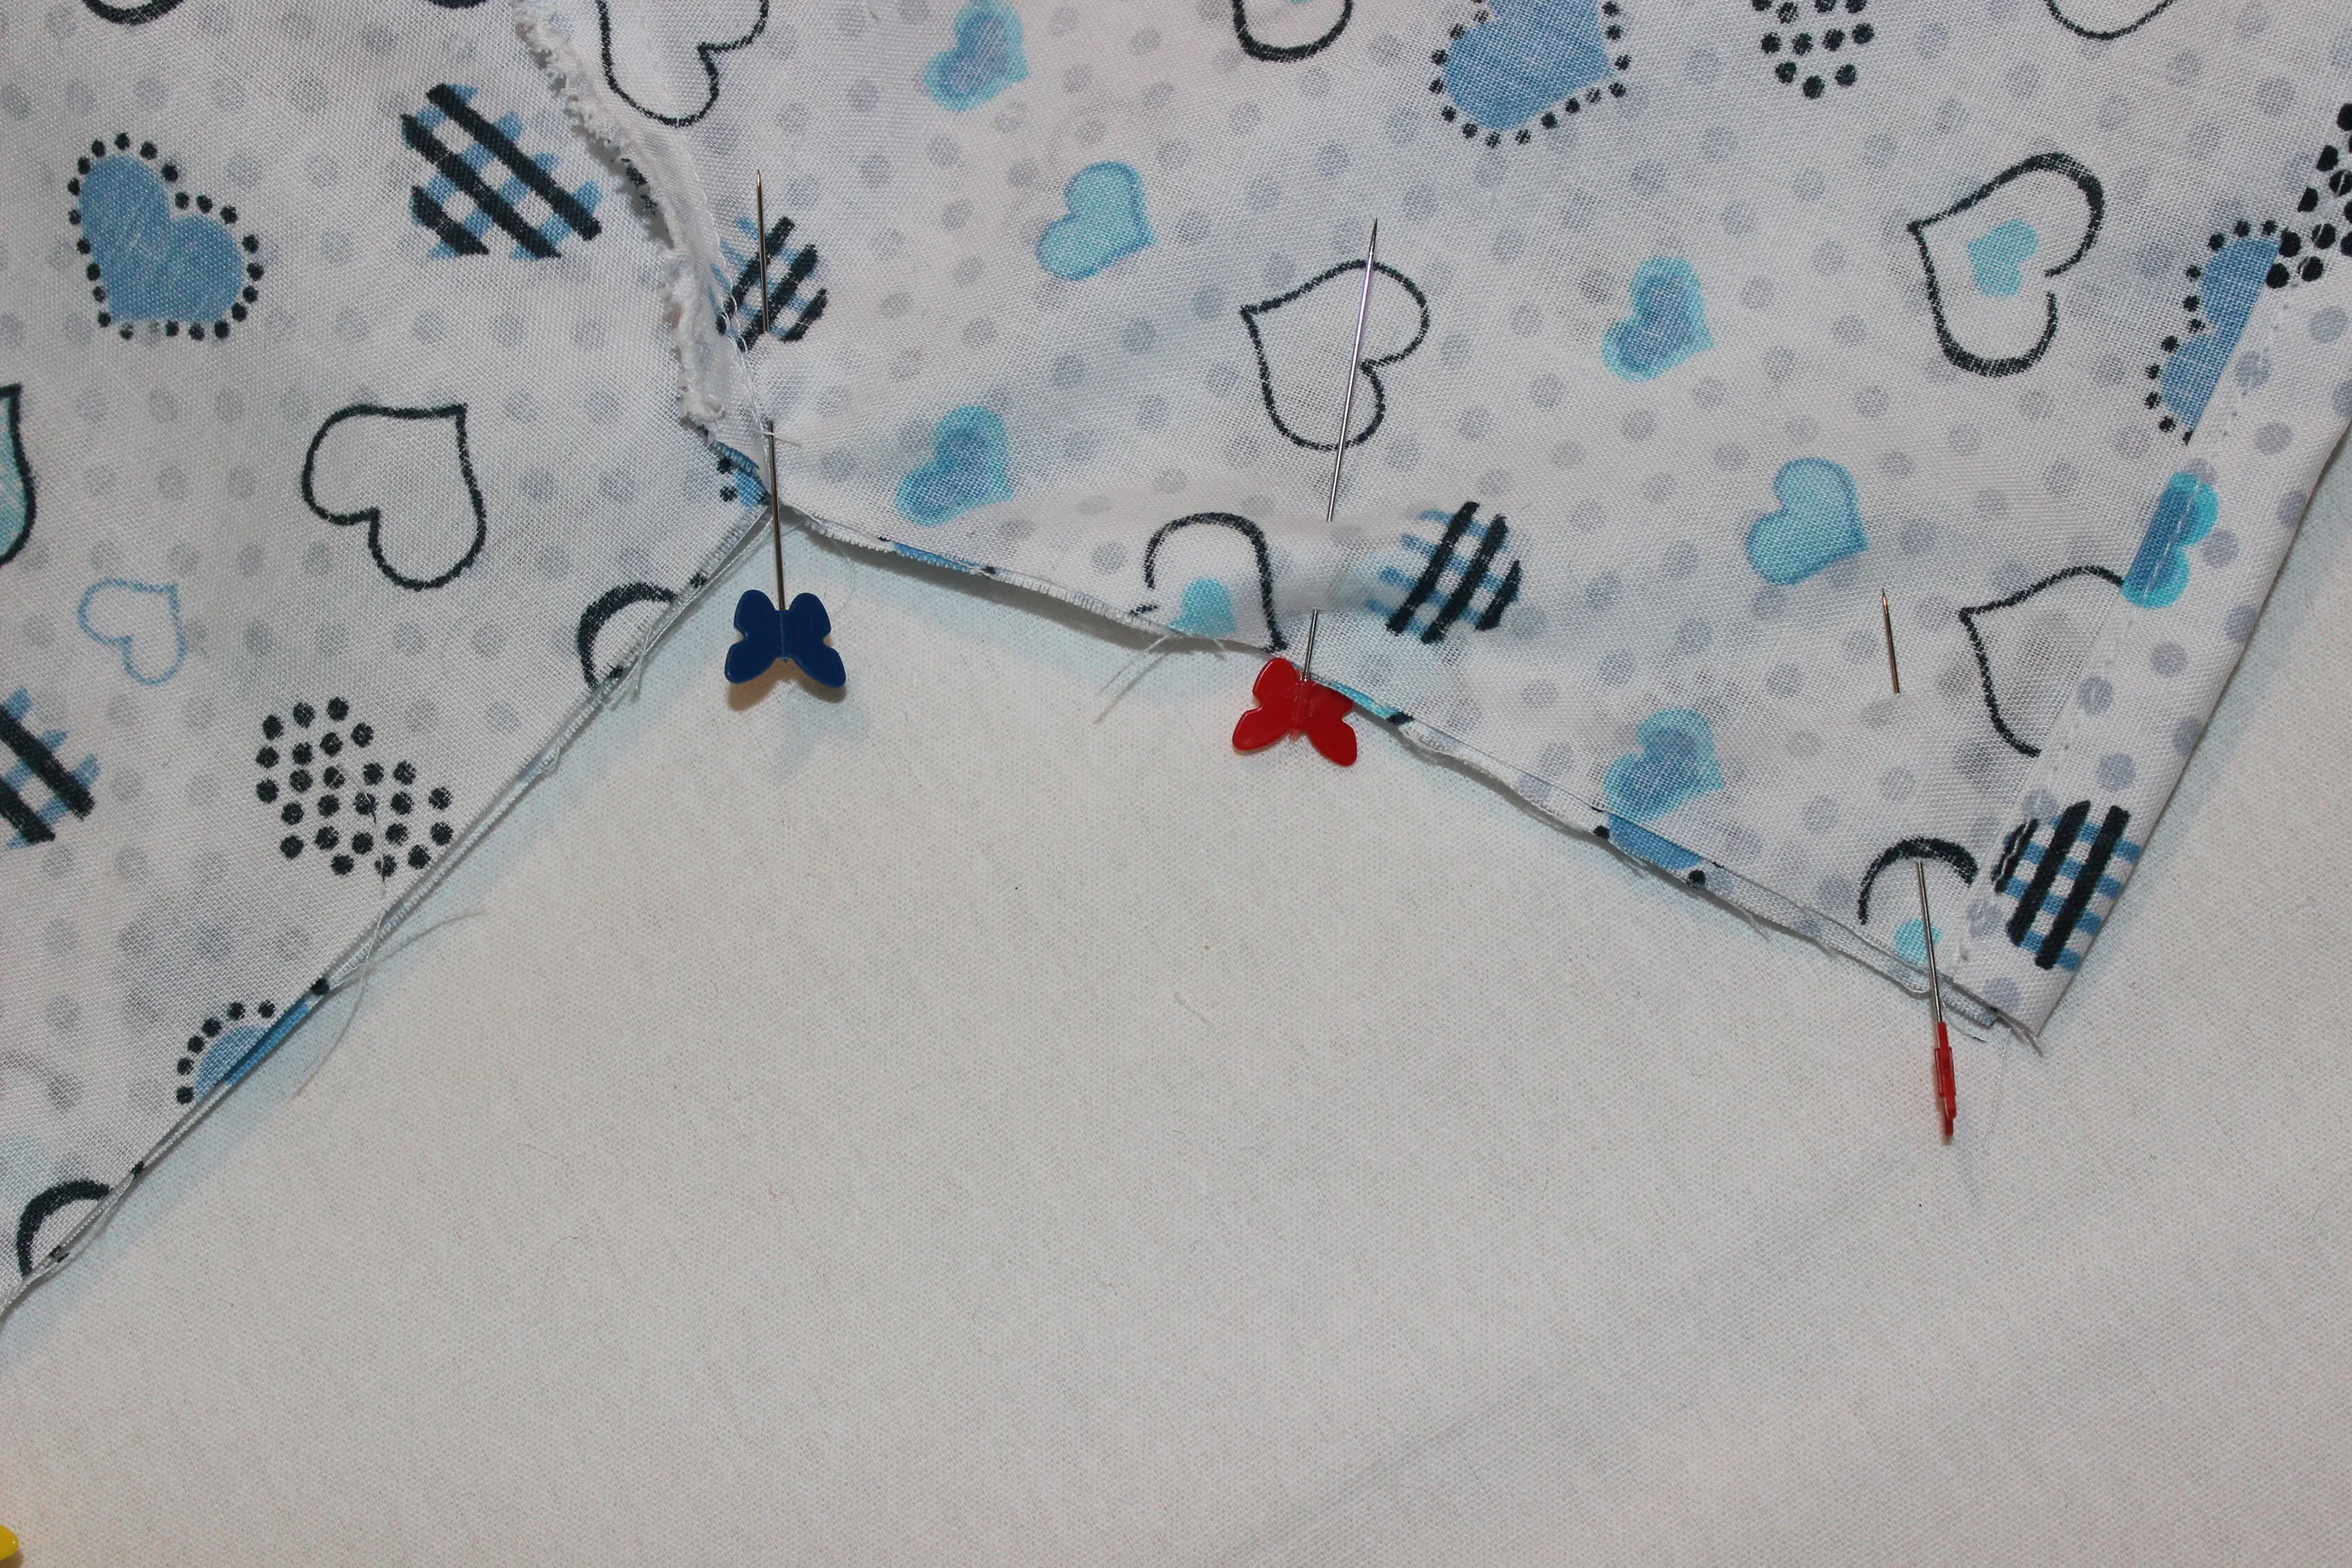
STEP 5
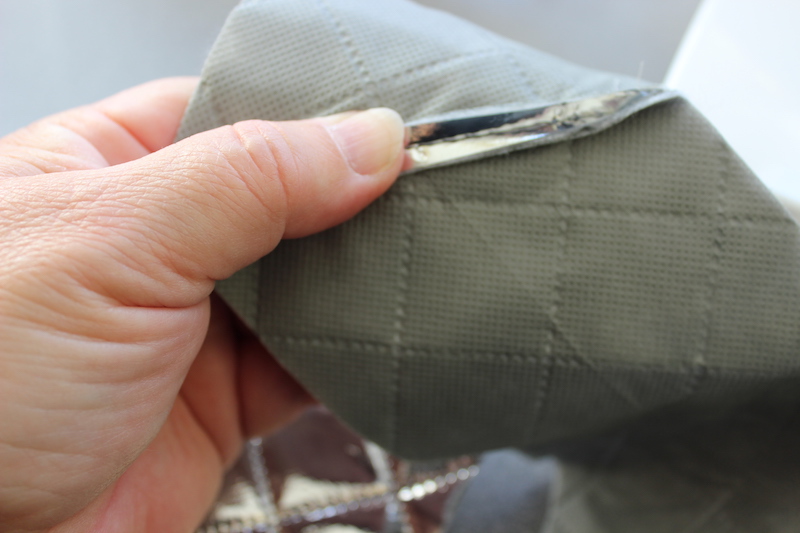
Put the right sides together of the two sashes matching the pointed ends. Mark a 3” opening. Sew the two sides together with a ½” seam allowance and leave an opening.

Leave a 3” opening
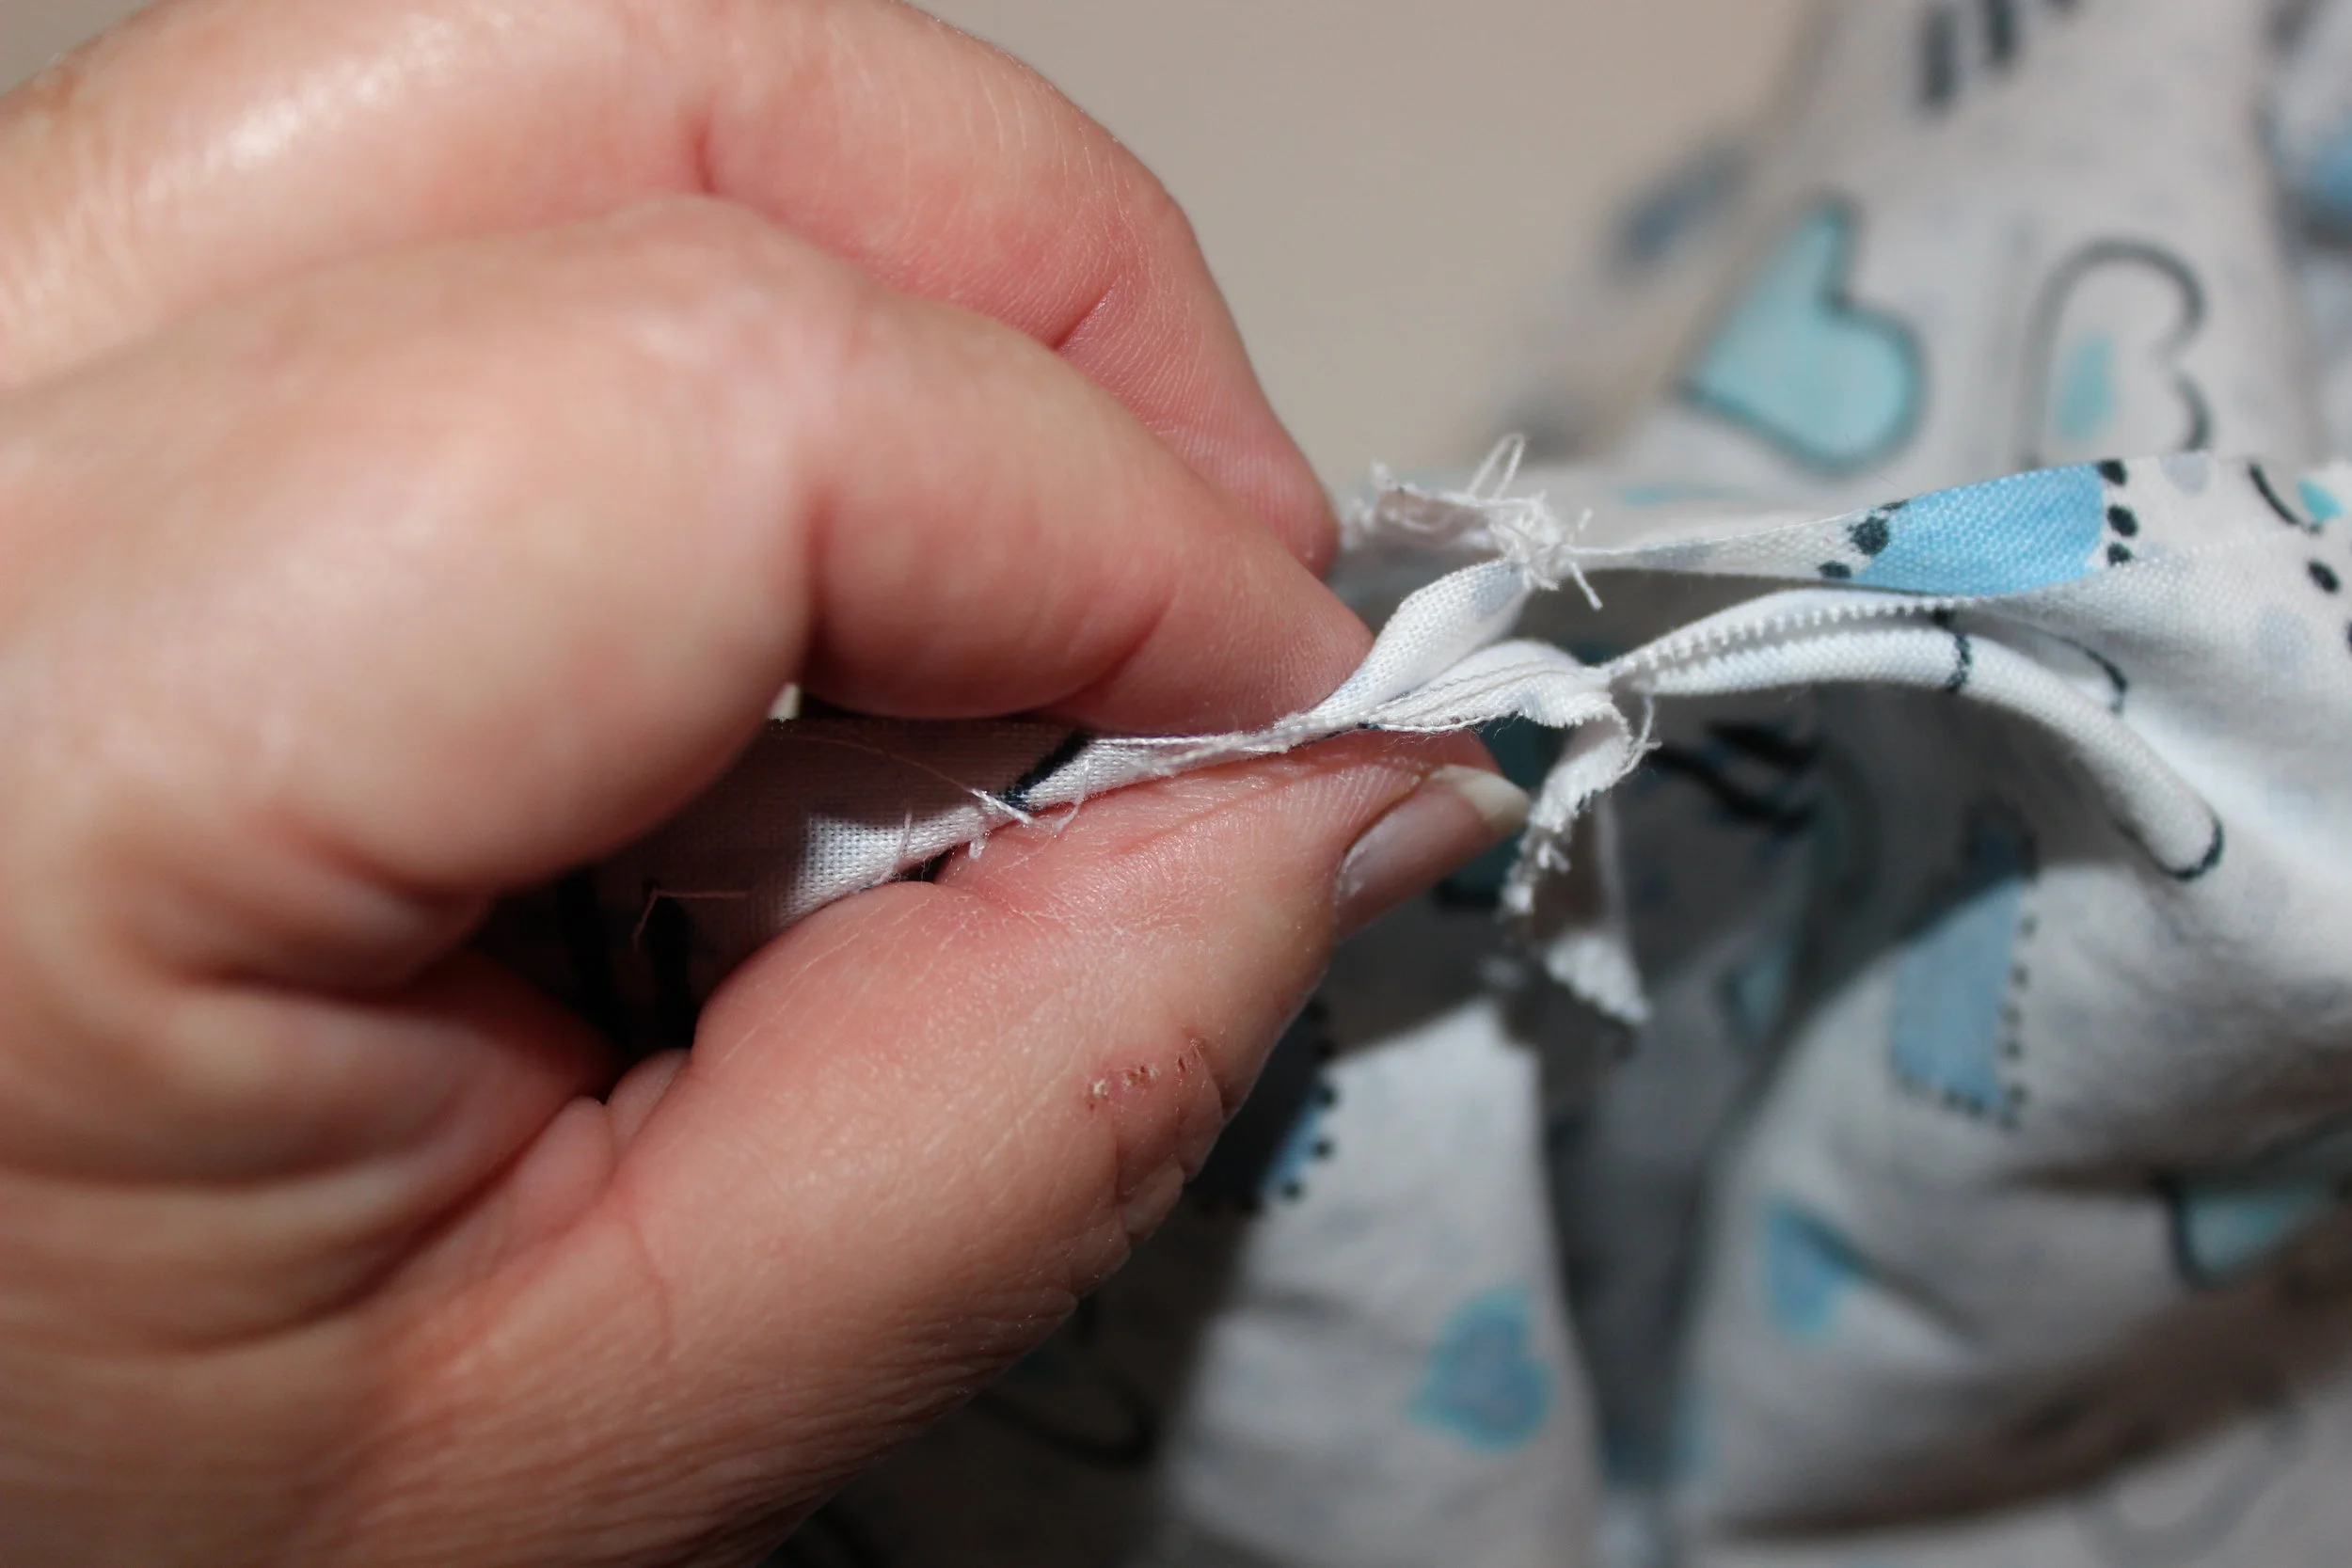
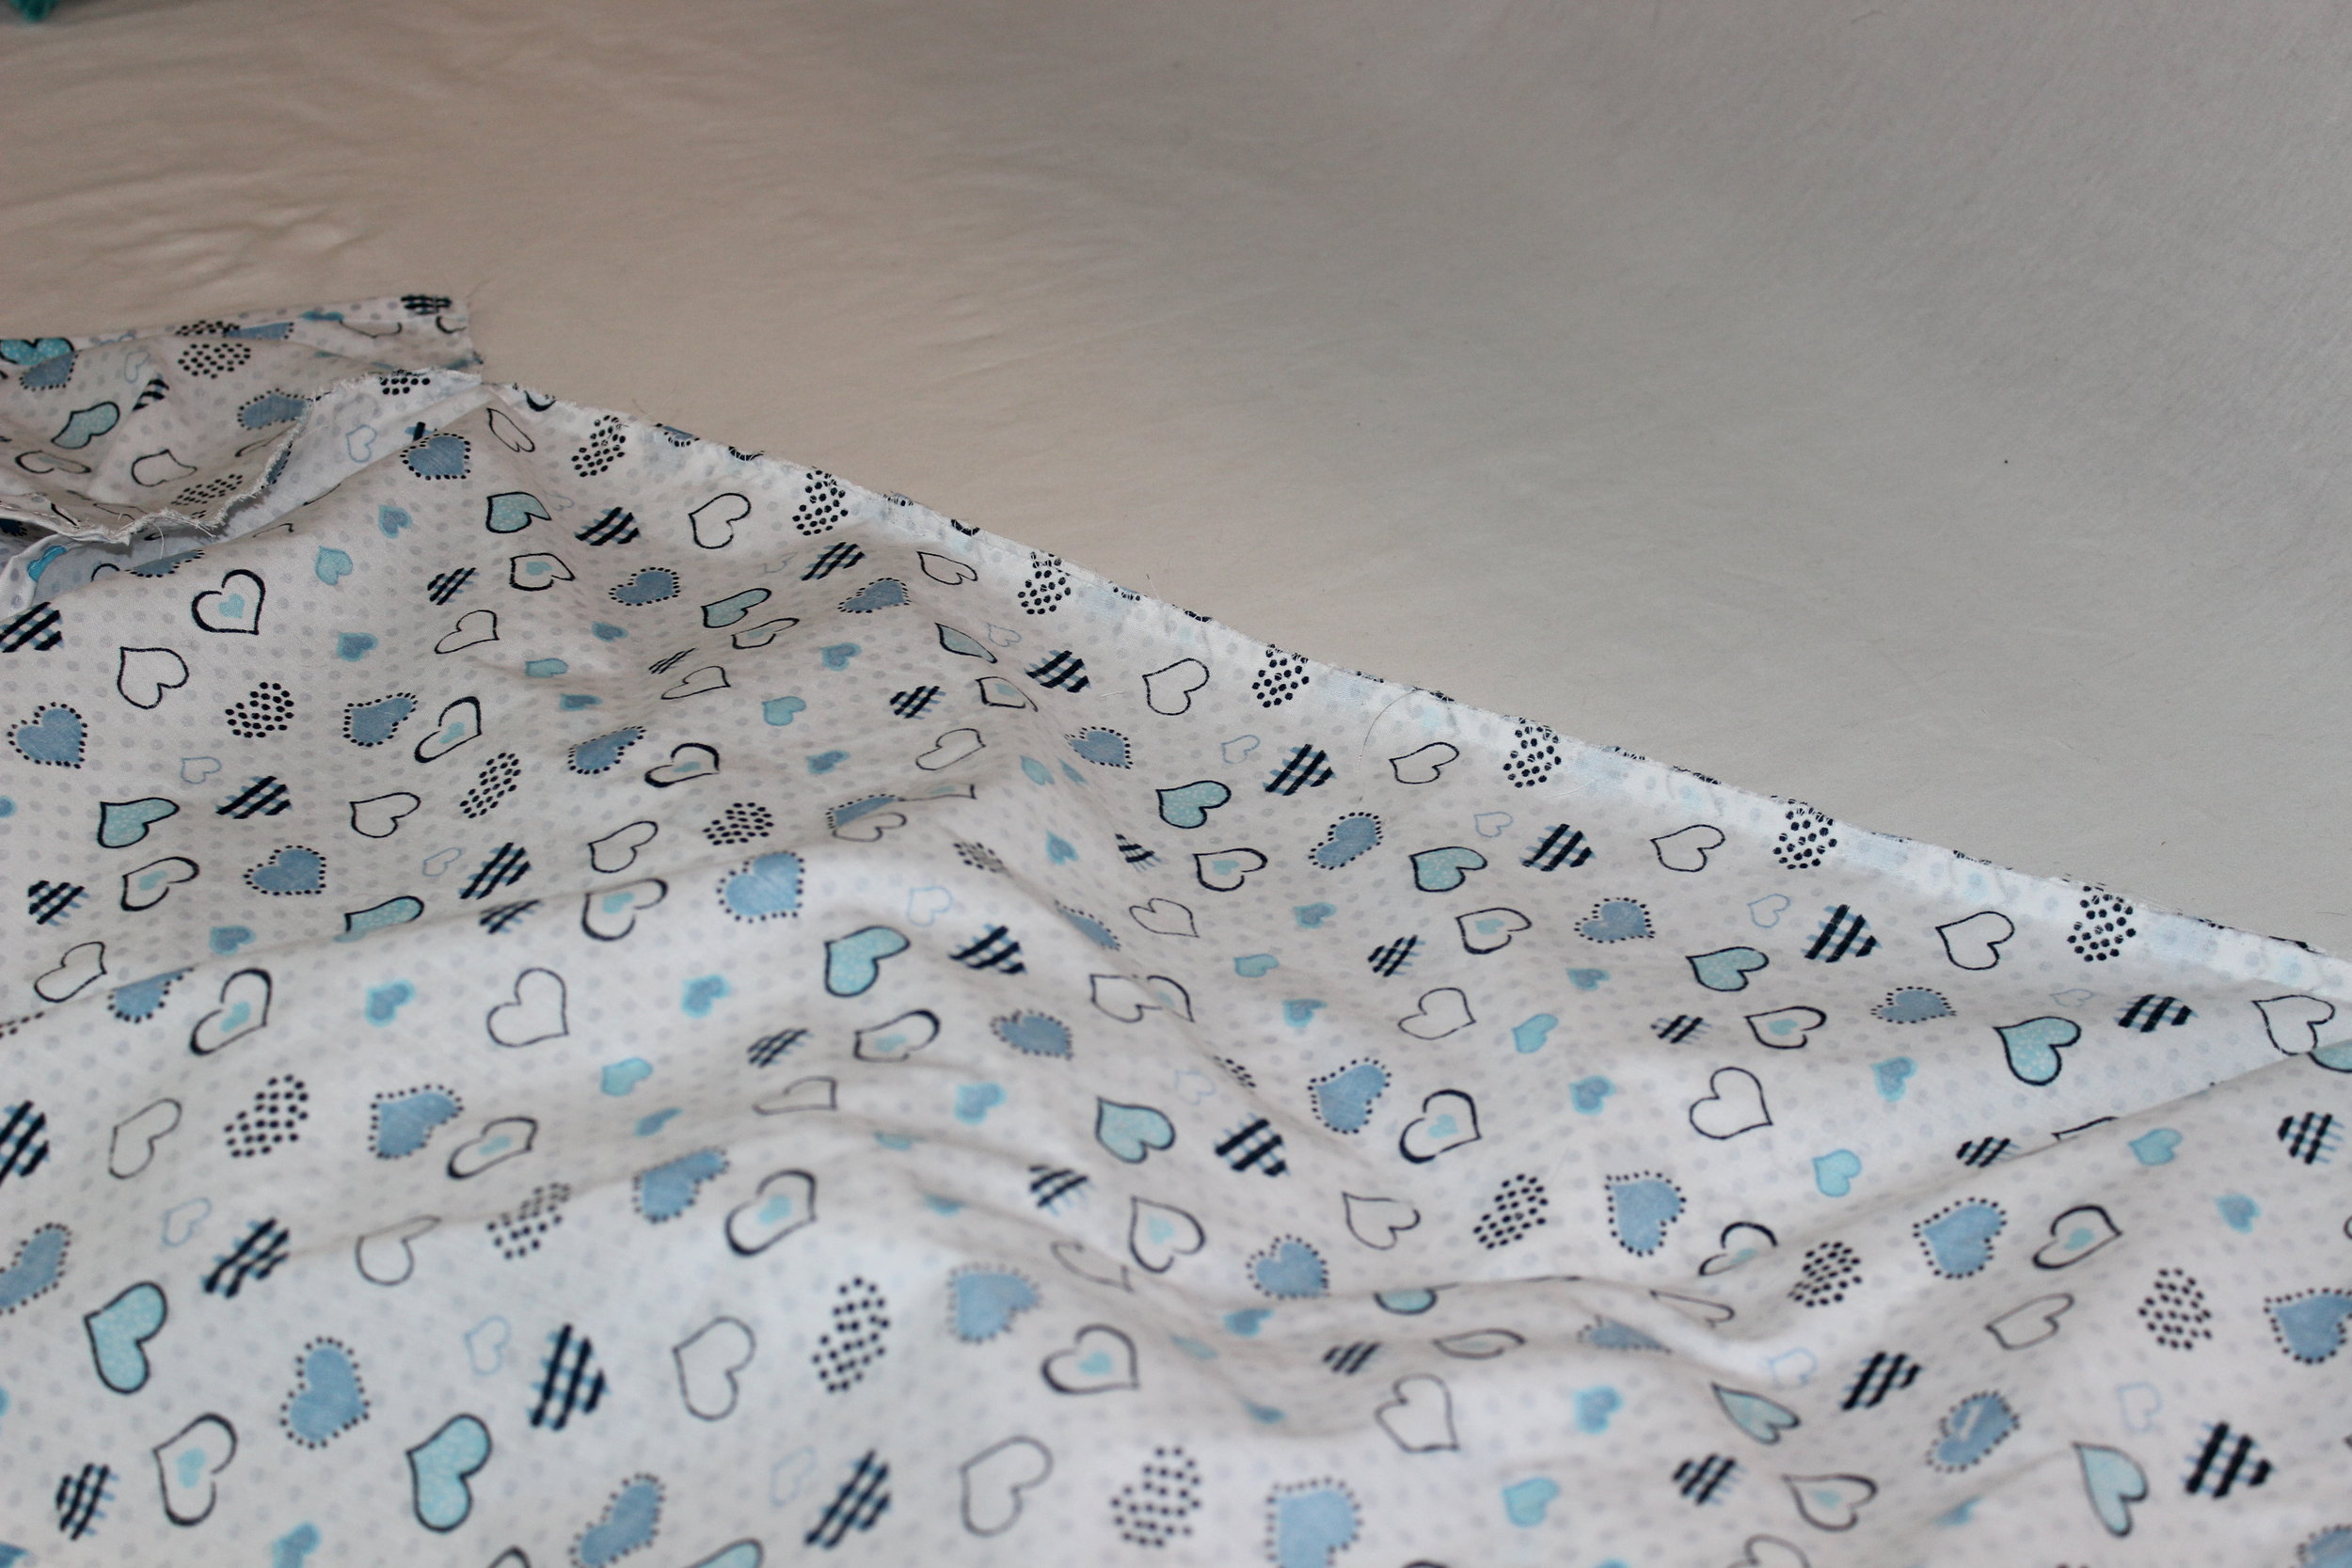
STEP 6
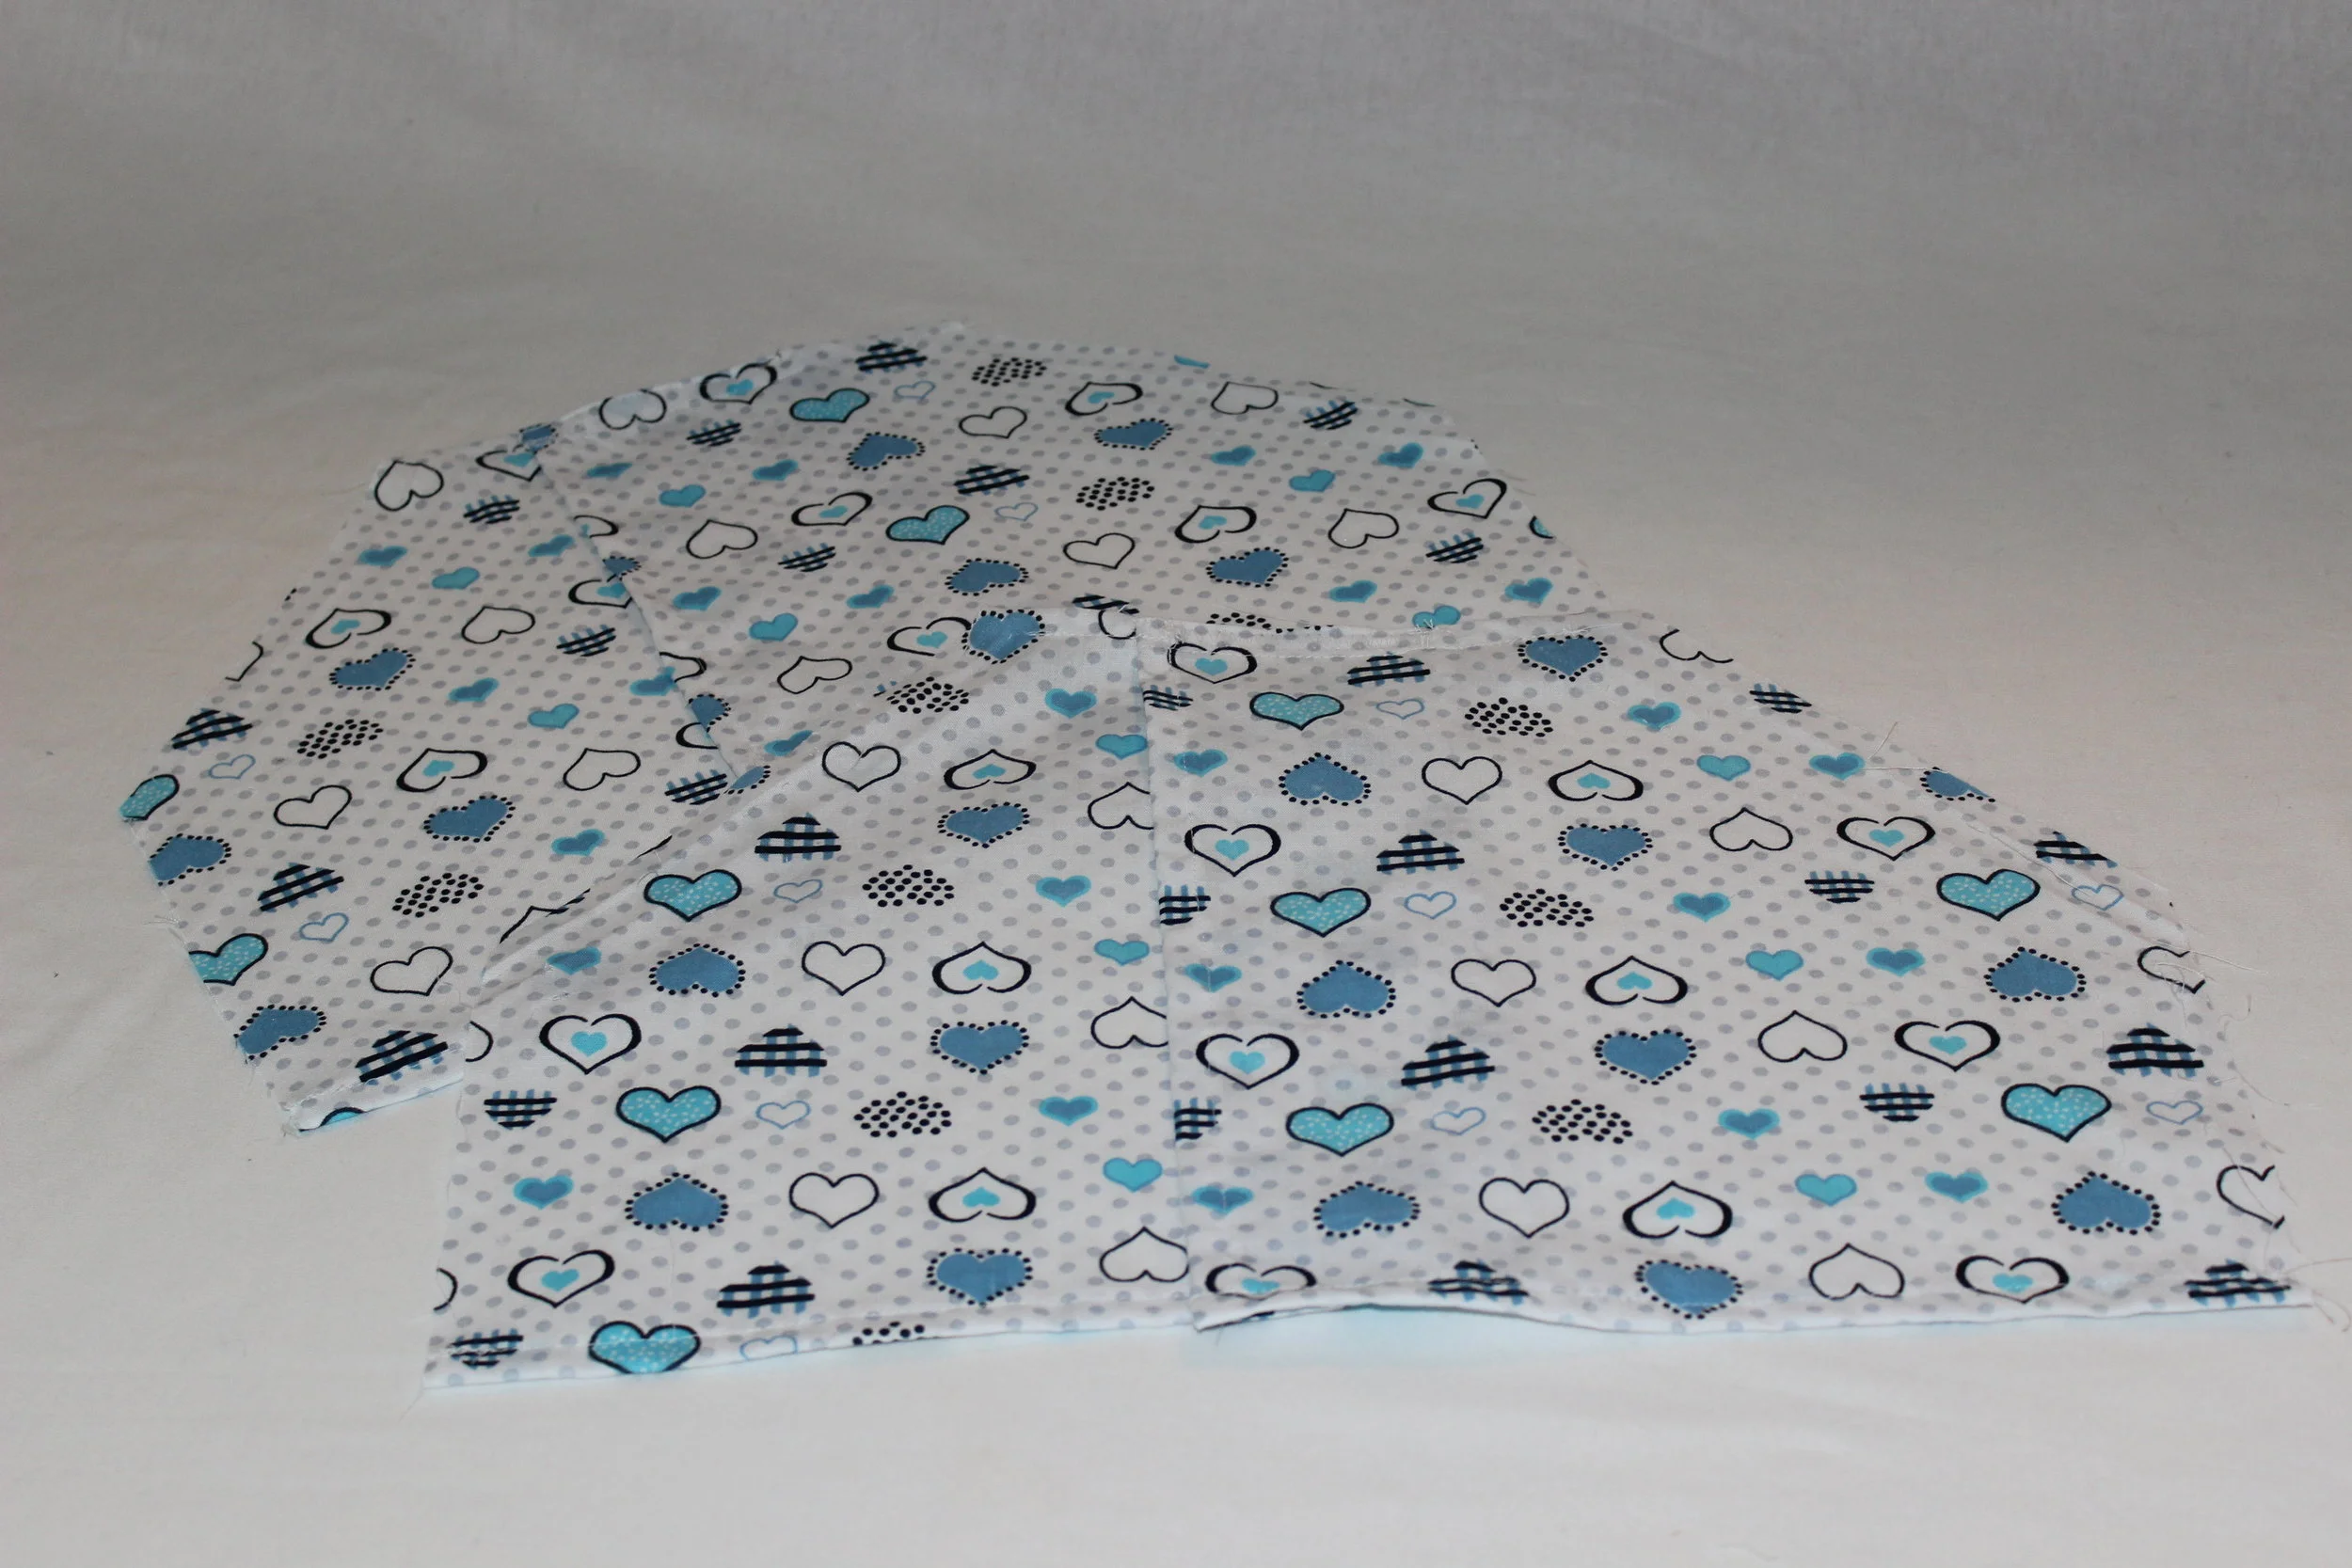
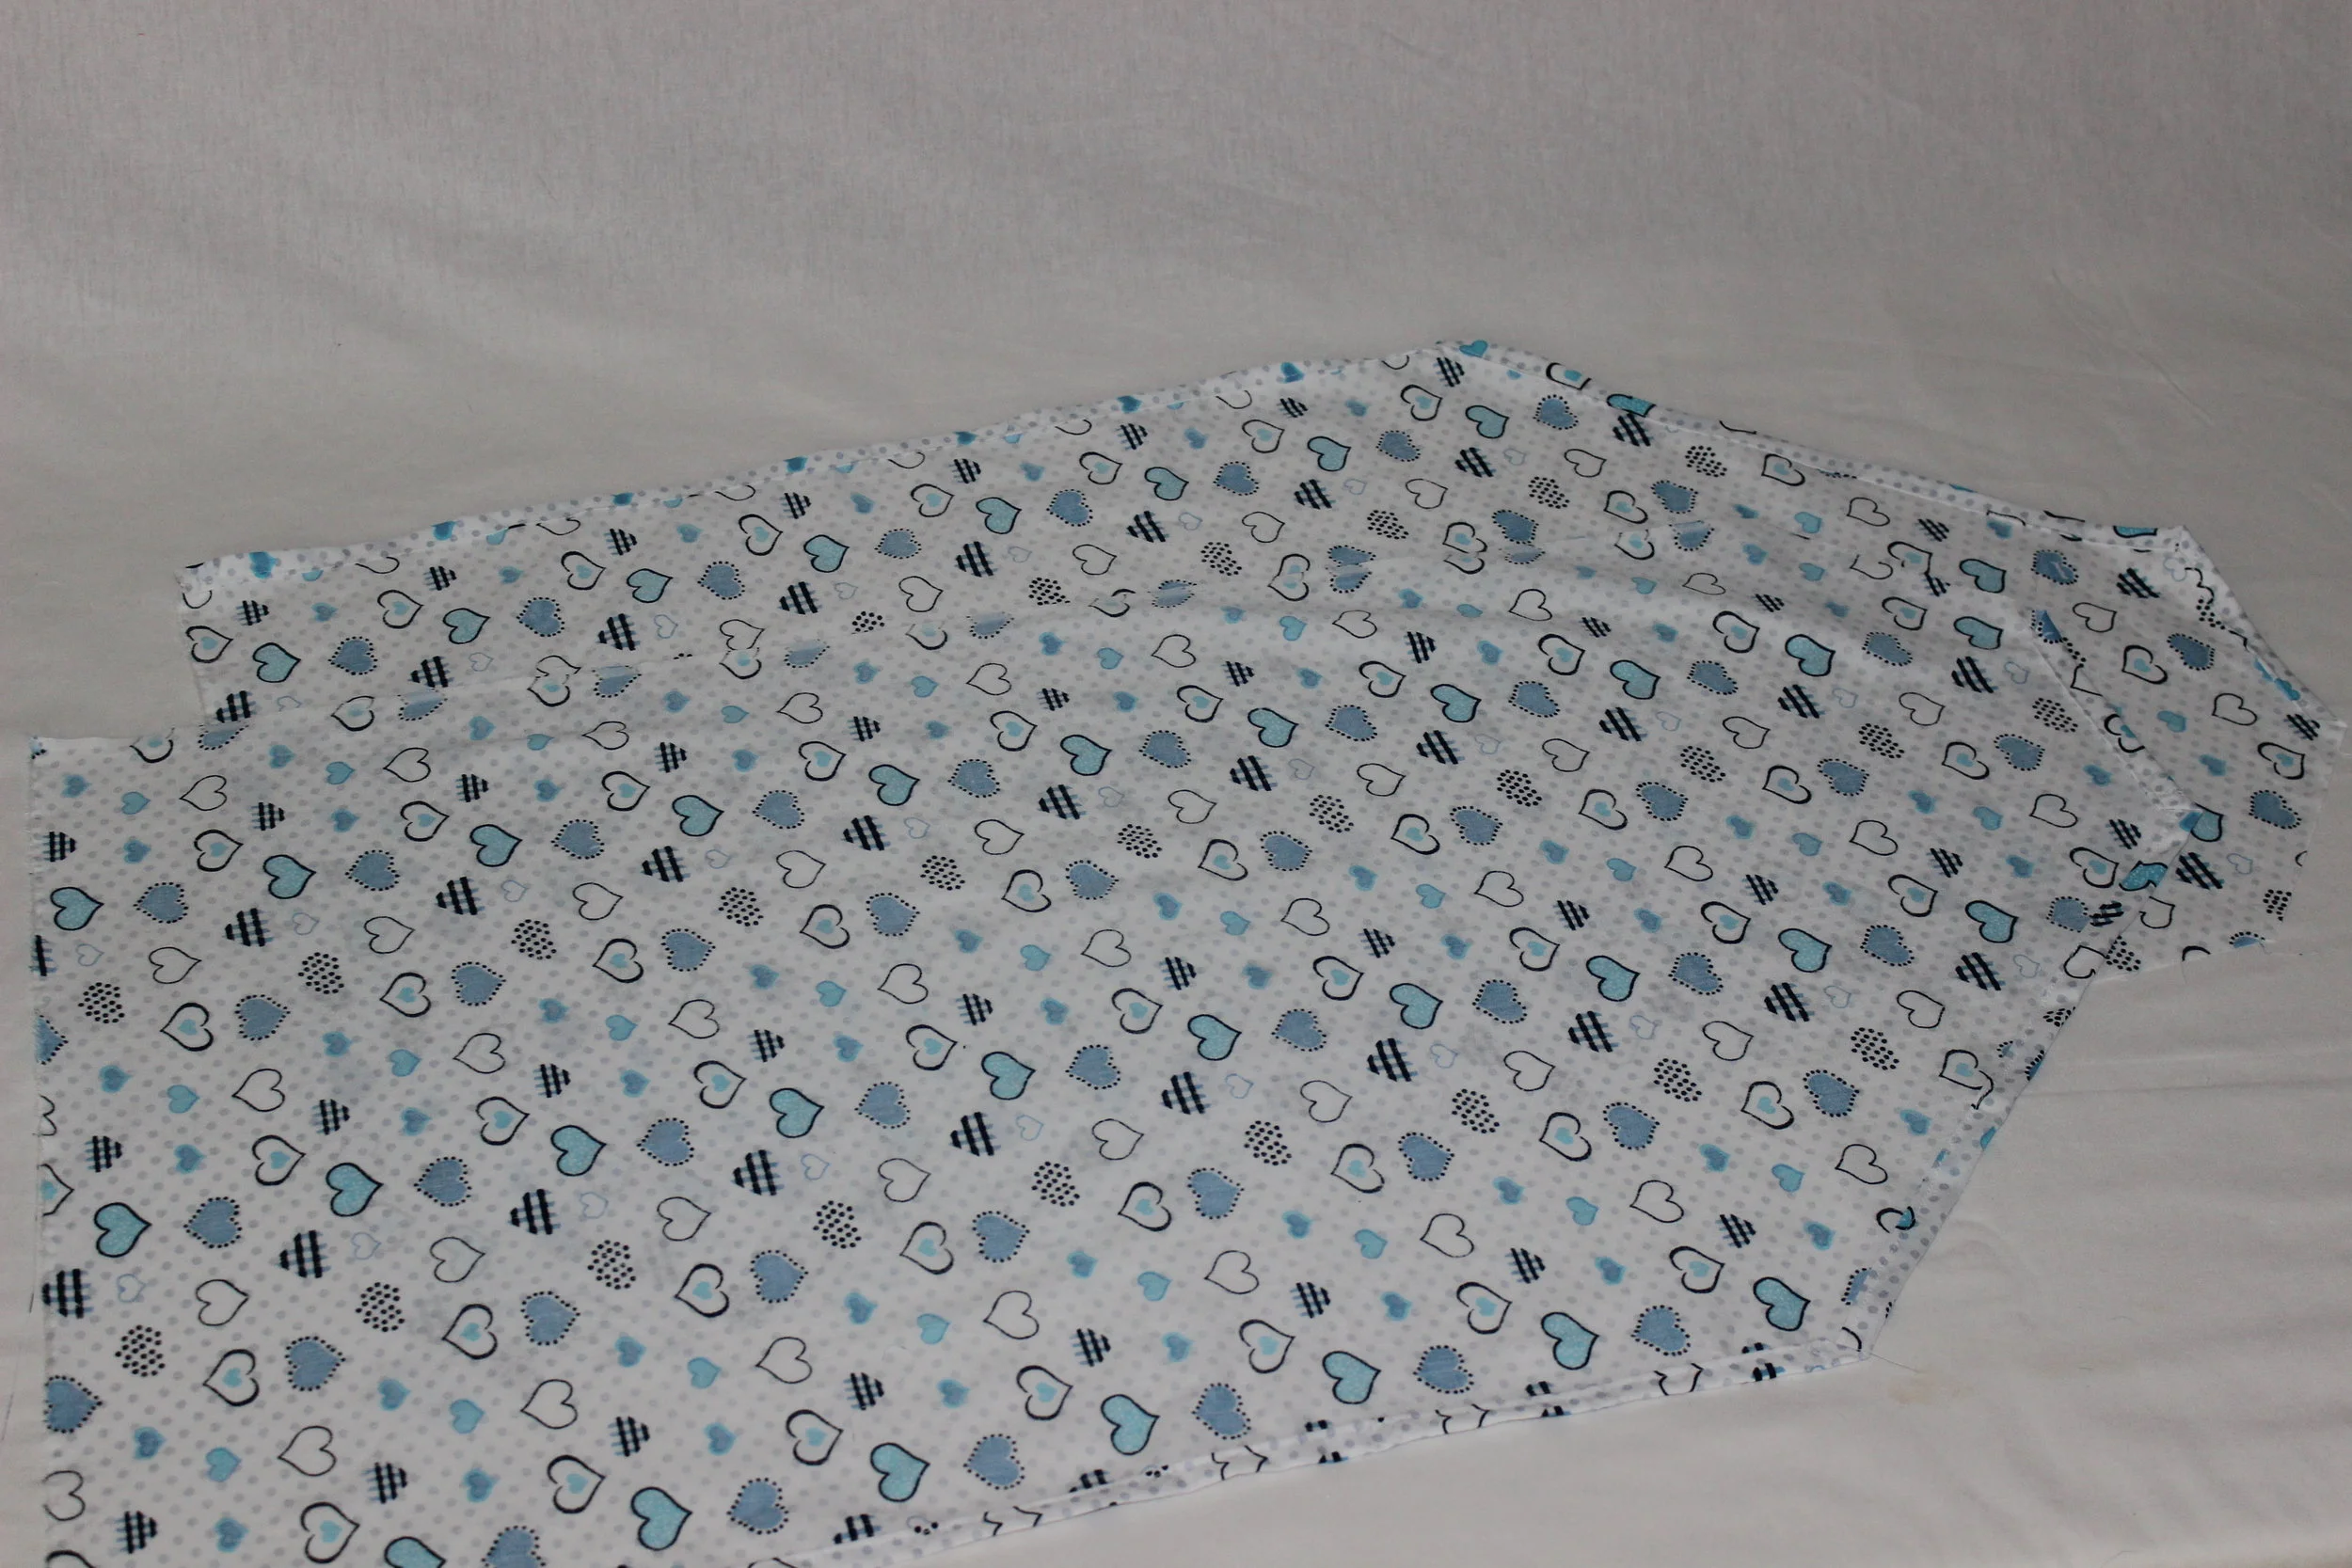
Turn the fabric right side out and stitch the opening closed, then press.

P.S. If desired, line the sash with interfacing the same size as the sash before sewing, particularly if not using a crisp fabric like linen or silk. This will help the sash keep its shape during the damp weather.
Have fun hanging your wreath sash. It can be enjoyed with many types of wreaths and positions.
Please share your wreath sash on Instagram with the hashtag: #wreathsashembroidery