The September/October issue of Designs in Machine Embroidery has a spectacular cover featuring Katherine Artines’ “Shapely Sunflower.” The theme of the magazine is techniques and technology in the machine embroidery world, and she exhibited the many aspects of machine embroidery.
Magazines routinely work many months in advance of the publication date and some magazines publish an editorial calendar that reflects the different themes for each issue. They release it to prospective freelance writers, which is terrific if you are on that list. However, when you are new to freelance writing, you do not have this privilege and have to submit a proposal blindly and hope that the editorial staff finds it attractive enough to include it or put you on their list to submit proposals for the future.
Blind proposal submissions are difficult as not only do you not know the theme but also you do not know their timetables. You do not know if you are close to a proposal deadline or if you just missed one. It is just a shot in the dark. The hardest part is waiting many months to hear a response, let alone receiving that rejection, which in the worst case scenario never comes.
Designs in Machine Embroidery has an amazing editorial staff and submitting a first-time proposal to them was way beyond my expectations. Personally, I do not believe they would ever ignore a proposal or let one sit for months before responding. To my astonishment, they accepted my first proposal, which happened to be for this issue. It did not include any new technique or technology, but it was unique in that it had a broad base of interest. It appeals to all ages and genders.

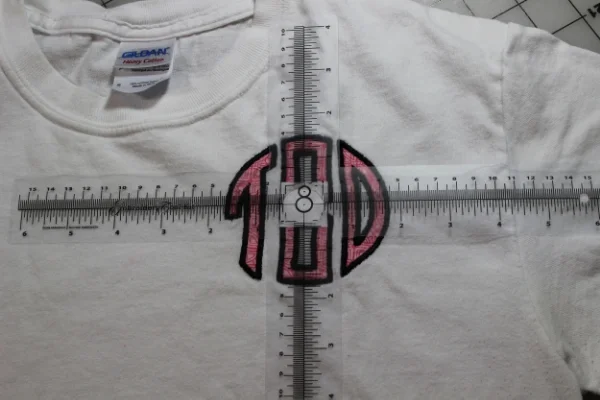
Circle Monogram Set 1 by Embroidery Arts
Many of us drive or ride in cars, so “Headrest Covers” is something that appeals to most and, as it turns out, they are a status symbol in some areas. When my then twenty-something Army Drone pilot came home on leave and asked me to make him a set for his new car that reflected his favorite sport’s team, of course, I dropped what I was doing and started them immediately. I measured his headrests and googled what they look like when you buy them from the professionals and finally came up with an idea and a pattern. He loved his first set so much that he asked me to send him a set that would be for each season’s team. I loved doing it, especially since he was the one that had said so adhamantly, “Sorry Mom, machine embroidery is just not for me!” Huh! We showed him that we machine embroiderers could come in handy. We just needed to think of the right project. Well, in this instance, he thought of it and I am so glad he did because now I get to share it with all the machine embroiderers that read Designs in Machine Embroidery.

Longhorn Skull Single L4939 by Embroidery Library, Inc.,
Machine embroidered headrests can appeal to everyone and with the holidays coming up, I think they would make great gifts. They are super simple to embroider and sew. The trick is finding the right fabric in your local shop. I used fabric that is typically used for swimwear. This gives it the stretch to go over any headrest and adjust smoothly. The embroidery possibilities are endless. You can find the article starting on page 58, and the pattern is at this link.
PATTERN CLICK HERE
For a behind the scenes of the photo shoot for this project, click on this link to see just a little of what it takes to get a great picture for a magazine article. Personally, when I was making these, I kept thinking that they would bring a car seat into the studio for the shooting. I never dreamed that they could possible do a photo shoot actually in the car. Wait till you see them all scrunched up in that car.
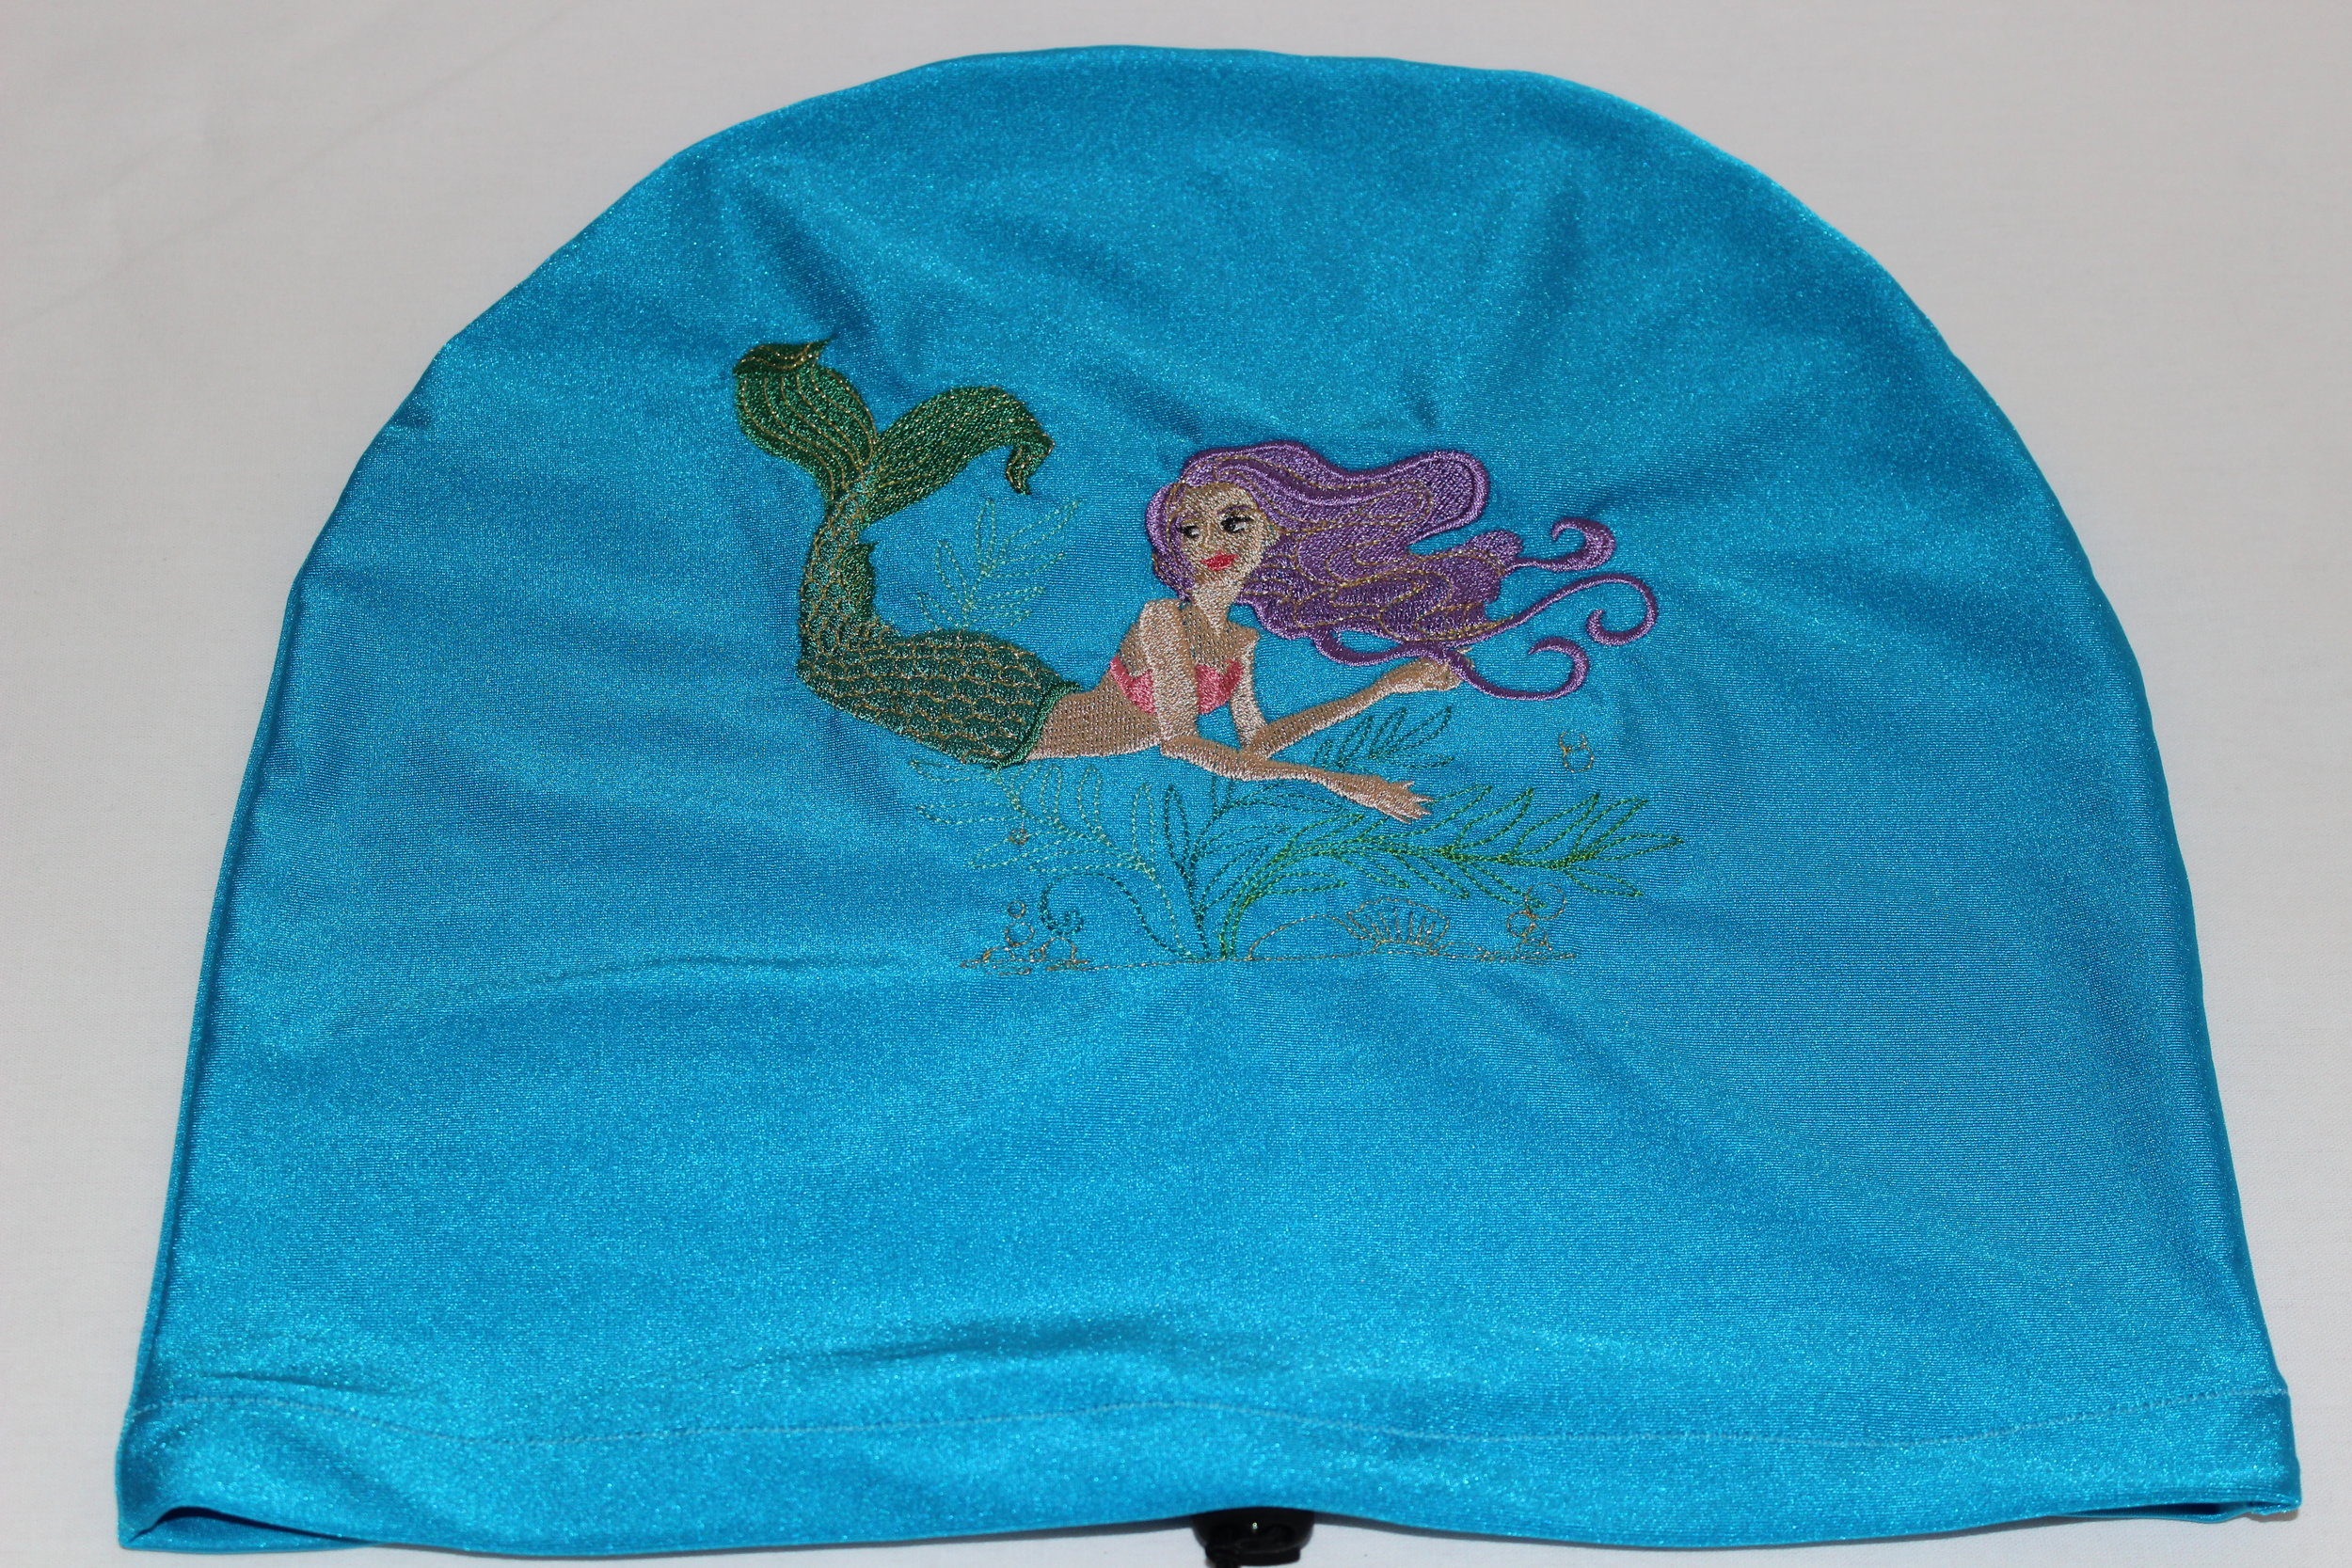
Mermaid Magic Design M5165 by Embroidery Library, Inc.
I would love to see your version of machine embroidered headrests. Please use the hashtag #TheEmbroiderist so that I can see them. Happy embroidering and thank you Designs in Machine Embroidery for publishing my first article.

These DIME goodies arrived with a copy of the magazine and my headrest. I felt like I was officially inducted.