
These are instructions on how to sew a hospital gown for a child. The pattern and the instructions for how to make the pattern are at a different blog post - see the link below the pictures.
Please download the PDF for these instructions here.
They do not contain pictures. They also include ideas on how to set up workstations for a group of sewers.

This hospital gown is for children. It has an opening at the back that completely overlaps to give full coverage. The back has two 14" tie closures on each side - one is on the outside and one is on the inside. There is also a 14" tie closure at the neck. It has a square neckline and butterfly sleeves. The short butterfly sleeves allow for full access to the arm for ease in medical procedures.
The pattern is a very simple pattern to sew and is designed for beginner sewers. There are no complicated bias trims or rounded edges. A traditional sewing machine or serger can be used. It is helpful if the sewing machine has a zigzag stitch, but this is not necessary.
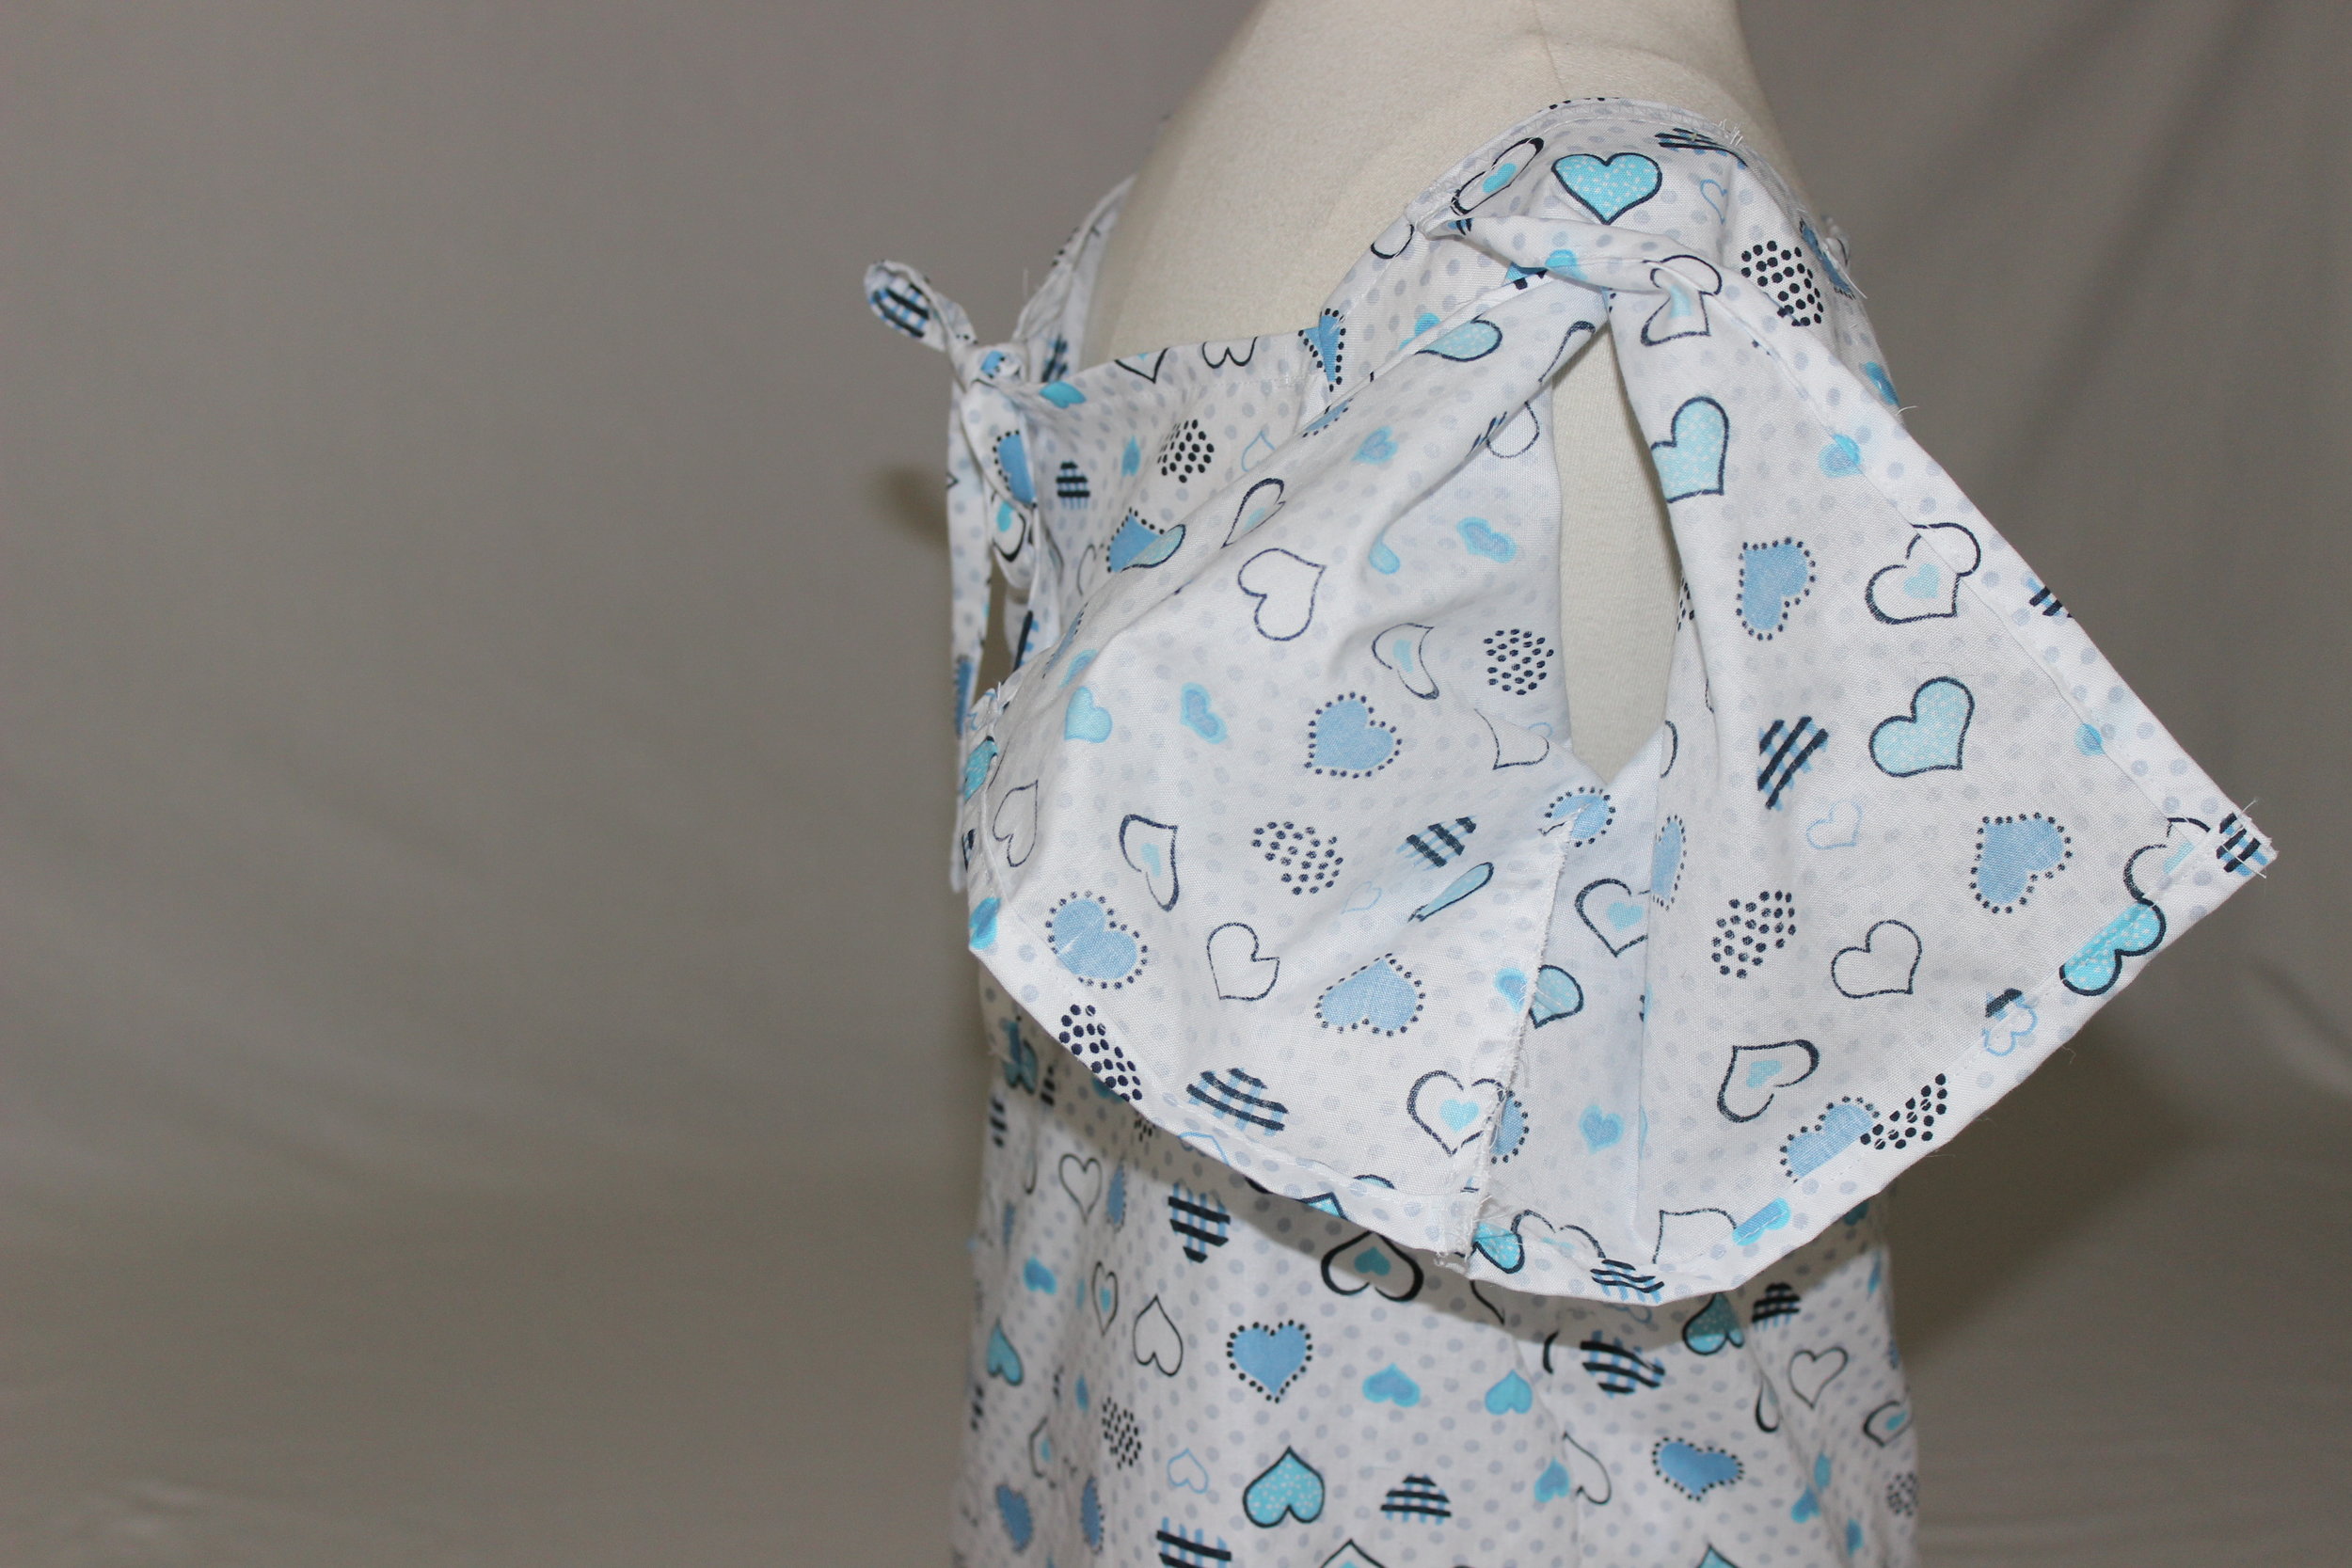
Butterfly Sleeve Completely Opened

Another View of the Butterfly Sleeve
Please note that you may want to buy grosgrain ribbon instead of making your own ties as this will save considerable construction time; in which case, please omit the instructions below on cutting the ties. The simple pdf instructions above assume that you use grosgrain ribbon. Each gown will require three yards of grosgrain.
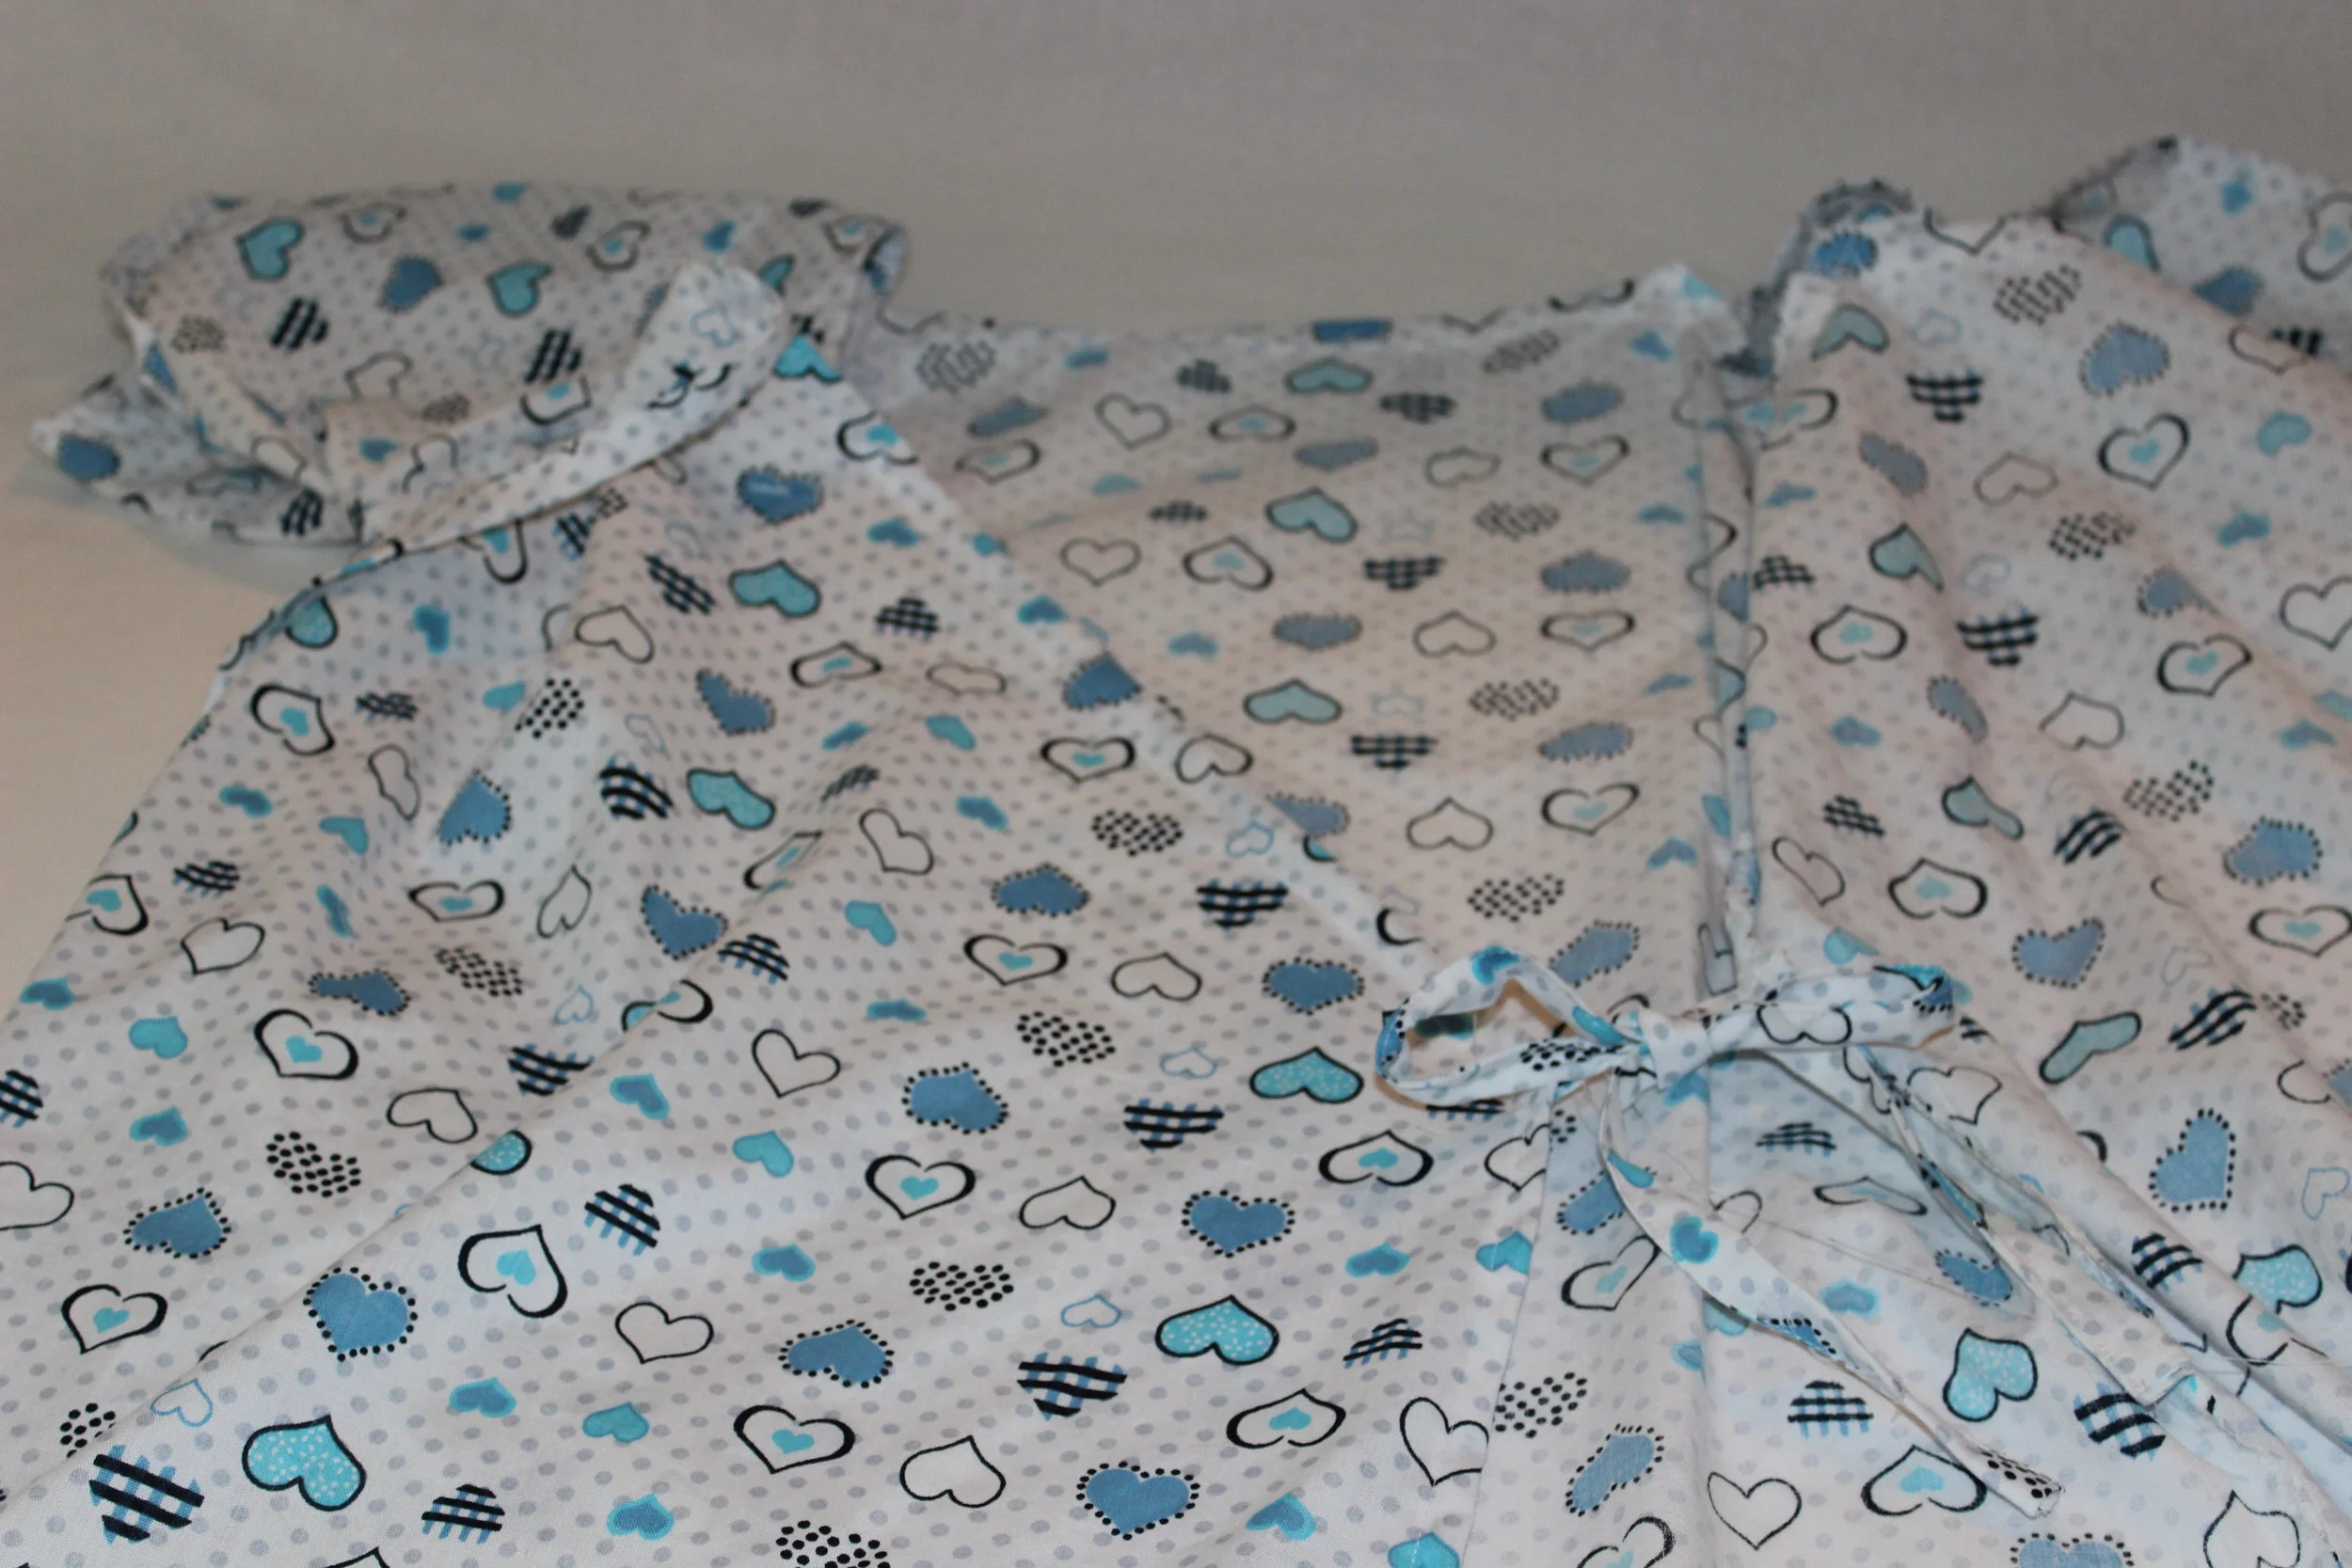
Child's Hospital Gown with Ties on the Inside

Child's Hospital Gown with Ties on the Outside

View of All Three Ties in the Gown
The pattern includes five sizes: small (sizes 3-4); medium (sizes 5-6); large (sizes 7-8); extra large (sizes 10-12); and XX-large (sizes 14-16). Yardage ranges from one yard to two and a quarter yards. A good quality cotton/polyester blend is recommended. This blend will allow for the garment to be laundered with minimal or no wrinkling.
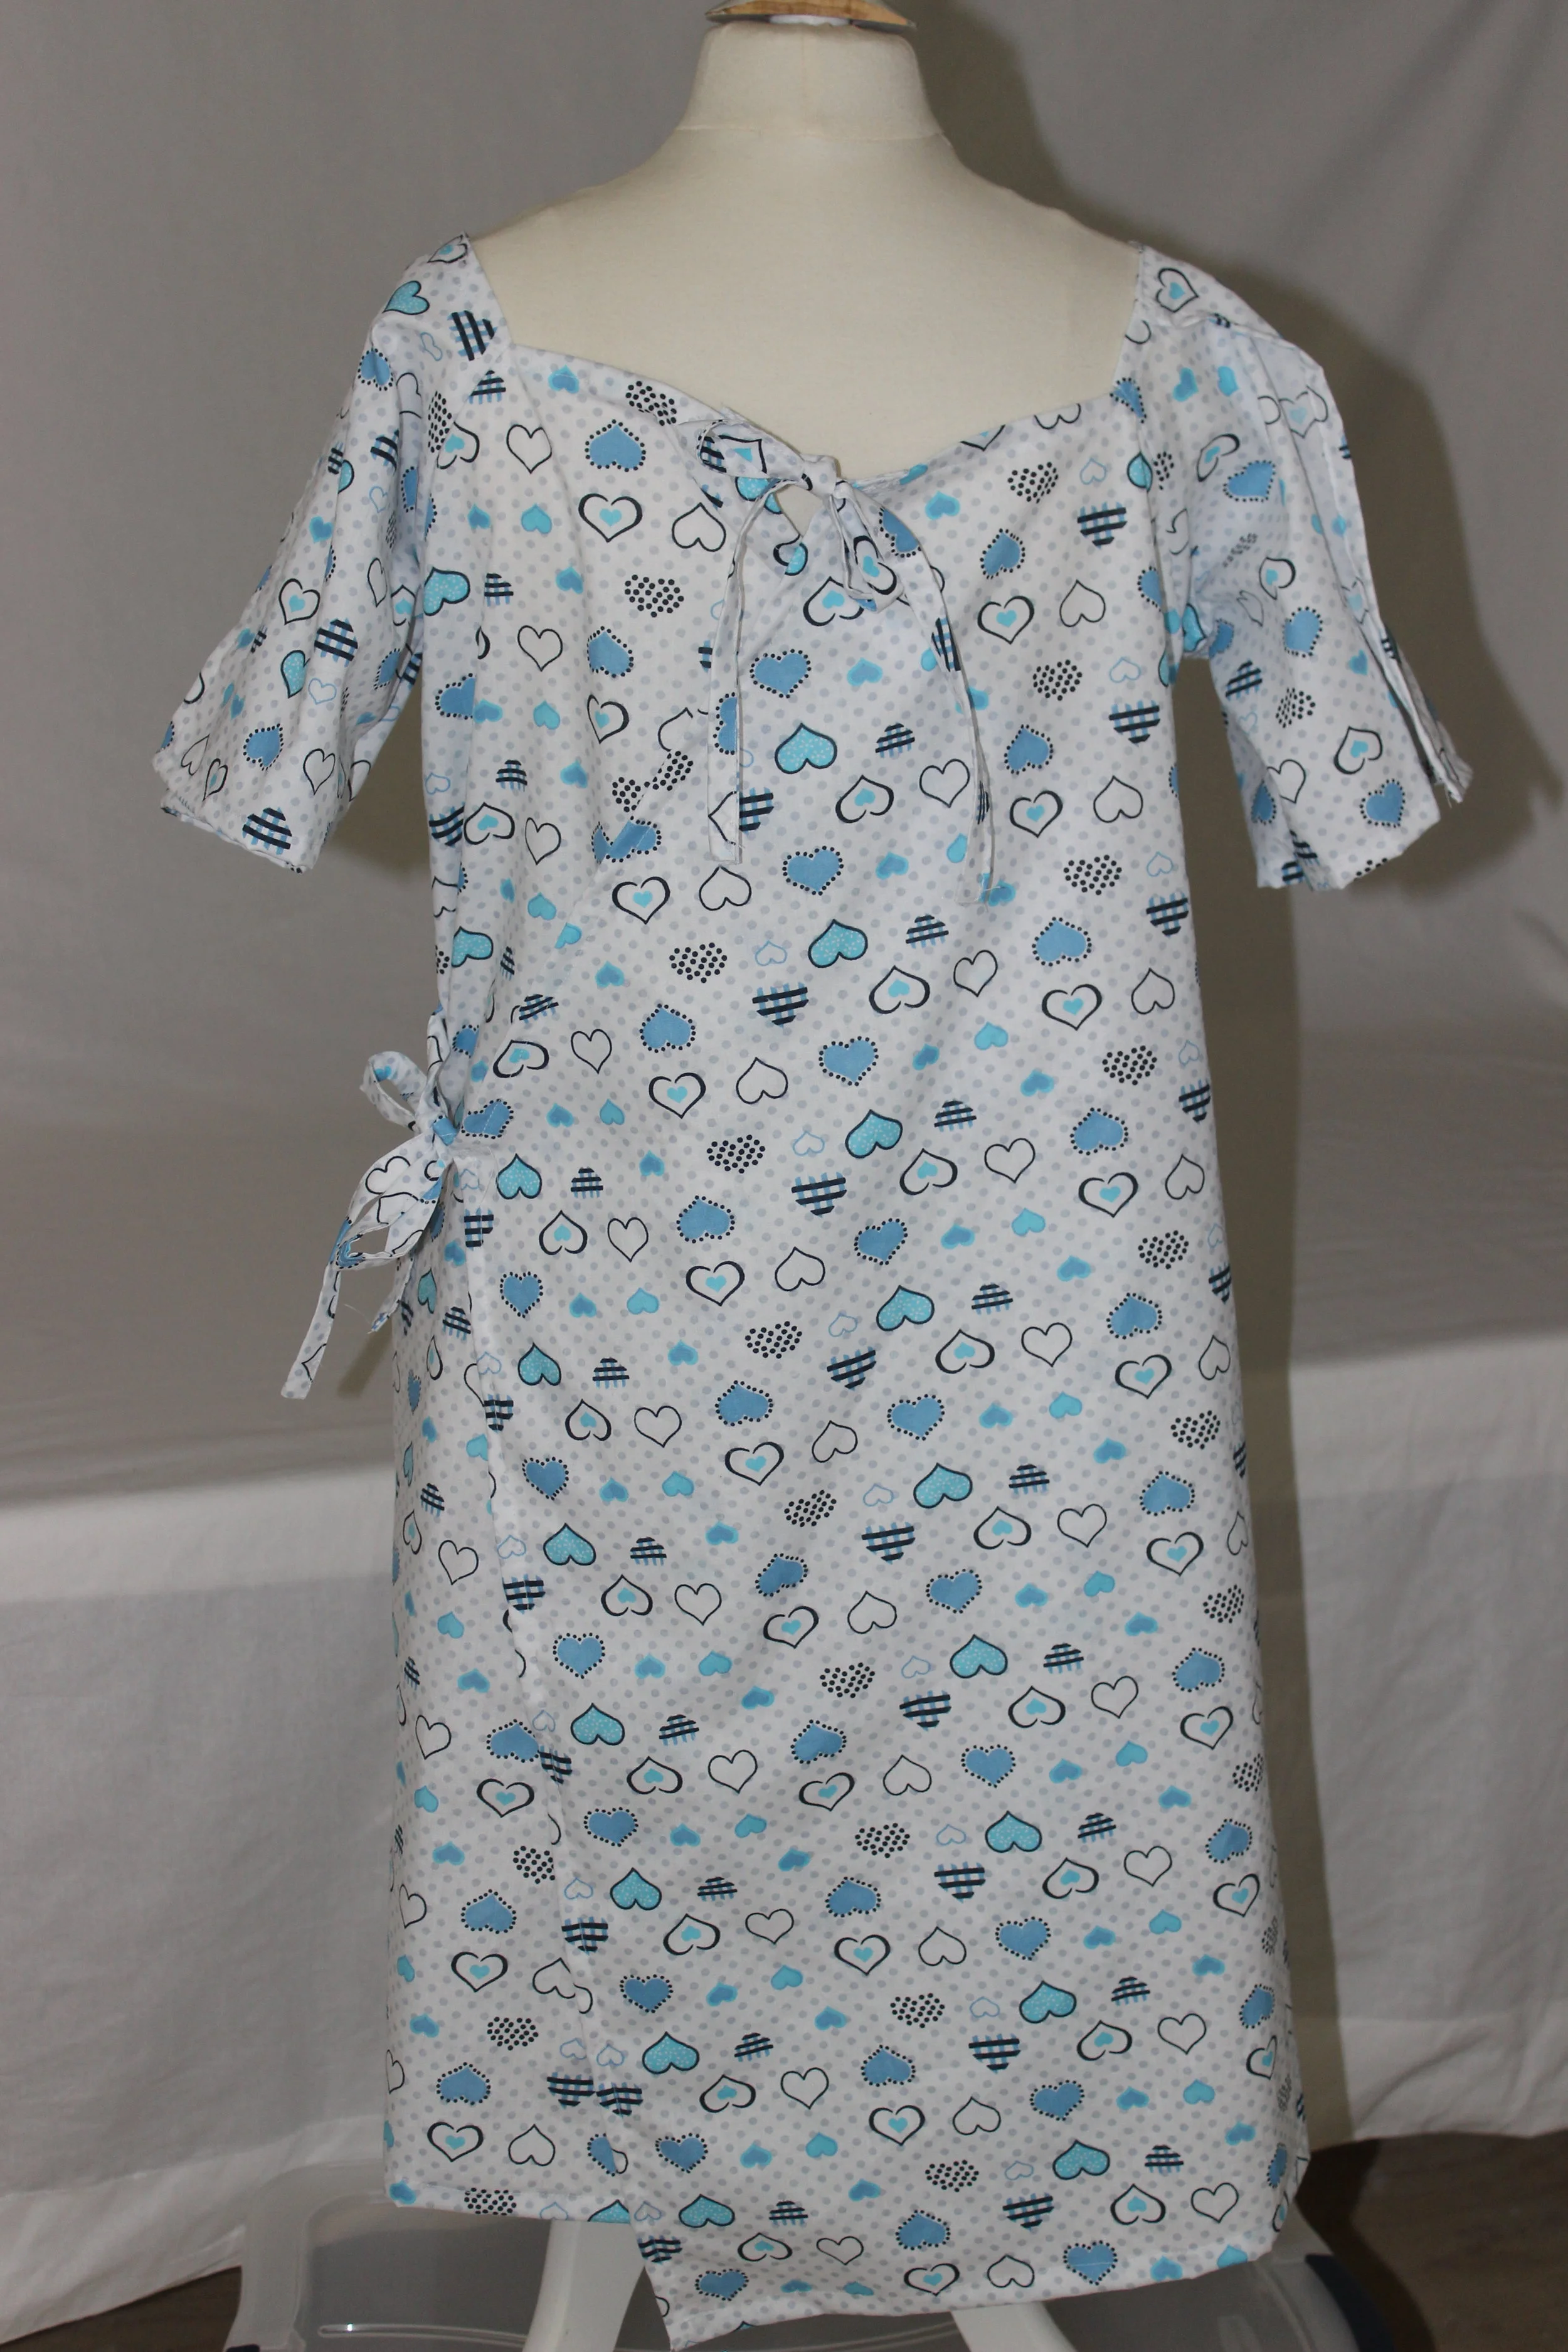
Back View of the Gown
Please see the blog post on how to make the pattern and cut the fabric by clicking HERE.
This blog post is merely on how to sew the hospital gown. Please read both before starting the gown. Both posts are available as a PDF to download without pictures. See above for these instructions.
All fabric should be washed and dried on the hottest temperatures possible before cutting.
TIME FRAMES
The pattern will take about an hour to create.
It takes about 20 minutes to cut the fabric.
The gown takes about an hour and a half to sew.
FABRIC YARDAGE BY GOWN SIZE
**BASED UPON 60” Fabric width
Please adjust for 44” or any other width of fabric
Size Small (3-4) - 1 yard
Size Medium (5-6) - 1 yard
Size Large (7-8) - 1 1/4 yards
Size Extra Large (10-12) - 2 yards
Size XX-Large (14-16) - 2 1/4 yards
SUPPLIES to Sew the Pattern
Traditional sewing machine (with a zigzag stitch if possible) or a serger
Universal or standard sewing machine needle
The patterns for the gown -
CLICK HERE for the patterns
Scissors
Pins
Seam ripper (optional)
OPTIONAL: 3 yards of grosgrain ribbon to substitute sewing the ties for the closures. Cut it into 6 equal pieces (or 16" each tie) and finish the ends with fray check, a zig zag stitch or tie a knot. Skip the instructions on how to sew the ties. Add them to the gown like the sewn ties.
You will also need a good quality polyester thread in white or matching color. If you are not sure about your thread quality please try this test:
Cut off about 12” of the thread
Knot the thread in the middle
With your hands gripping about 3” on each side of the knot, pull on the thread hard.
Did it break? If it did, please do not use this thread.
INSTRUCTIONS on How to Sew the Gown

NOTES:
All seams are 1/2" (the edge of the foot). This is usually the width of the foot and makes it an easy gauge.
Start sewing 1/8" to 1/4" from the edge so the fabric does not bunch up under the feed dogs.
All sewing should begin and end with a backstitch or a tack down stitch to secur the stitches.
Most seams do not need to be pinned as they are straight and the fabric is not slippery. If this is a new concept to you, try it. It is very fast and this easy project is a great one to try new skills. Plus it is a lot faster.
While garments should be pressed, this fabric is so nice and the pattern so simple that no pressing is necessary.
If you do not have a zig zag stitch, please double stitch instead. The second stitch should be close to the edge of the opposite seam stitch.
STEP 1
Make the pattern and cut the fabric.
CLICK HERE for the pattern and instructions on how to make the pattern and cut the fabric.
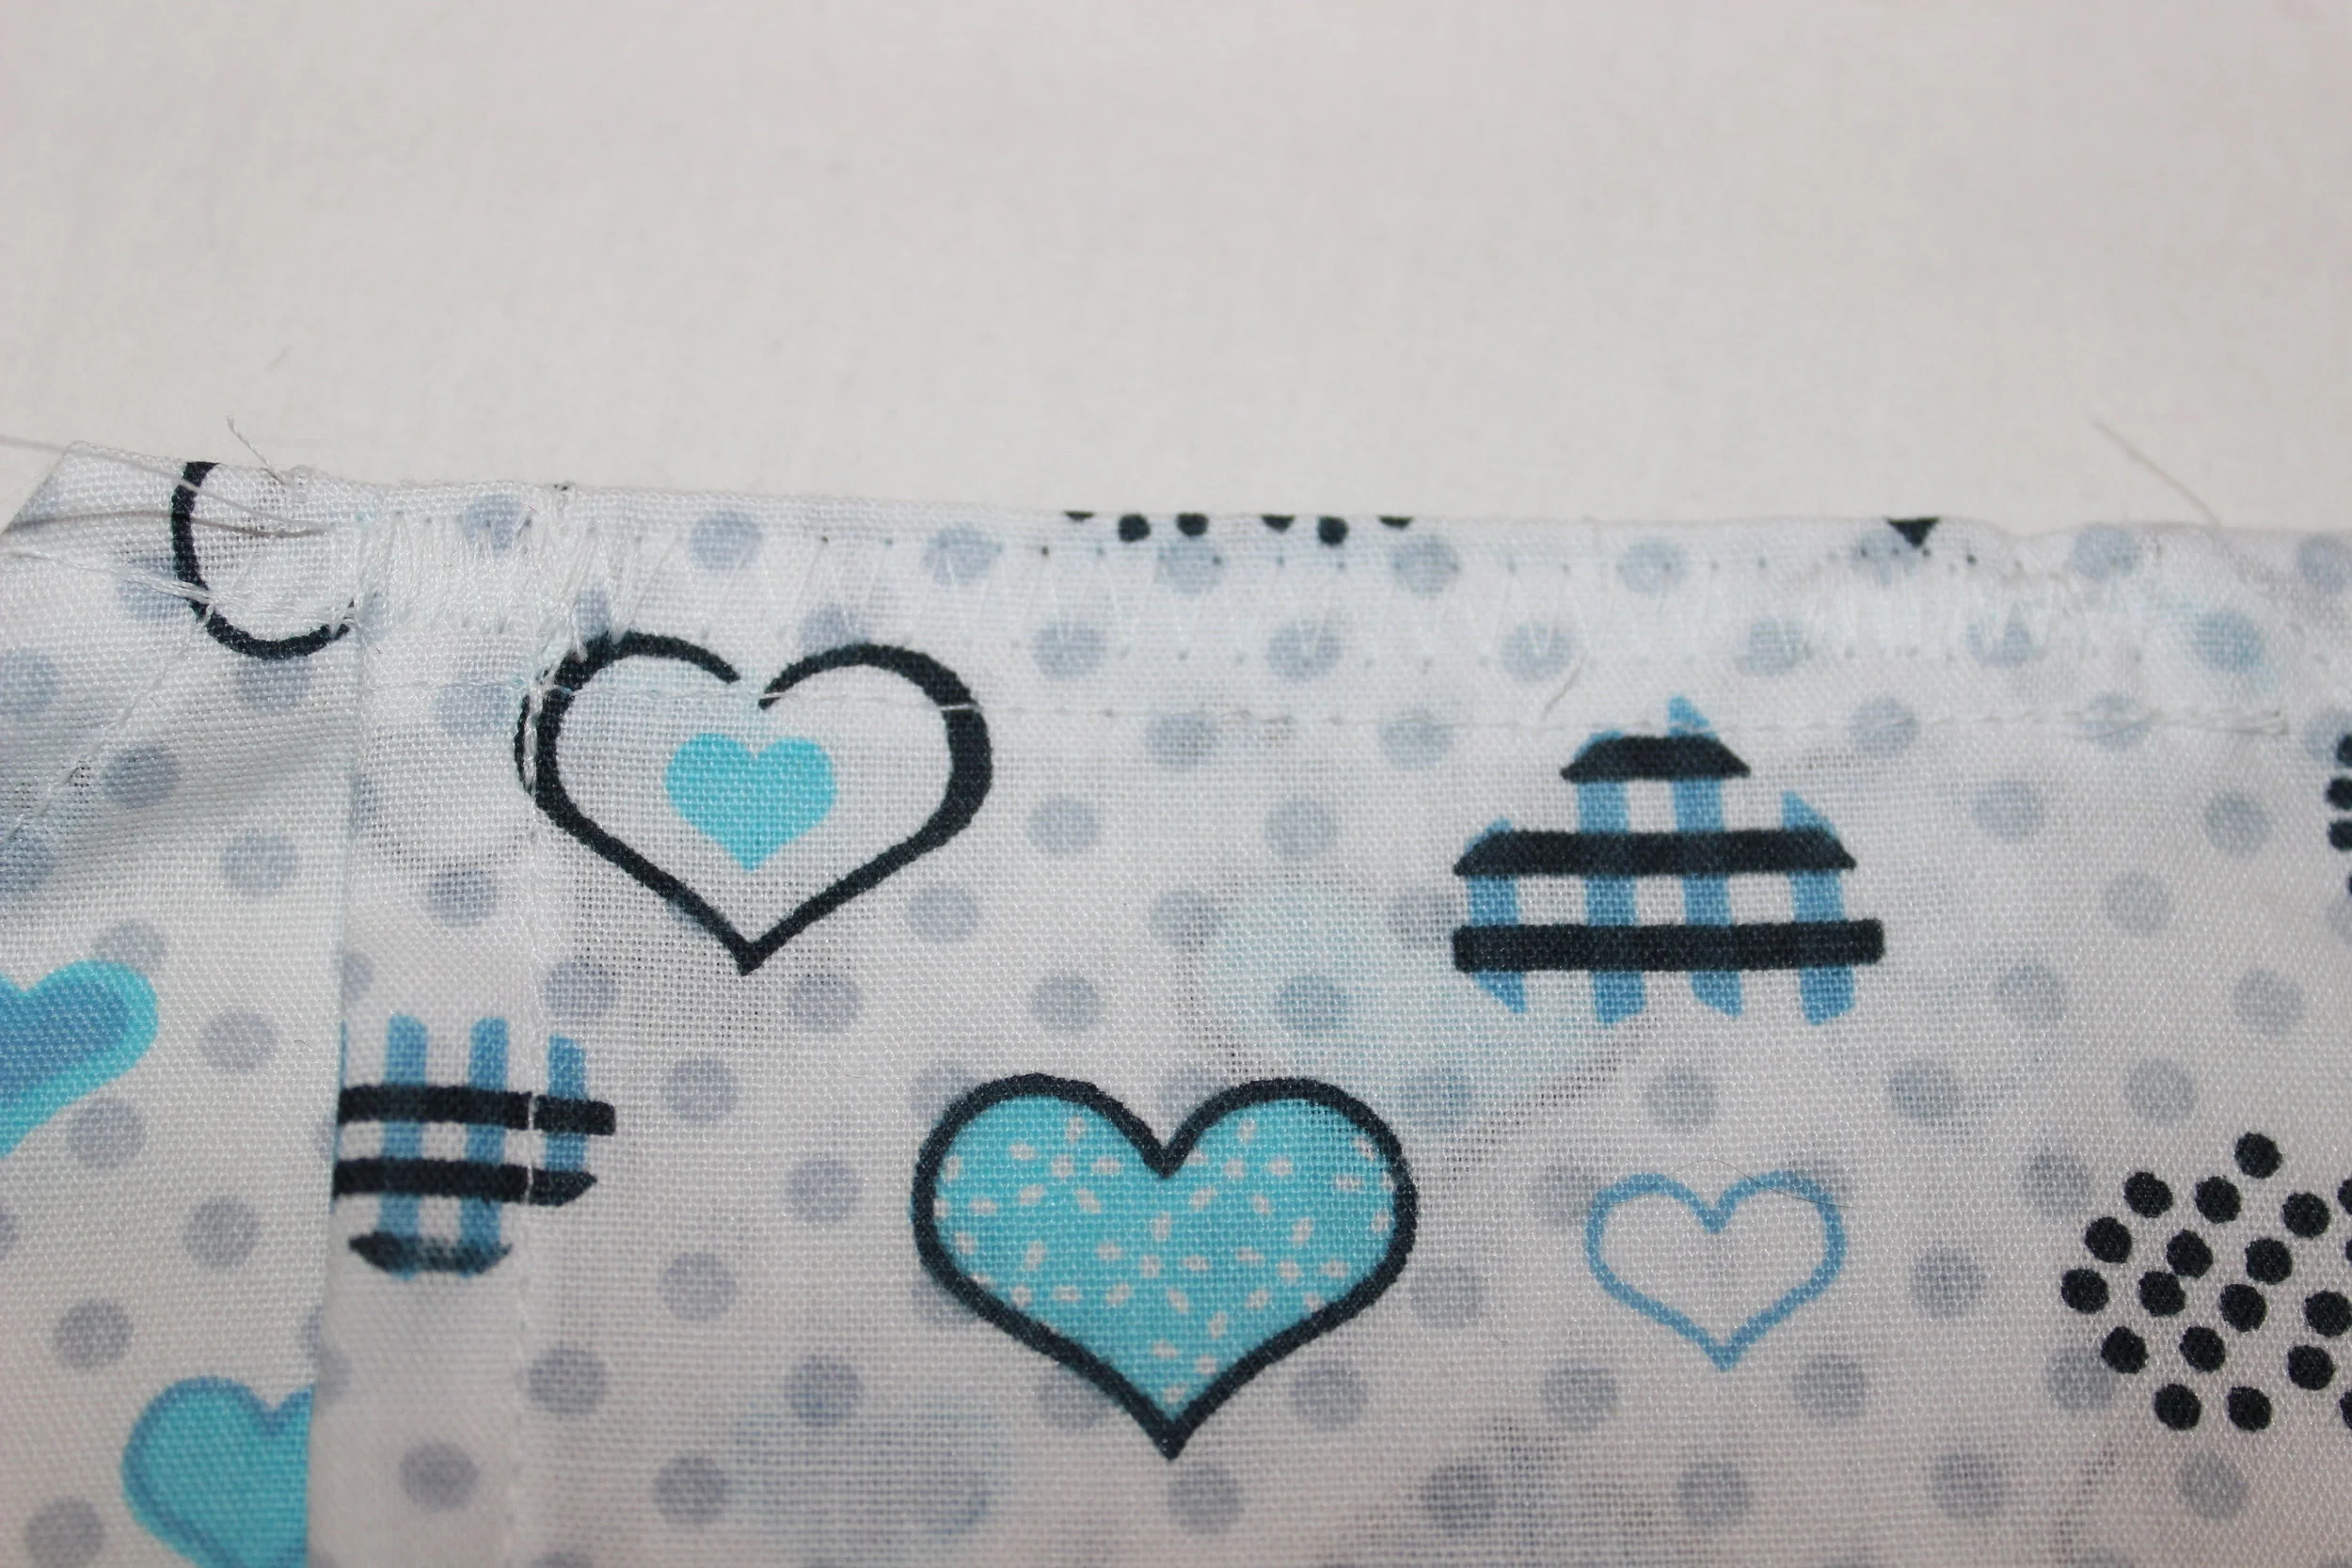
STEP 2 - Edge Hem (Reference Only)
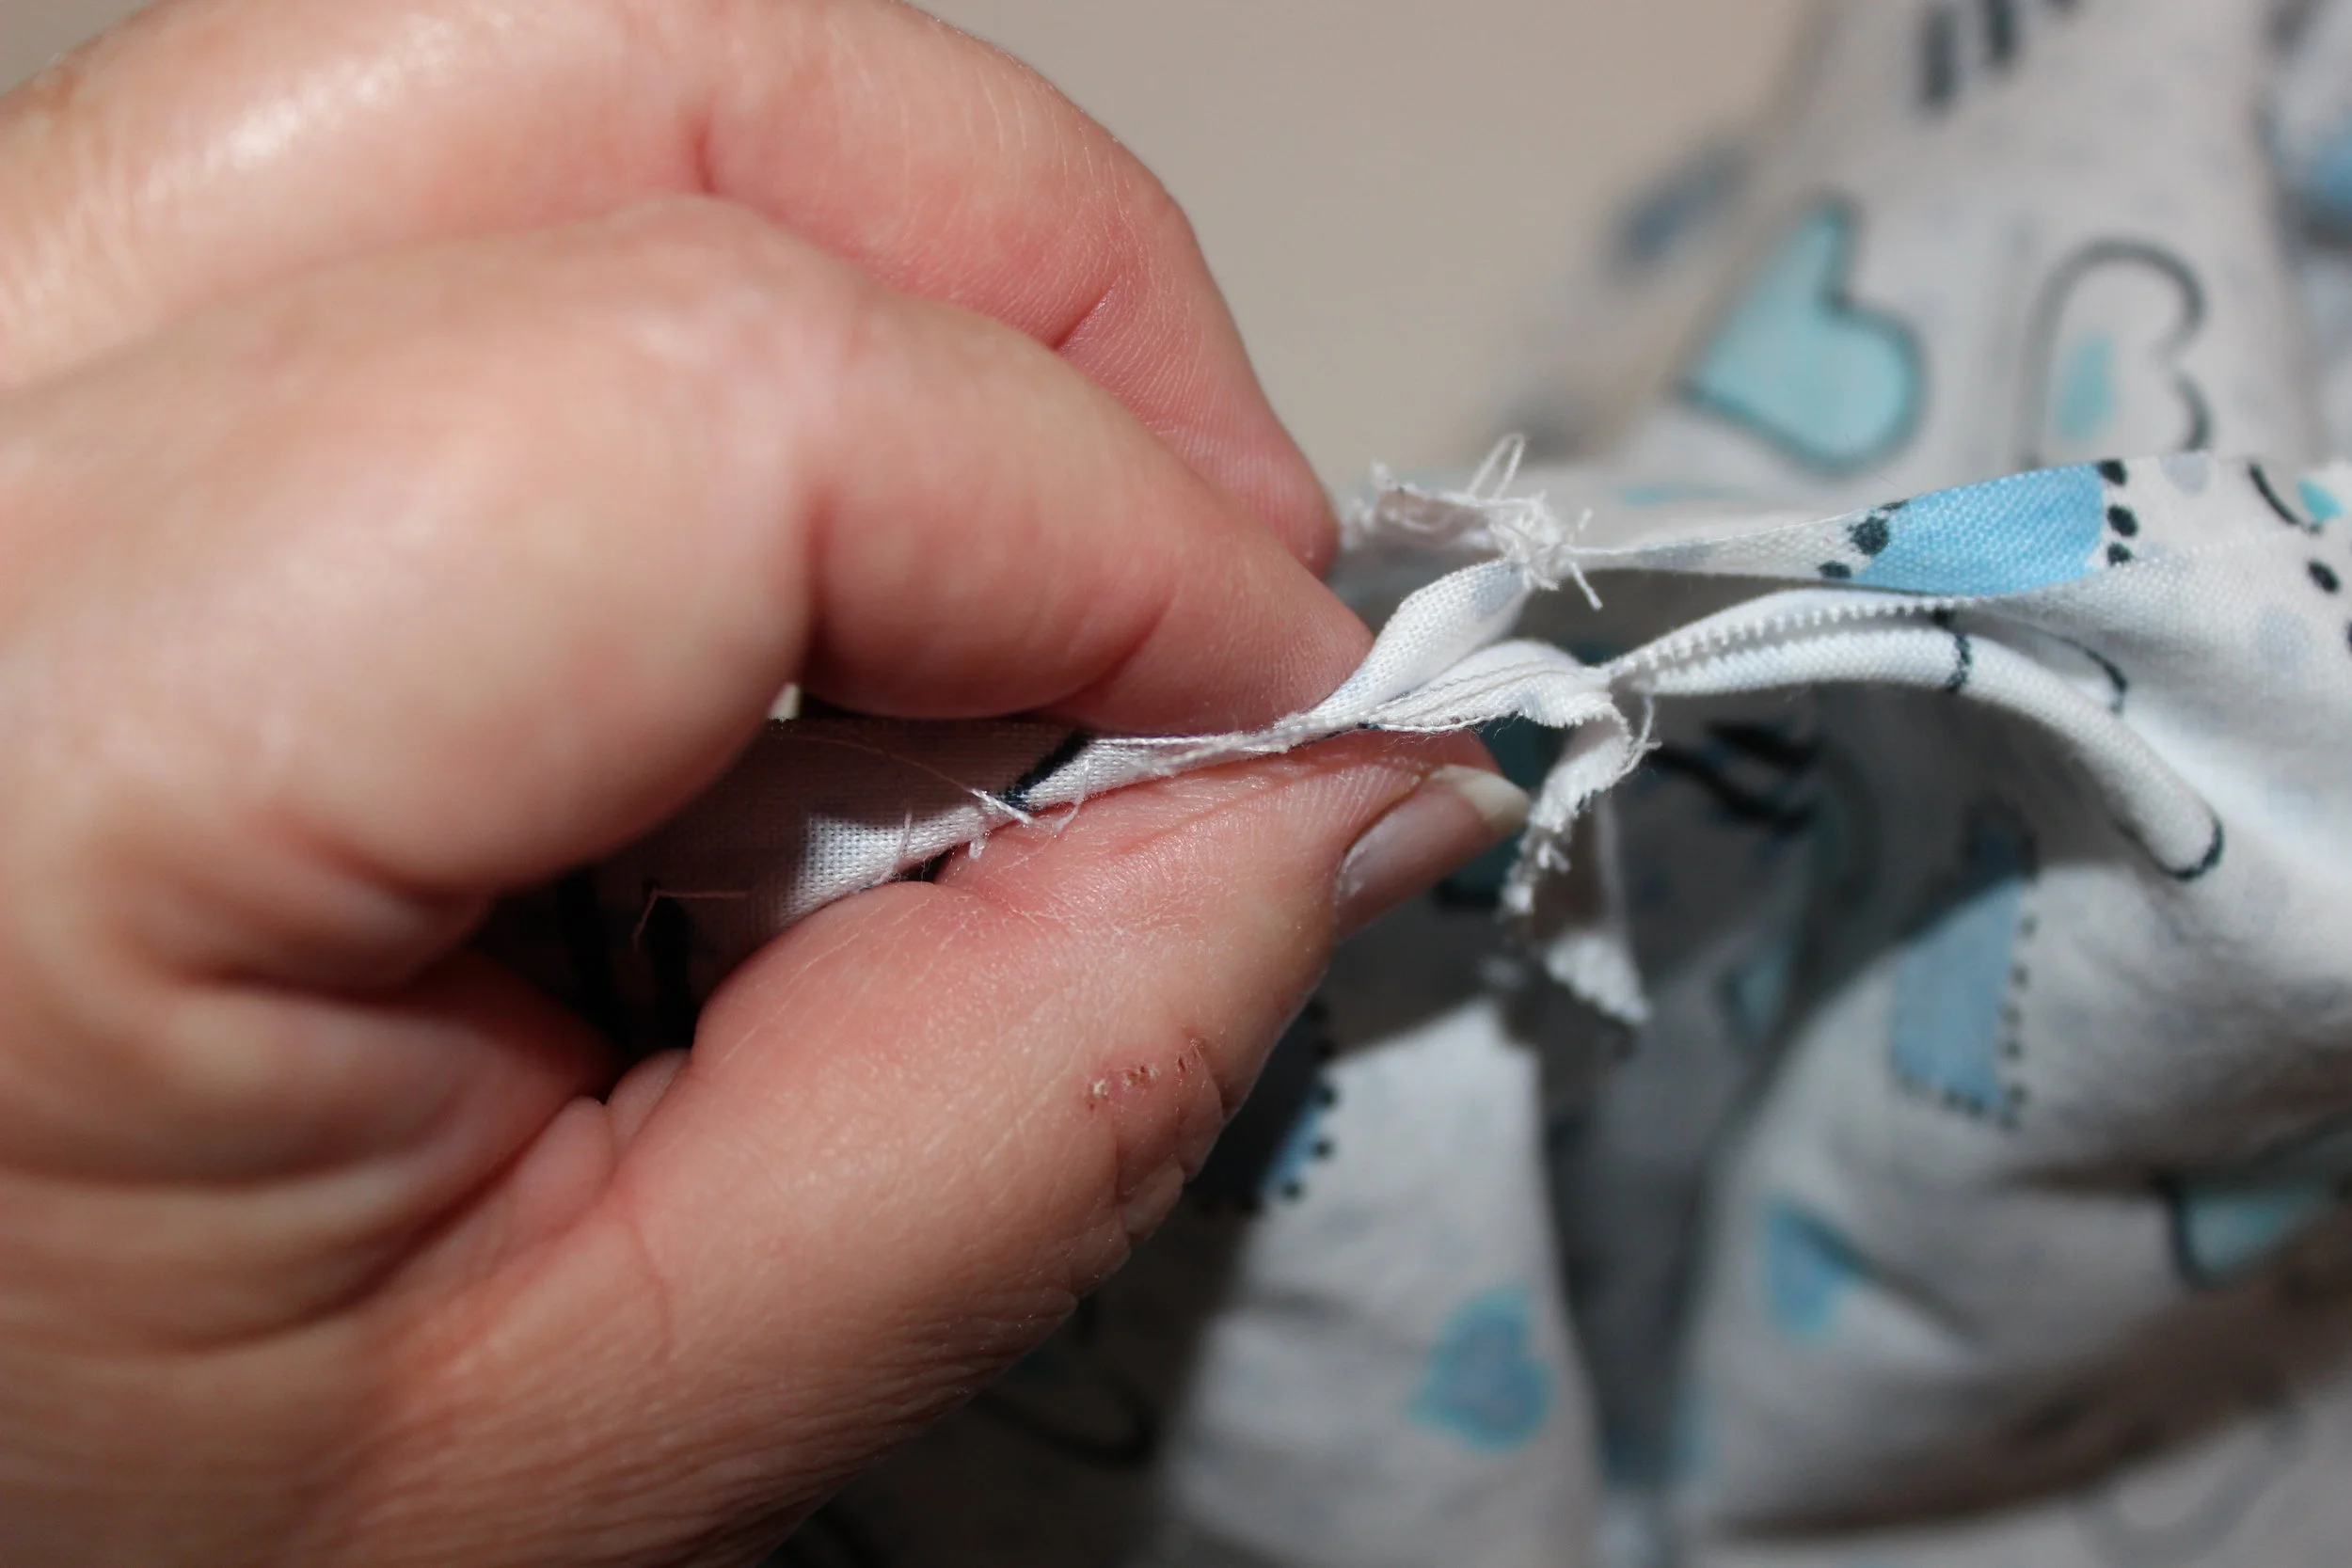
Edge hemming will be used on most of the edges of this garment. Edge hemming is a three step process of sewing the edge of the garment so the woven fabric does not unravel. Most garments use a 1/2" edge hem, but since this is for beginners, we will use a 1" edge hem. Please refer to this step when "Edge Hem" is mentioned. It is as follows:
Fold the edge of the garment 1/2"
Fold the edge of the garment a second time 1/2" (this will encase the raw edge)
Topstitch or stitch close to the edge that is not on the fold.
STEP 3 - Making the Ties
Skip this step if you are using grosgrain ribbon instead of making the ties with the same fabric.
Fold in the short ends of the fabric 1/4" and then 1/4" again (this will encase the raw edge of the ends).
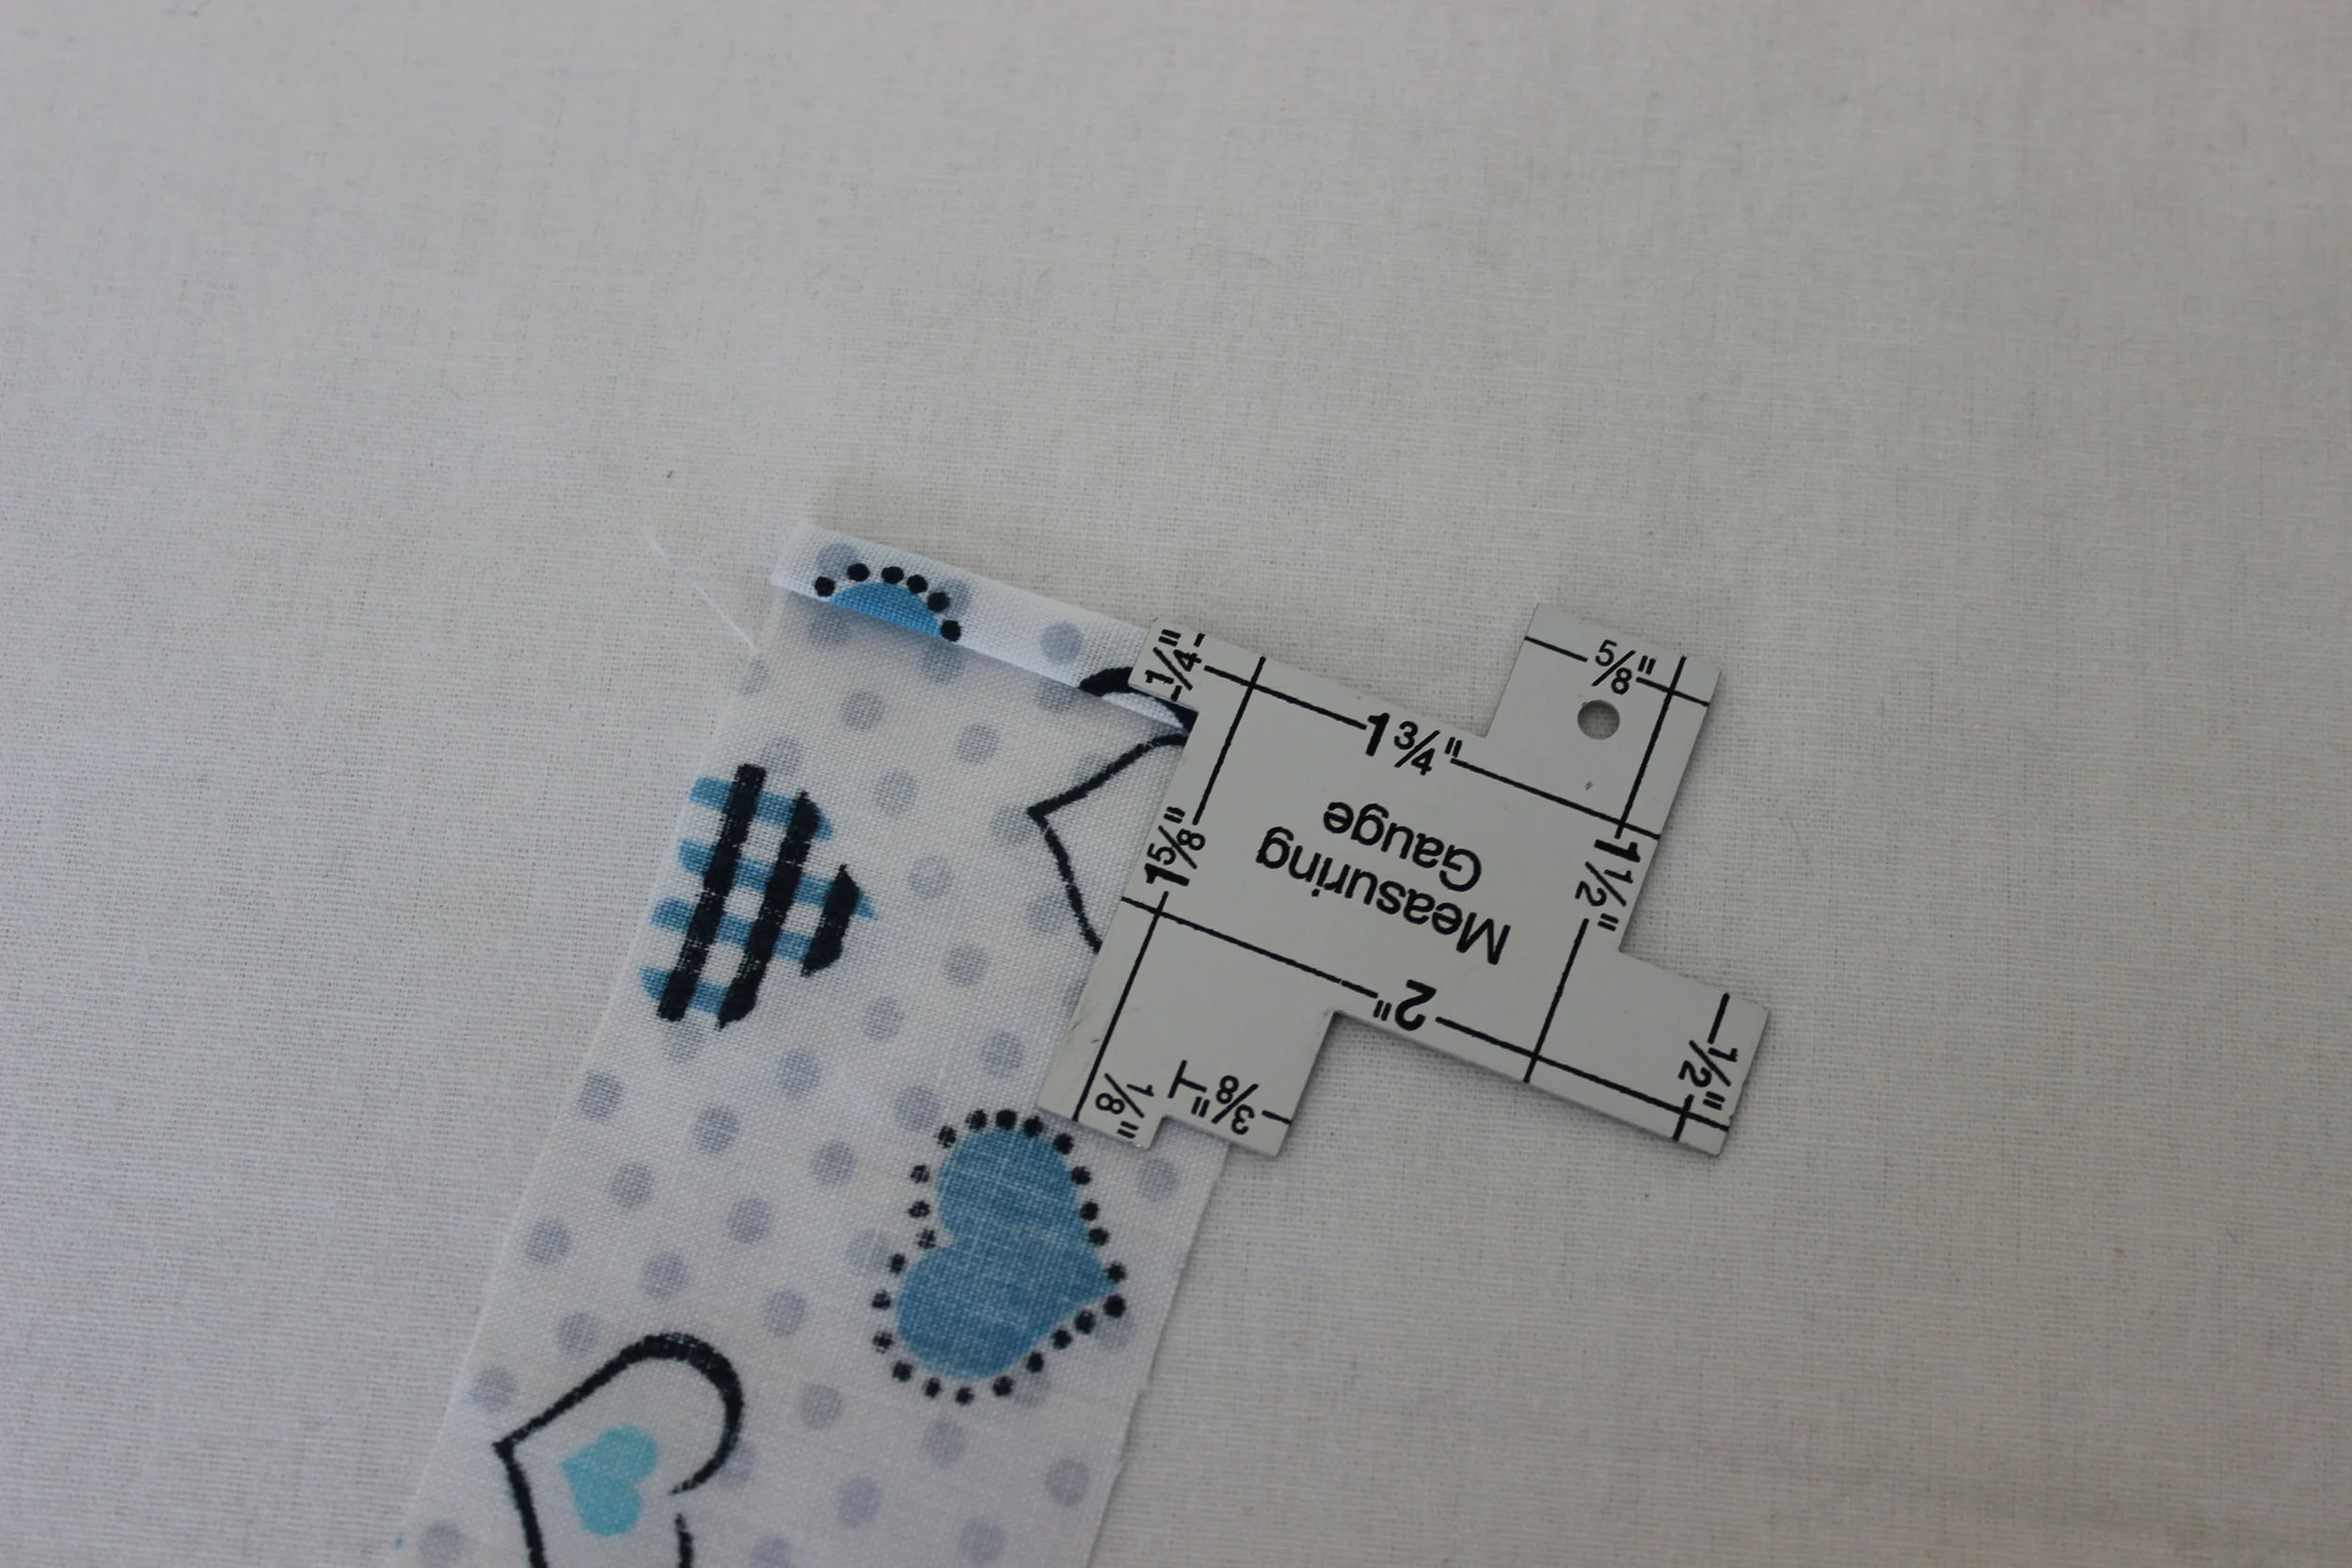
Fold the fabric in half lengthwise. It will now be 15" by 1".

Finger press along the crease.
Open the fabric and fold one long edge up to meet the center fold line.

Do this for the other side as well.

Now fold it closed. The raw pieces will be encased inside.

Topstitch or stitch close to the edge that is not on the fold.


Repeat this for all 6 ties.

Set the ties aside.
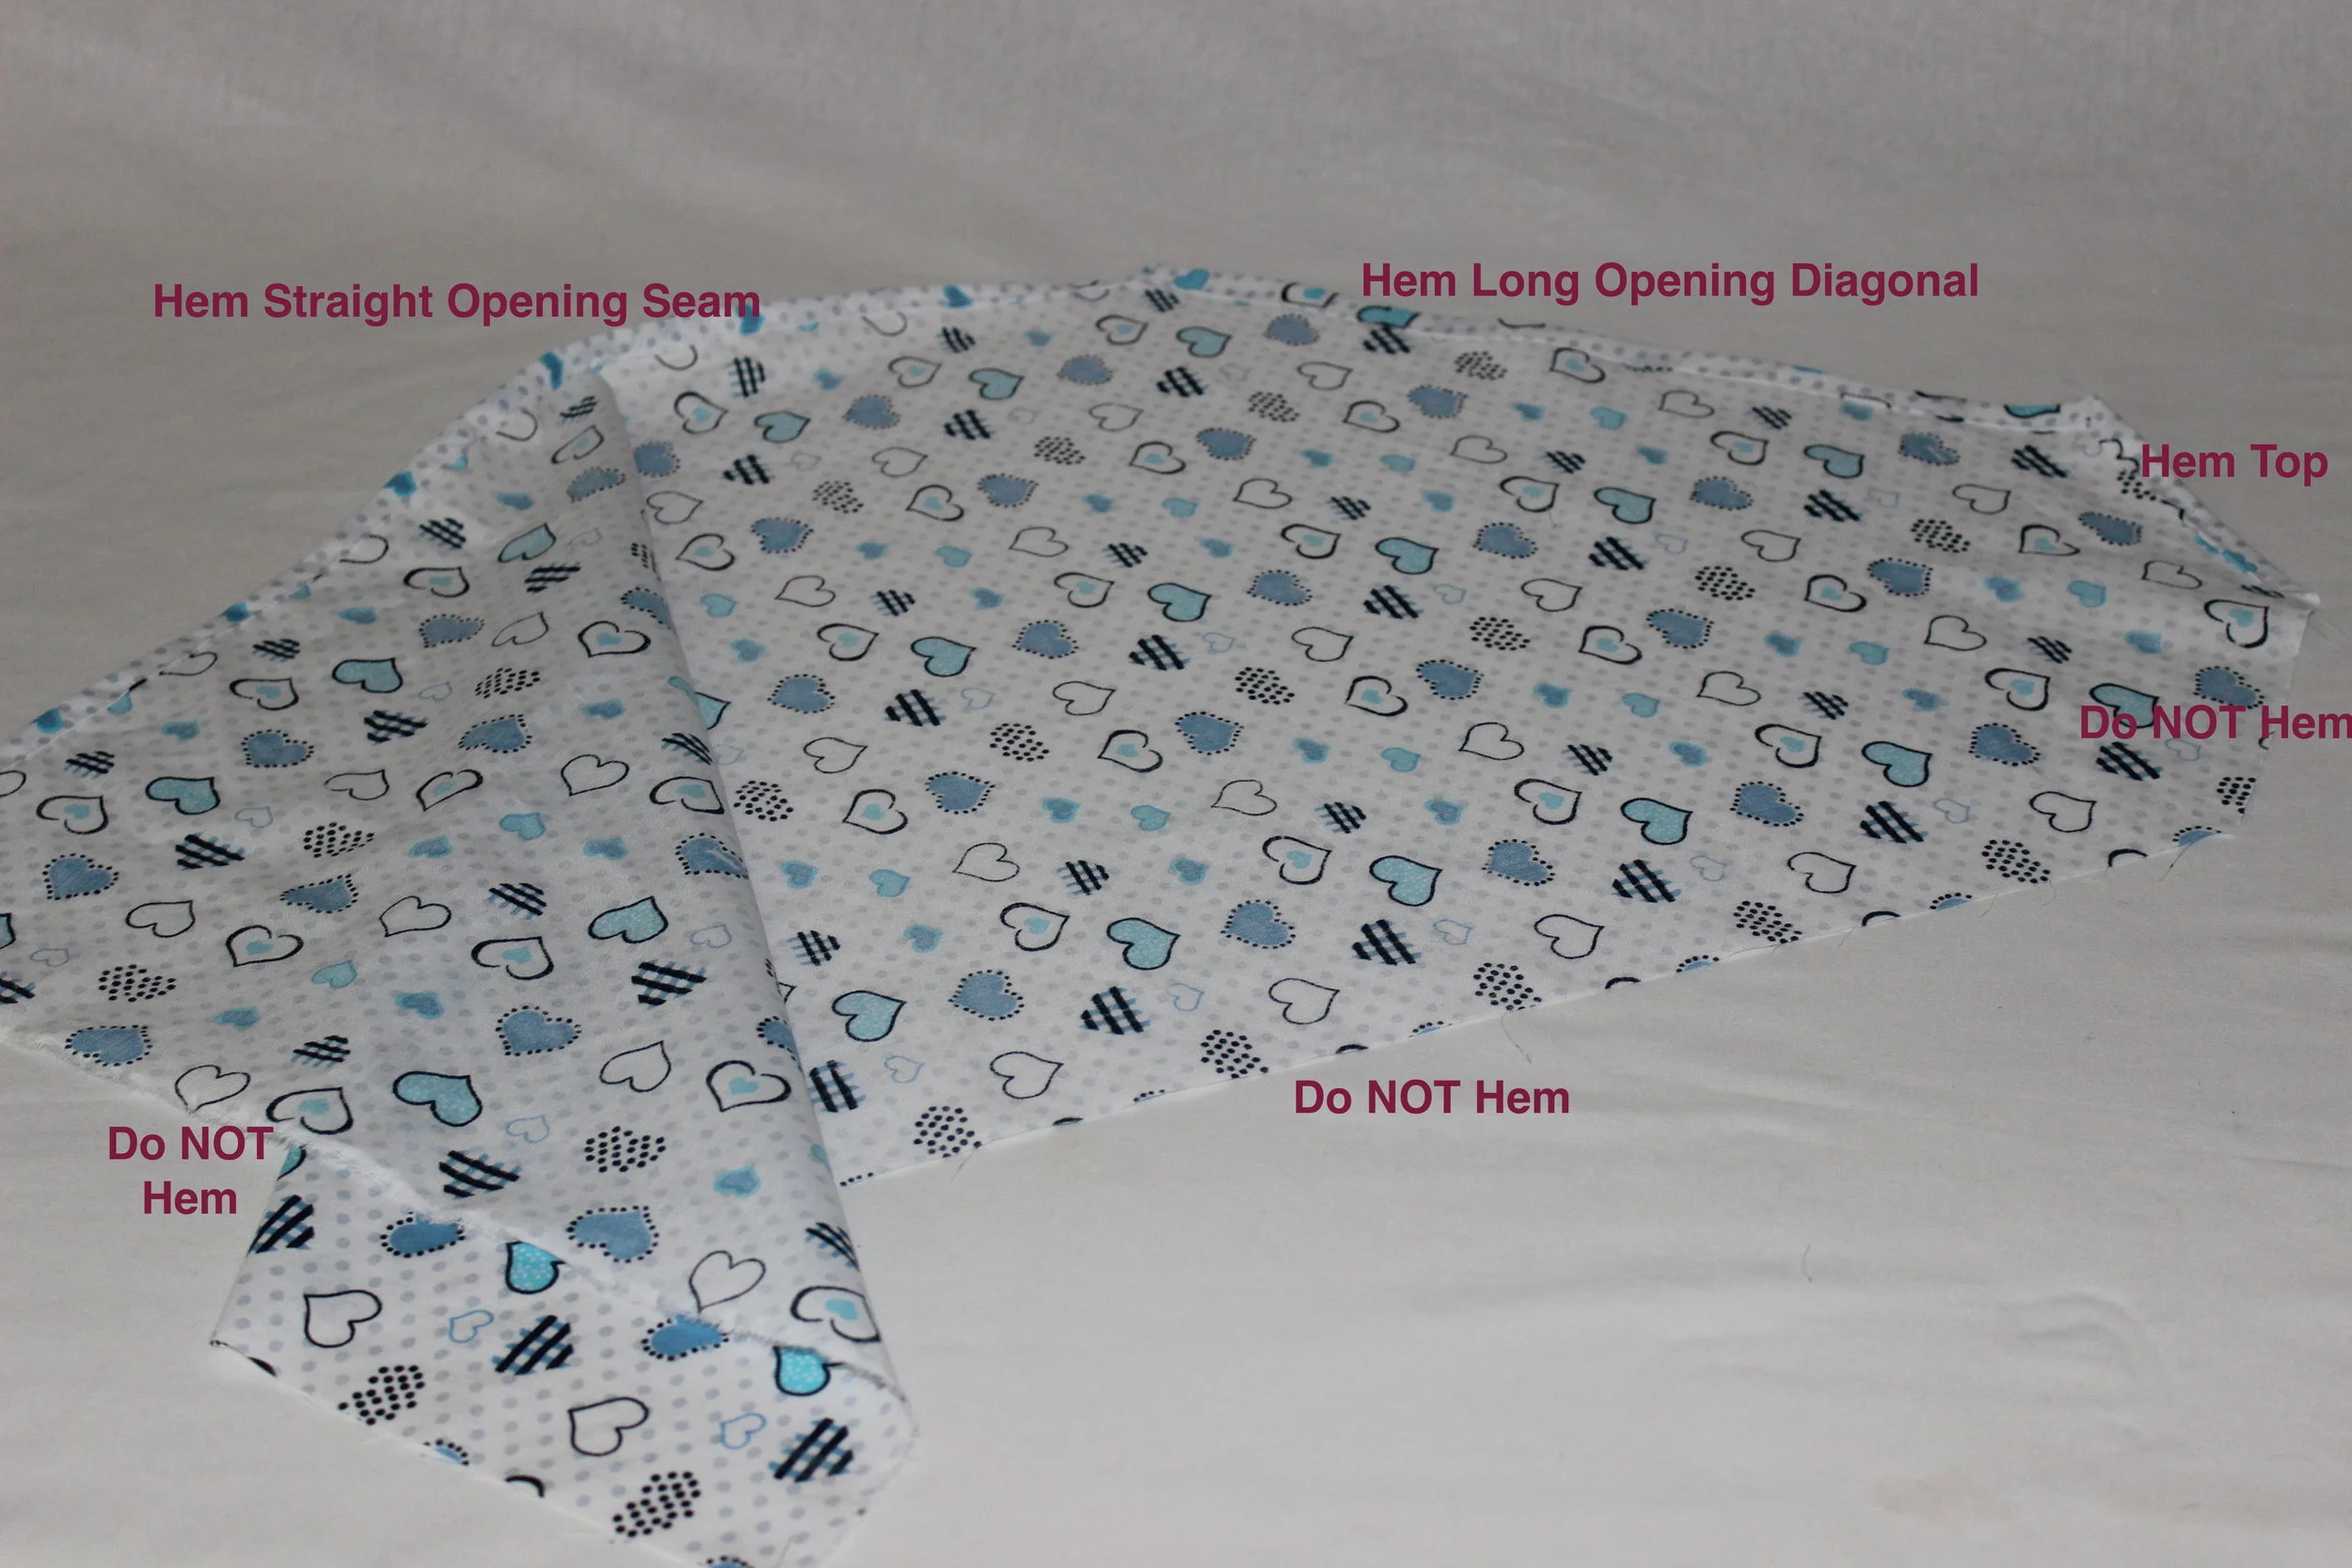
STEP 4 - Sleeve
Edge Hem (see step 2 above) the top edge of the sleeve.
Edge Hem (see step 2 above) the straight side that has both corners a right angle (the butterfly opening).
Edge Hem (see step 2 above) the bottom of the sleeve.
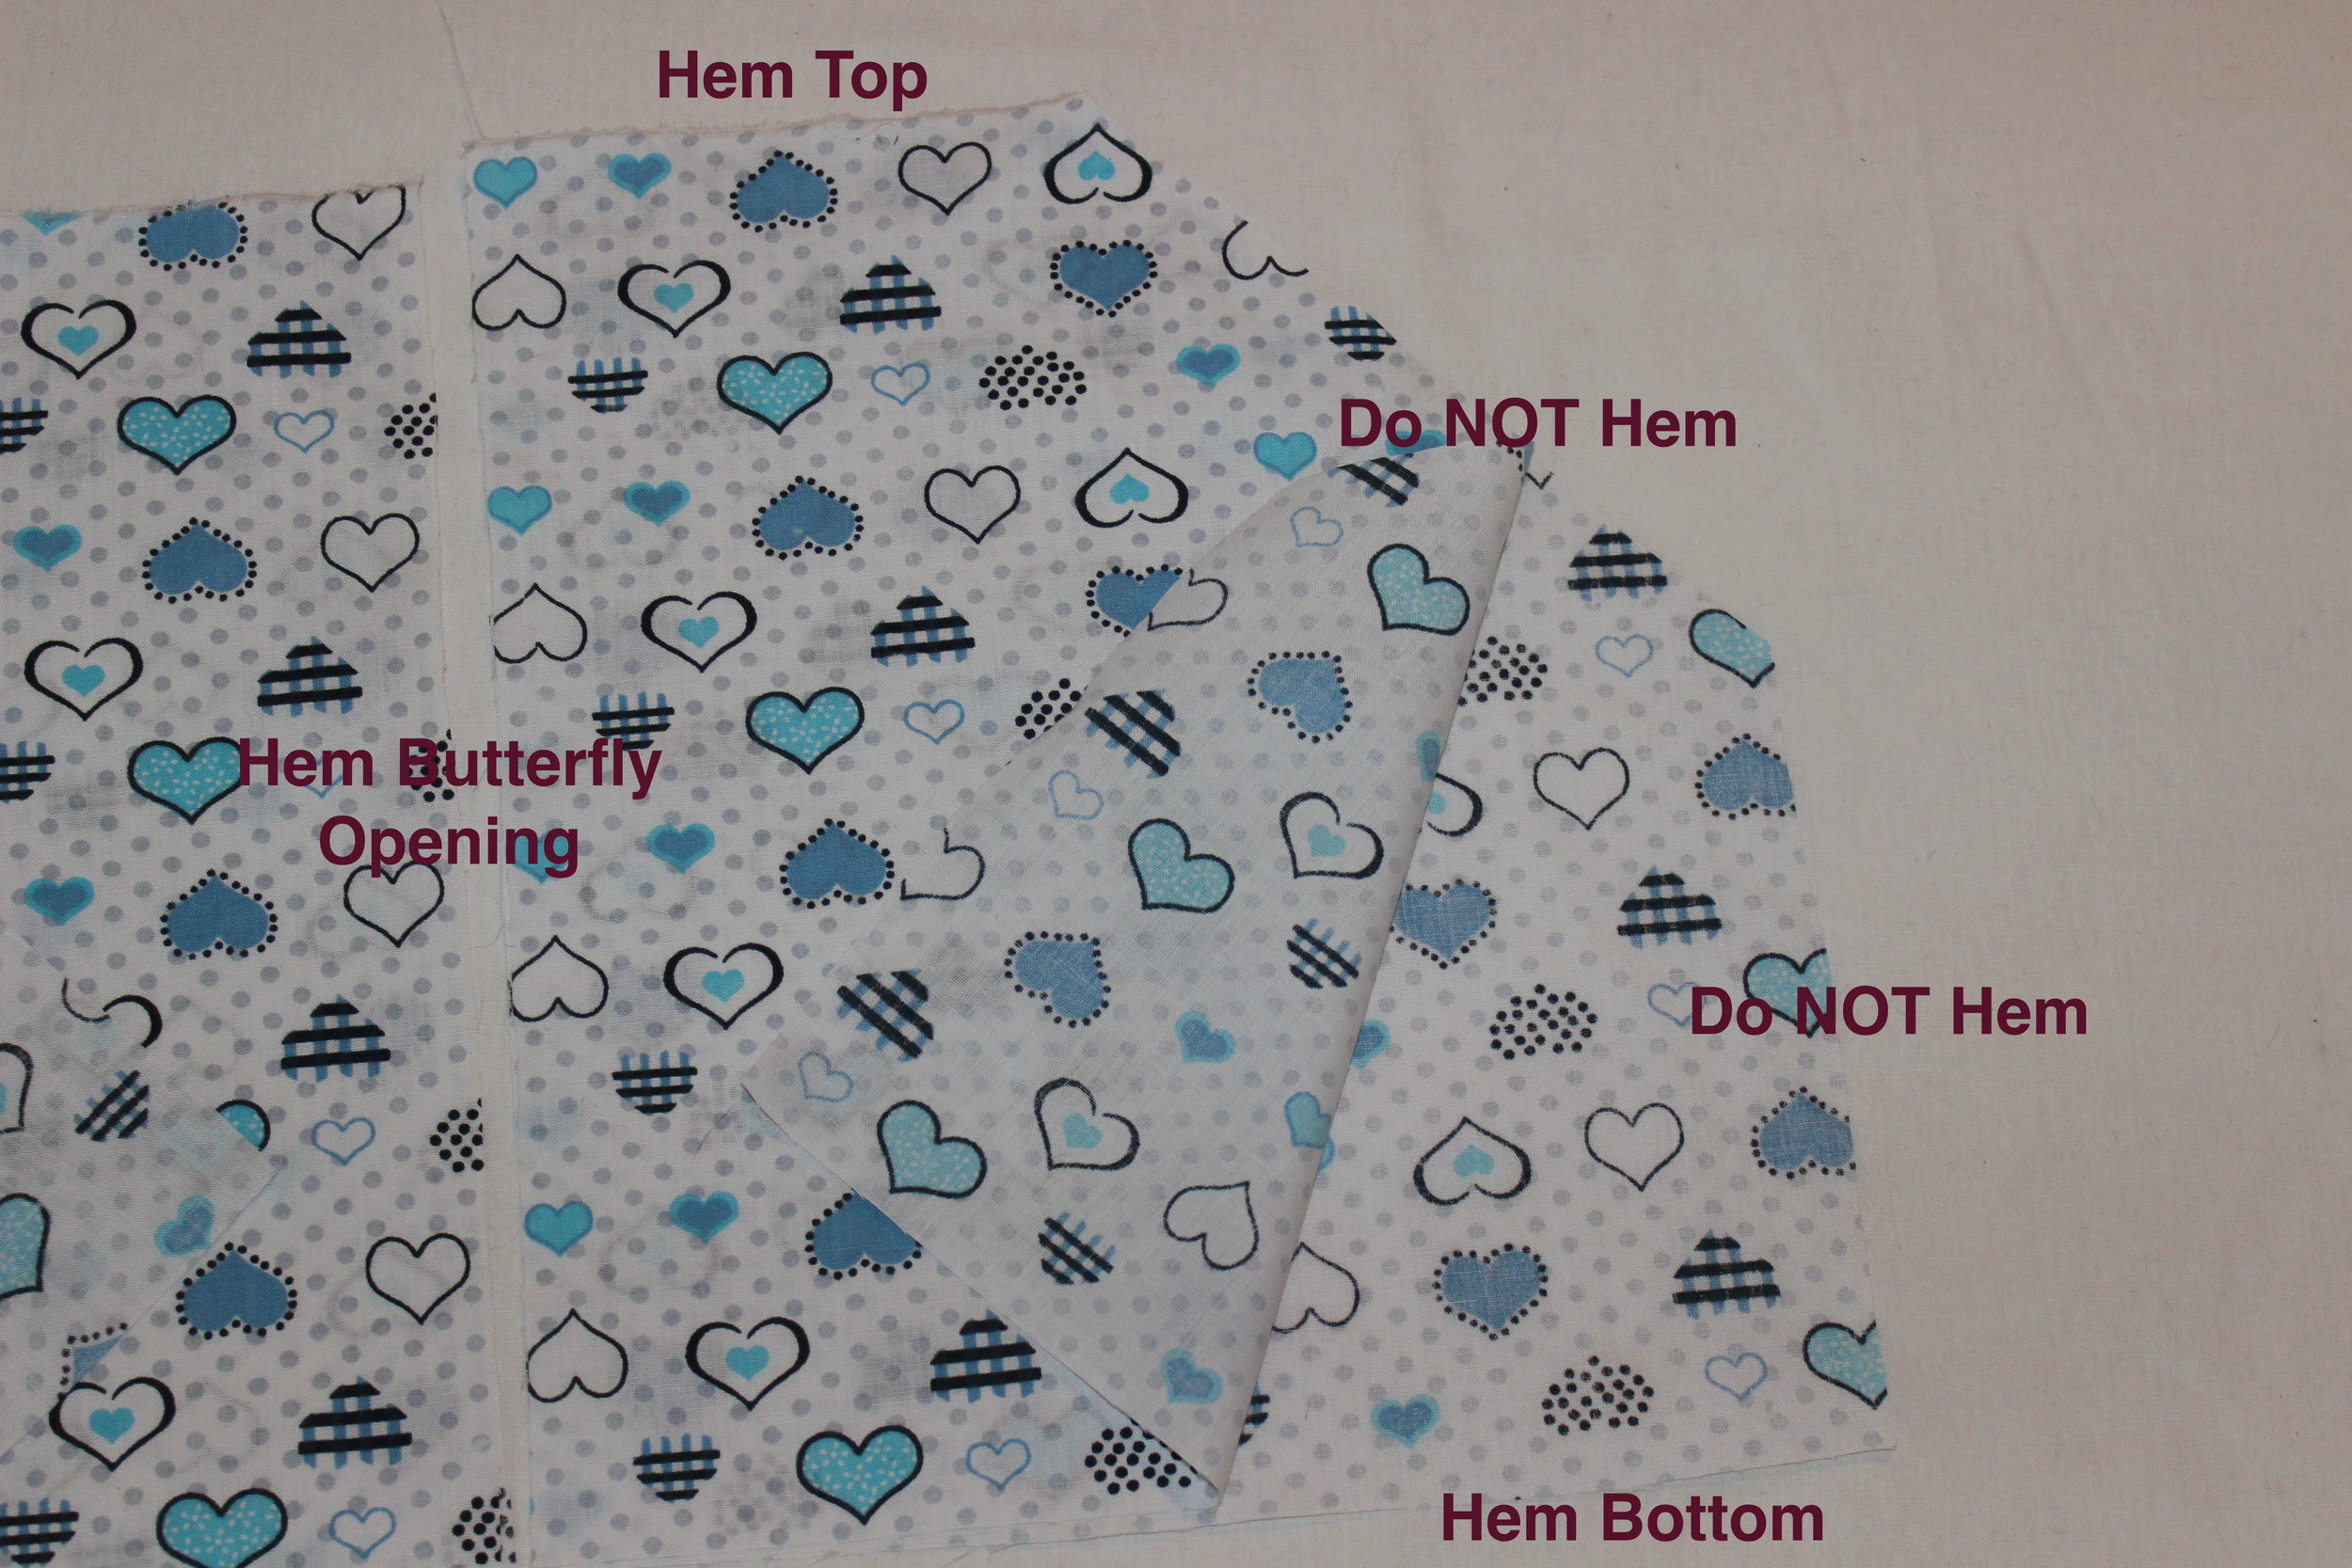
Do not hem the diagonal or the straight seam below the diagonal as these are the sleeve and side seams.
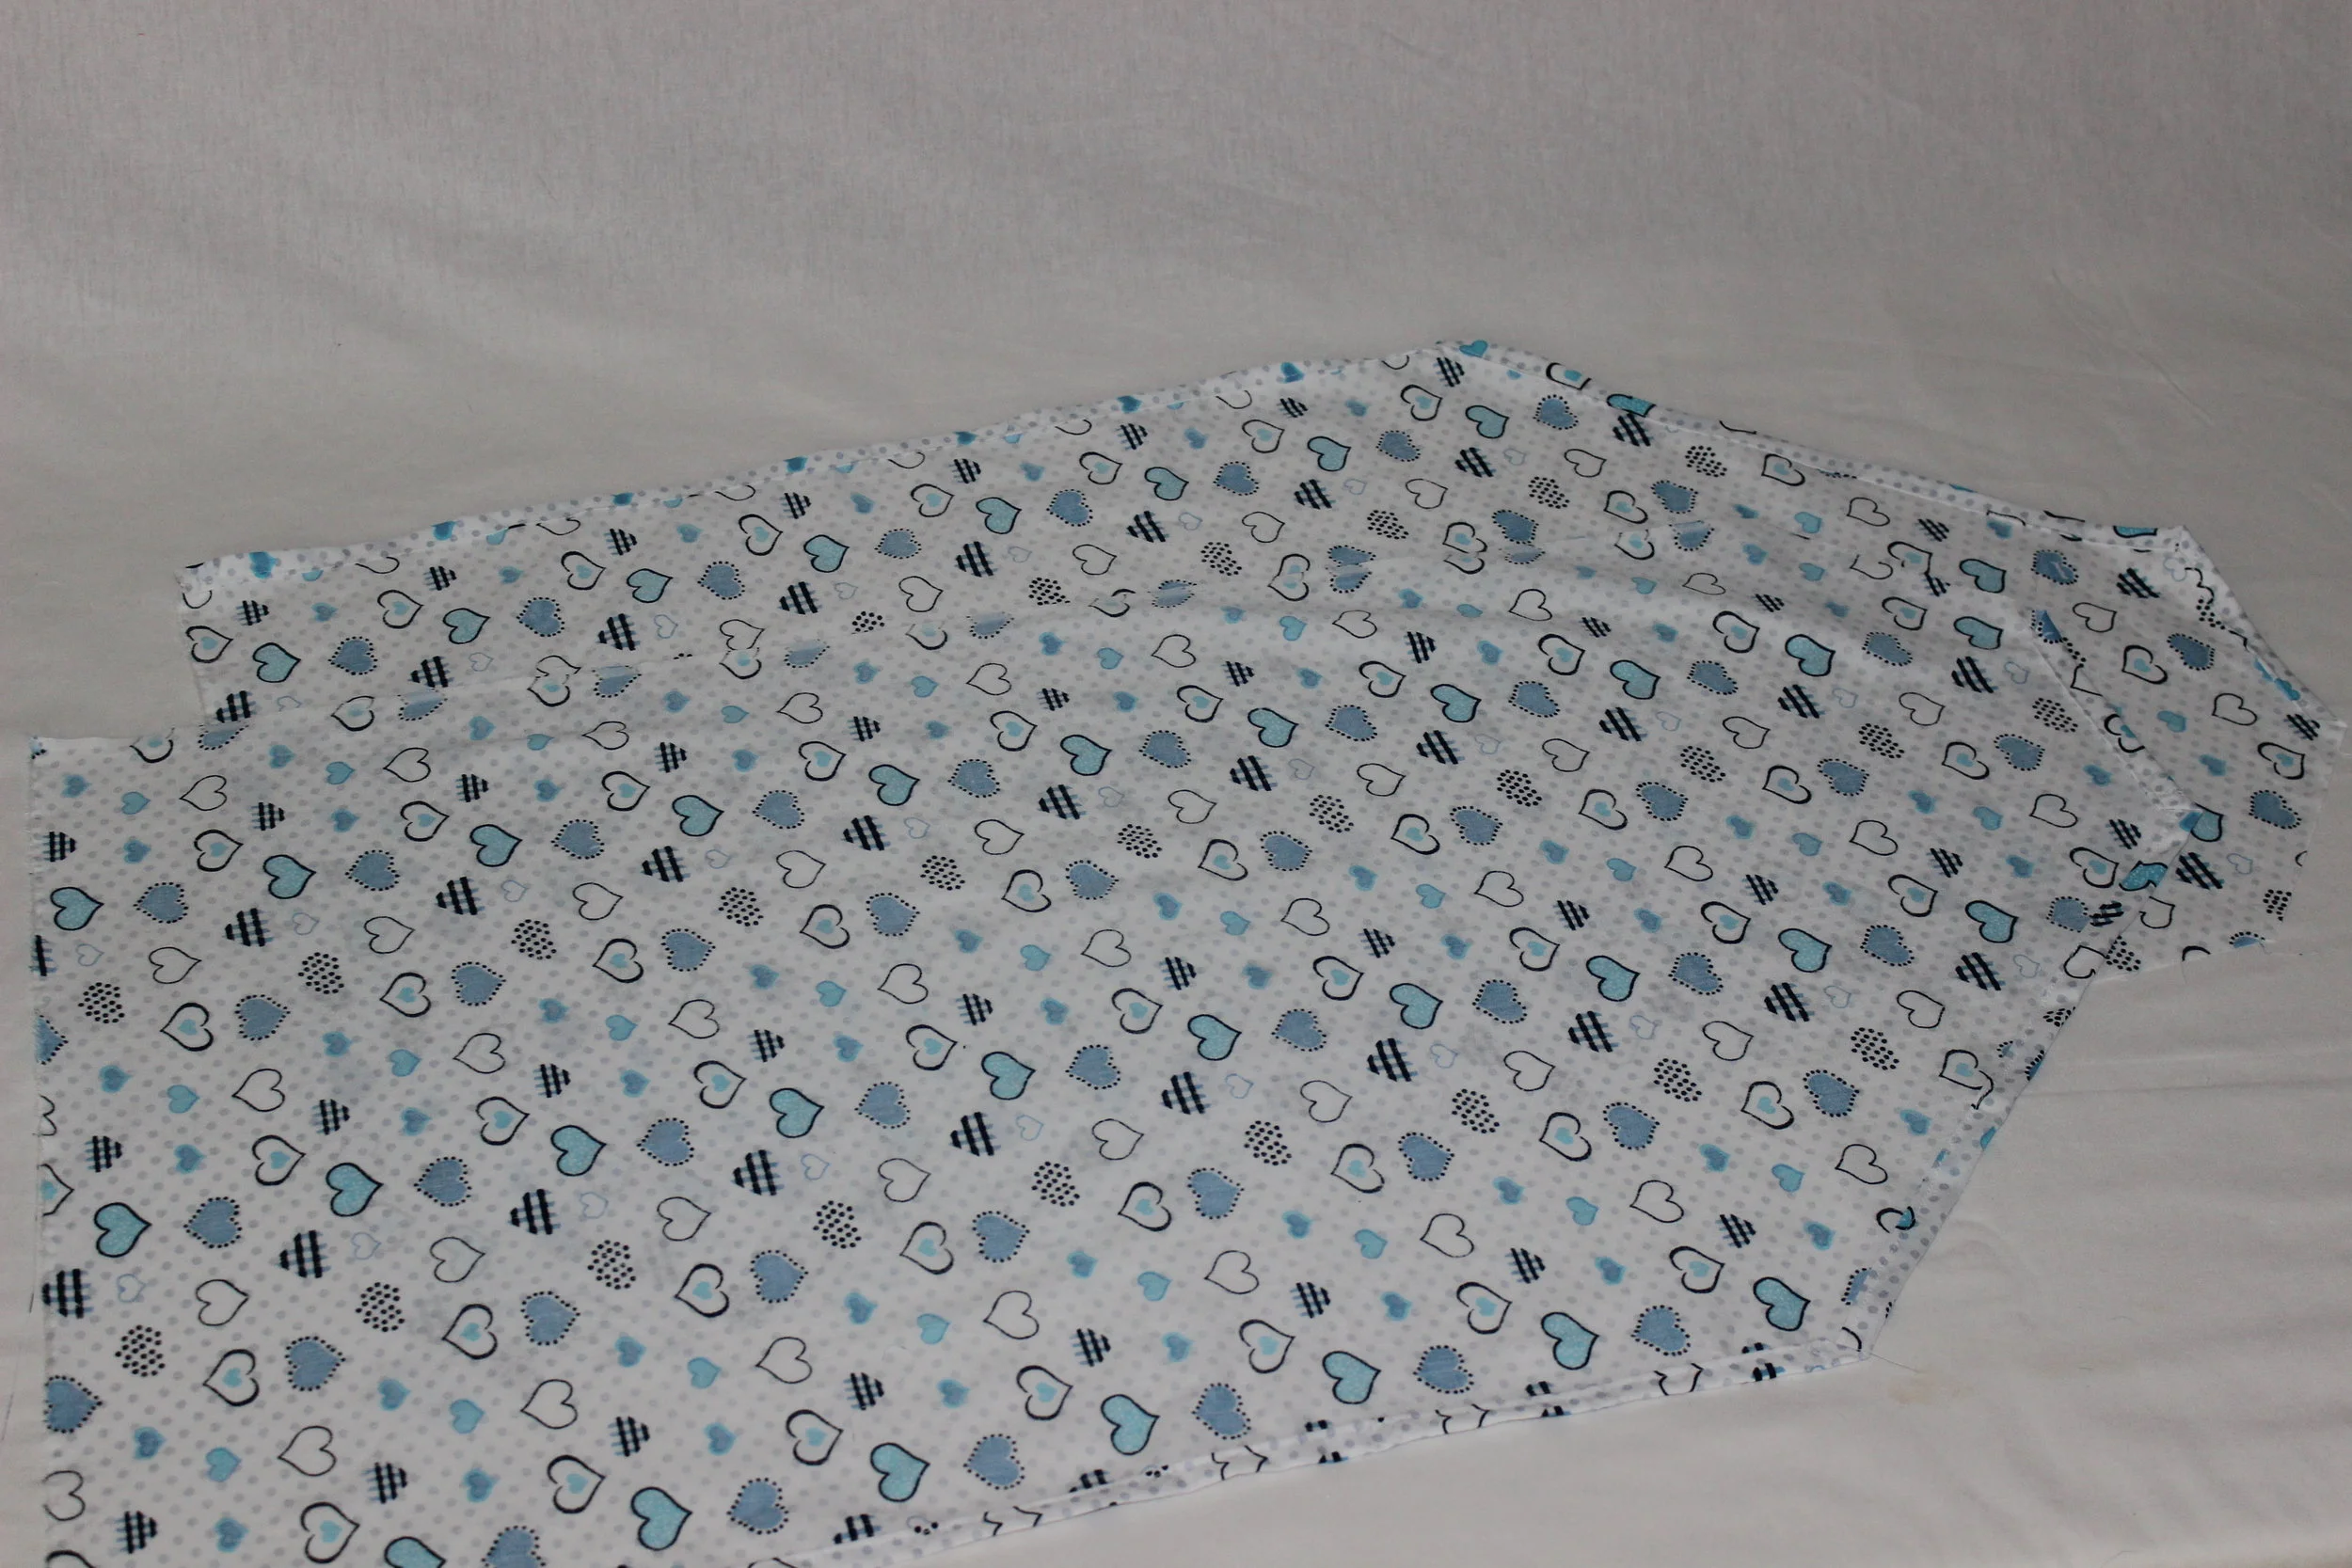
With both wrong sides down, place two of the opposite sleeves on top of each other leaving 5/8" that is not overlapping on each end. The sleeves should have the two hemmed straight edges overlapping in the middle and the two diagonal edges should be on the sides.
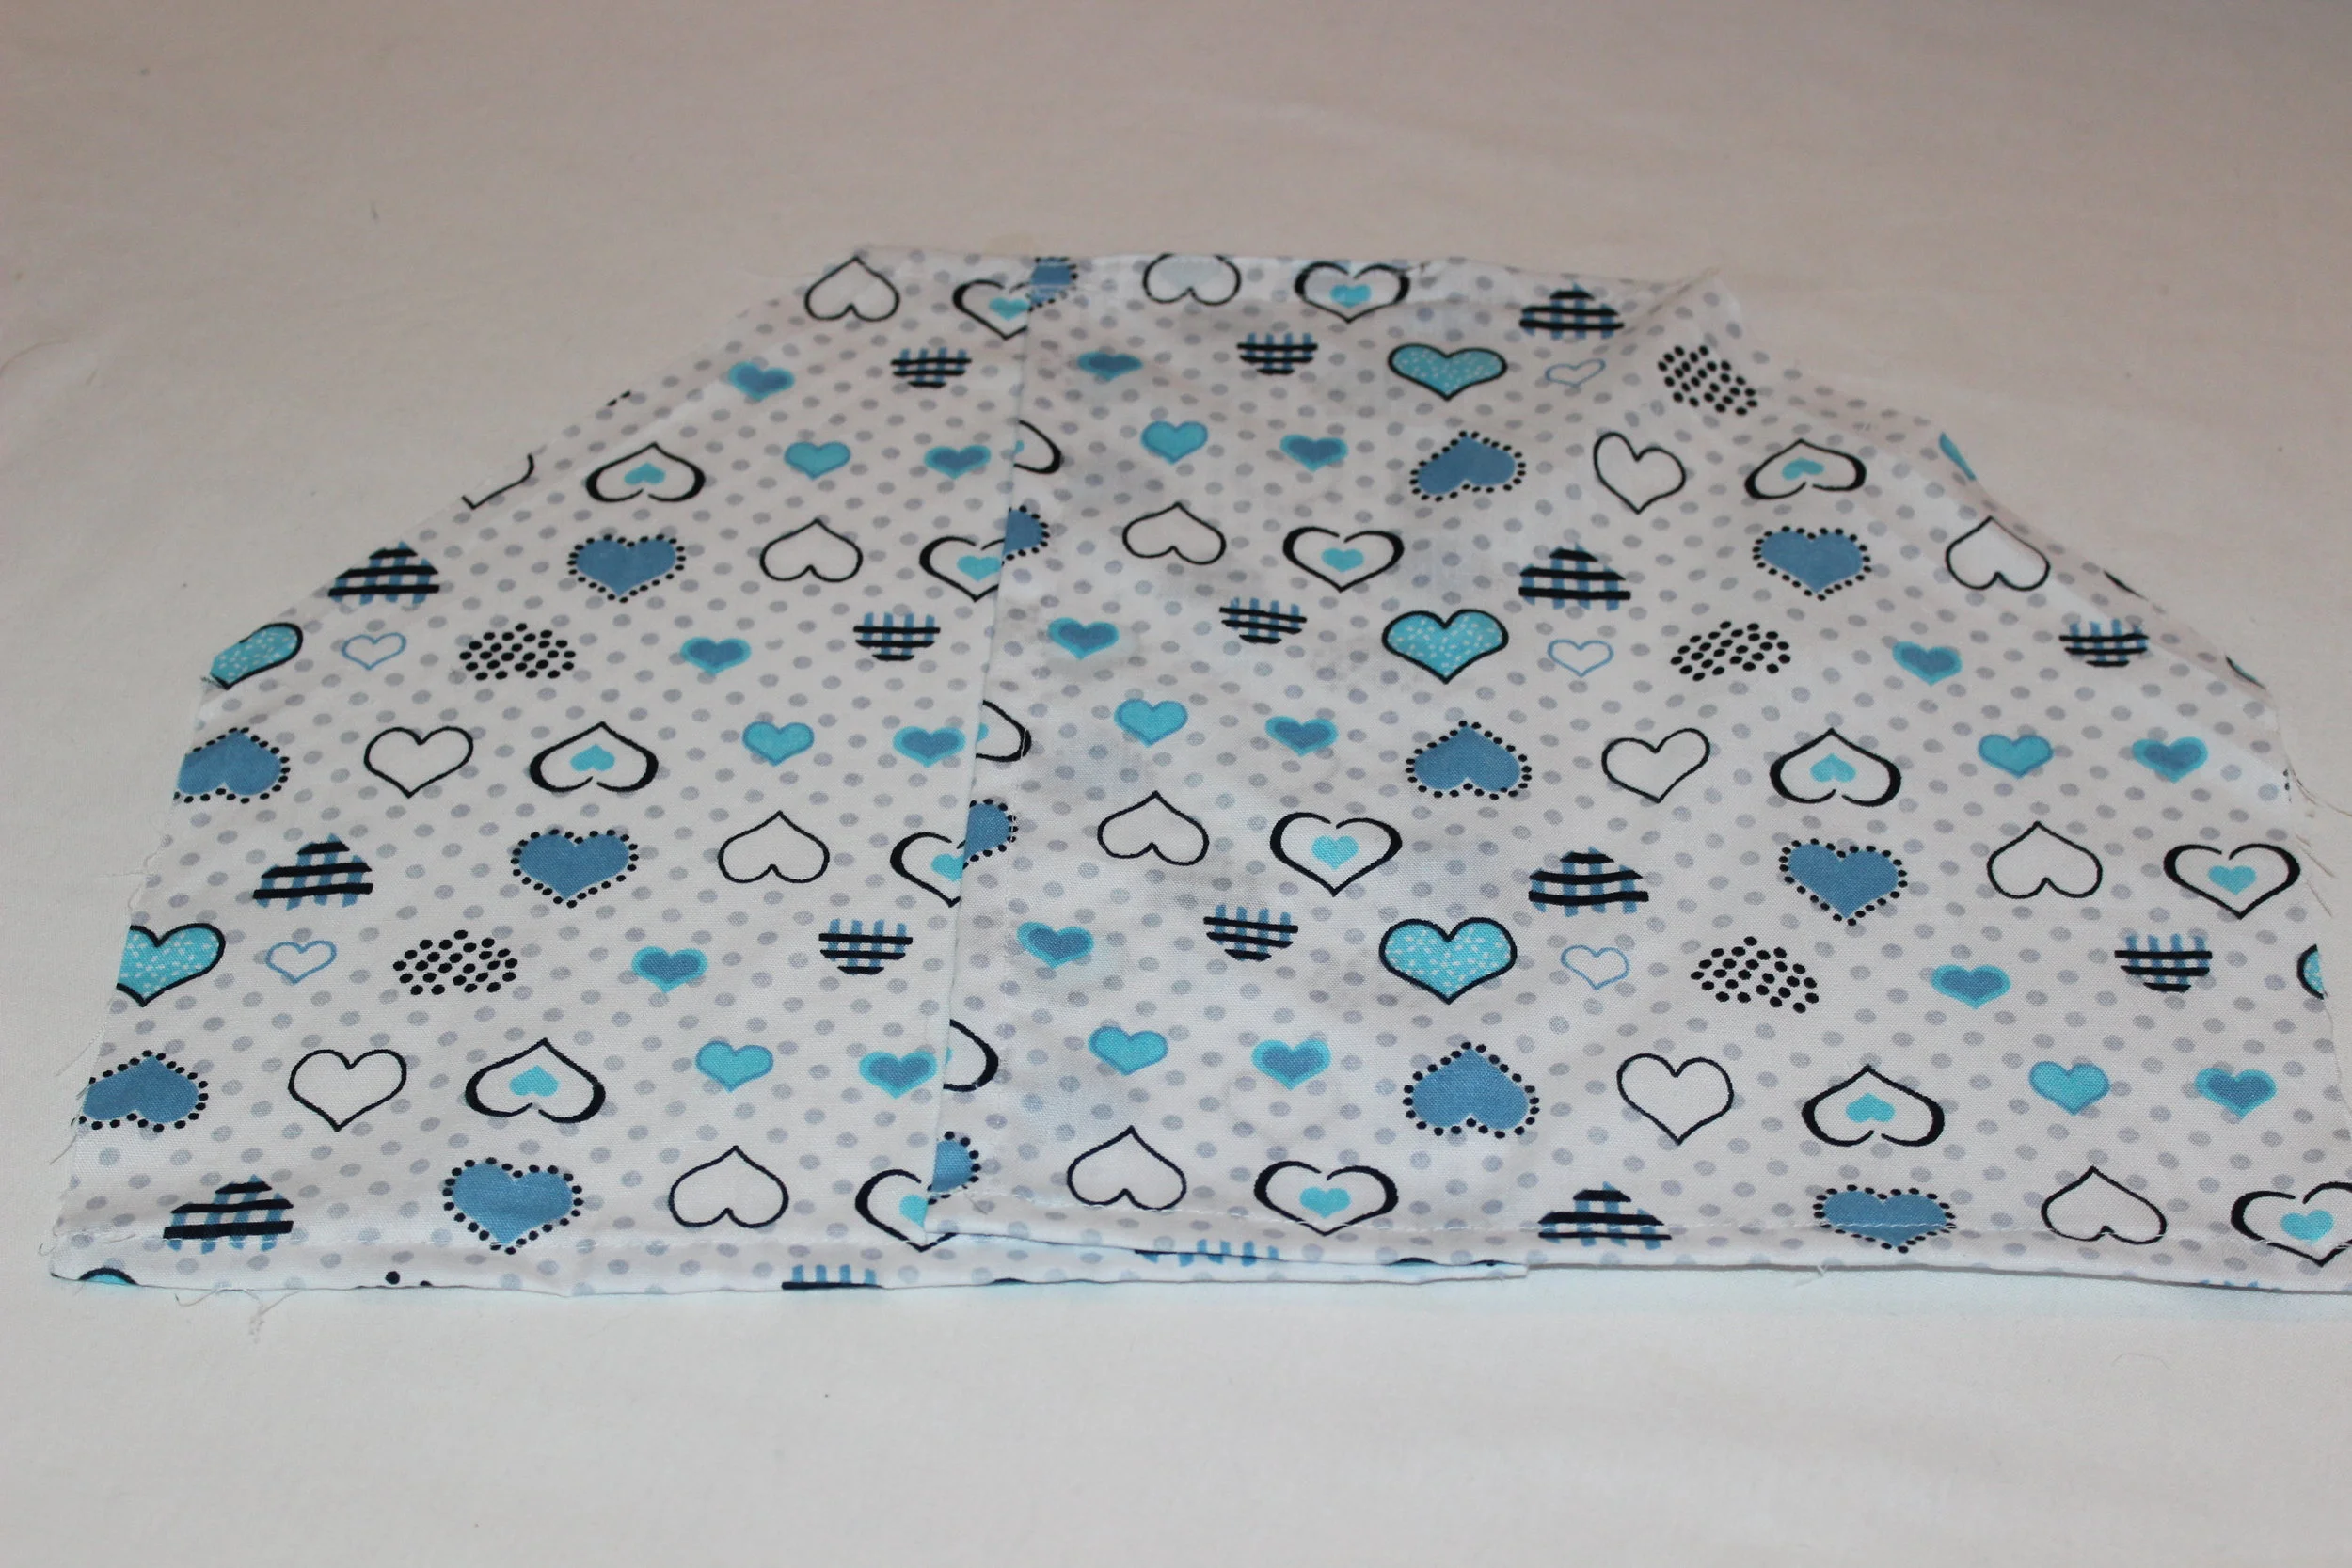
Zig zag the top edge where it is overlapping. Widen the stitch width if necessary.

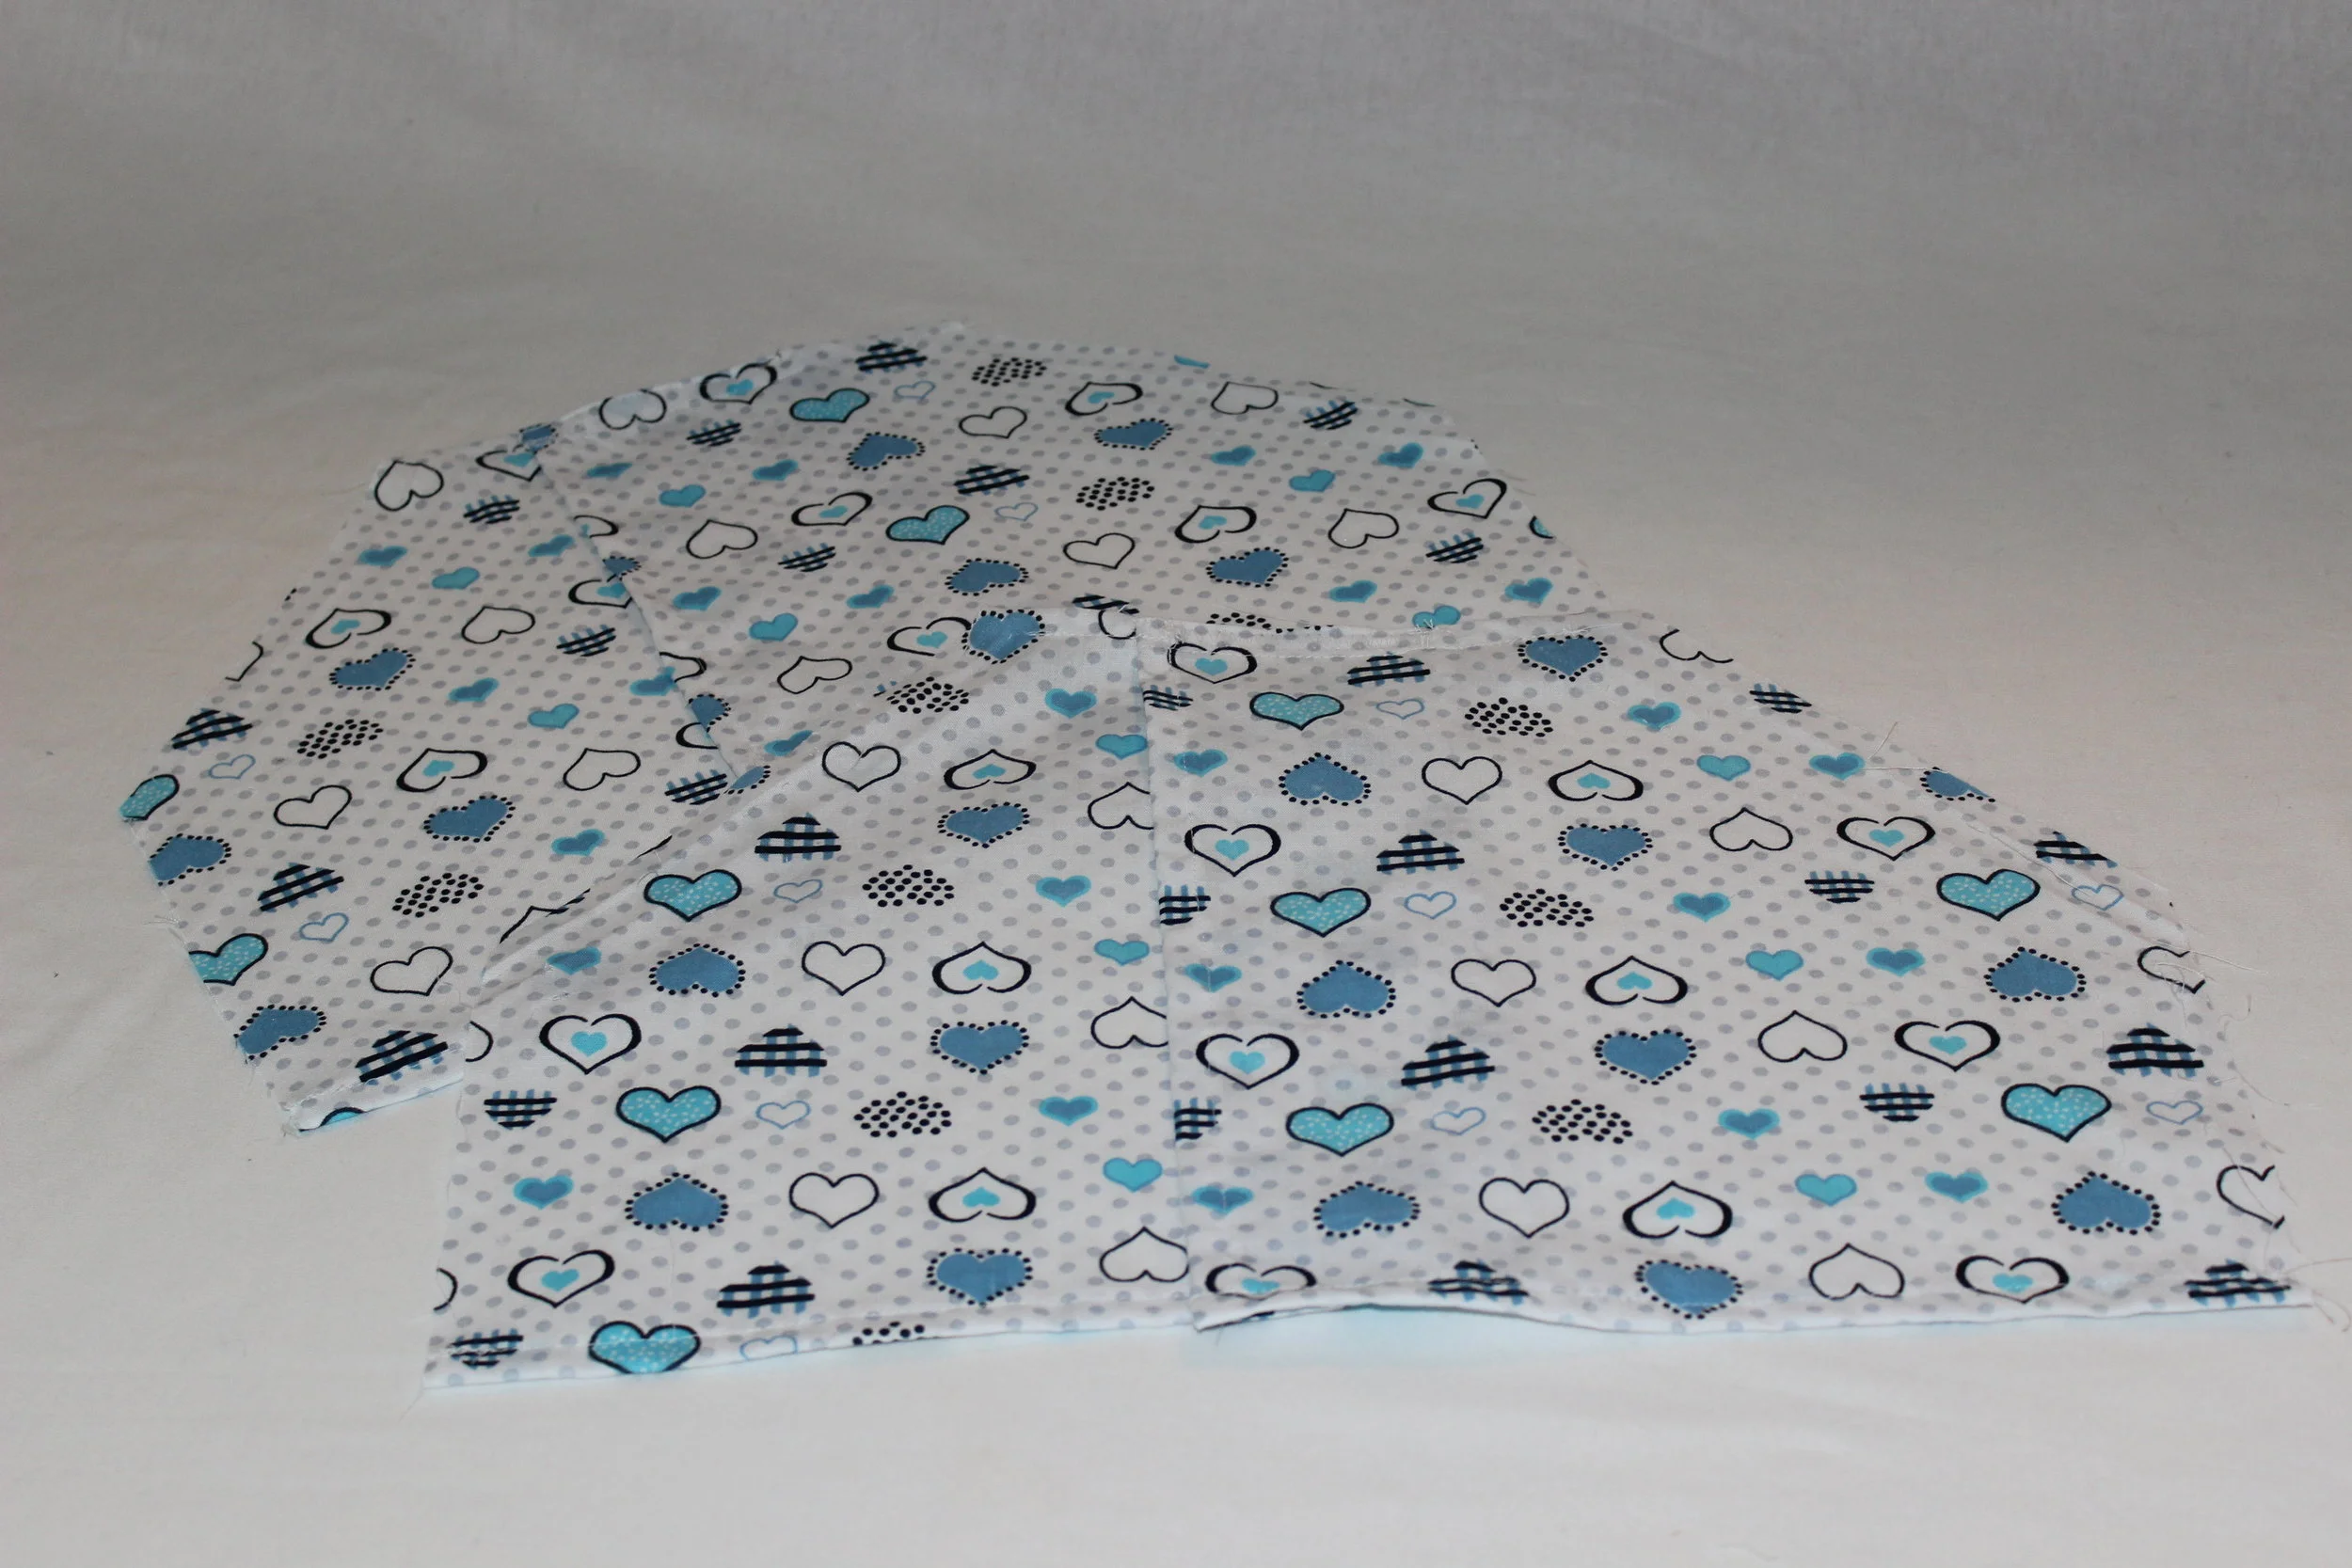
You should now have 2 sleeves with a butterfly opening. Set the sleeve aside.
STEP 5 - Front & Back
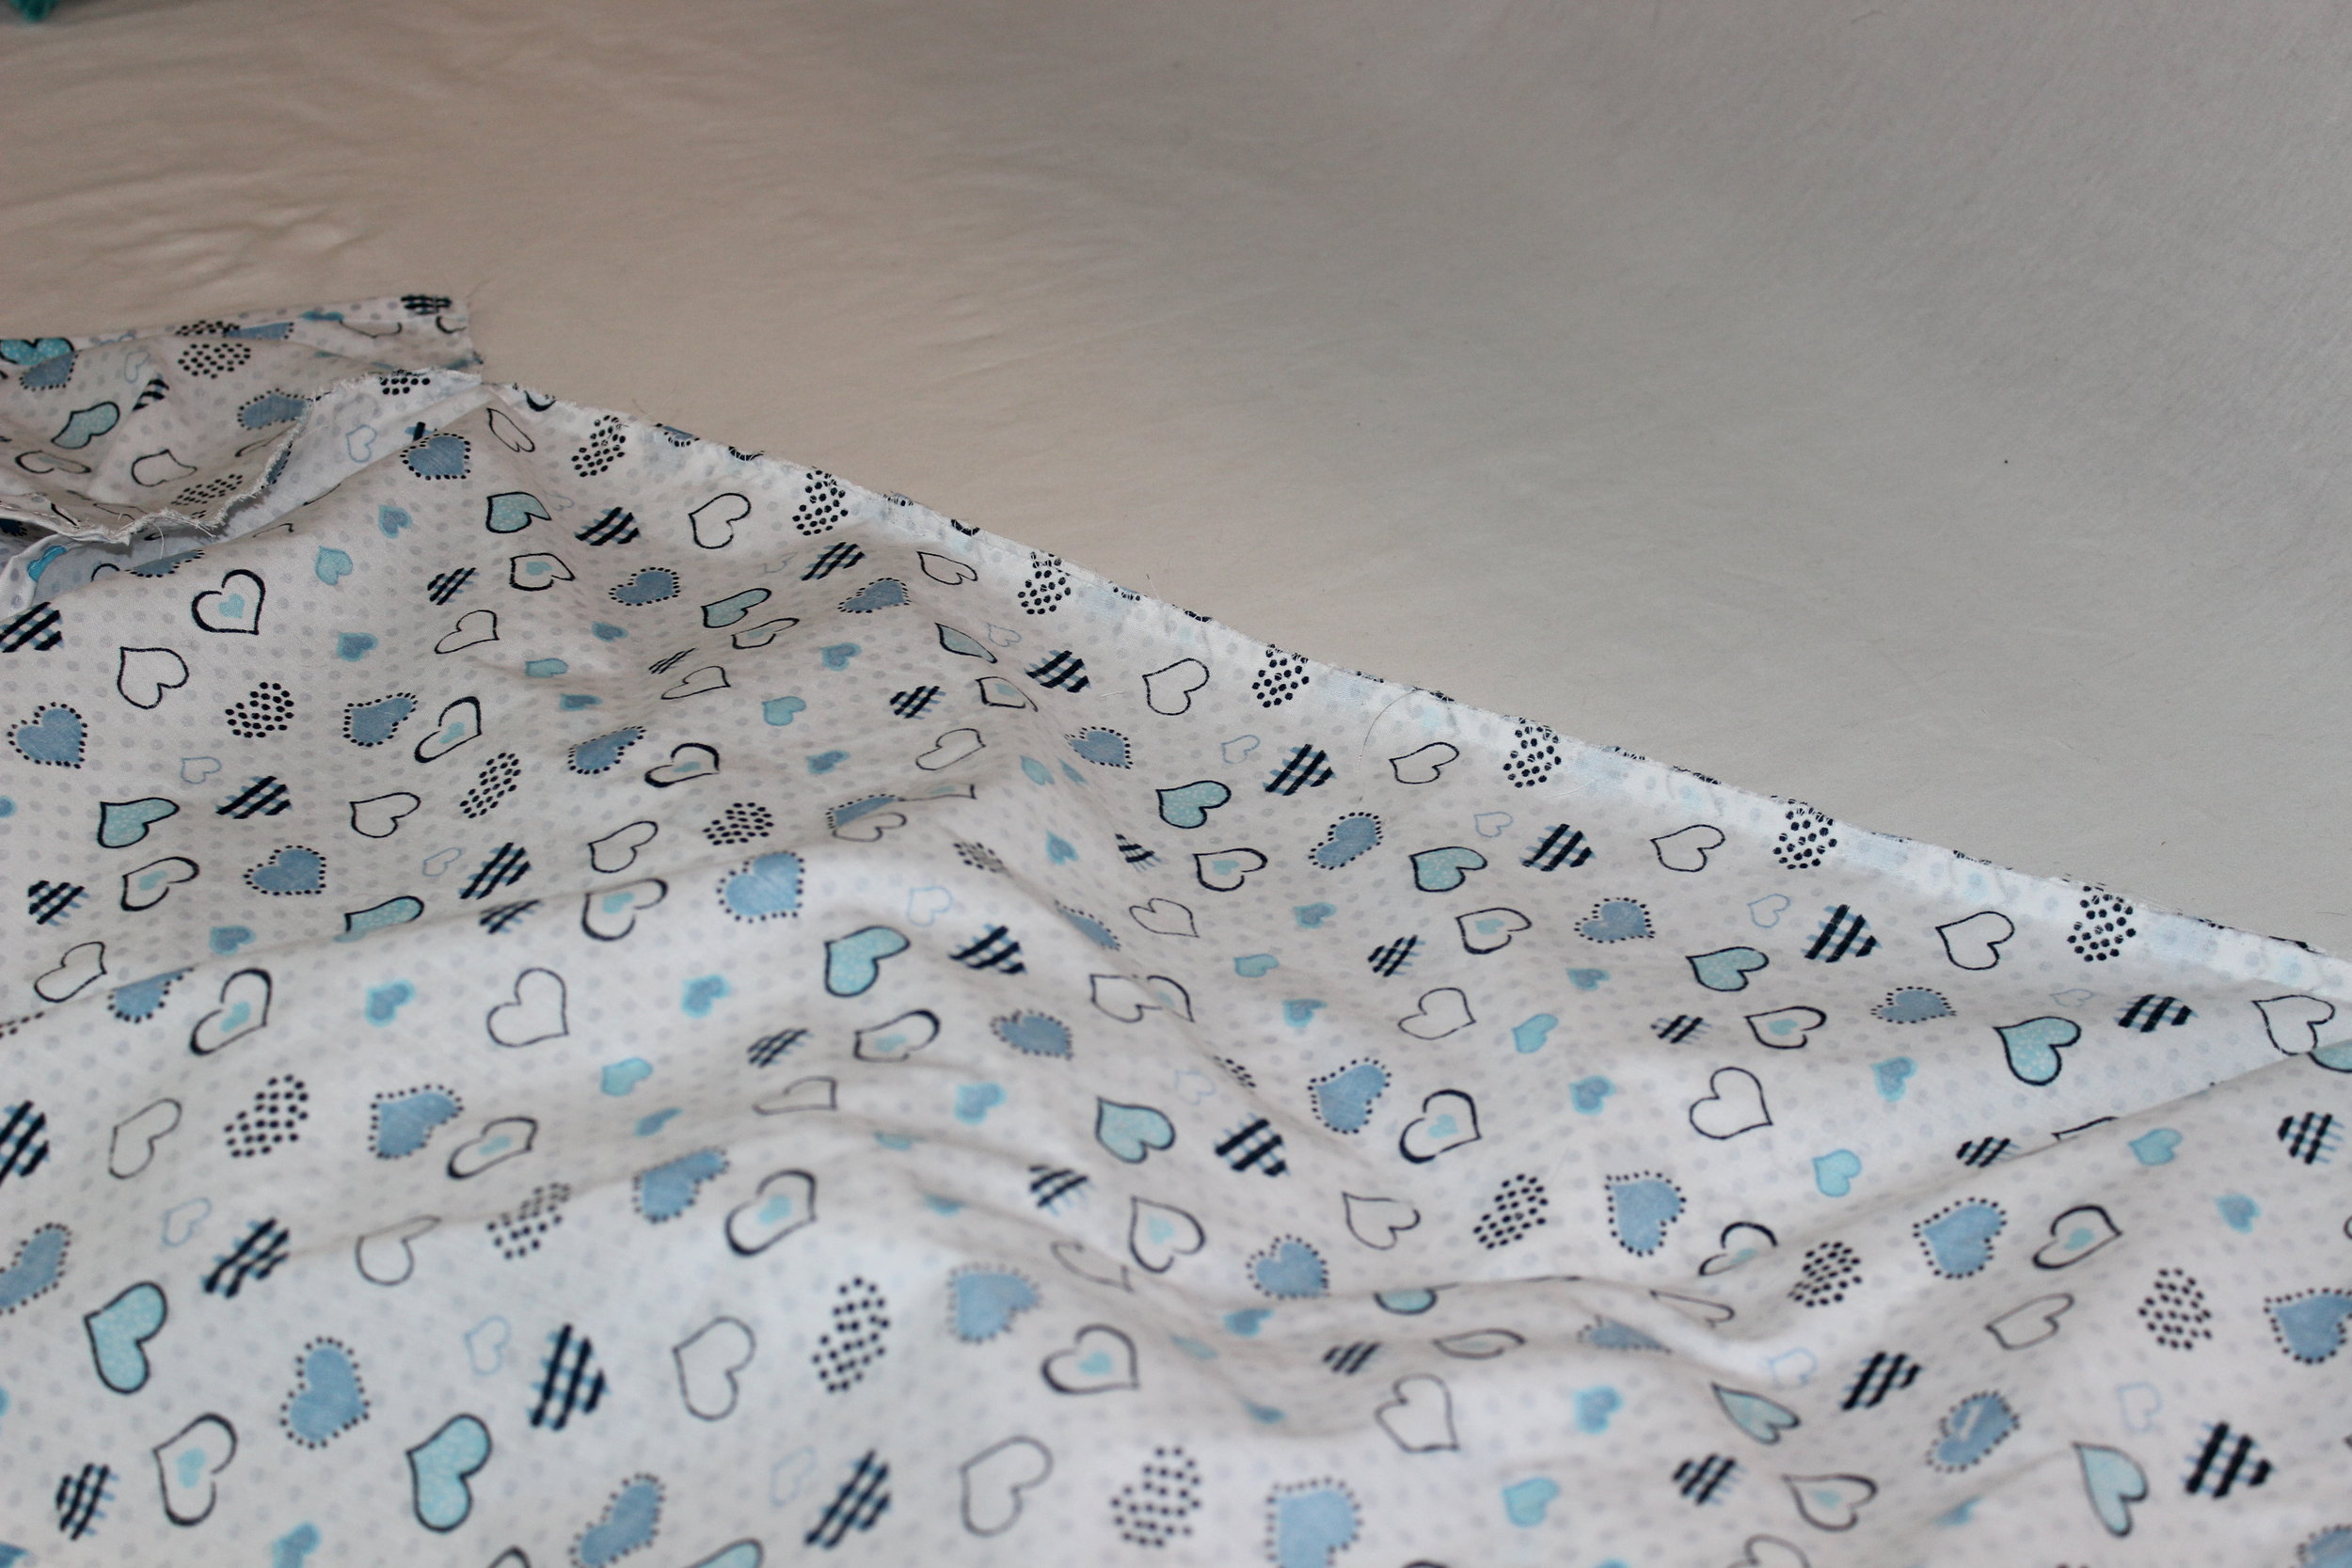
ON THE FRONT PIECE: Edge Hem (see step 2 above) the top edge.

ON THE BACK PIECE:
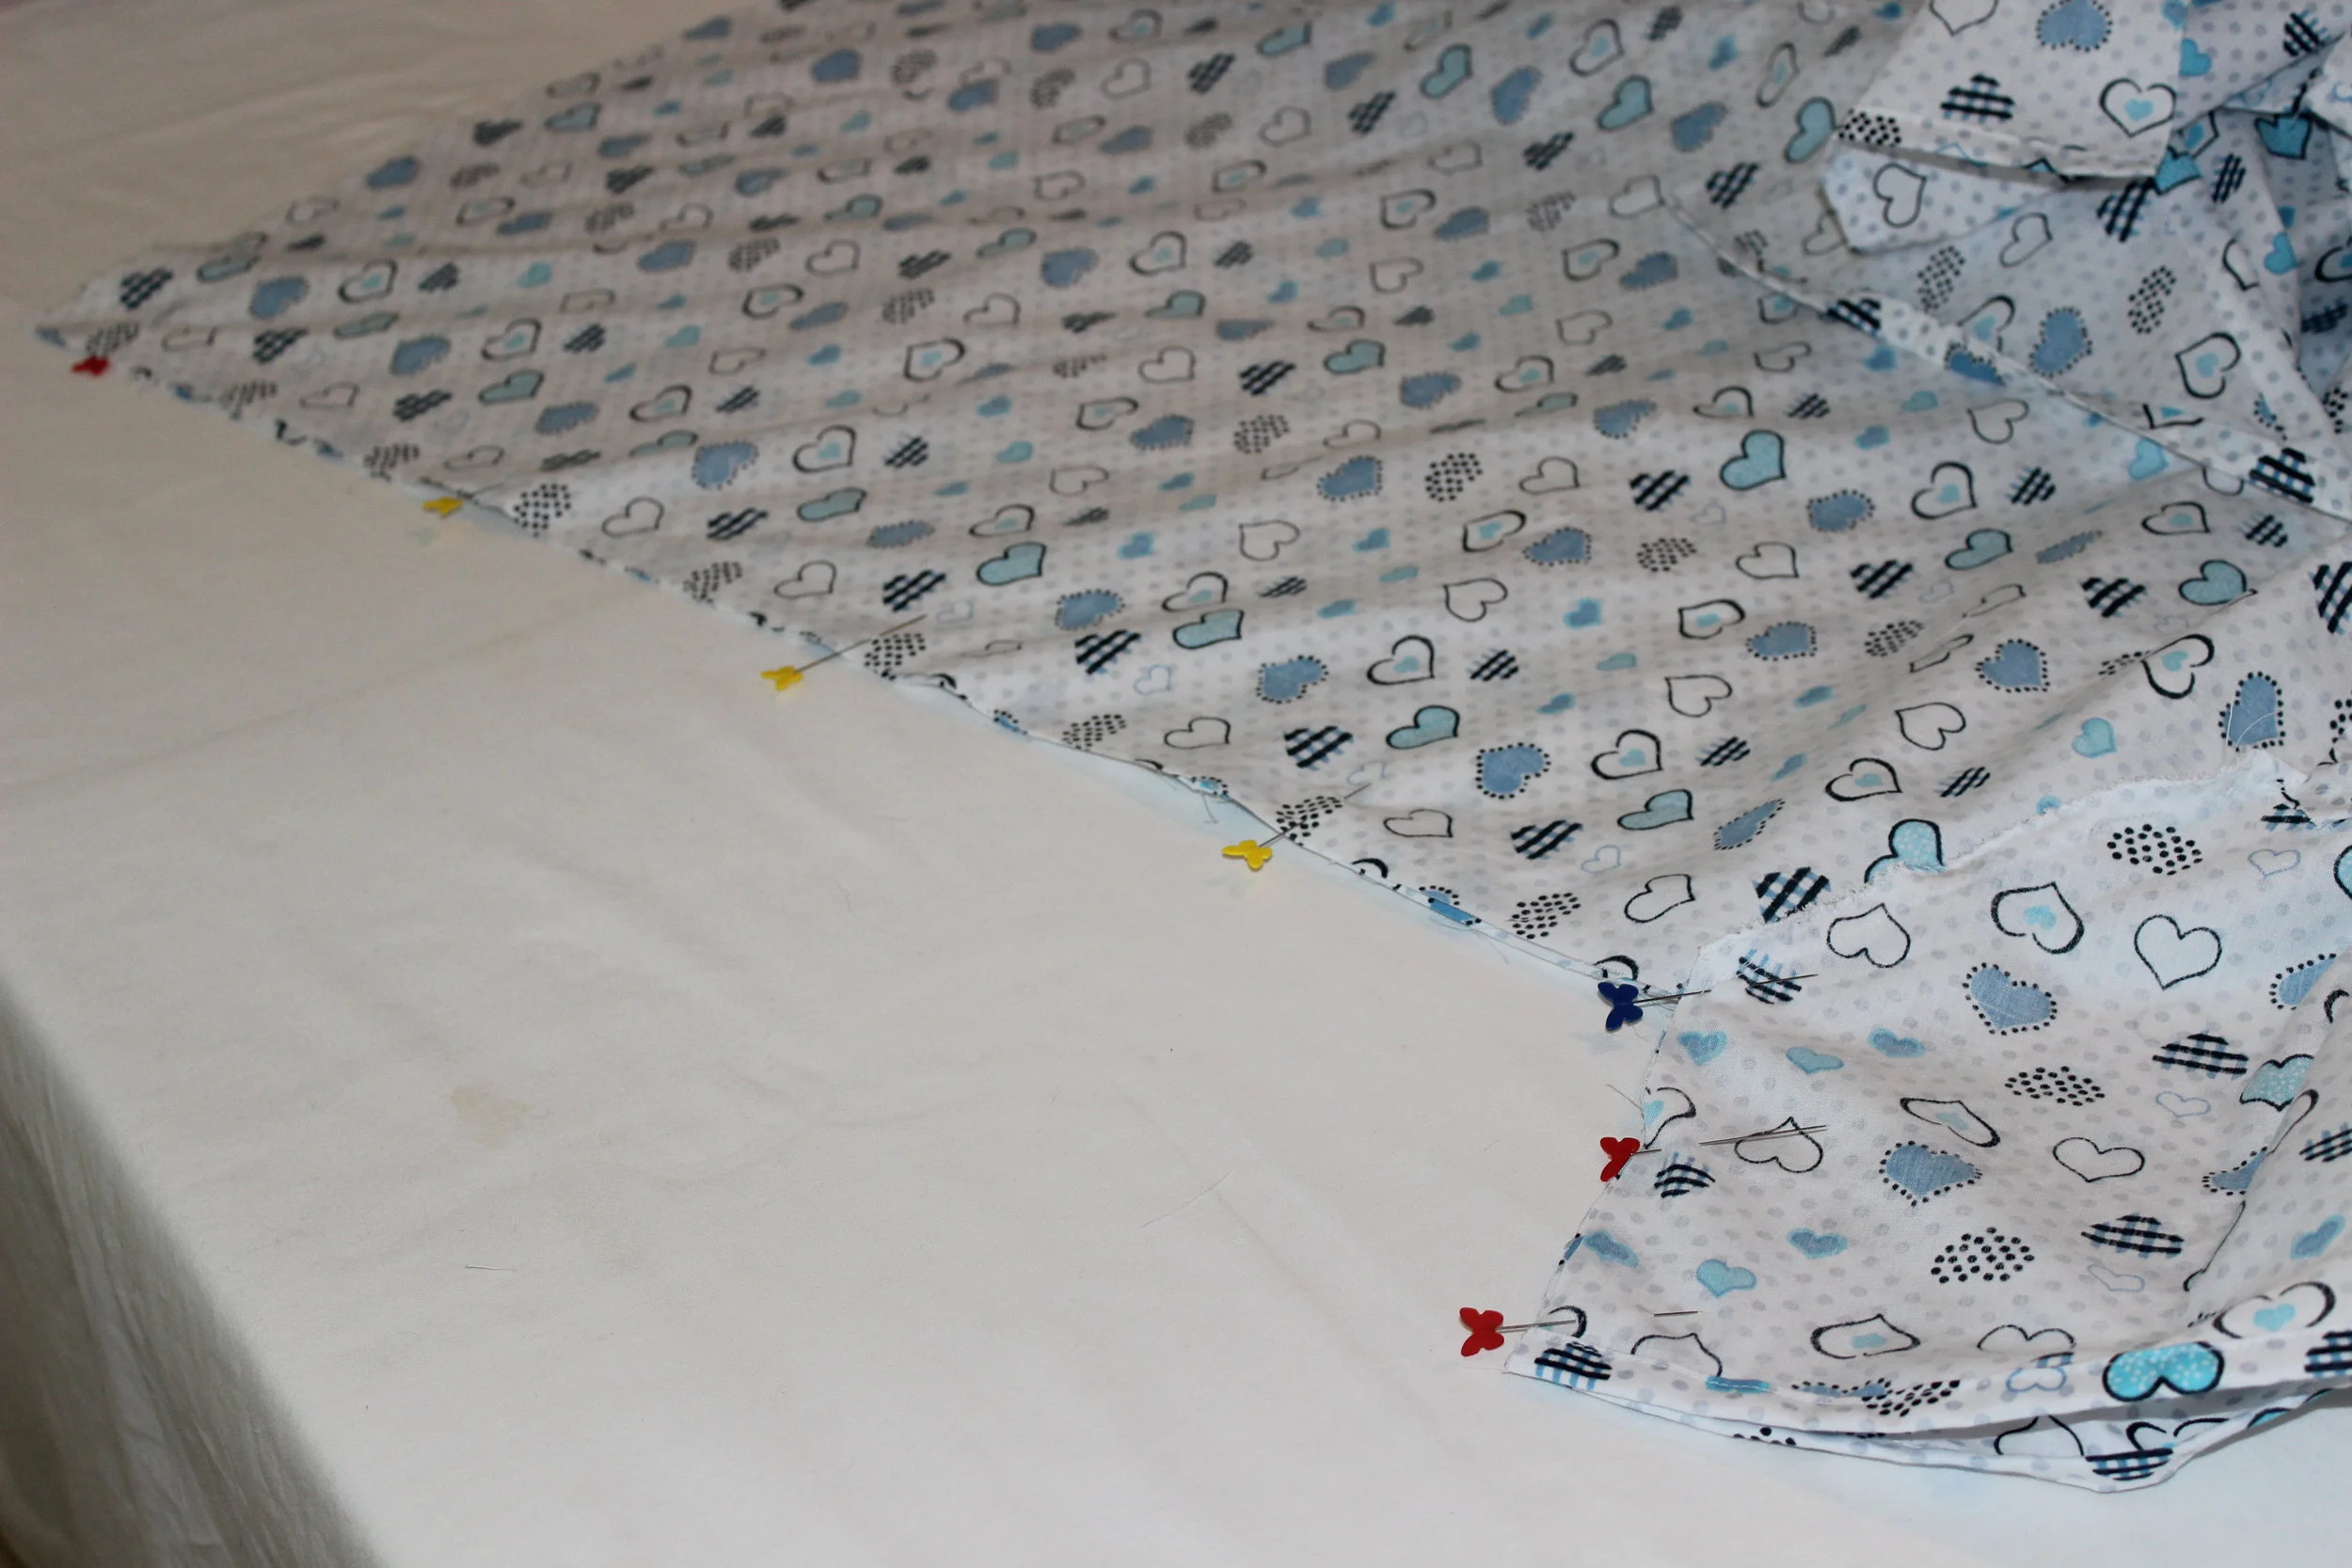
Edge Hem (see step 2 above) the large diagonal that is 3" less than the other. CAUTION: This edge is on the bias. It will stretch. You may want to pin this to avoid stretching.
Edge Hem (see step 2 above) the top edge.
Edge Hem (see step 2 above) straight edge that extends from the above sewn diagonal edge.
Do not hem the little diagonal, the straight seam below the little diagonal diagonal, or the bottom.
Do this for the second back piece.
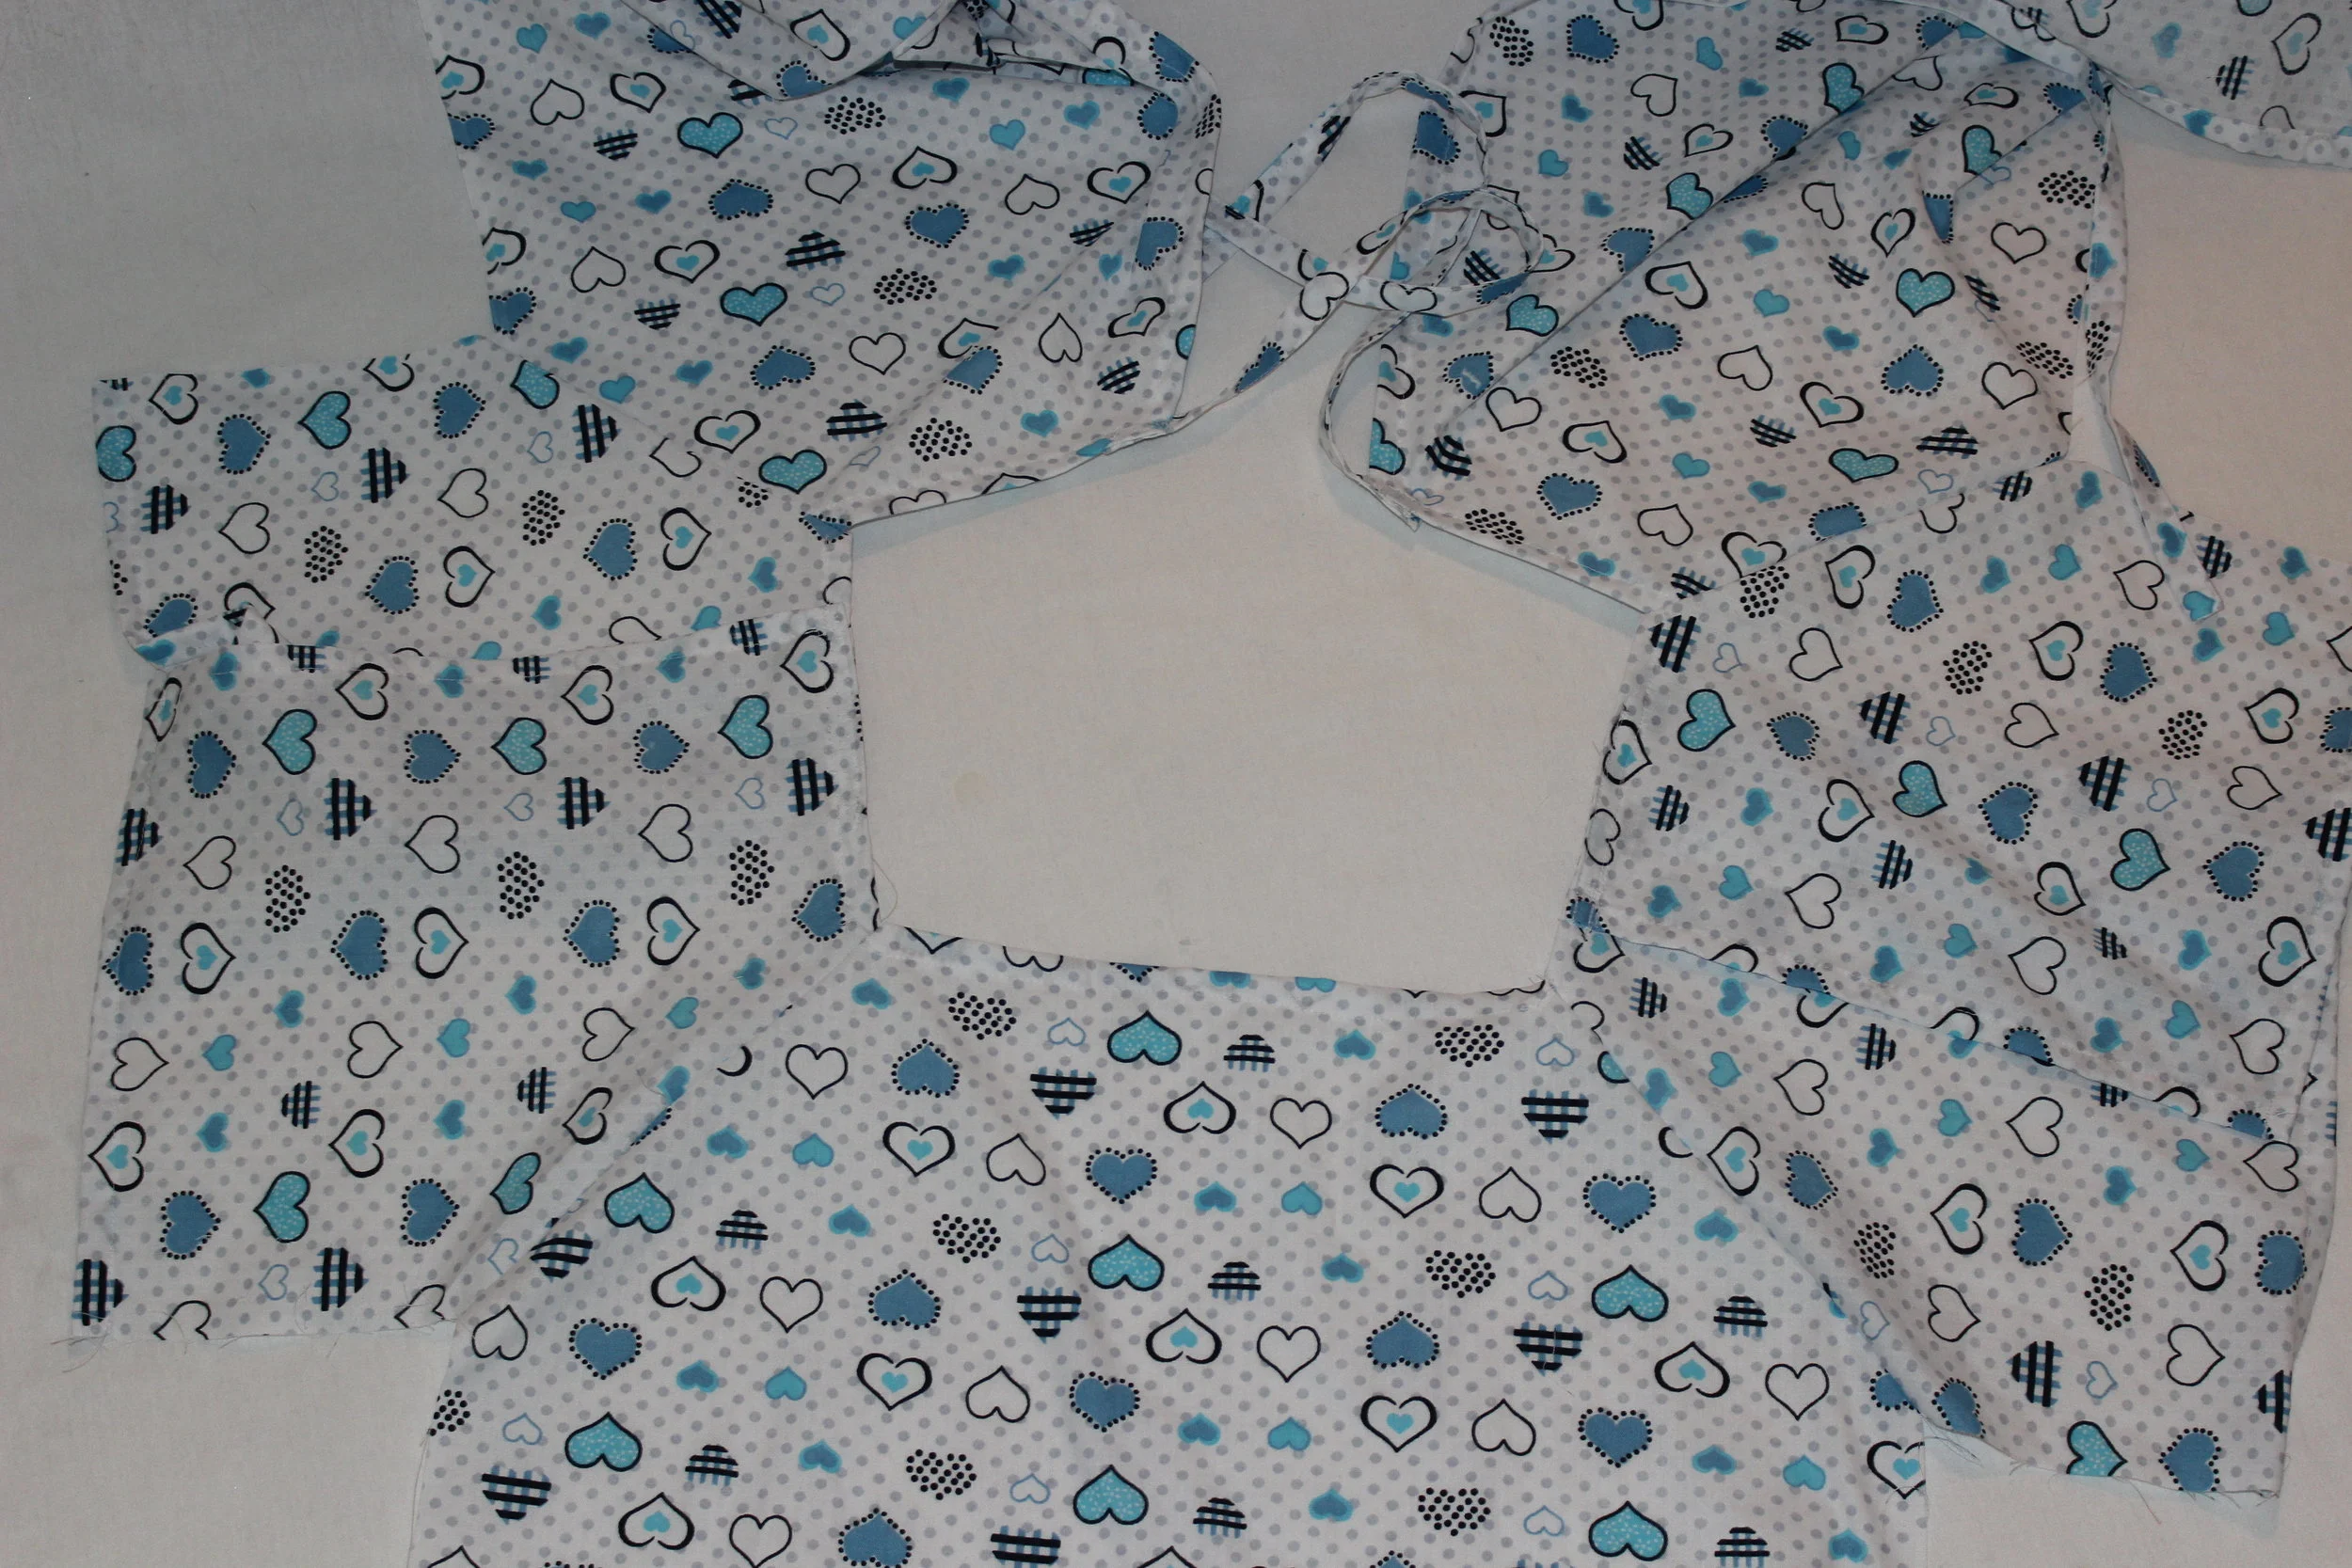
STEP 6 - Adding the Ties
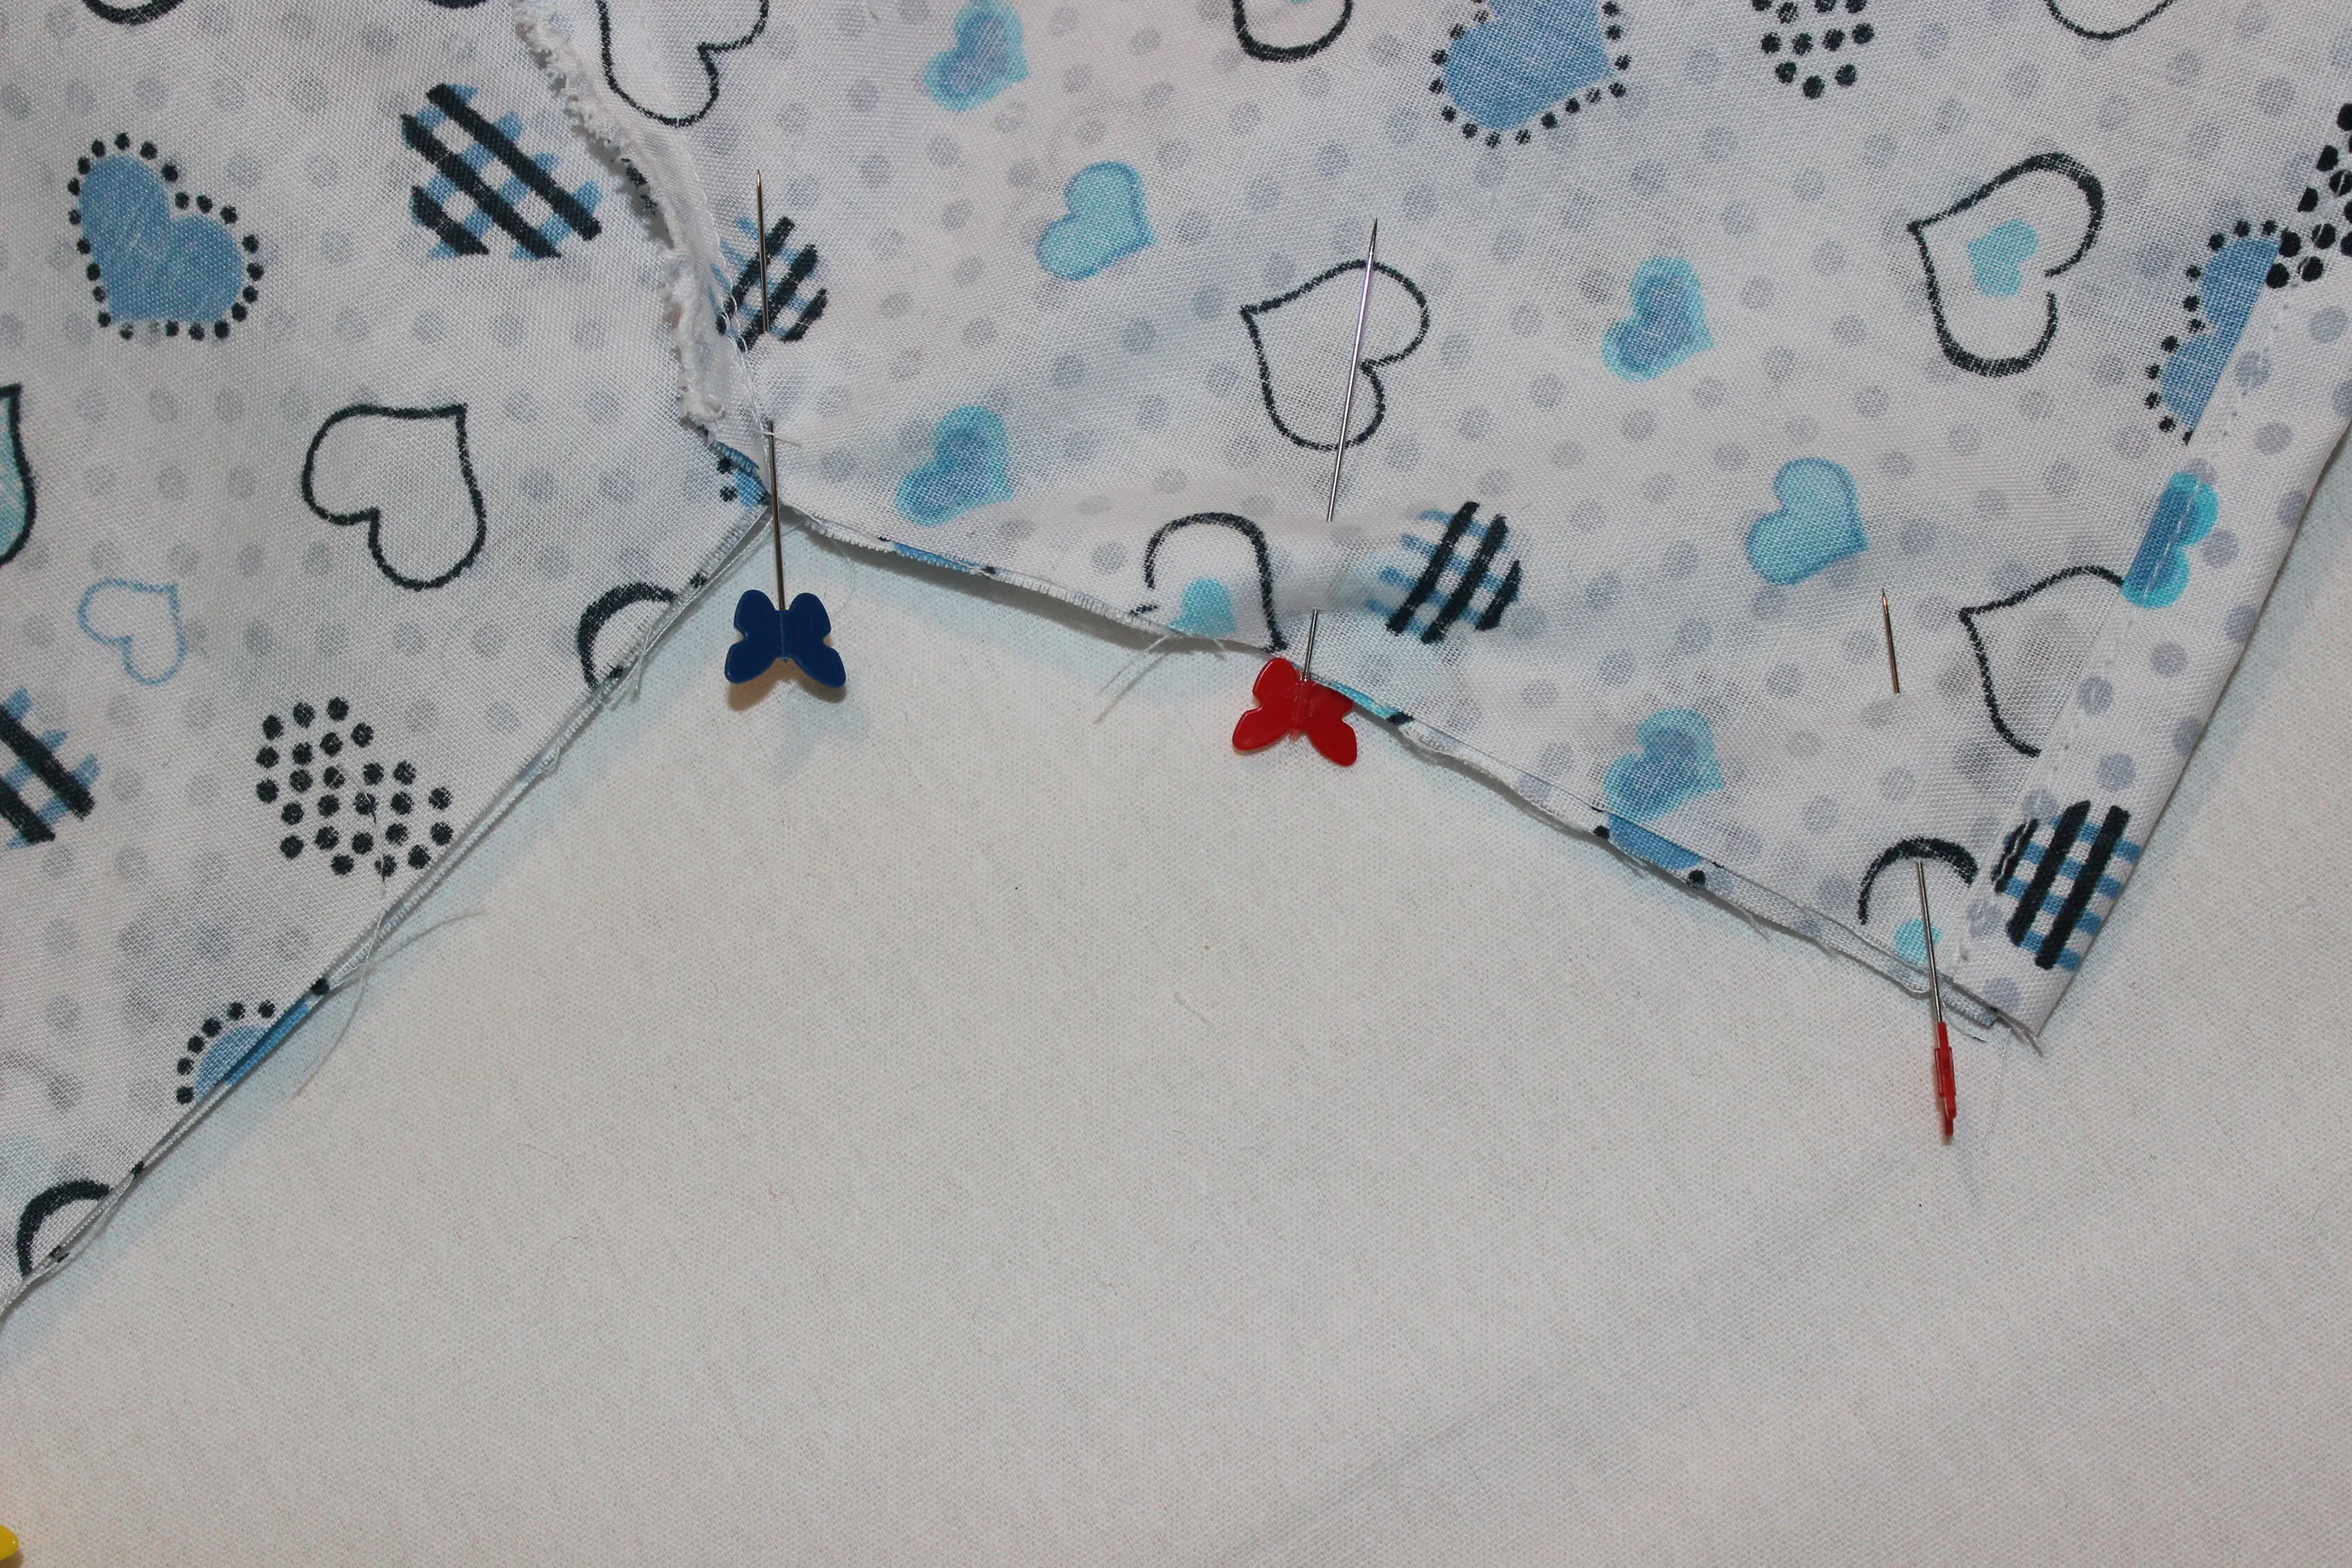
On the back piece, pin one tie to the wrong side of the corner of the diagonal and the straight edge that have been hemmed. This is where the long diagonal meets the long hemmed side. It should be about 3/4" from the edge with the length of the tie extending past the garment.

Zig zag the tie to the back.

Do this for both back pieces. These will be the side ties.
On the back piece, pin one tie to the wrong side of the corner of the diagonal and the straight edge that have been hemmed. This is the top edge and the diagonal. It should be about 3/4" from the edge with the length of the tie extending past the garment.
Zig zag the tie to the back.
Do this for both back pieces. These will be the neck ties.

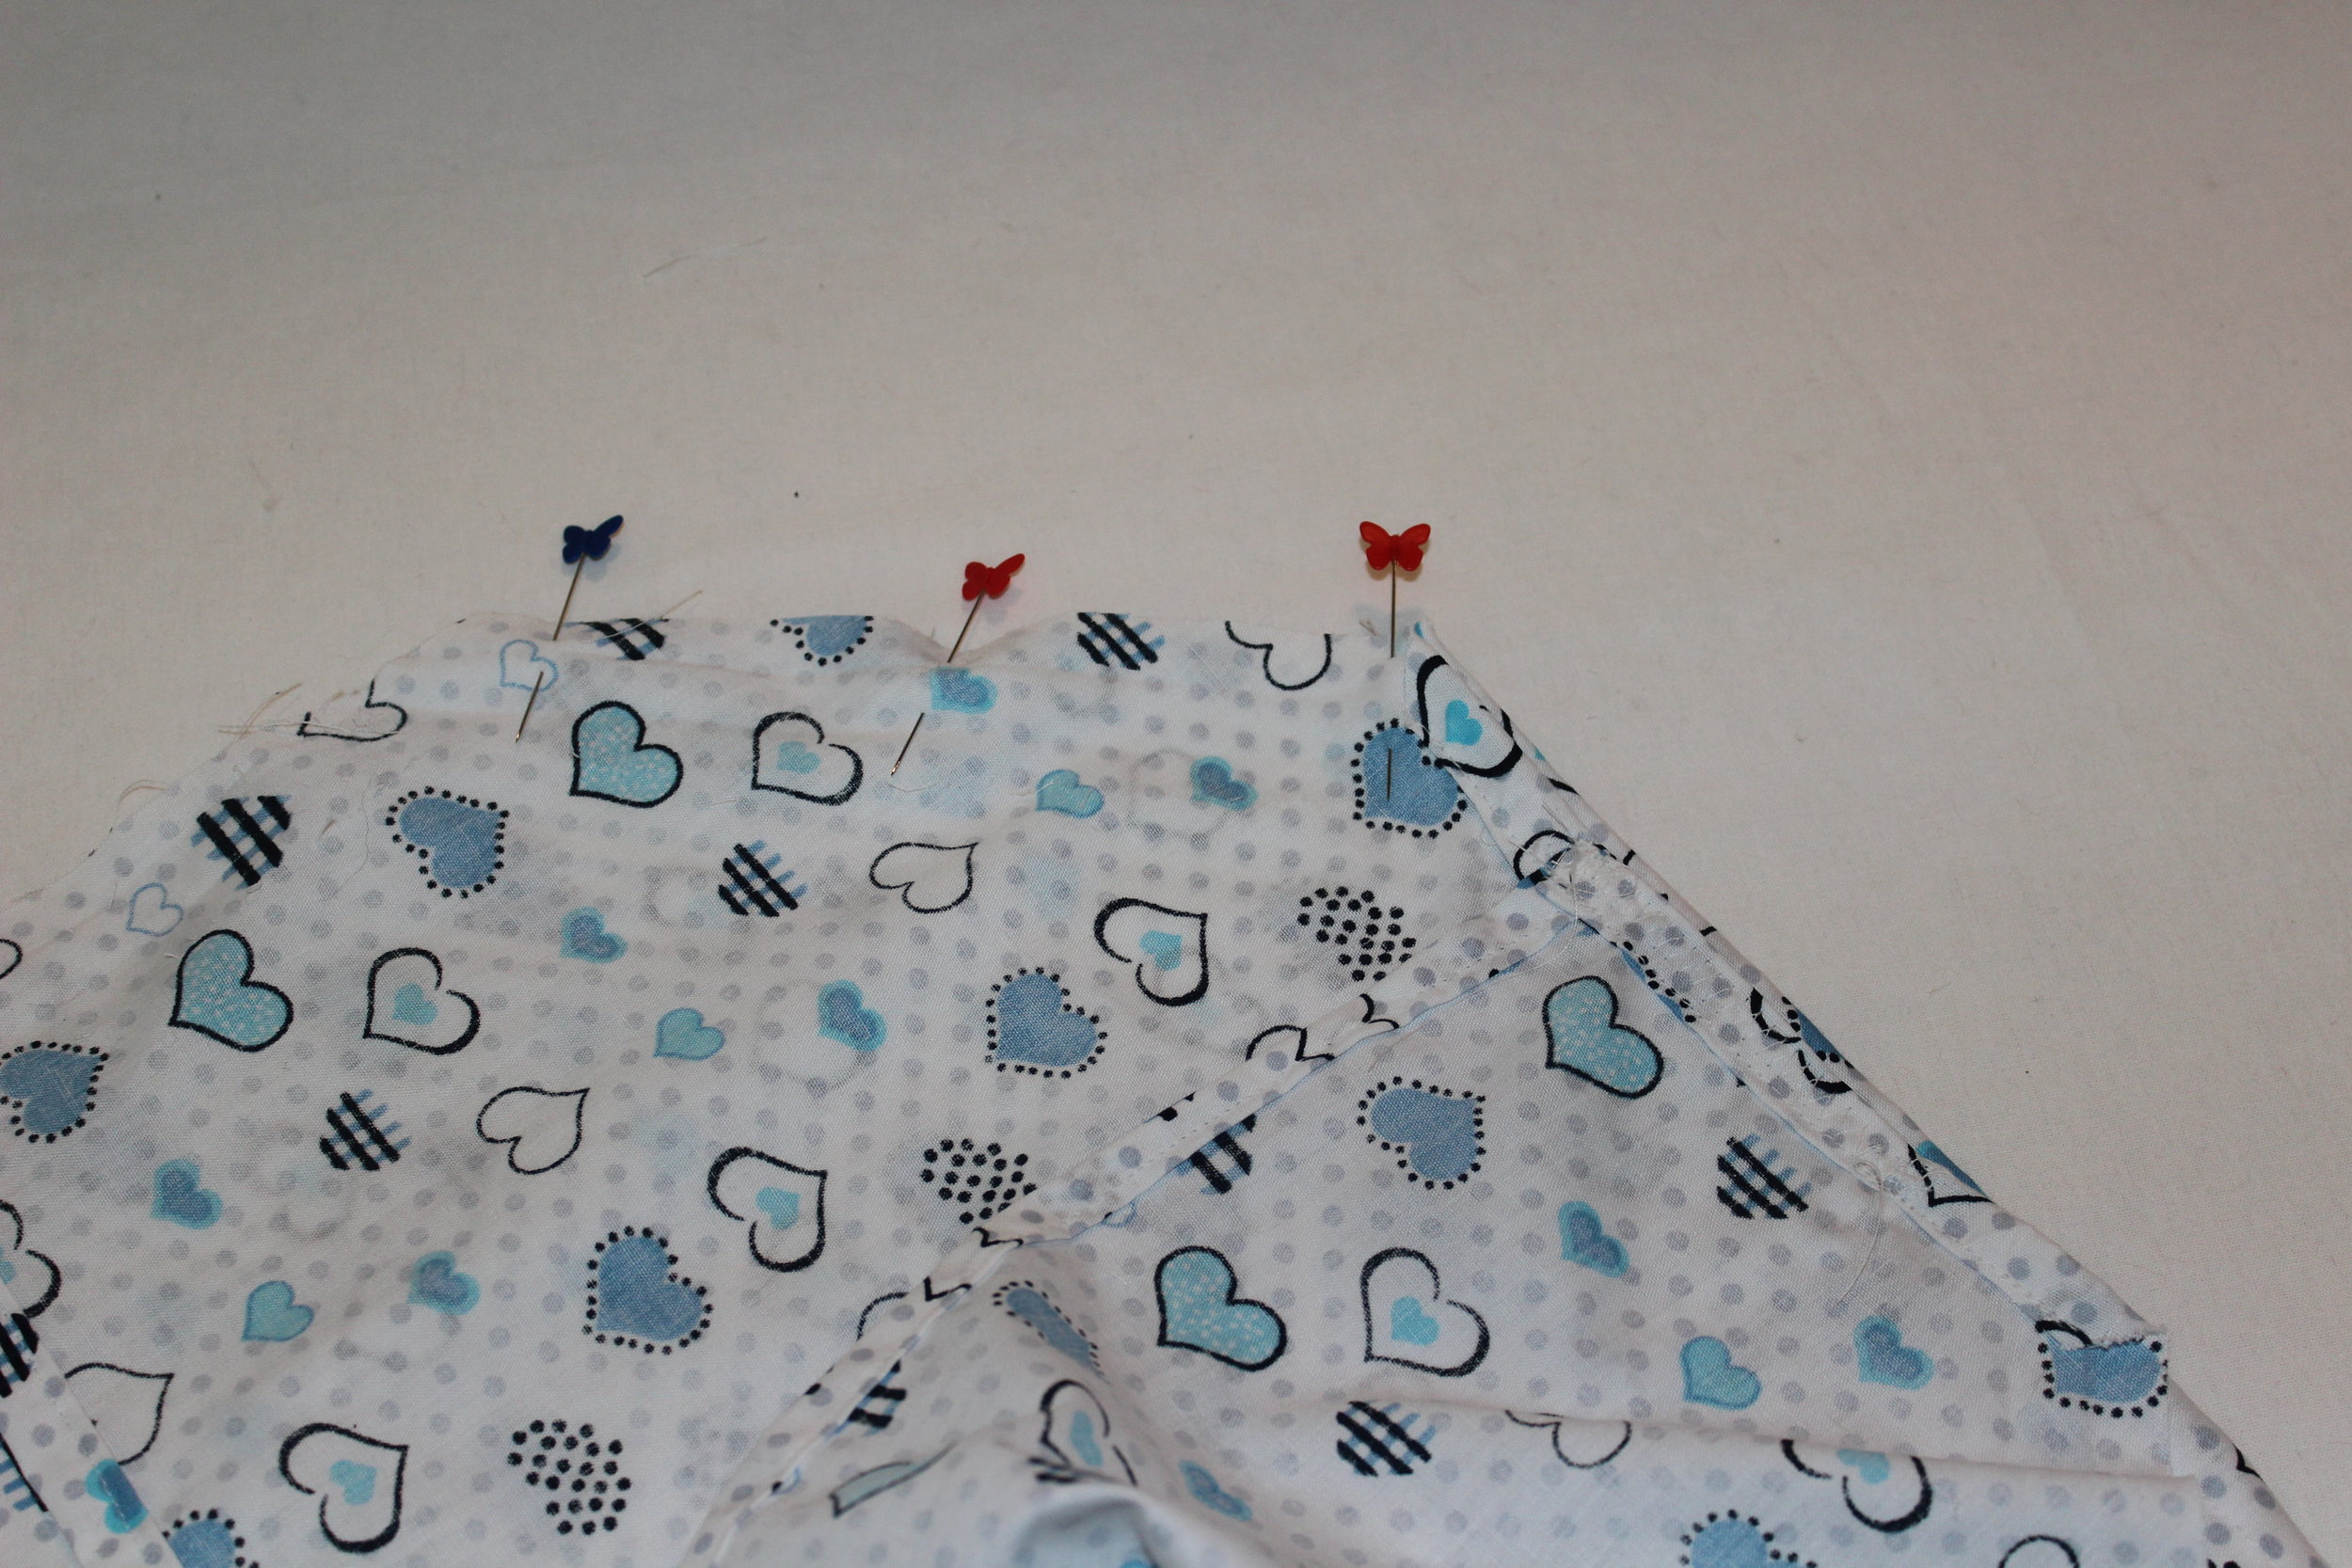
Lay the front of the garment with the right side down and the top up.
Lay the back piece on top of it. Match the hem lines and the side seams. Where does the tie on the back meet on the side seam of the front? Mark it with a pin on both side seams on the front. For the size Large it was 6" from the diagonal.
Remove the back piece.
On the front piece pin one of the ties on the edge of side seam on the right side where you marked the spot with a pin.
Do this for the other side, but on this time on the wrong side of the fabric.

Zig zag the tie to each side seam.

NOTE: On the front piece, one tie will be sewn to the wrong side and one to the right side. It does not matter which side is which.

Pin all the ties to the main pieces so they do not get in the way when sewing the remining seams.

STEP 7 - Sewing the Sleeves to the Body
With the tops of the front and one sleeve matching at the top, and right sides together, sew along the edge with a straight stitch.
Finish the edge with a zig zag sttich.

Do this for all four sleeve seams.
STEP 8 - Sewing the Side Seams
With right sides together, match the edge of the sleeves and the sleeve seams.
Sew the seam together with a straight stitch.
Finish the edge with a zig zag sttich.
Do this for both side seams.
STEP 9 - Hem the Bottom Edge
Edge Hem (see step 2 above) the bottom of the garment.
This completes the child's hospital gown. Thank you for your labor of love.
If you have any questions, or there are any errors, please contact Colleen Bell.