Free 3D Octagon Pillow Pattern

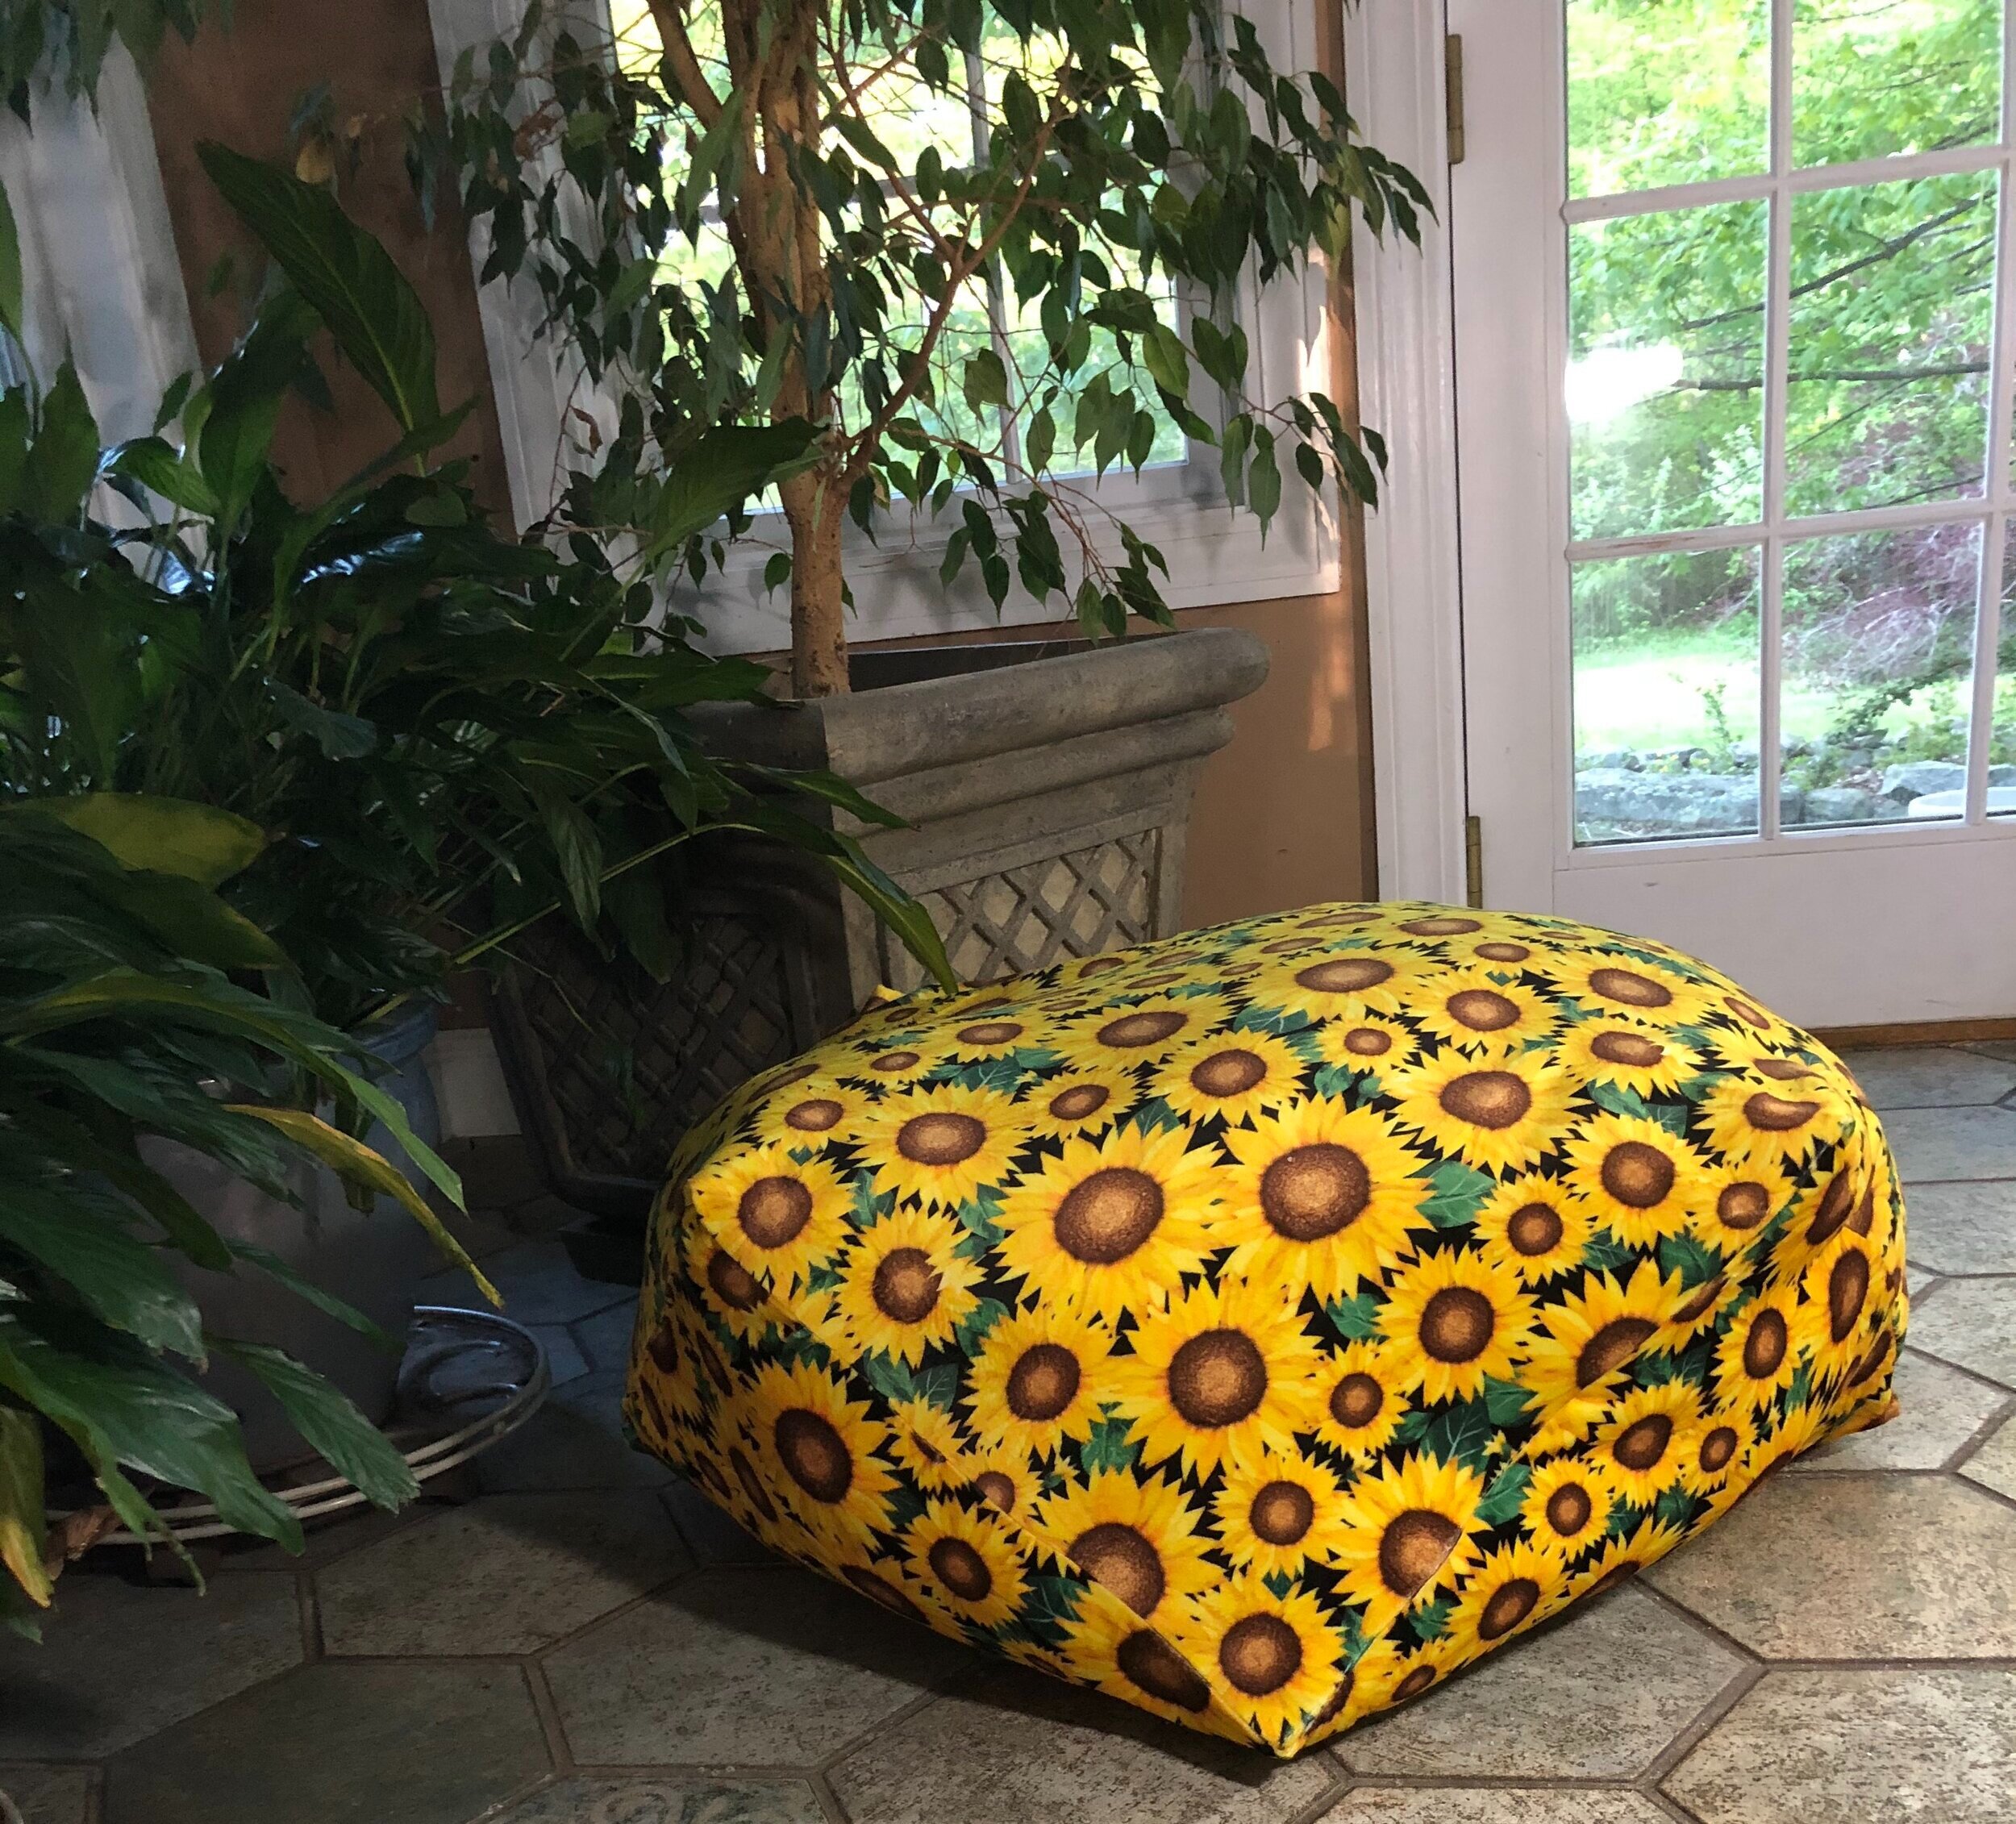
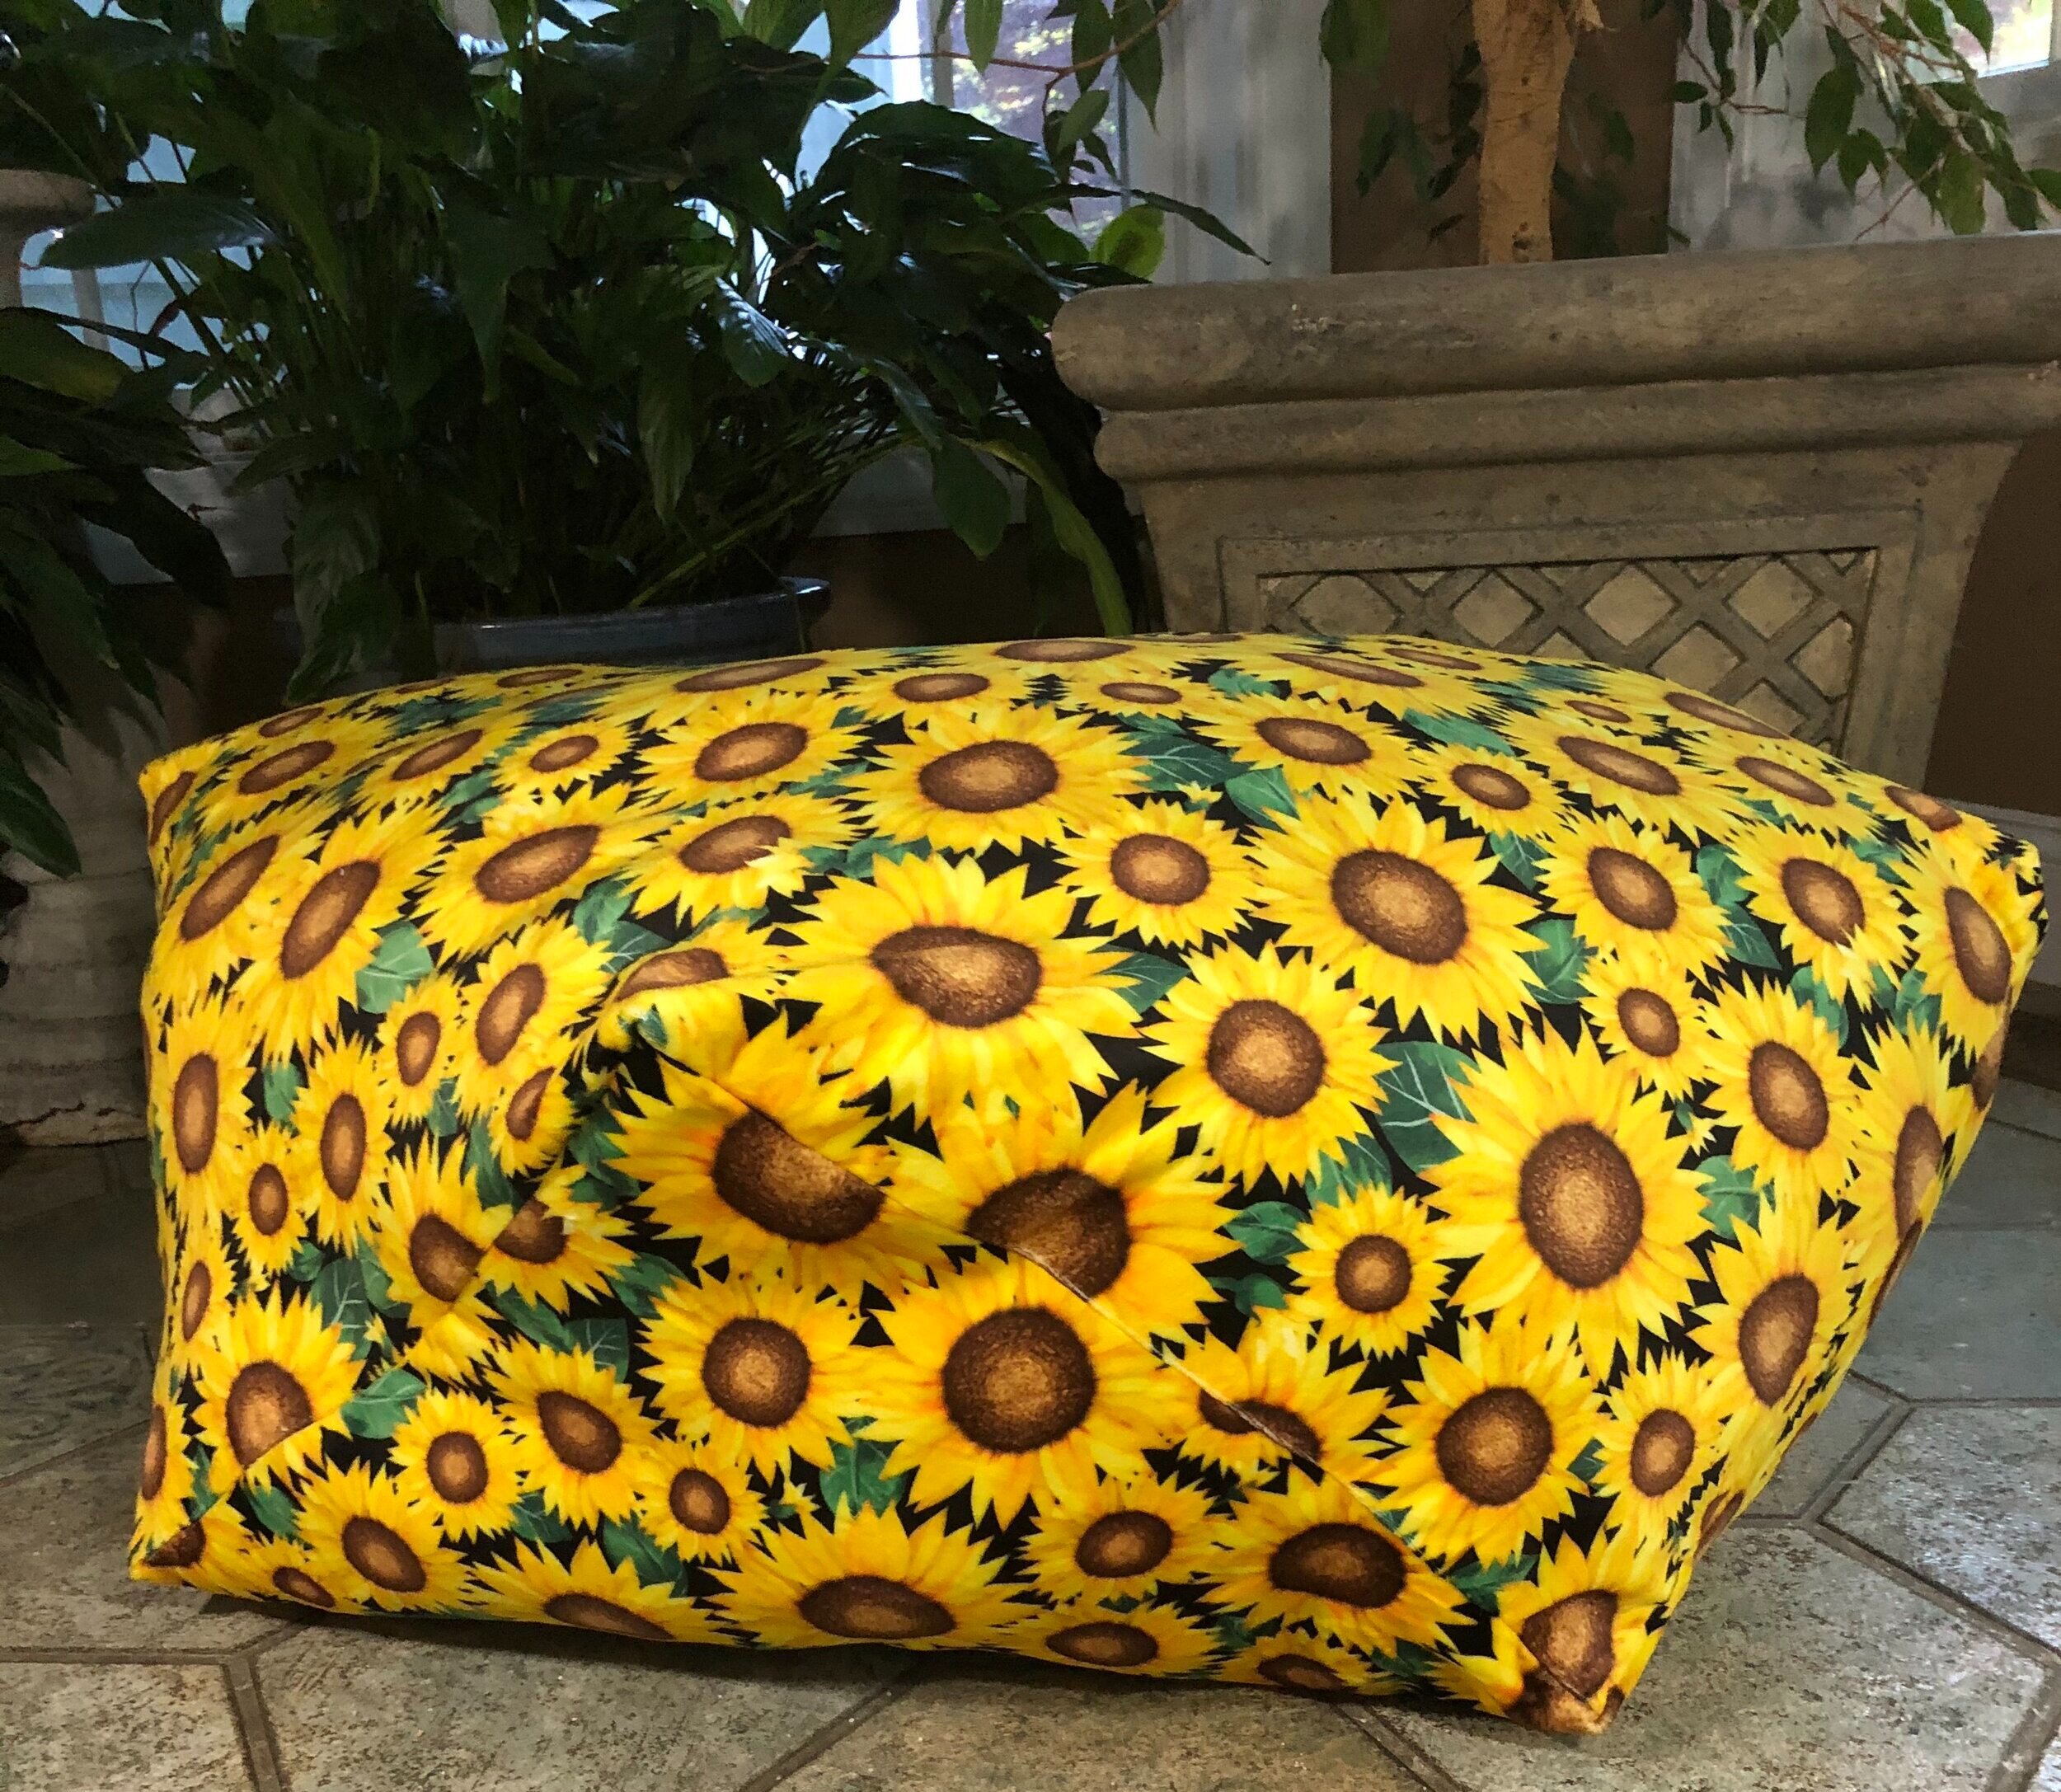
Pillows! We all love to snuggle up with a good pillow, but they are even snugglier (I know – not a word) when they are made with Shannon Fabrics Cuddle® and Luxe Cuddle®. Here is a really fun free pattern to make a large pillow. Use it to prop up in bed or when you need extra seating around the TV. It is adaptable to make into a smaller size too, but with two yards of fabric you get this darling 3D octagon pillow.  This is not the flat octagon that quilters think of. This pillow has eight corners. 

IMG_4305.jpg


MATERIALS

IMG_4289.jpg

2 yards of Shannon Fabrics Cuddle® or Luxe Cuddle®

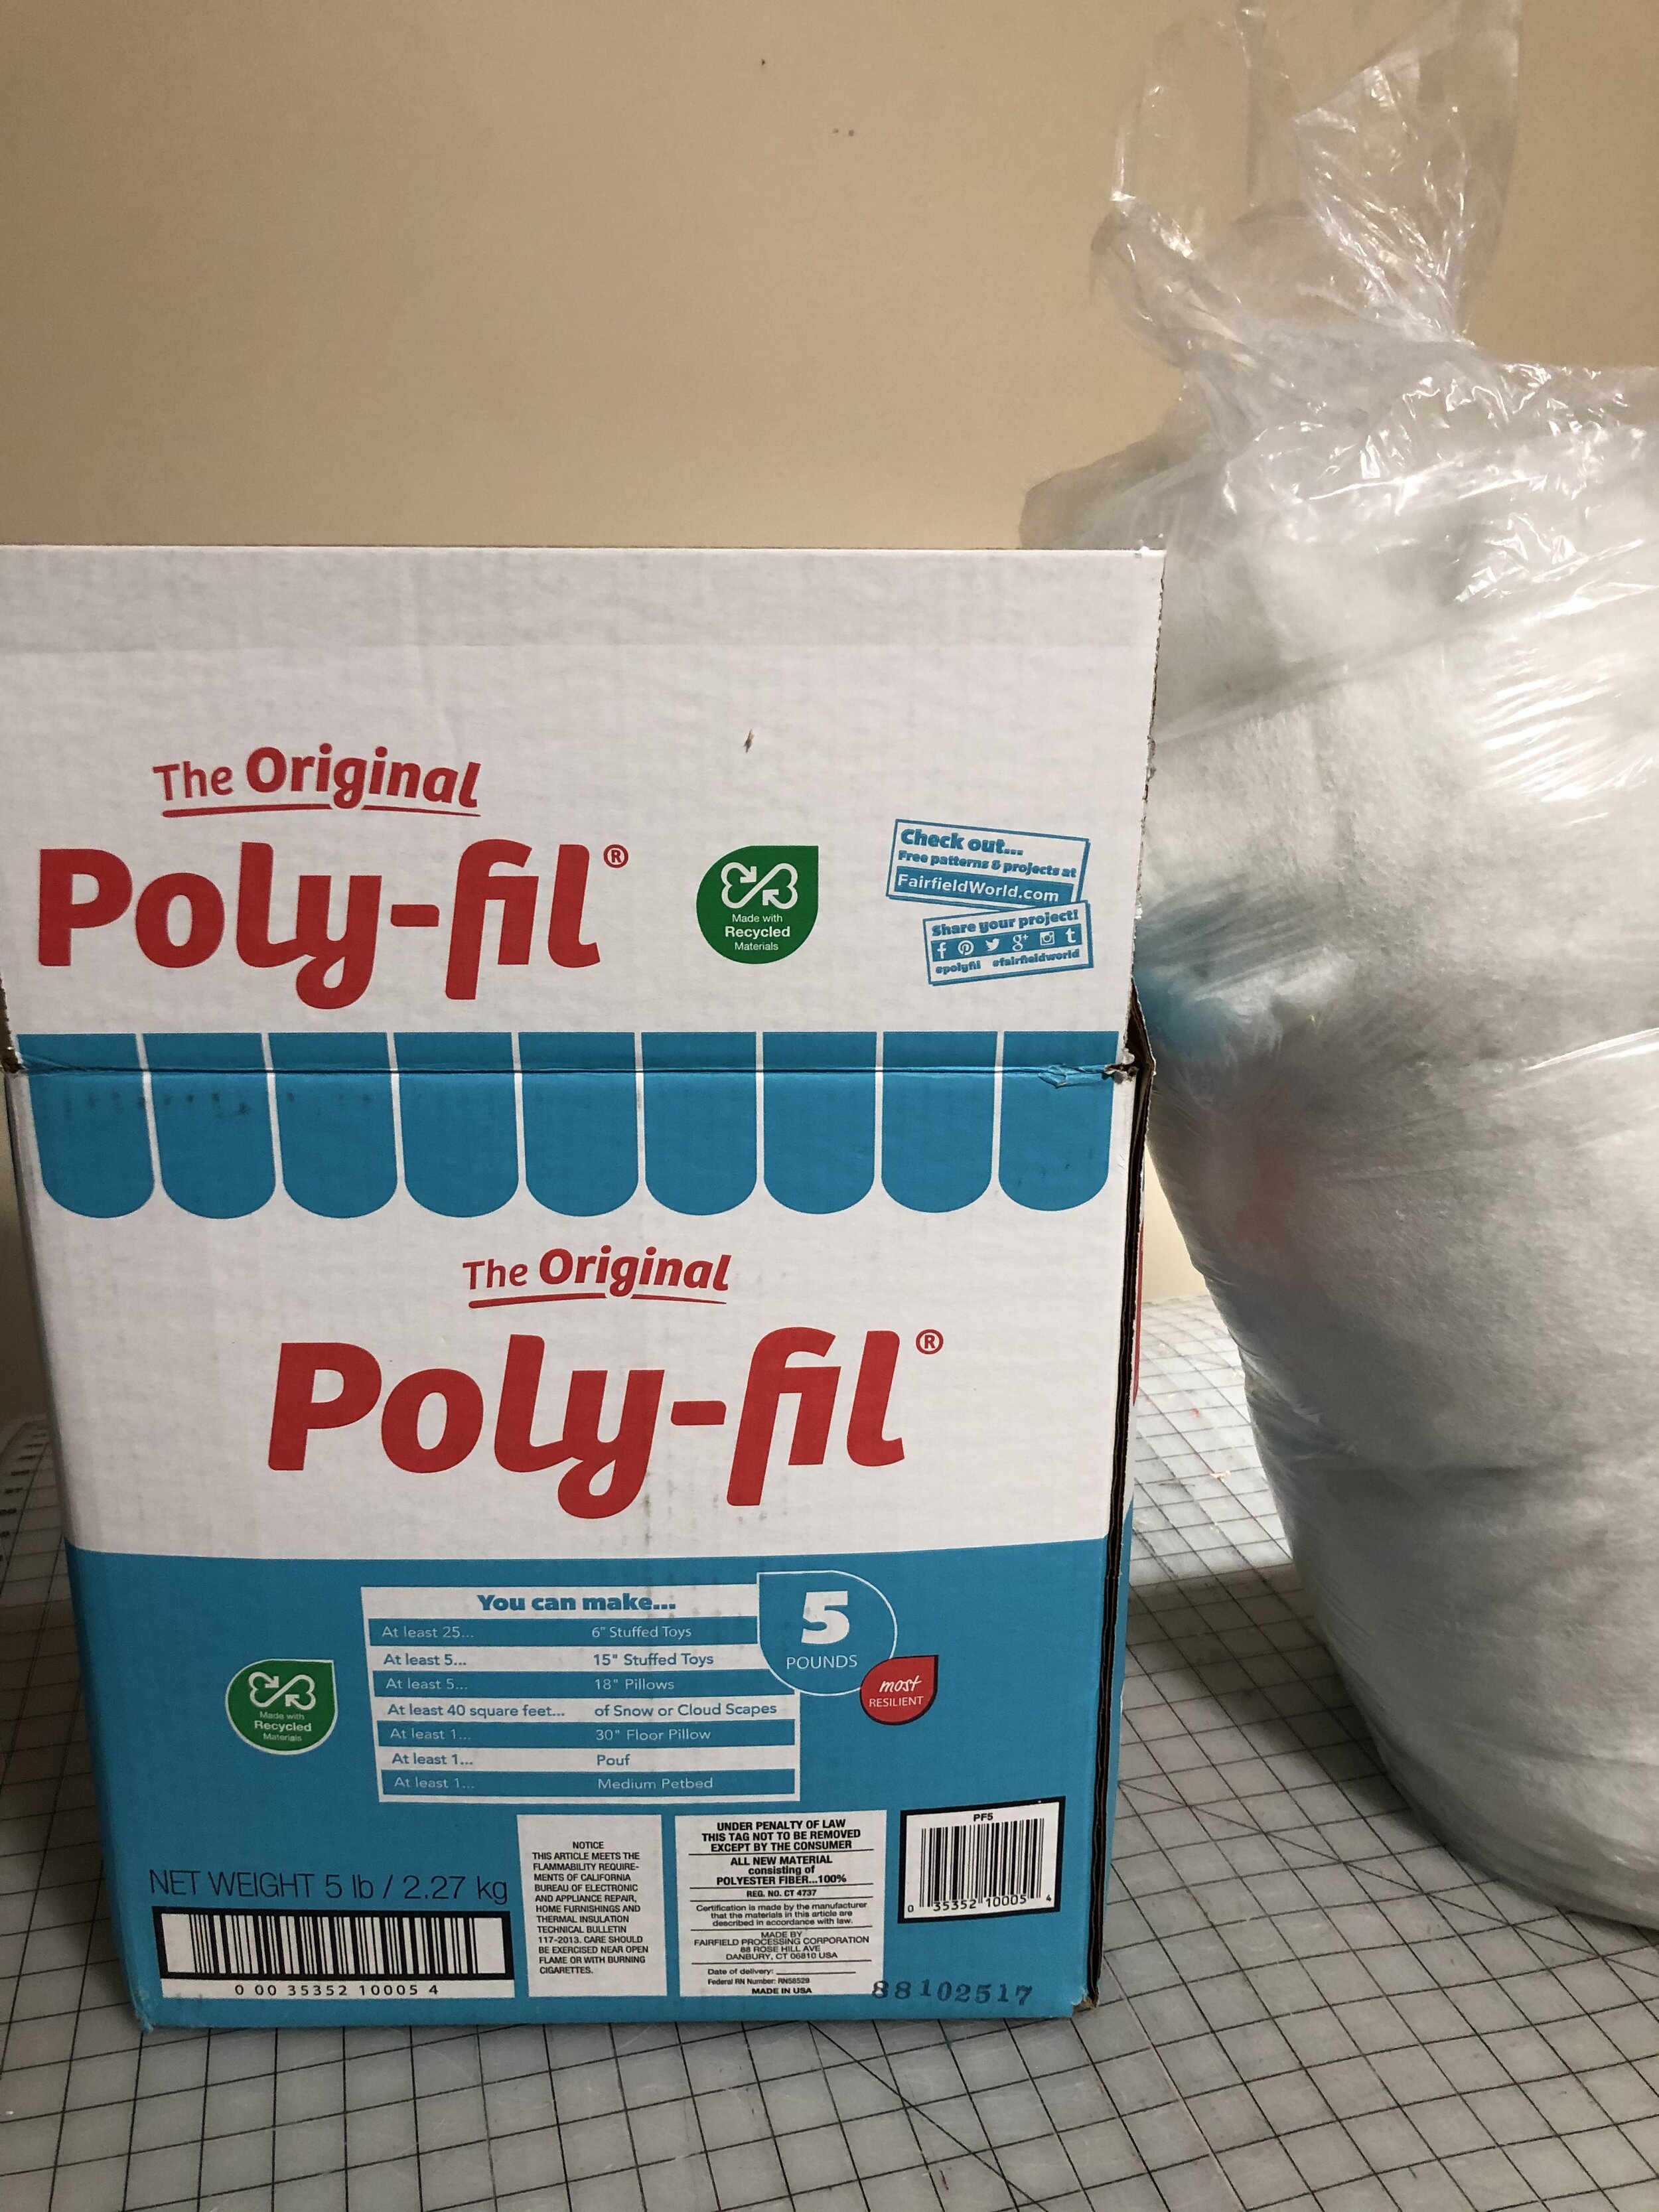
5 pounds of Poly-Fil from Fairfield World

Marking Pen

Corner turner

Matching Good Quality Polyester Thread (not cotton)

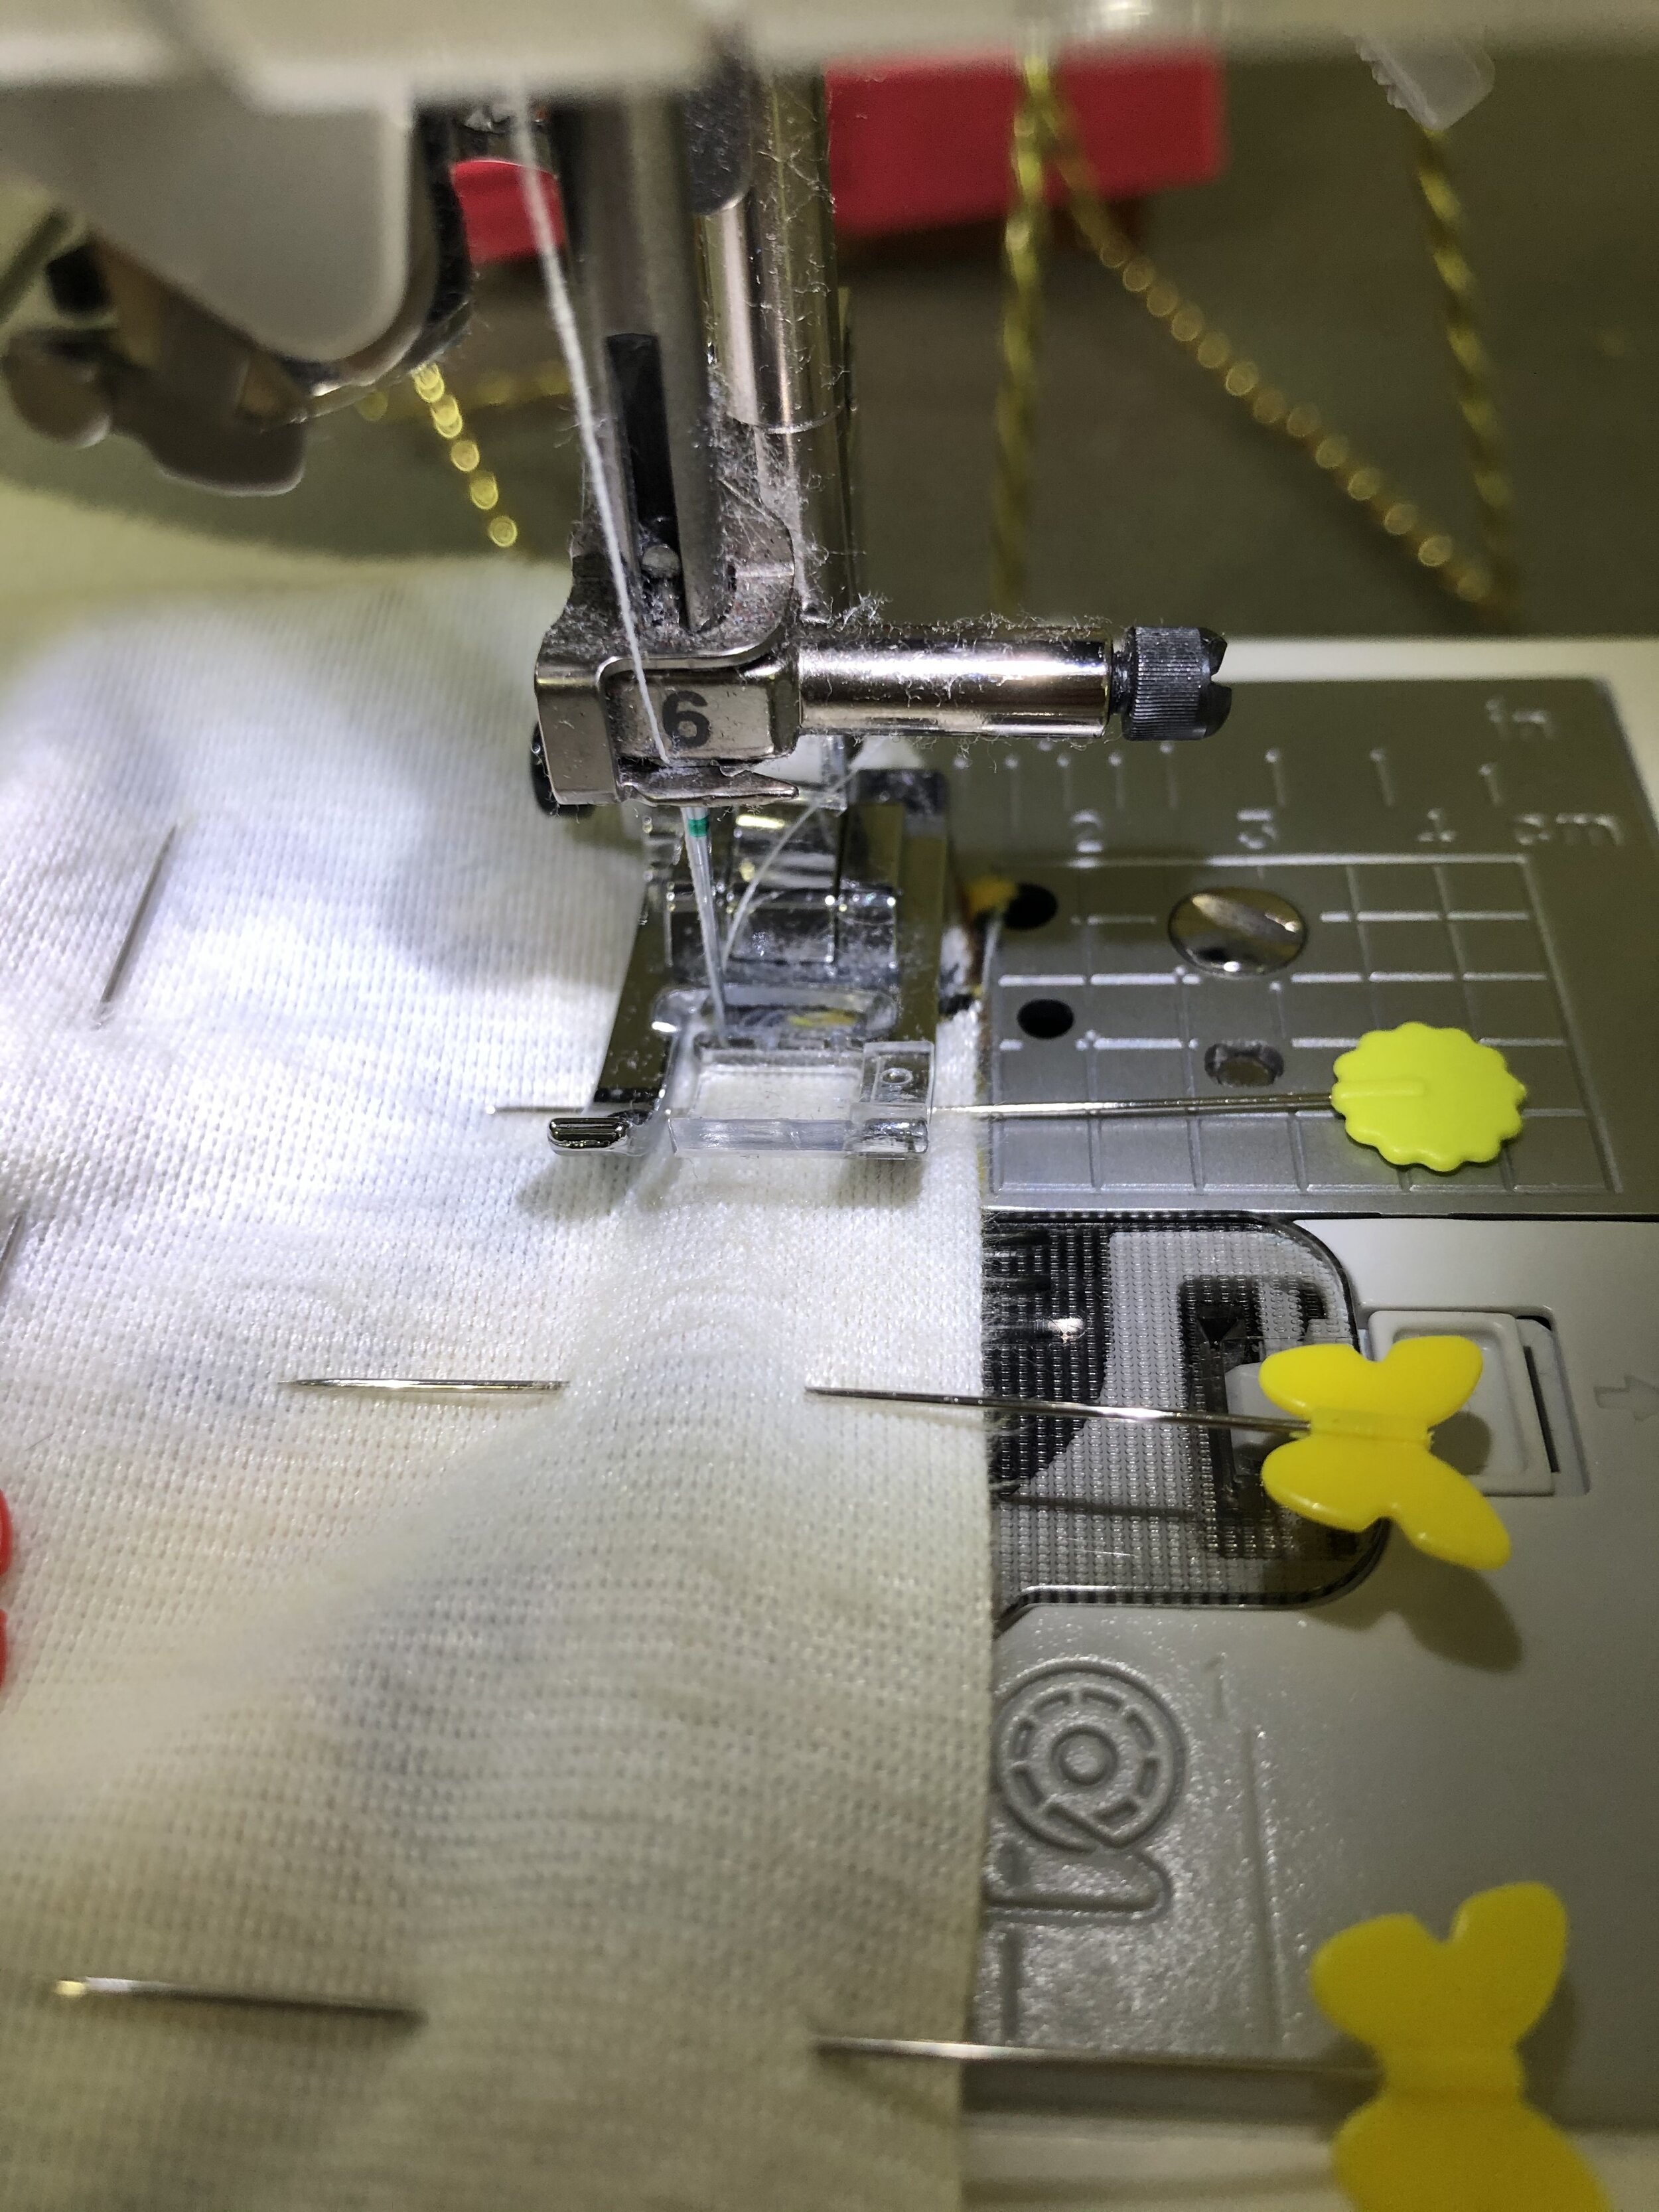
Long Flower Head Pins

Walking Foot 

 INSTRUCTIONS

 STEP 1 PREPARATION - CUTTING

IMG_4258.jpg

Cut the 2 yards in half. They will now be 2 pieces of fabric that are 36” by the width of fabric

IMG_4259.jpg
  • Remove the selvage

IMG_4260.jpg
  • To make an even square, fold the 36” at the corner to match the width of fabric. This will form a triangle.

  • Cut along the straight line where you can see the back side of the fabric and the inside of the fabric (see photo).

  • Do this with both pieces of fabric. You now have 2 square pieces of fabric

IMG_4263.jpg
  • Fold each square in half. With a marking pen, mark the half way along each edge. Do this for both squares.

IMG_4265.jpg
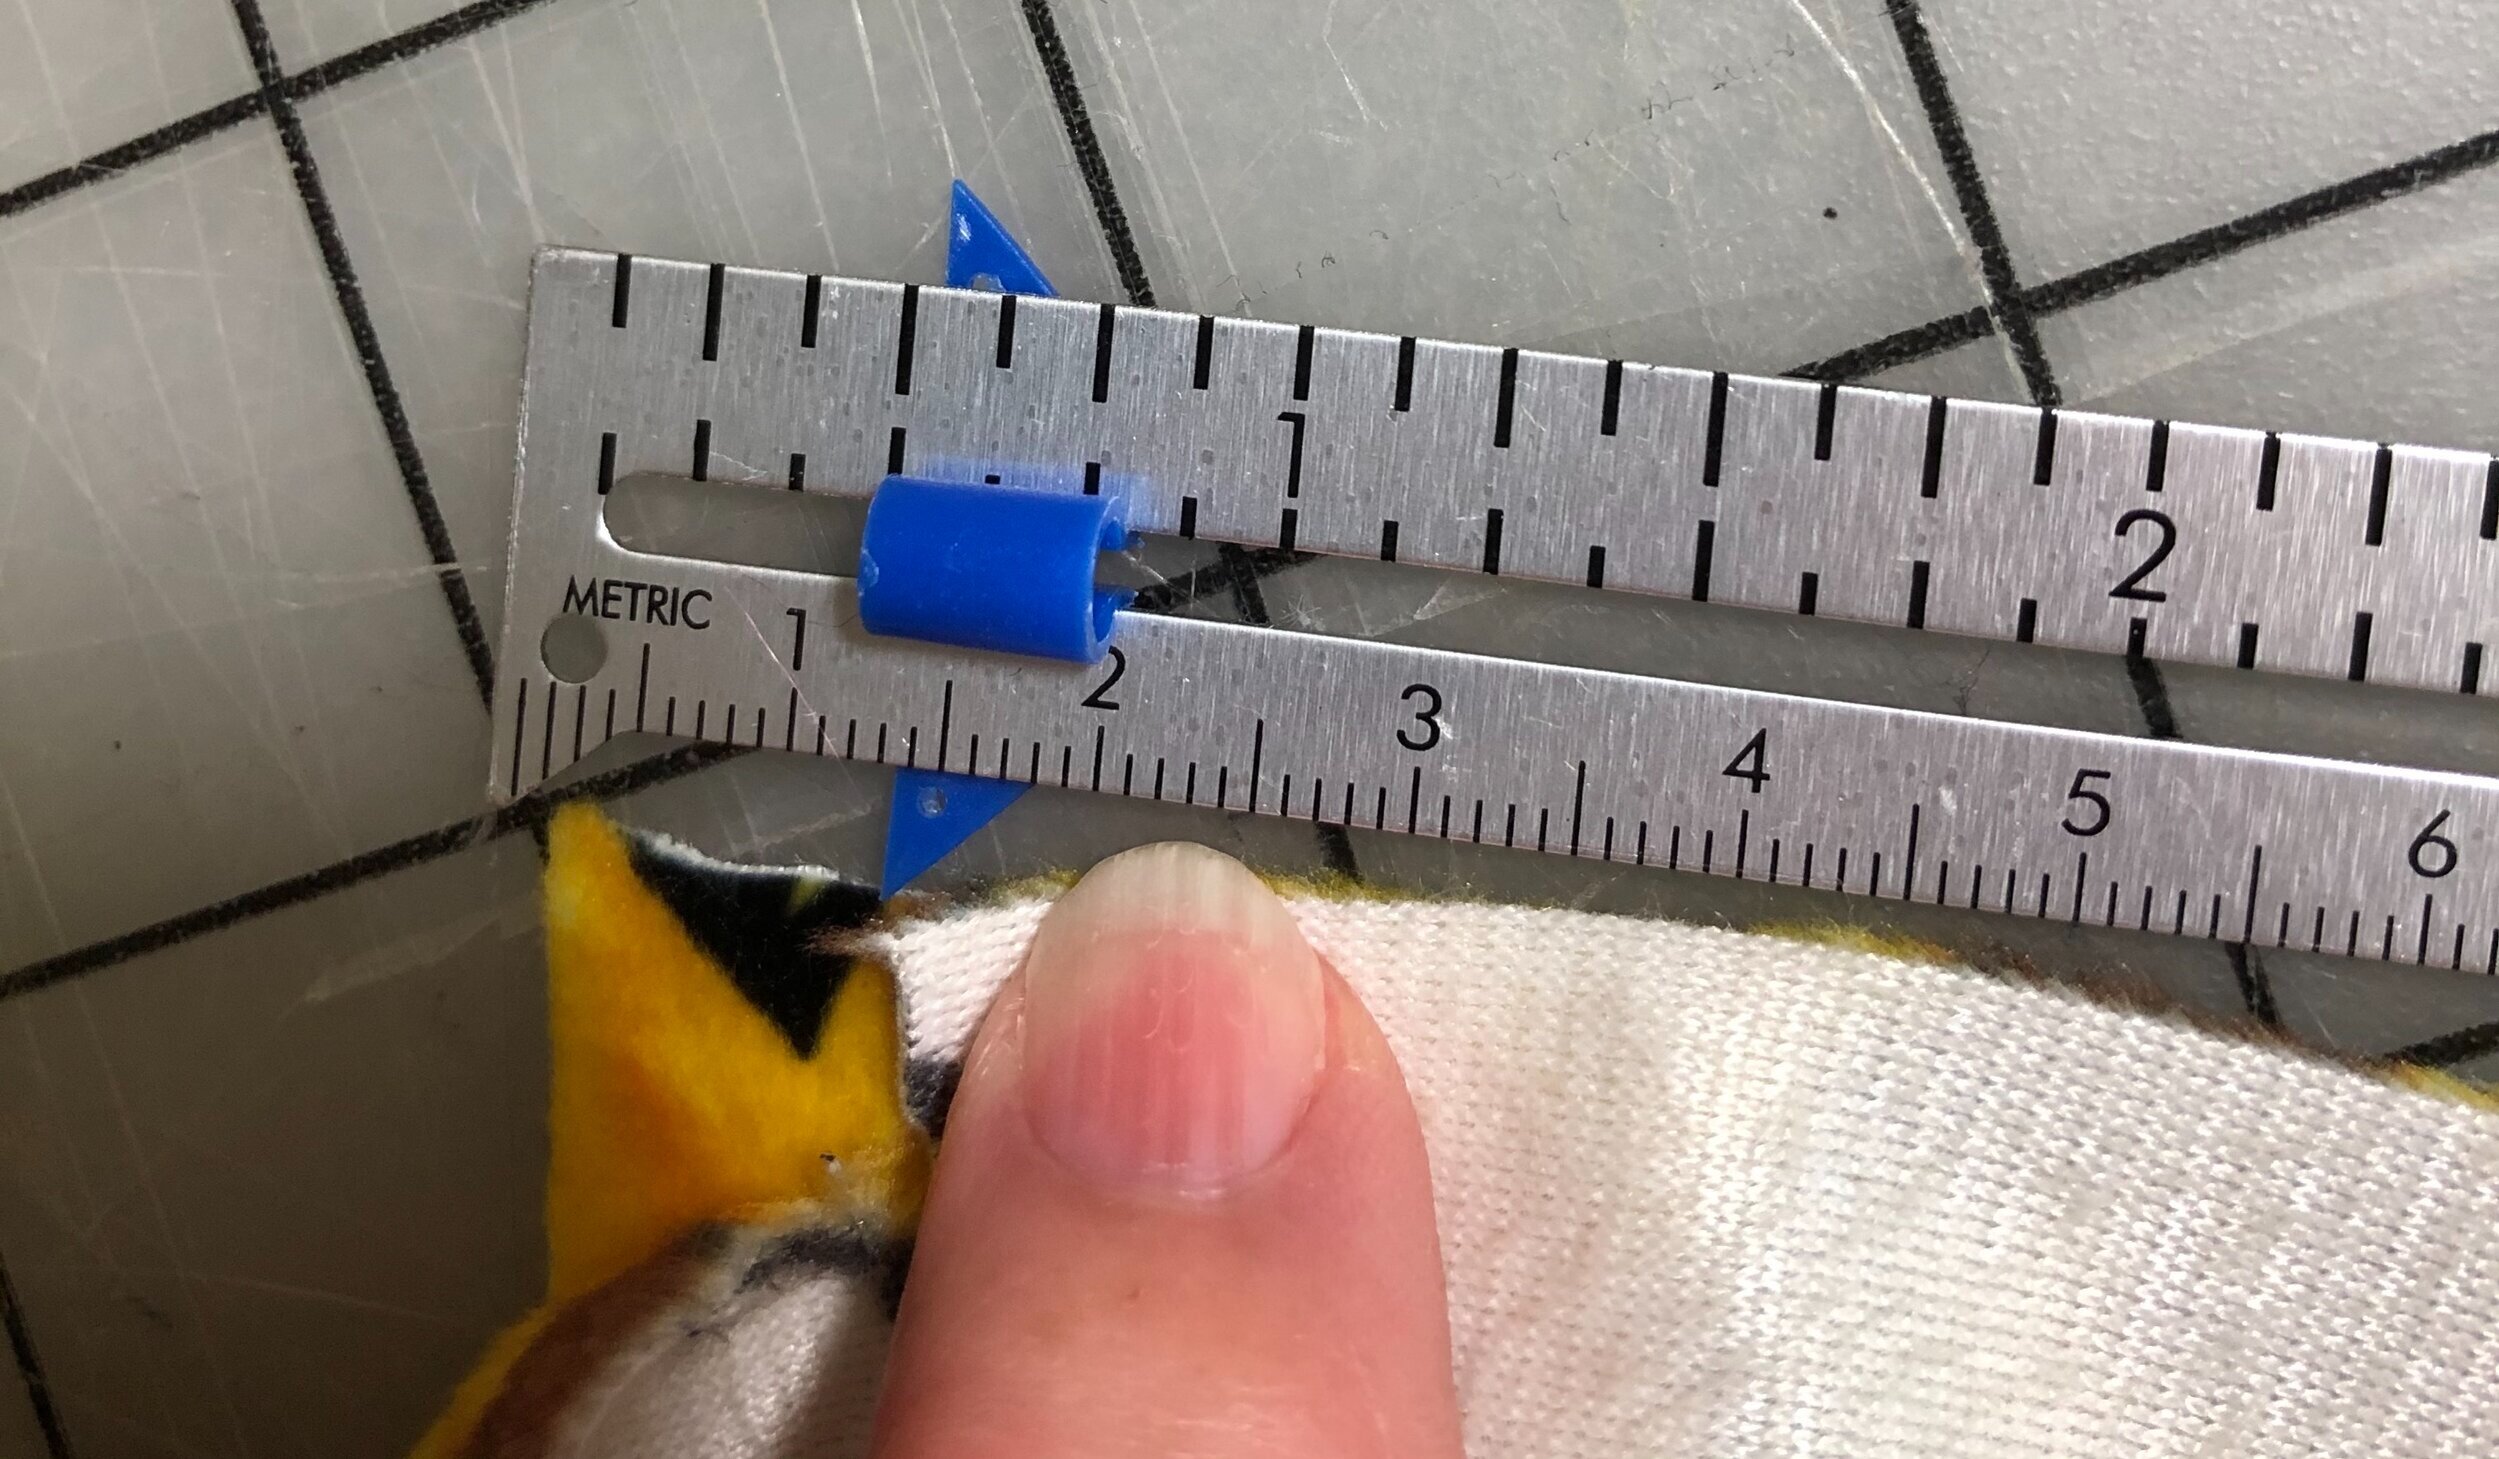
  • At the place that you have marked, cut a 3/8” straight slit. Do this on all four sides for both squares

STEP 2 SEWING

  • You are going to sew each of the eight sides individually. To achieve perfect corners, sew each side separately.

  • For the first side, match a corner of one square to the inside of the slit on the other square.

IMG_4269.jpg
  • Place the corner 1/2” from the slit and pin.

IMG_4270.jpg
  • Follow the edge along until you reach the other corner and slit. Match this corner with the slit on the other square. Pin.

  • Smooth out the fabric on a firm surface. One edge may appear longer than the other. Ease the two pieces together such that they are the same size. Do not stretch them. Pin by the half-way method…pin at the half-way point, then keep pinning half-way between each pin until the pins are about 1” apart.

  • Now pin along the bottom of the pins in a horizontal direction. This is a unique double pinning method devised by Shannon fabrics to prevent stretching.

IMG_4271.jpg
  • Now sew that edge with a 1/2” seam allowance.

  • Laying your fabric flat find the next edge to the right of the edge you just sewed. Place the corner that you just sewed 1/2” from the corresponding slit. You will have a pucker in the corner. This is needed to make the corner when it is turner right side out. End at the slit, which should be 1/2” from corner edge.

  • Pin this new edge in the same manner as the first edge.

IMG_4274.jpg
  • When you begin to sew, place your needle in the last stitch. Make sure that the pucker does not get caught in the stitches. Pull it down and free from your seam.

  • Sew all eight sides in this way.

IMG_4286.jpg
  • However, for the last side leave a minimum of 5” not sewn for the opening.

STEP 3 TURNING RIGHT SIDE OUT

IMG_4287.jpg
  • Trim the corners, checking each one that they are completely stitched together and have no puckers. Adjust where necessary.

  • Turn right sided out.

  • Push the corners out.

STEP 4 FILLING

IMG_4290.jpg
  • Fill the pillow with the entire box of poly-fill through the opening.

STEP 5 FINISHING

IMG_4291.jpg
  • Fold the opening at the 1/2” line and pin.

IMG_4292.jpg
  • Zigzag the opening closed.

ENJOY your new pillow! Make any size square of fabric into a fun 3D octagon pillow.

IMG_4303.jpg

Illuminated Manuscript Quilted Pillow Pattern

Next Saturday, March 19th, is National Quilting Day. I think “National” days are so much fun, but I really like to know about them ahead of time, so a quilted pillow pattern is just the thing to celebrate National Quilting Day next week.  You can accomplish this project in one day and by telling you ahead of time, you can gather your supplies and do it next Saturday – actually on National Quilting Day. Now that is planning. 

Machine Embroidery Designs by Sonia Showalter

Machine Embroidery Designs by Sonia Showalter

Medieval illuminated manuscripts were the inspiration for this pillow. The pillow is a combination of quilting and machine embroidery in gold metallic thread. The machine embroidery designs were from Sonia Showalter and were sewn after it was quilted using the Snap Hoop Monster by Designs in Machine Embroidery. I think another idea would be to embroider actual words in the blank parchment block. 

If you do not have a embroidery machine, do not let that hinder you. The pillow does not need to be embellished or you could even embroider it by hand as hand embroidery is really becoming very popular again. DMC, a manufacturer of excellent embroidery threads, has a page dedicated to the different stitches on their website and there are wonderful YouTube demonstrations just waiting for you to google

ILLUMINATED MANUSCRIPT QUILT TOP

MATERIALS:

1 fat quarter of parchment silk dupioni

1 fat quarter of royal blue silk dupioni (also 1 additional matching fat quarter is needed for the back of the pillow, if you are making the pillow)

18” square of batting

18” square of muslin

CUT BLUE (B) SILK:

B1 = 2 pieces 2.75" by 13.5" for outer border

B2 = 2 pieces 2.75" by 18" for outer border

B3 = 1 piece 4.5" by 4.5" for main block

B4 = 2 pieces 2.5" by 8.5" for stripes off block

CUT PARCHMENT (P) SILK:

P1 = 1 piece 1.5" by 13.5" for inner border

P2 = 1 piece 1.5" by 12.5" for inner border

P3 = 3 pieces 1.5" by 8.5" for stripes background

P4 = 1 piece 8.5" by 9.5" for main parchment block

LAYOUT: The layout is available as a PDF here.

STITCHING ORDER:

  1. Stitch block P3 to each side of block B4.
  2. Attach this new block to B3 on the right side.
  3. Sew P3 and B4 together.
  4. Sew P4 to B4 of this new block.
  5. Attach this new block to the bottom of B3 that was made in step 2.
  6. Connect P2 to the block created in step 5.
  7. Connect P1 to the block created in step 6.
  8. Add B2 to the right sides of the block created in step 7.
  9. Add B1 to the top and bottom of the block created in step 8.

This finishes the creation of the block.  It can now be quilted. I stitched in the ditch to highlight the blue blocks only.

Once the quilt top has been quilted, you would sew it like any other pillow that has piping/cording and a zipper. 

To complete the pillow I also used:

20” matching royal blue zipper

20” square pillow form

2 ¼ yd gold cording 

(also 1 additional royal blue fat quarter of silk dupioni is needed for the back of the pillow, if you did not include it in the quilt top)

_______________________________

When finishing the pillow, Pam Damour’s instructions in her PDF entitled Pam Damour's Foot Notes - Ten Steps to a Perfect Pillow, are fabulous. Take note of her special technique to taper the corners.  This is really important and makes all the difference in making an elegant pillow.  Thank you Pam for sharing this important tip with all of us. By the way, she does have several acrylic templates for sale on her website for tapering those corners.  Pretty clever!

My version of the illuminated manuscript quilted pillow has been submitted to the Second Annual Nancy Zieman Pillow Challenge. The deadline for submissions is March 20th and online voting begins March 22nd, so I will surely be linking to that voting page then. The grand prize is a Baby Lock Anna sewing machine and that would be wonderful to take along when I teach sewing. 


Next Saturday is also National Let’s Laugh Day, so truly enjoy next Saturday.  So what are you doing to celebrate?