
The best sewing projects are when they are done together with a friend. A friend of mine texted me, and asked if I would help her reestablish her sewing skills by making pillowcase dresses for her daughters. Oh, I loved the idea – fellowship and sewing – it does not get any better than that.

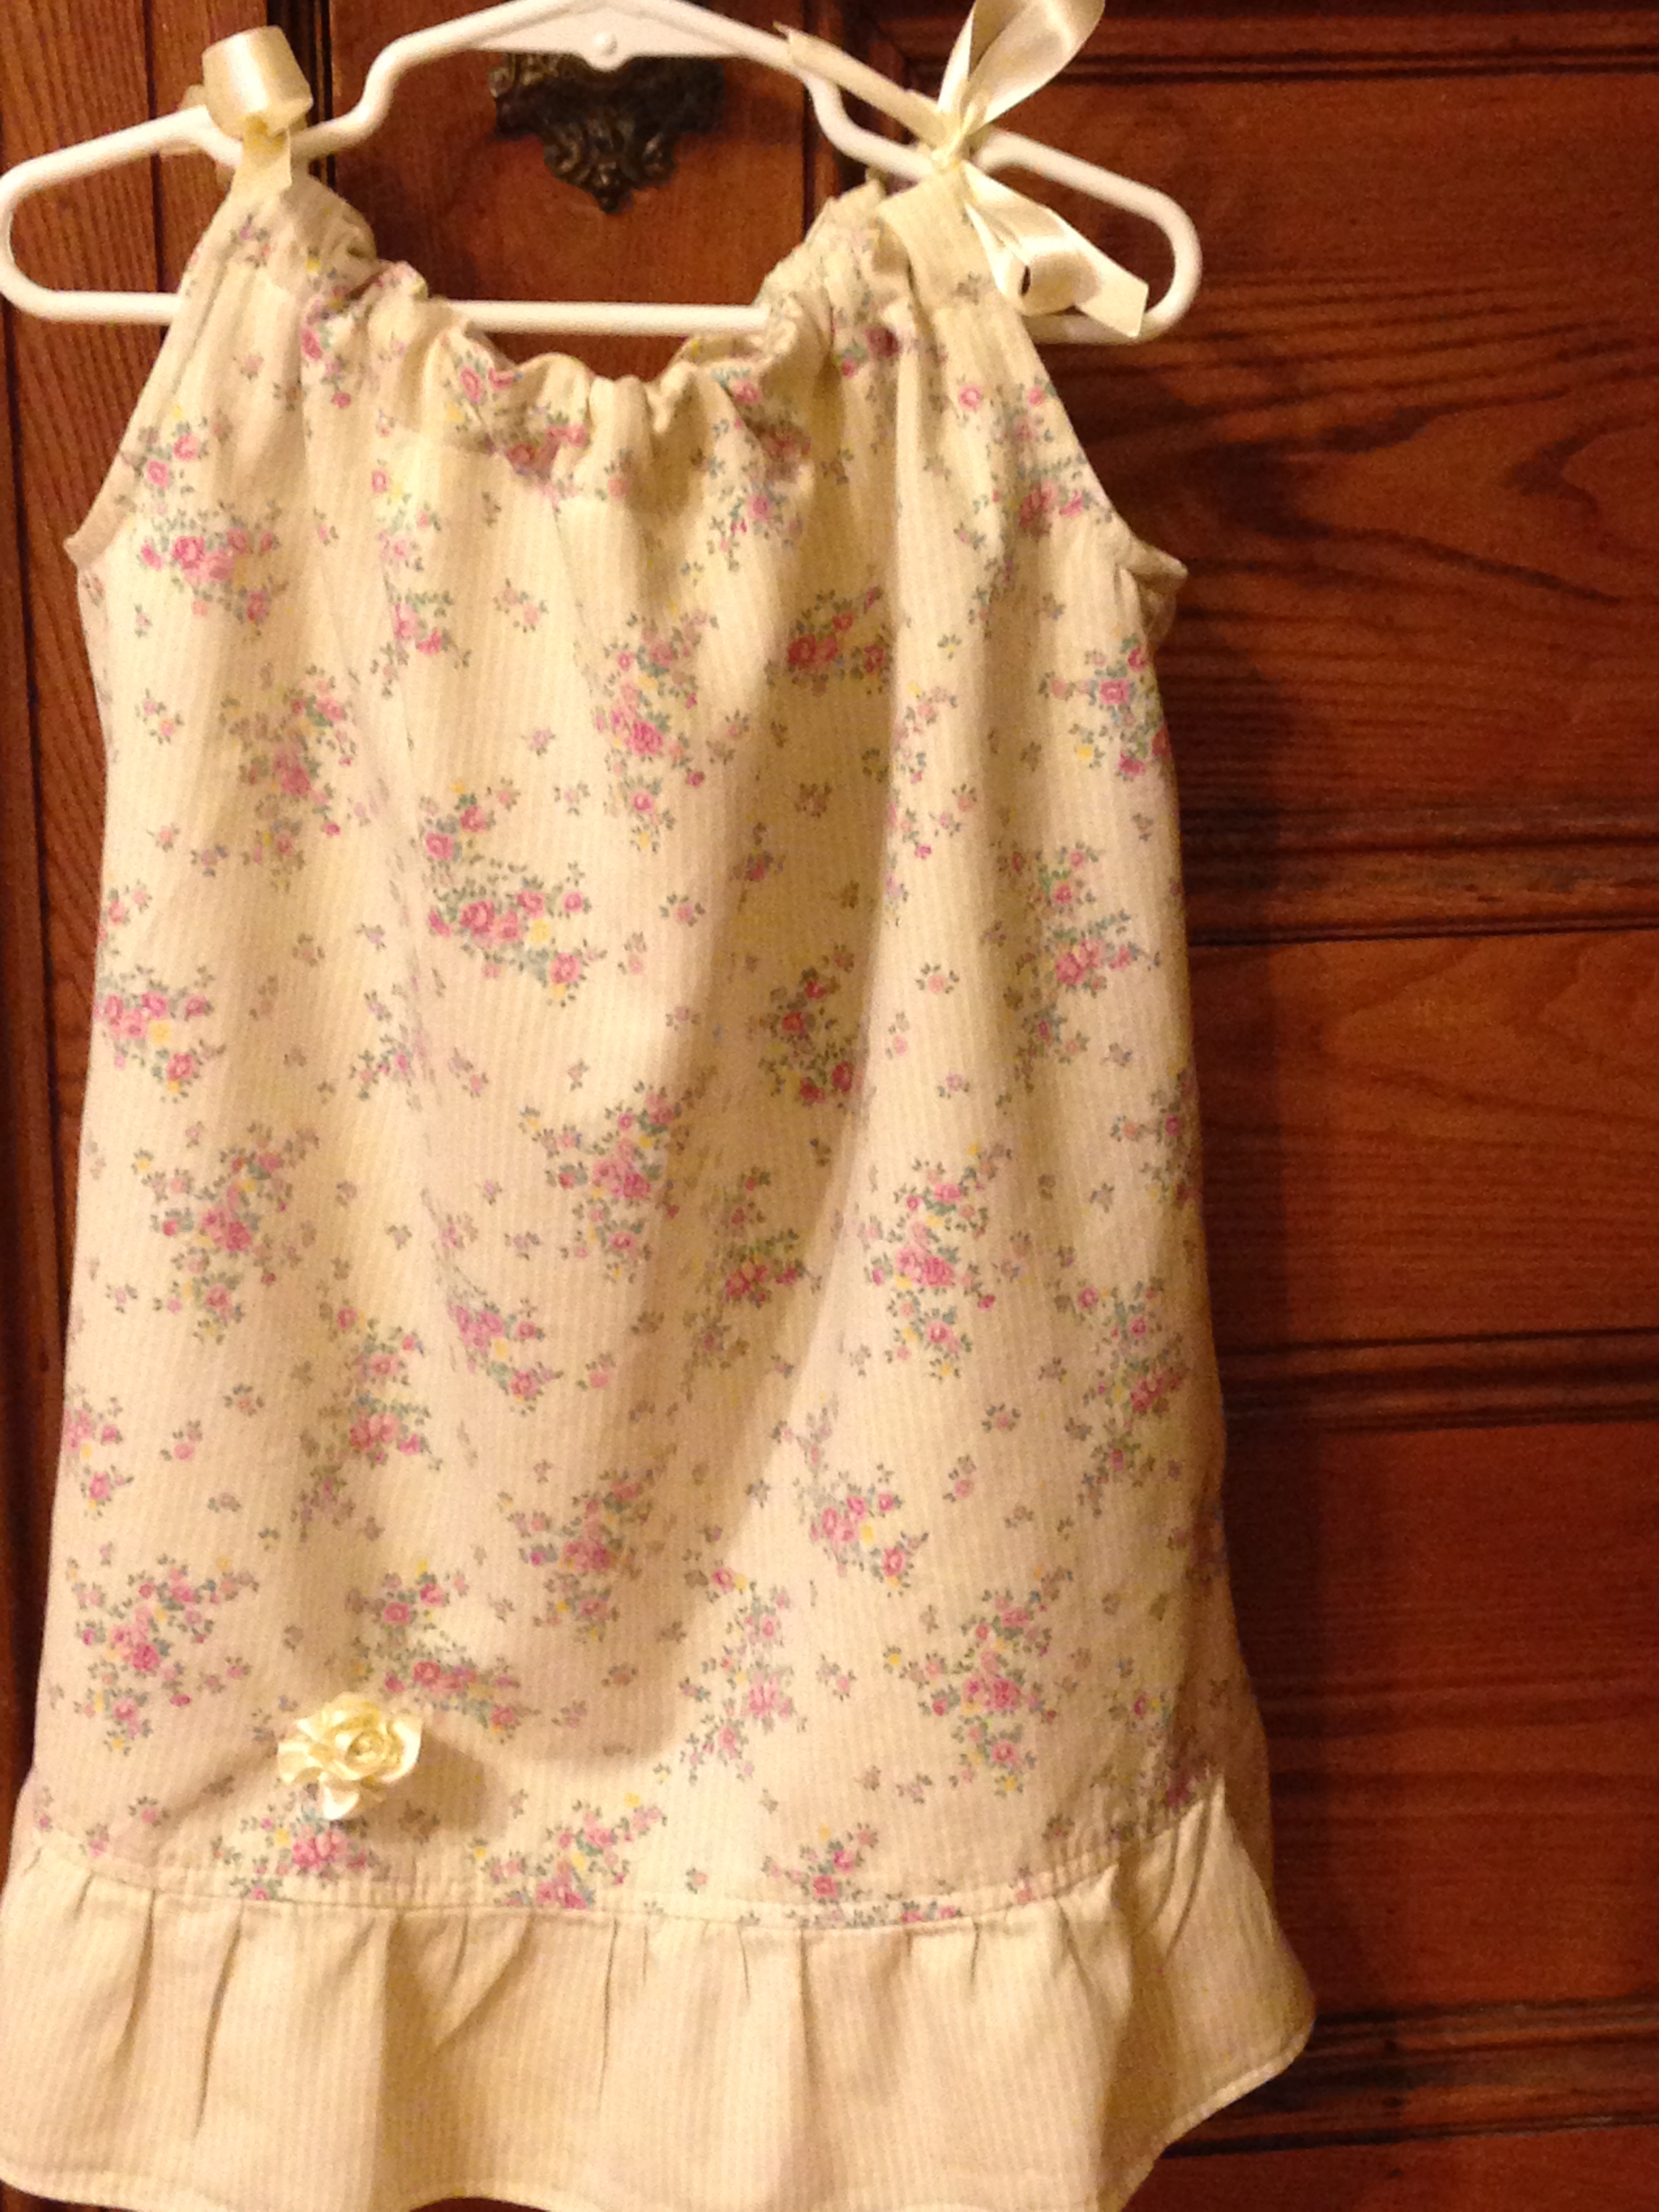
Pillowcase dress on the sweetest girl with a matching purse and rosettes made by her mom.
Simplicity has a pattern designed just for pillowcase dresses. Pattern 2391 sounded like it was just perfect for her first project in several years. We started out by perusing the pillowcases, the pattern, and finally finding dresses that were a good fit and length for the girls, so we could use them as a guide, since the girls were in school and we could not measure them.

After scanning the pattern and the instructions, I decided that view A and C were best, as they did not have the bottom band and I cut it out the front piece quickly. We measured the front piece with the girls’ dresses and then with the pillowcases to make sure that it all fit. The pattern uniquely has two instructions – one for fabric dresses – one for true pillowcase dresses. We opted for the dress made from a pillowcase. My friend had purchased them so inexpensively and that was her goal with a pillowcase dress - inexpensive repurposed dress.

My big mistake, which turned out to be a good modification to the pattern, was that I did not see where it called for bias binding on the envelope. It is usually in the “Notions” section, but it only said, “Thread. Look for Simplicity notions and Wrights trims.” That did not help as the pattern instructions clearly set out steps for using bias tape. I did not know how wide or how much. That was fine with me, I love making my own bias, so I did not look any further on the pattern envelope and just proceeded to instruct my friend on making her own. So here are our instructions on how to make a pillowcase dress. (By the way, the pattern envelope does tell how much and how wide, but it is in the middle of the envelope after the fabric yardage for each view.)
How to Sew a Pillowcase Dress
(with bias made from the pillowcase)
STEP 1 - Gather supplies
Pillowcase (do not cut any seams)
Coordinating thread
2 3/8 yard of ribbon
Measurements or one garment such as a dress that can be used for measurements
A pattern or a garment that can be used for drafting an arm opening (aka armscye)
STEP 2 – Fold the pillowcase lengthwise. Layout the dress on the pillowcase to determine the placement, width and length of the dress. Mark or otherwise indicate the top of the dress.

STEP 3 – Place the armscye )sleeve opening) pattern or dress on the seams of the pillowcase, lining up the top with that of the top line that you measured in Step 2.
STEP 4 – Cut the armscye and the top of the pillowcase straight to the edge of the fold.

Notice that we had extra width compared to the pattern, but that was good and could be taken in when gathered by the ribbon.
STEP 5 – With the leftover pillowcase fabric cut four 2 inch strips that are the width of the pillowcase (not the diameter – you can cut the seams so there are two widths when you cut). Two will be used for the bias binding on the sleeve openings (armscye). Two will be used for the casing on the neck for the ribbon.
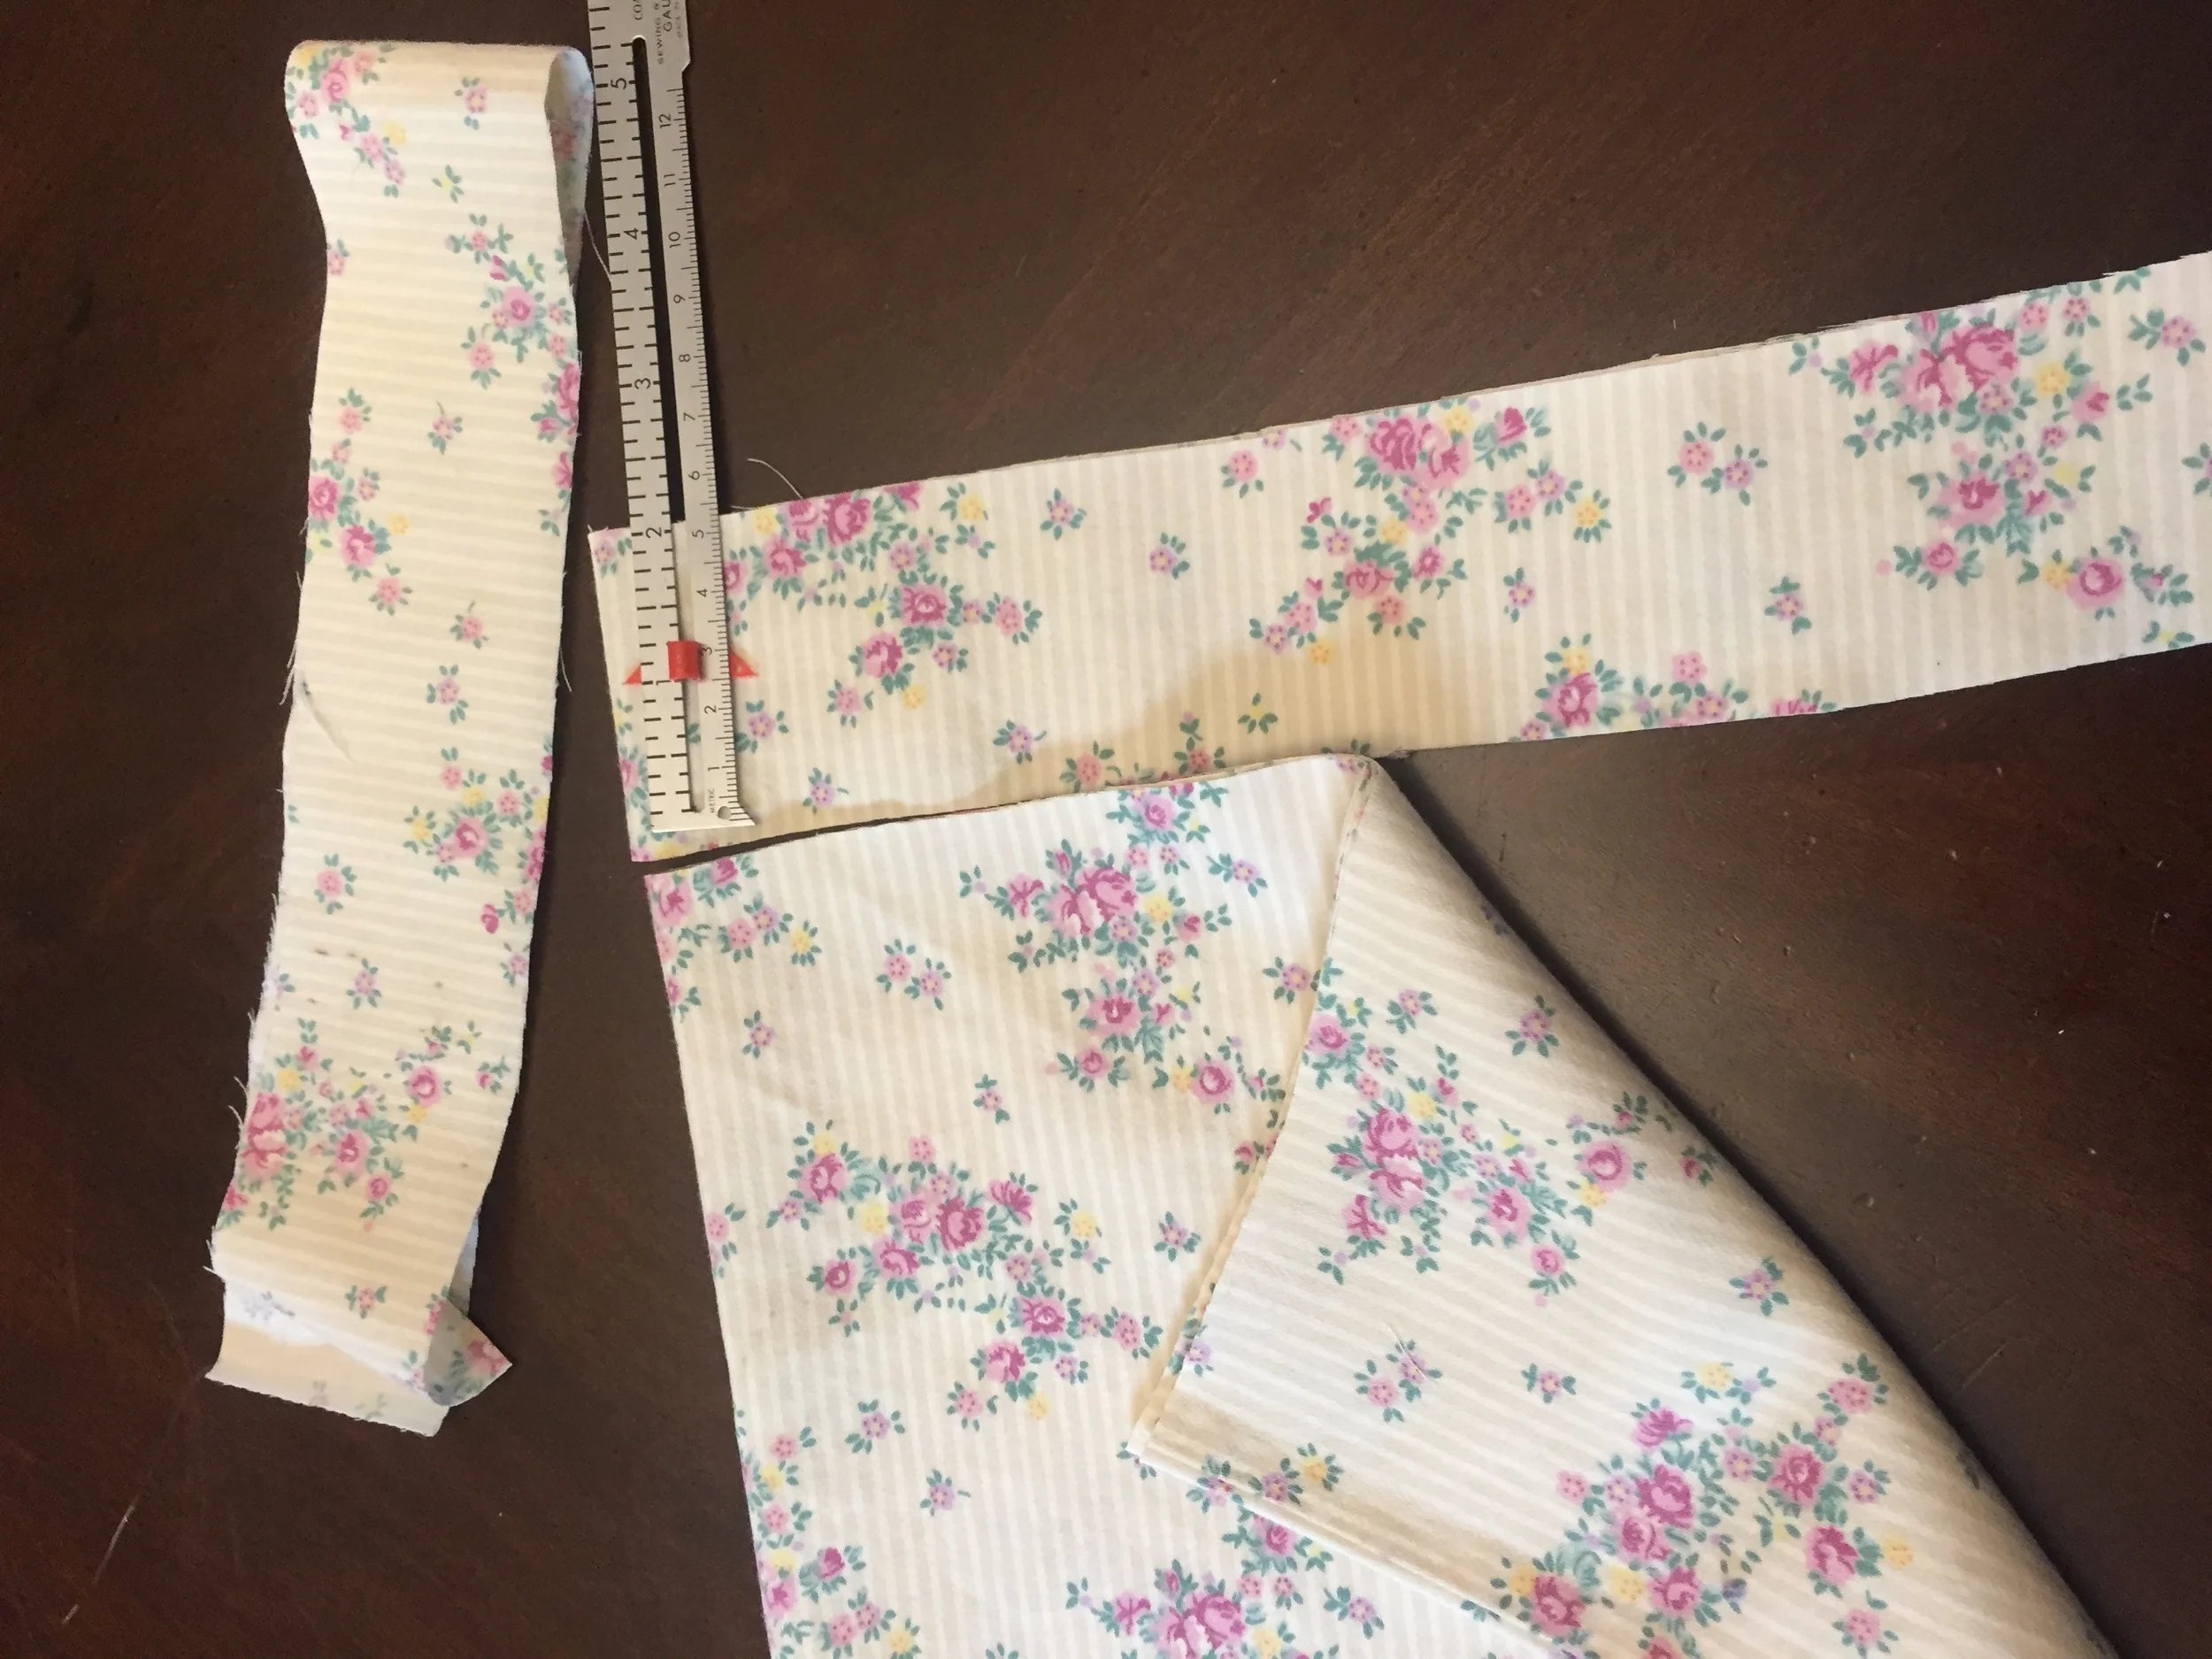
STEP 6 – Press two bias strips in half lengthwise.
STEP 7 – Press the other two bias strips with a fold ¼” from the bottom.
STEP 8 – Pin the bias strip that has been pressed in half to the sleeve opening on the right side.
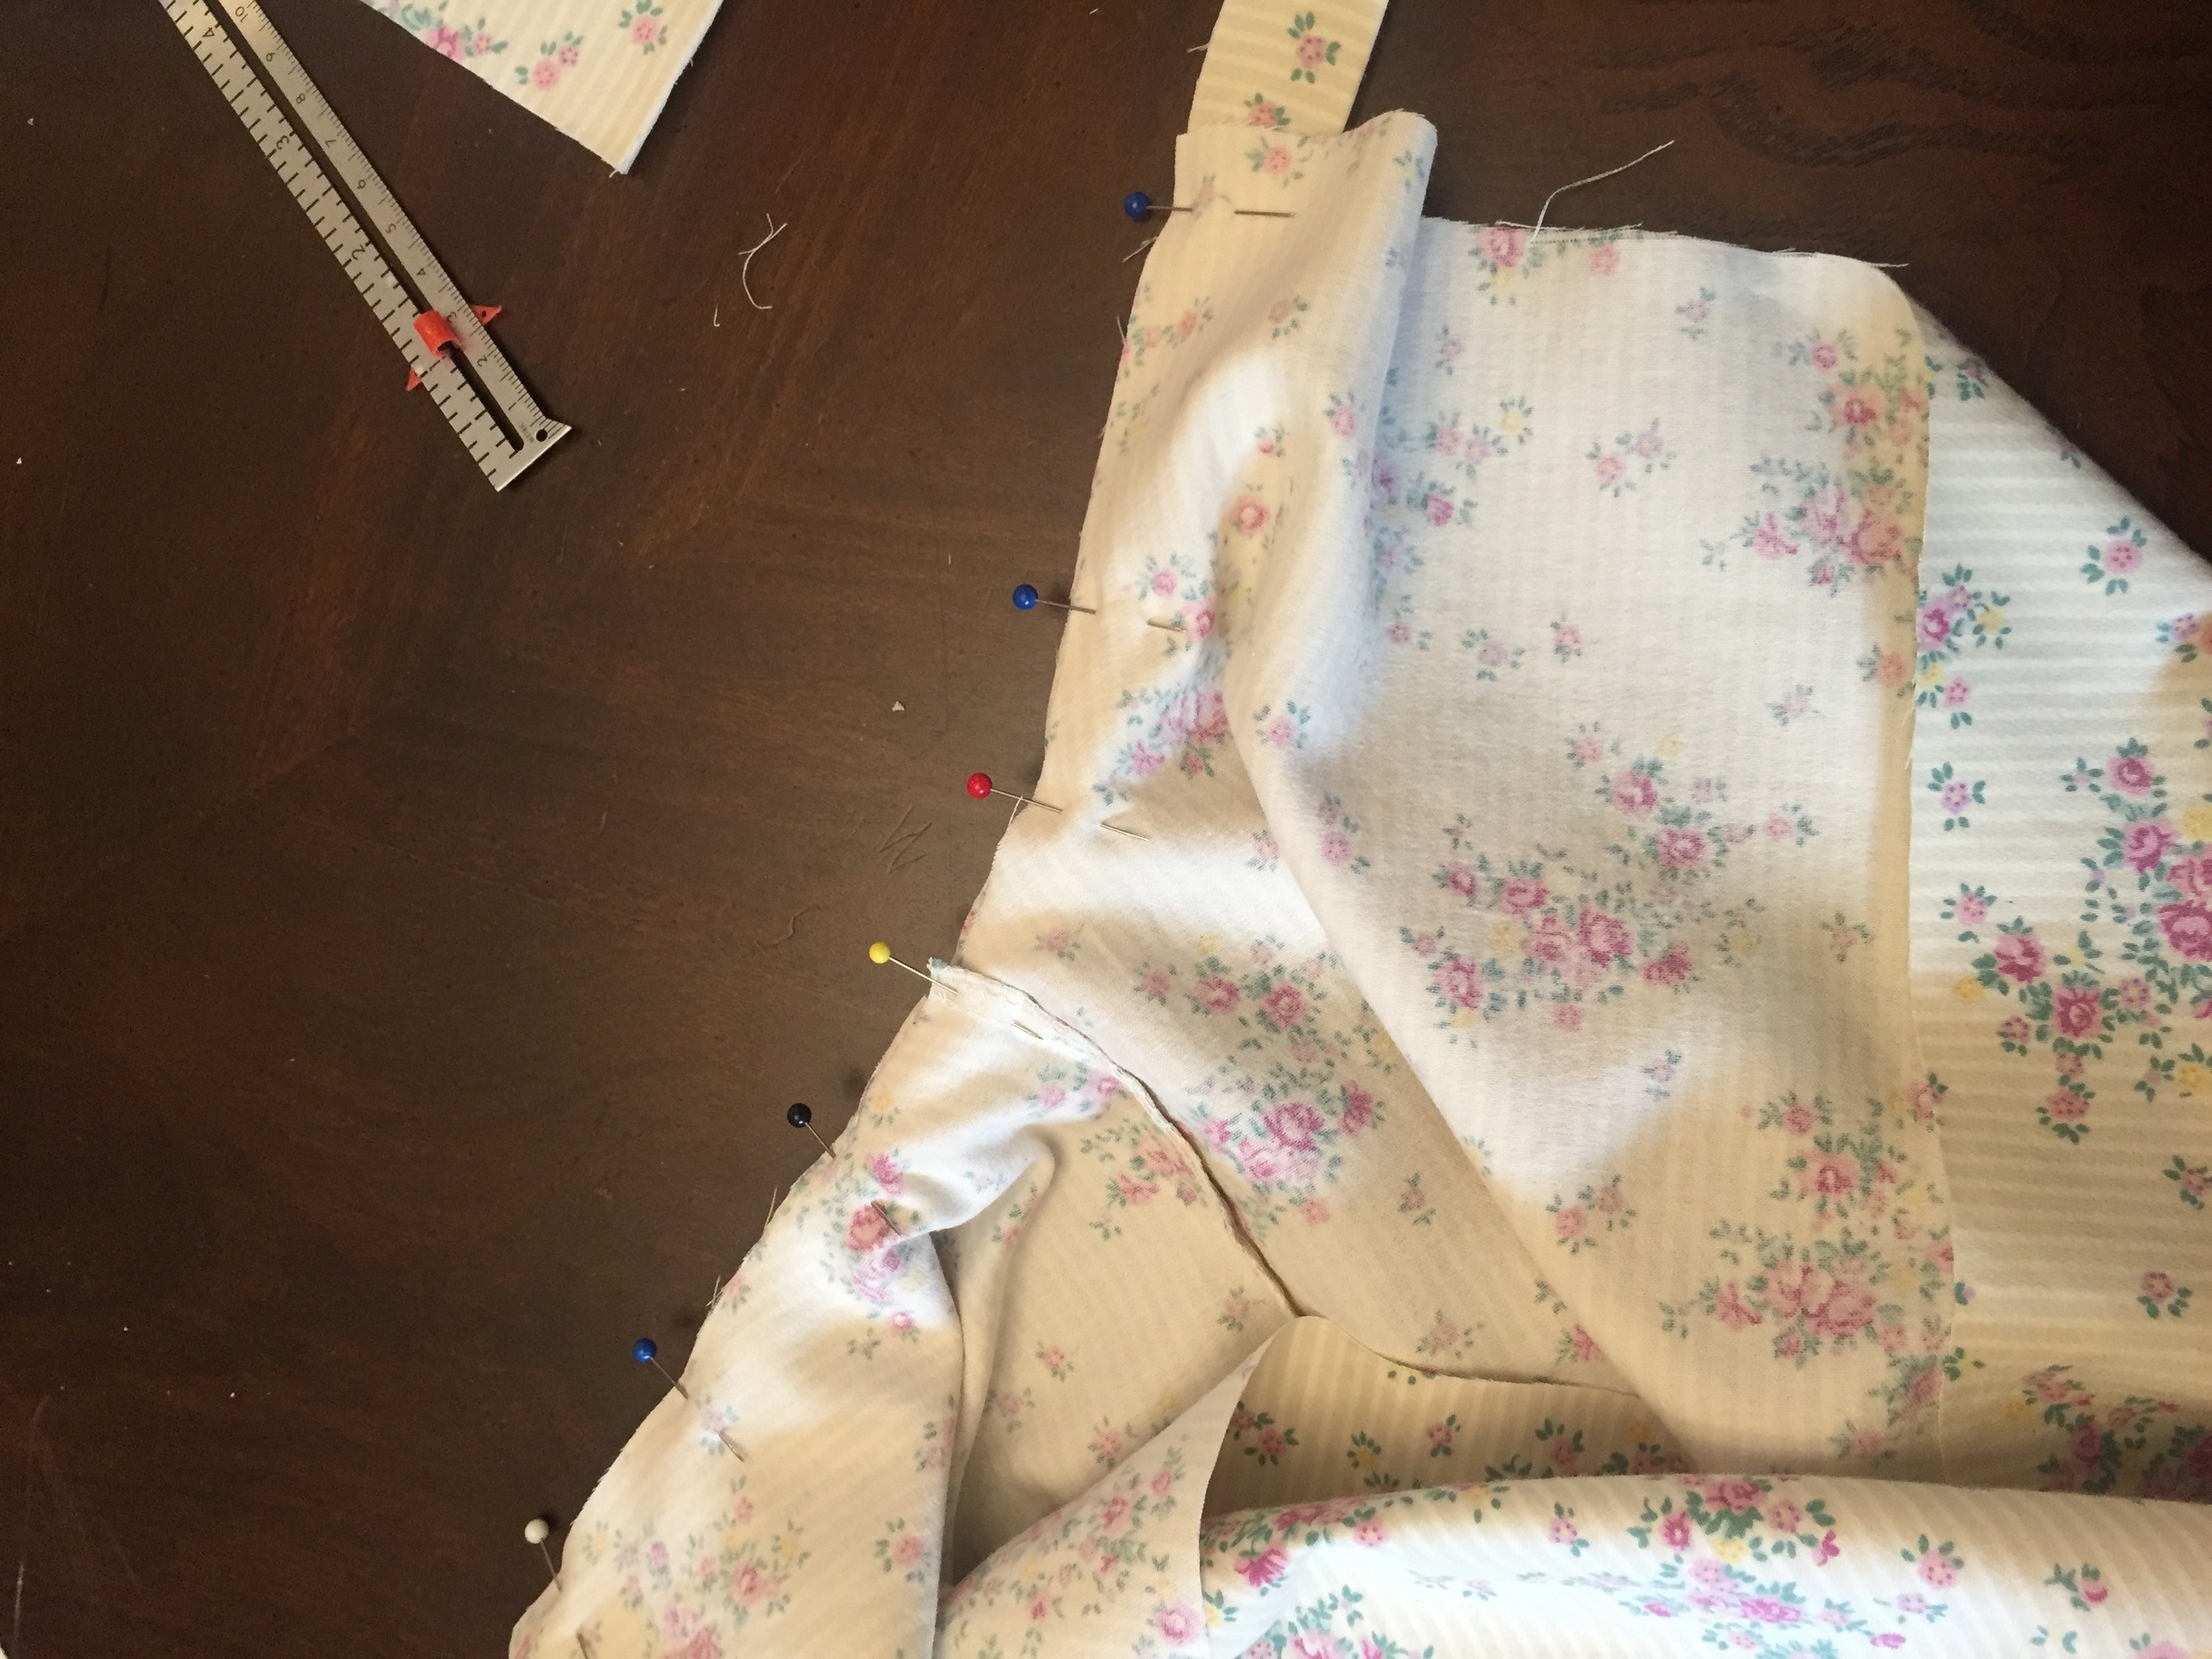
Cut any extra bias fabric at the end to match with the armscye. Do it for both armscyes.

STEP 9 – Sew the bias strip to each armscyce using a ½” seam allowance.

STEP 10 – Press the bias strip flat.
STEP 11 – Trim the seam allowance to 3/8”.
STEP 12 – Fold the bias strip down and sew it close to the edge.

STEP 13 – Press the armscyes.
STEP 14 – To make the ribbon casing, pin the other bias strip with the ¼” fold to the neckline and fold the ends in about ½” from the end. Cut any extra bias fabric at the end to match with the neckline. Do it for the front and back.

STEP 15 – Press the bias strip flat – being careful not to loose the ¼” fold.
STEP 16 - Fold the bias strip down and sew it close to the edge of the ¼” fold.

STEP 17 – Press the neckline.

STEP 18 – Cut the ribbon in half and thread each through the casing made at the neckline. Do this for the front and the back, then tie the ribbons together at the shoulders to finish the dress.
My friend and I had a fun and productive morning together, but it was too short, so we decided that we needed to do it again soon. She would love to continue repurposing. What sewing projects have you sewn that are repurposed?