Thank you so much to Fairfield World for supplying the materials to make this plate charger and compensating me for this blog post.
Holiday entertaining is so much fun and there is always so much food. Keeping that food the right temperature is usually difficult when it is sitting out for hours while people enjoy nibbling. This charger is the perfect solution. You can use it under plates to keep the food warm or you can use it on a serving table for keeping food cold when it is steamy outside. It is reversible so you can make one side plain that would work for any occasion and embroider on the other side for that special day.
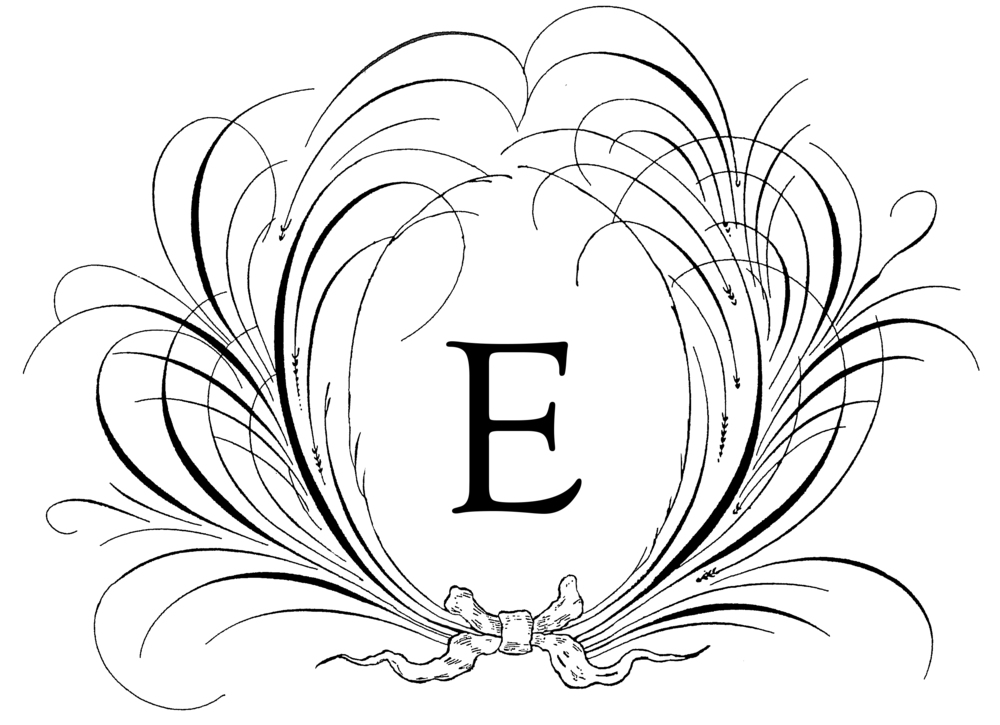
"Wheat Sprigs Monogram Blank" by Sonia Showalter. Font built in on the Ellisimo Gold by Baby Lock.
Plates from the restaurant owned by Henry Ford. Freestanding "Harvest Wheat" design by Sonia Showalter.
These plates look so small against this full-sized charger that is 16", but for us, Thanksgiving means using the family heirloom china, not the large department store ones that we use regularly. Some places can say so and so slept here, but in our family, we use china dishes that say so and so ate off these dishes. My grandmother had the privilege to be the personal waitress to Henry Ford who had his own restaurant in the Detroit area. He had his own personal set of china for when he was in attendance. When the dishes were discarded due to chips or cracks, my grandmother would bring them home. These were his dishes. I am so glad that I was the one chosen to inherit them from grandmother and I love them dearly, including the cracks and chips. I am sure Mr. Ford could never have imagined a material like "Aluminor" that could keep food temperatures regulated with its thermal capabilities, but then there is so much in our time that is way beyond his comprehension.
The key to these chargers keeping temperatures hot or cold is the special "Aluminor" material that is quilted providing a thermal barrier. It comes in a gorgeous gold or silver. Fairfield World has lots of projects on their website using this wonderful material.
INSTRUCTIONS
MATERIALS
17" circle of Gold Aluminor
17" circle of Silver Aluminor
1.5 yards of premade piping or make your own with 1/2 yard Oly-Fun™ Metallic in Rose Gold and 1.5 yards of 3/8" cording - see this blog post on how to make it yourself http://www.the-embroiderist.com/blog/2017/11/20/oly-fun-metallic
Coordinating Good Quality Polyester Thread
SUPPLIES
Sewing machine and related supplies
Piping foot (optional or use a zipper foot)
Zipper foot
Small sharp sewing machine needle (I used 75/11)
Rotary cutter, ruler, and self-healing mat, are preferred, but not necessary
Wonder Clips
FOR OPTIONAL MACHINE EMBROIDERY:
Embroidery Machine
Sharp 75/11 embroidery needle
Embroidery design of choice (the center design is “Harvest Wheat Monogram Blank” by Sonia Showalter http://www.soniashowalterdesigns.com/garden/greenery/wheat-sprigs-monogram-blank/) with built-in fonts
Floriani Embroidery Threads
Prewound bobbin in white
Floriani Medium Cutaway Stabilizer
“Snap Hoop Monster” by Designs in Machine Embroidery (Magnetic Hoop)
Snips by Famore Cutlery
NOTES:
1. This project uses 1/2” seam allowances, except where noted.
2. Finger press the seams open. Do not use an iron.
3. Do not bend, fold, or crease any of the materials as a permanent mark will remain.
4. Spot clean only.
5. A “Snap Hoop Monster” is strongly recommended for machine embroidering on "Aluminor" as the back of "Aluminor" does not stick effectively onto tacky stabilizer.
STEP 1
PREPARATION:
Please read the instructions below before beginning. Gather the materials and supplies.
STEP 2
MACHINE EMBROIDERY:
Download the machine embroidery design and load it into the embroidery machine.
STEP 3
Open the magnetic hoop and place the cutaway stabilizer on the bottom. Place the silver "Aluminor" right side up into the hoop and center it – verifying the correct orientation of the design.
STEP 4
Machine embroider the design.
STEP 5
Take the "Aluminor" out of the hoop. Trim the threads and stabilizer to about ¼” from the design.
STEP 6
Set the sewing machine length to a basting stitch. Baste the top edge of the silver "Aluminor" ½” all the way around. This will be used as a guide to turn it down.
STEP 7
Fold the silver Aluminor down along the ½” basting stitch and finger press in place.
STEP 8
Using a piping foot with the needle adjusted accordingly, sew the piping to the edge of the gold Aluminor with right sides together and using a ½” seam allowance. Splice the ends together for a seamless joint. Remove the piping foot.
STEP 9
Finger press the piping towards the top of the center.
STEP 10
Place the silver on top of the gold "Aluminor" with wrong sides together. Clip in place.
STEP 11
Using a zipper foot with the needle adjusted accordingly, stitch as close as possible to the edge of the silver edge that was folded down without going over the edge.
Check to make sure that both pieces are sewn together well.
Remember it is reversible so you can use either side depending on your décor.
Plates from the restaurant owned by Henry Ford. Freestanding "Harvest Wheat" design by Sonia Showalter.
Enjoy!


