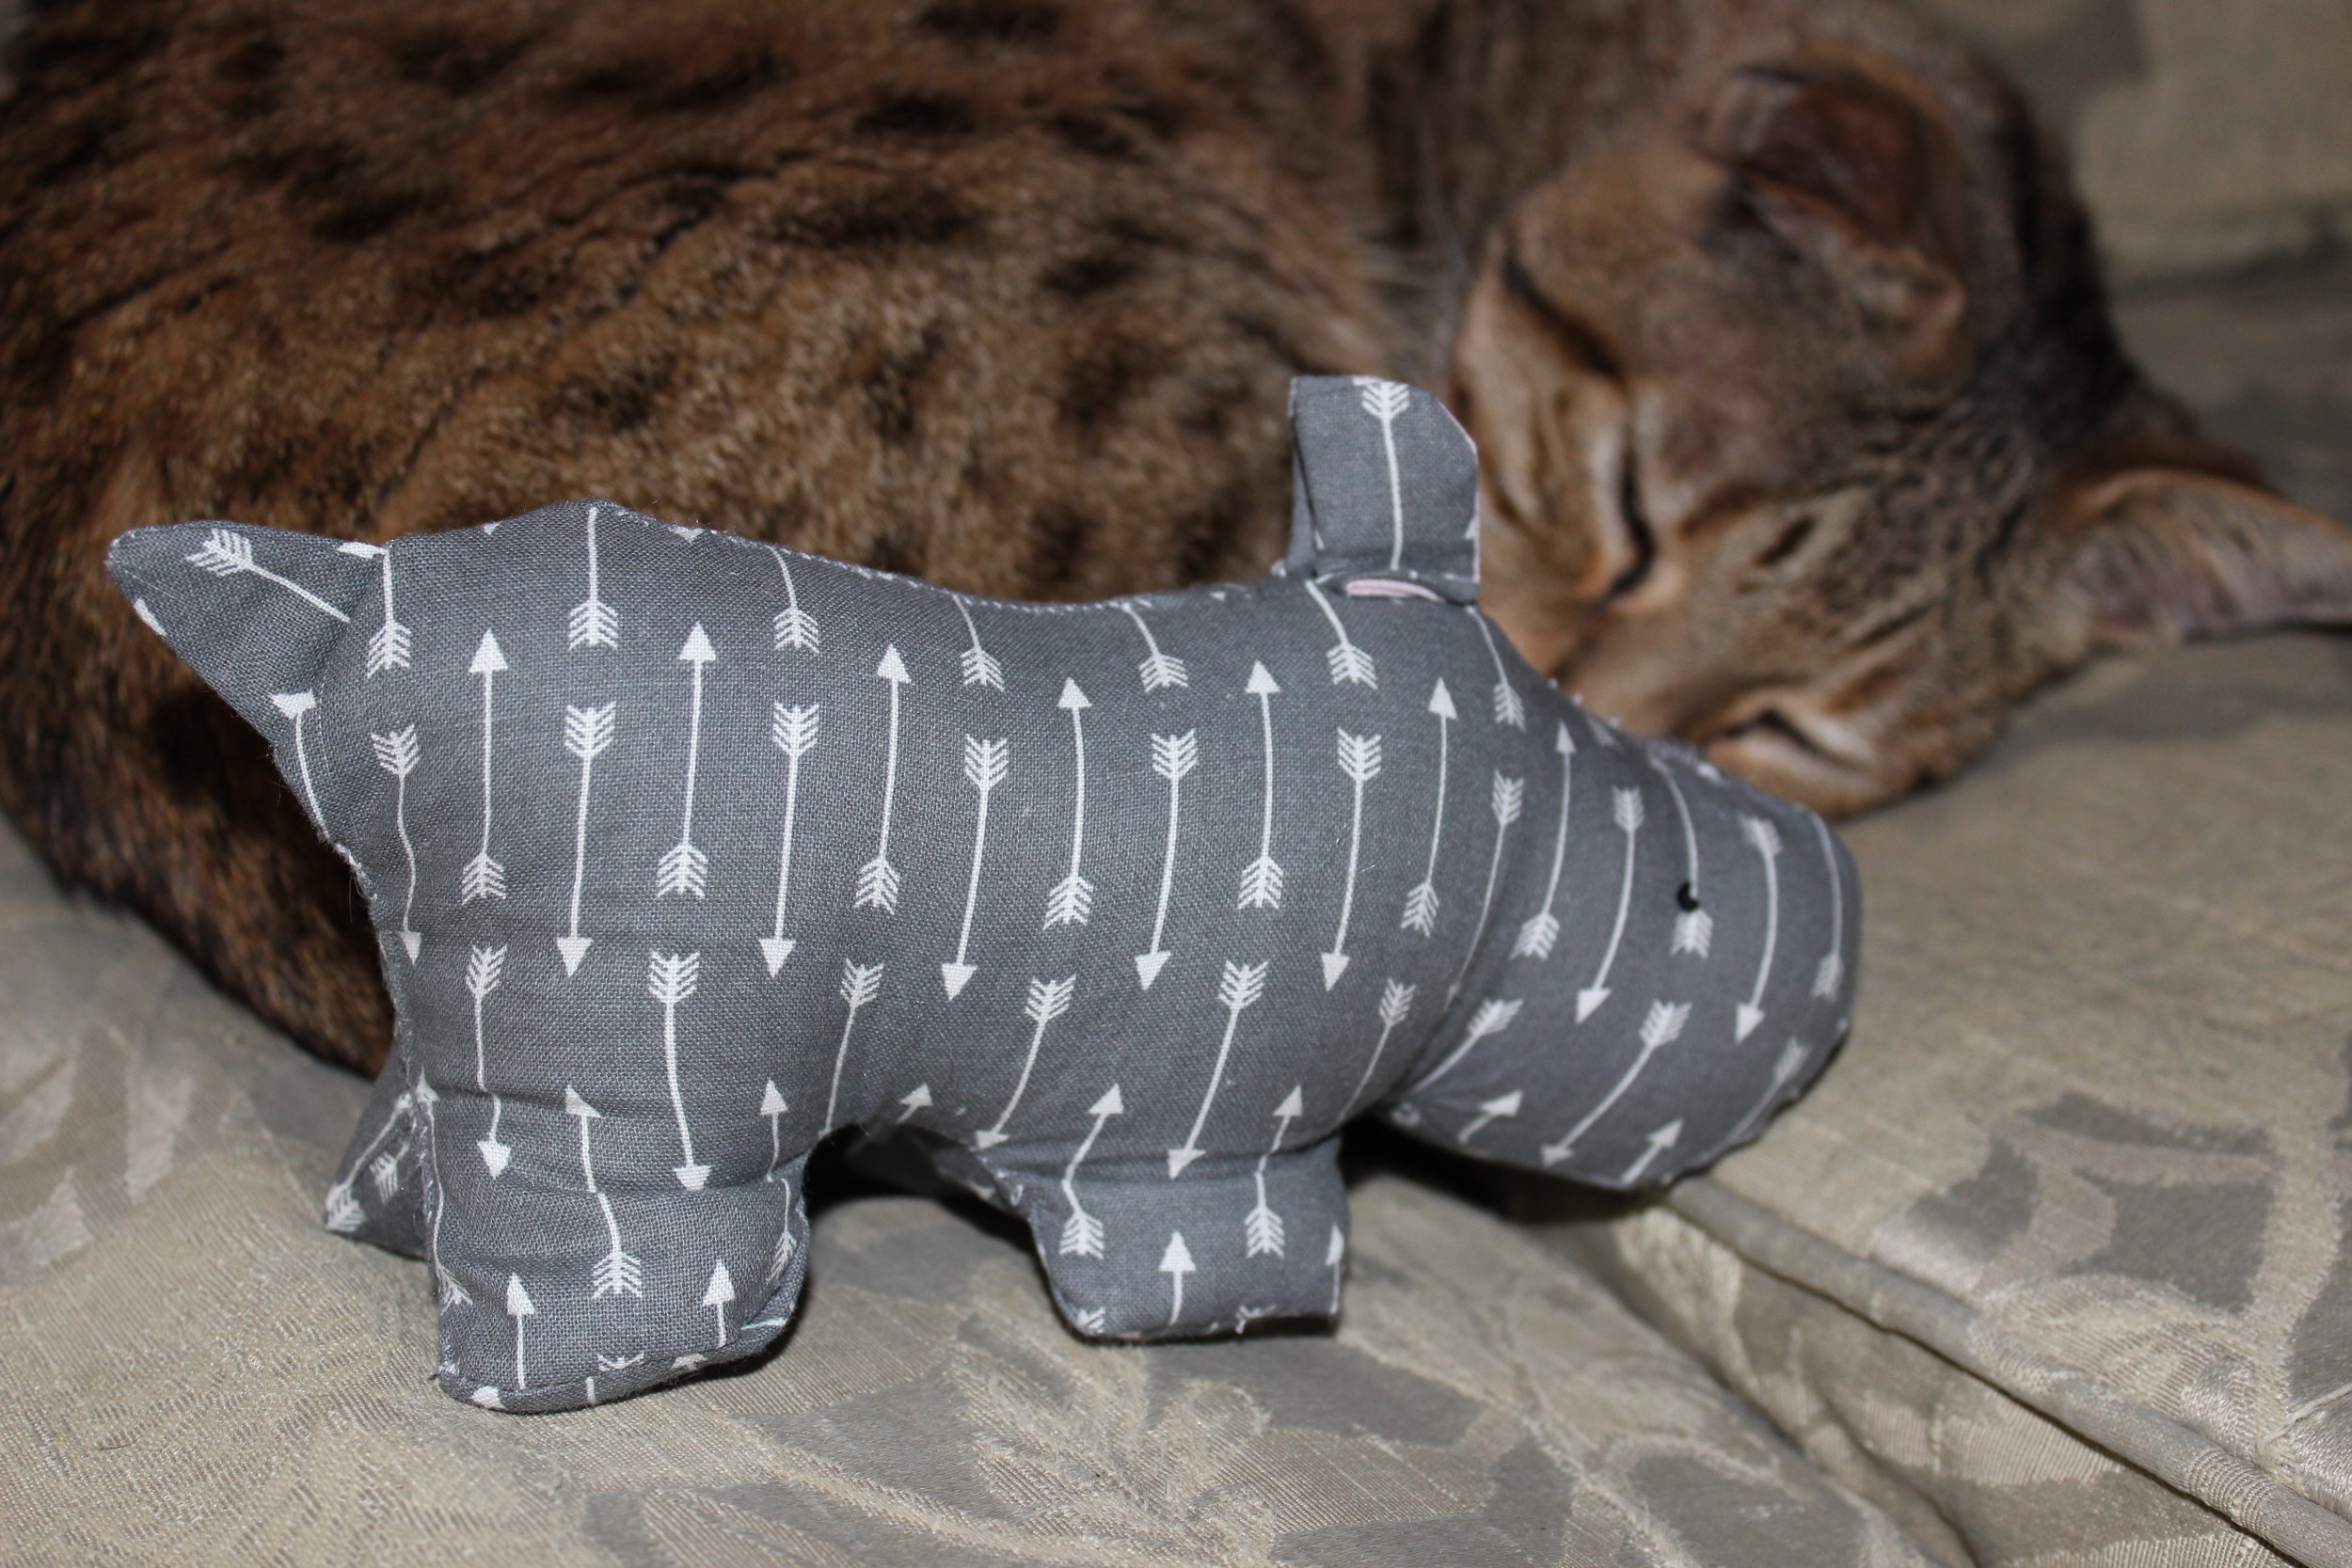
Meet Harry Hippo! He is a softie and I mean a real softie. He is stuffed with Fairfield World’s Poly-Fil Supreme® Ultra Plush Fiber Fill. Thank you, Fairfield for donating this wonderful Poly-Fil. It is so soft, I just cannot stop squeezing Harry.

Harry was created just for Sew-a-Softie month of July. Today is his day to debut. He is joining the Sew-a-Softie club that has been going on over at Facebook. He has lots of friends over there, even a piece of pizza and an amazing pencil with paper. They have a public group that you can join and see all the other softies that have been created for the month, with a few still left to join the club through the 31st. Trixi, the originator of this event, has a list of all the month long softie tutorials on her website.
You can sew Harry by hand or with a sewing machine. In addition to the two resources for how to hand sew listed in my previous blog post of Sew-a-Softie, I thought you would like this more comprehensive one also that is a pdf.

INSTRUCTIONS
TEMPLATE:
Click here to download hippo template
MATERIALS:
Fat Quarter of cotton for the main fabric
OPTIONAL: Scrap of fabric for the inside of the ears
Good quality thread in a coordinating color
Hand Needle (or sewing machine)
Fairfield World’s Poly-Fil Supreme® Ultra Plush Fiber Fill
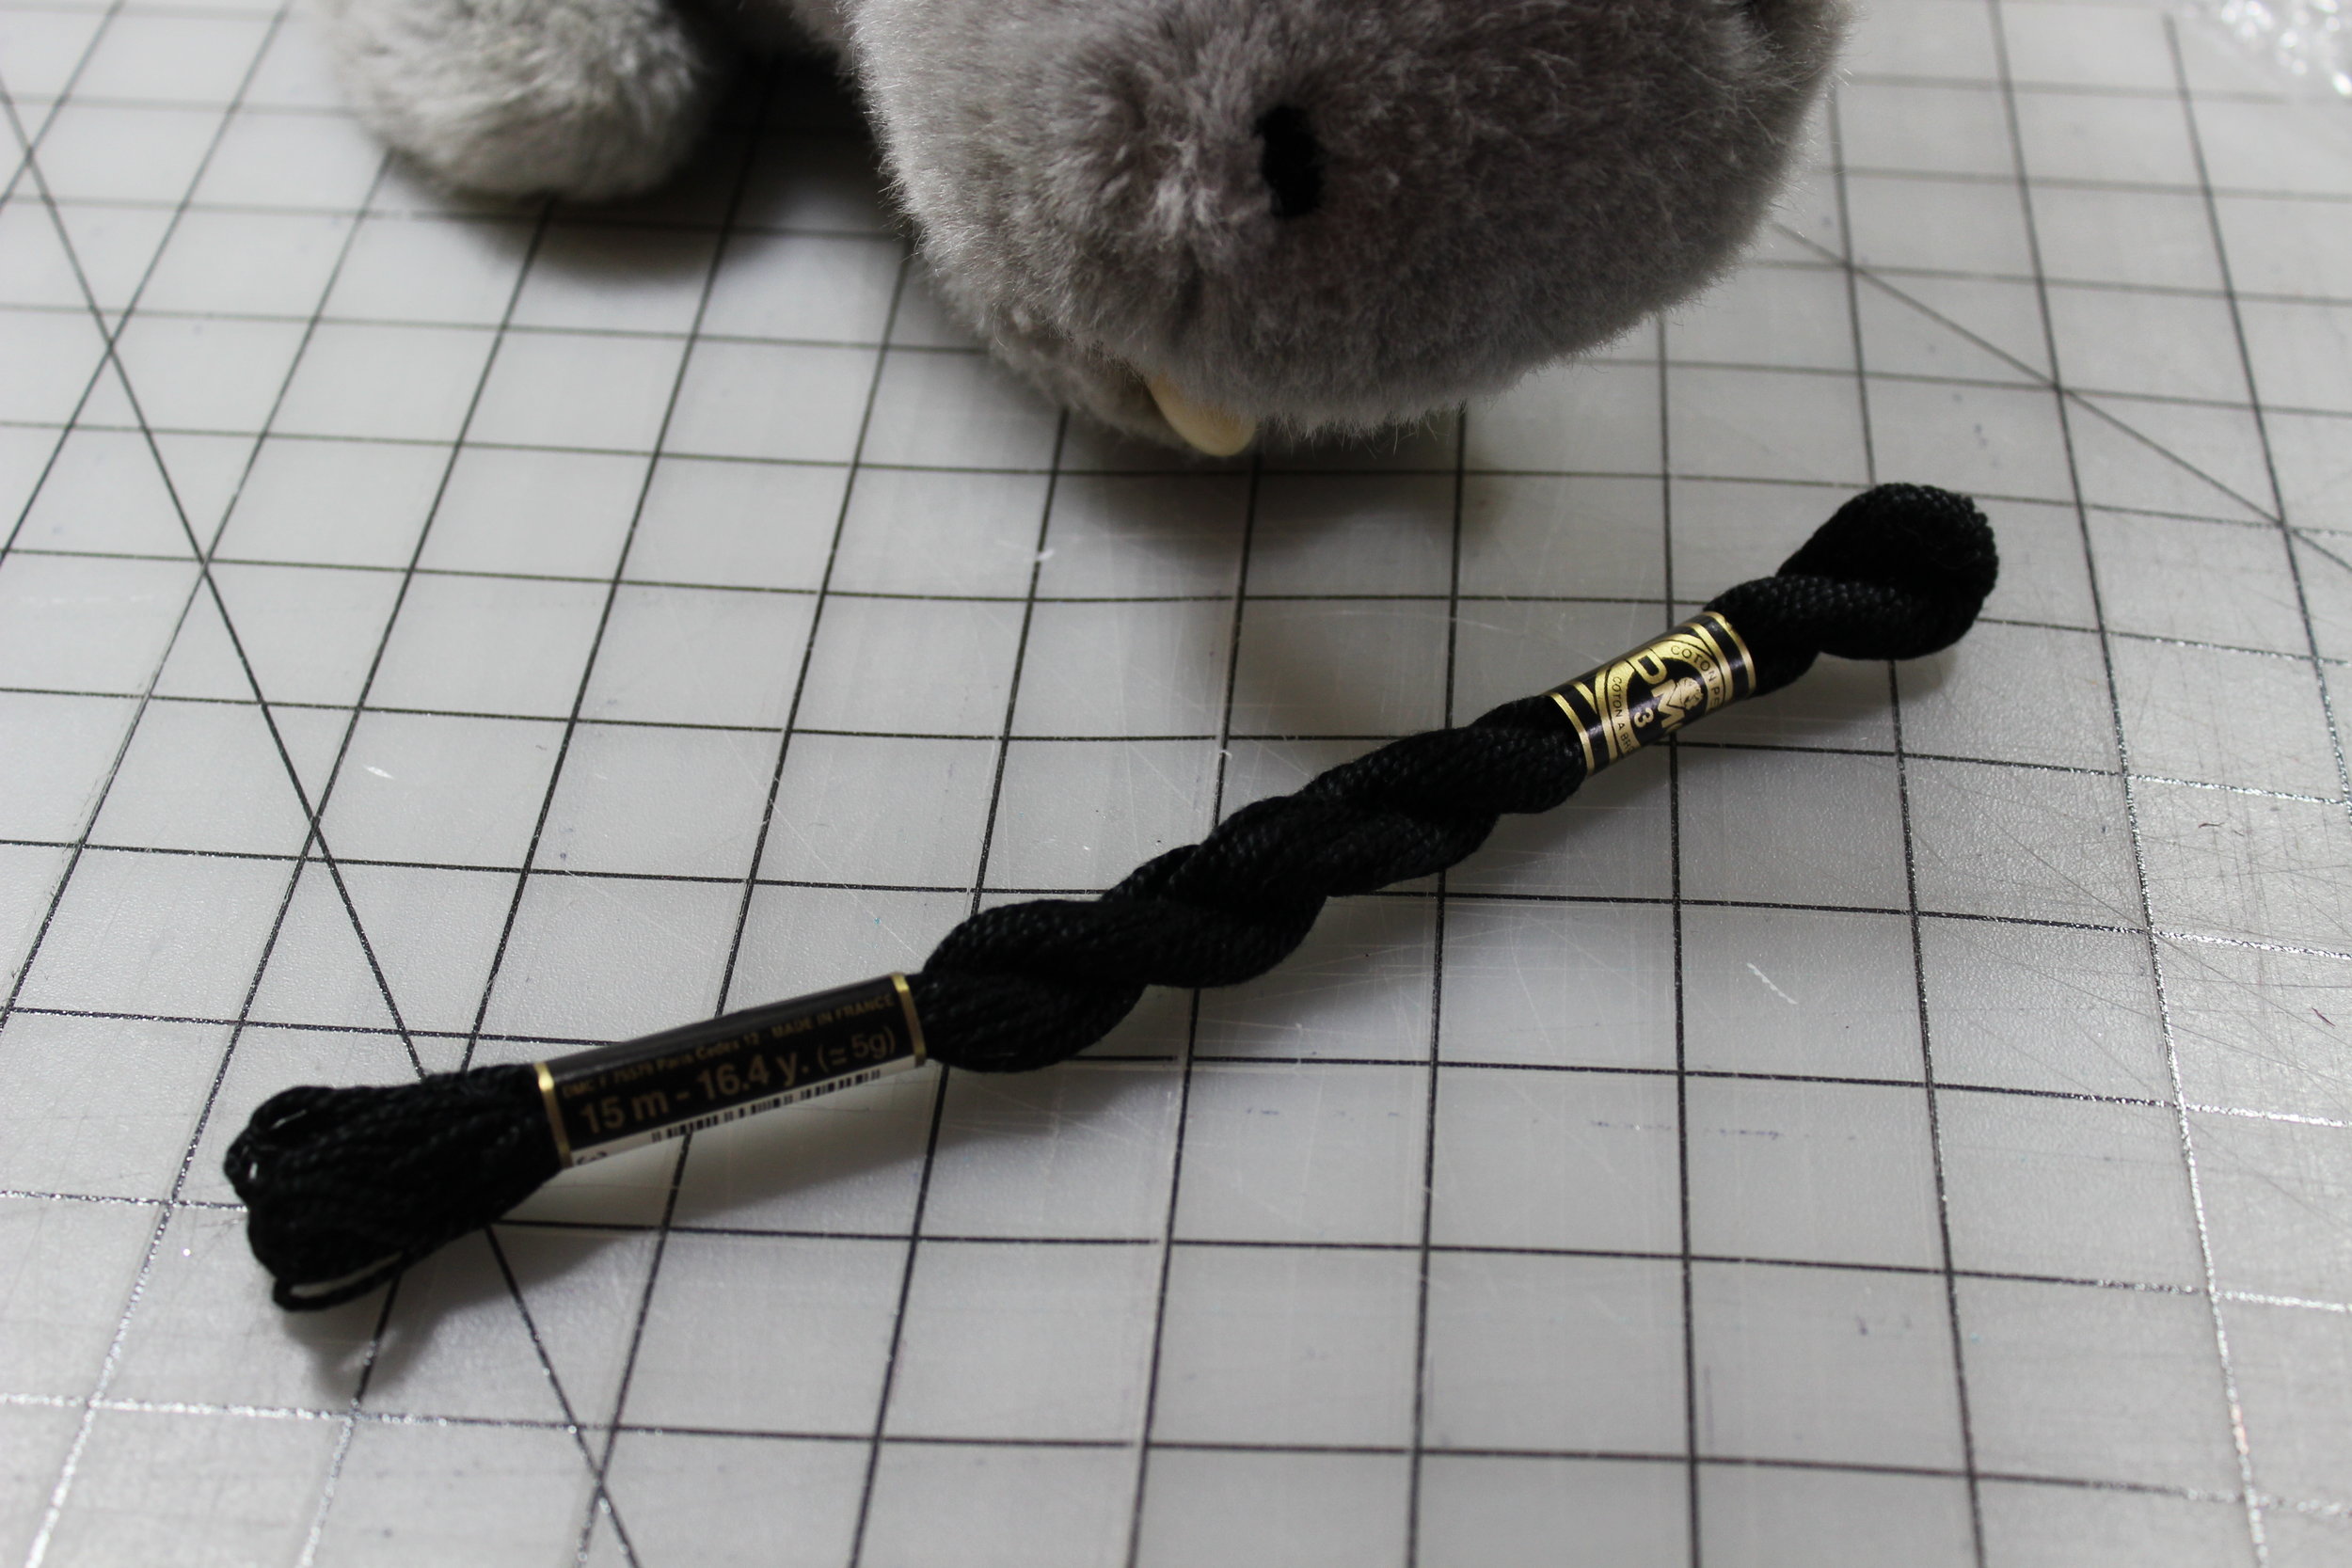
Embroidery Thread for the eyes and nose
Embroidery Needle
SUPPLIES:
Frixion Erasable Pen
Pins or Pattern Weights
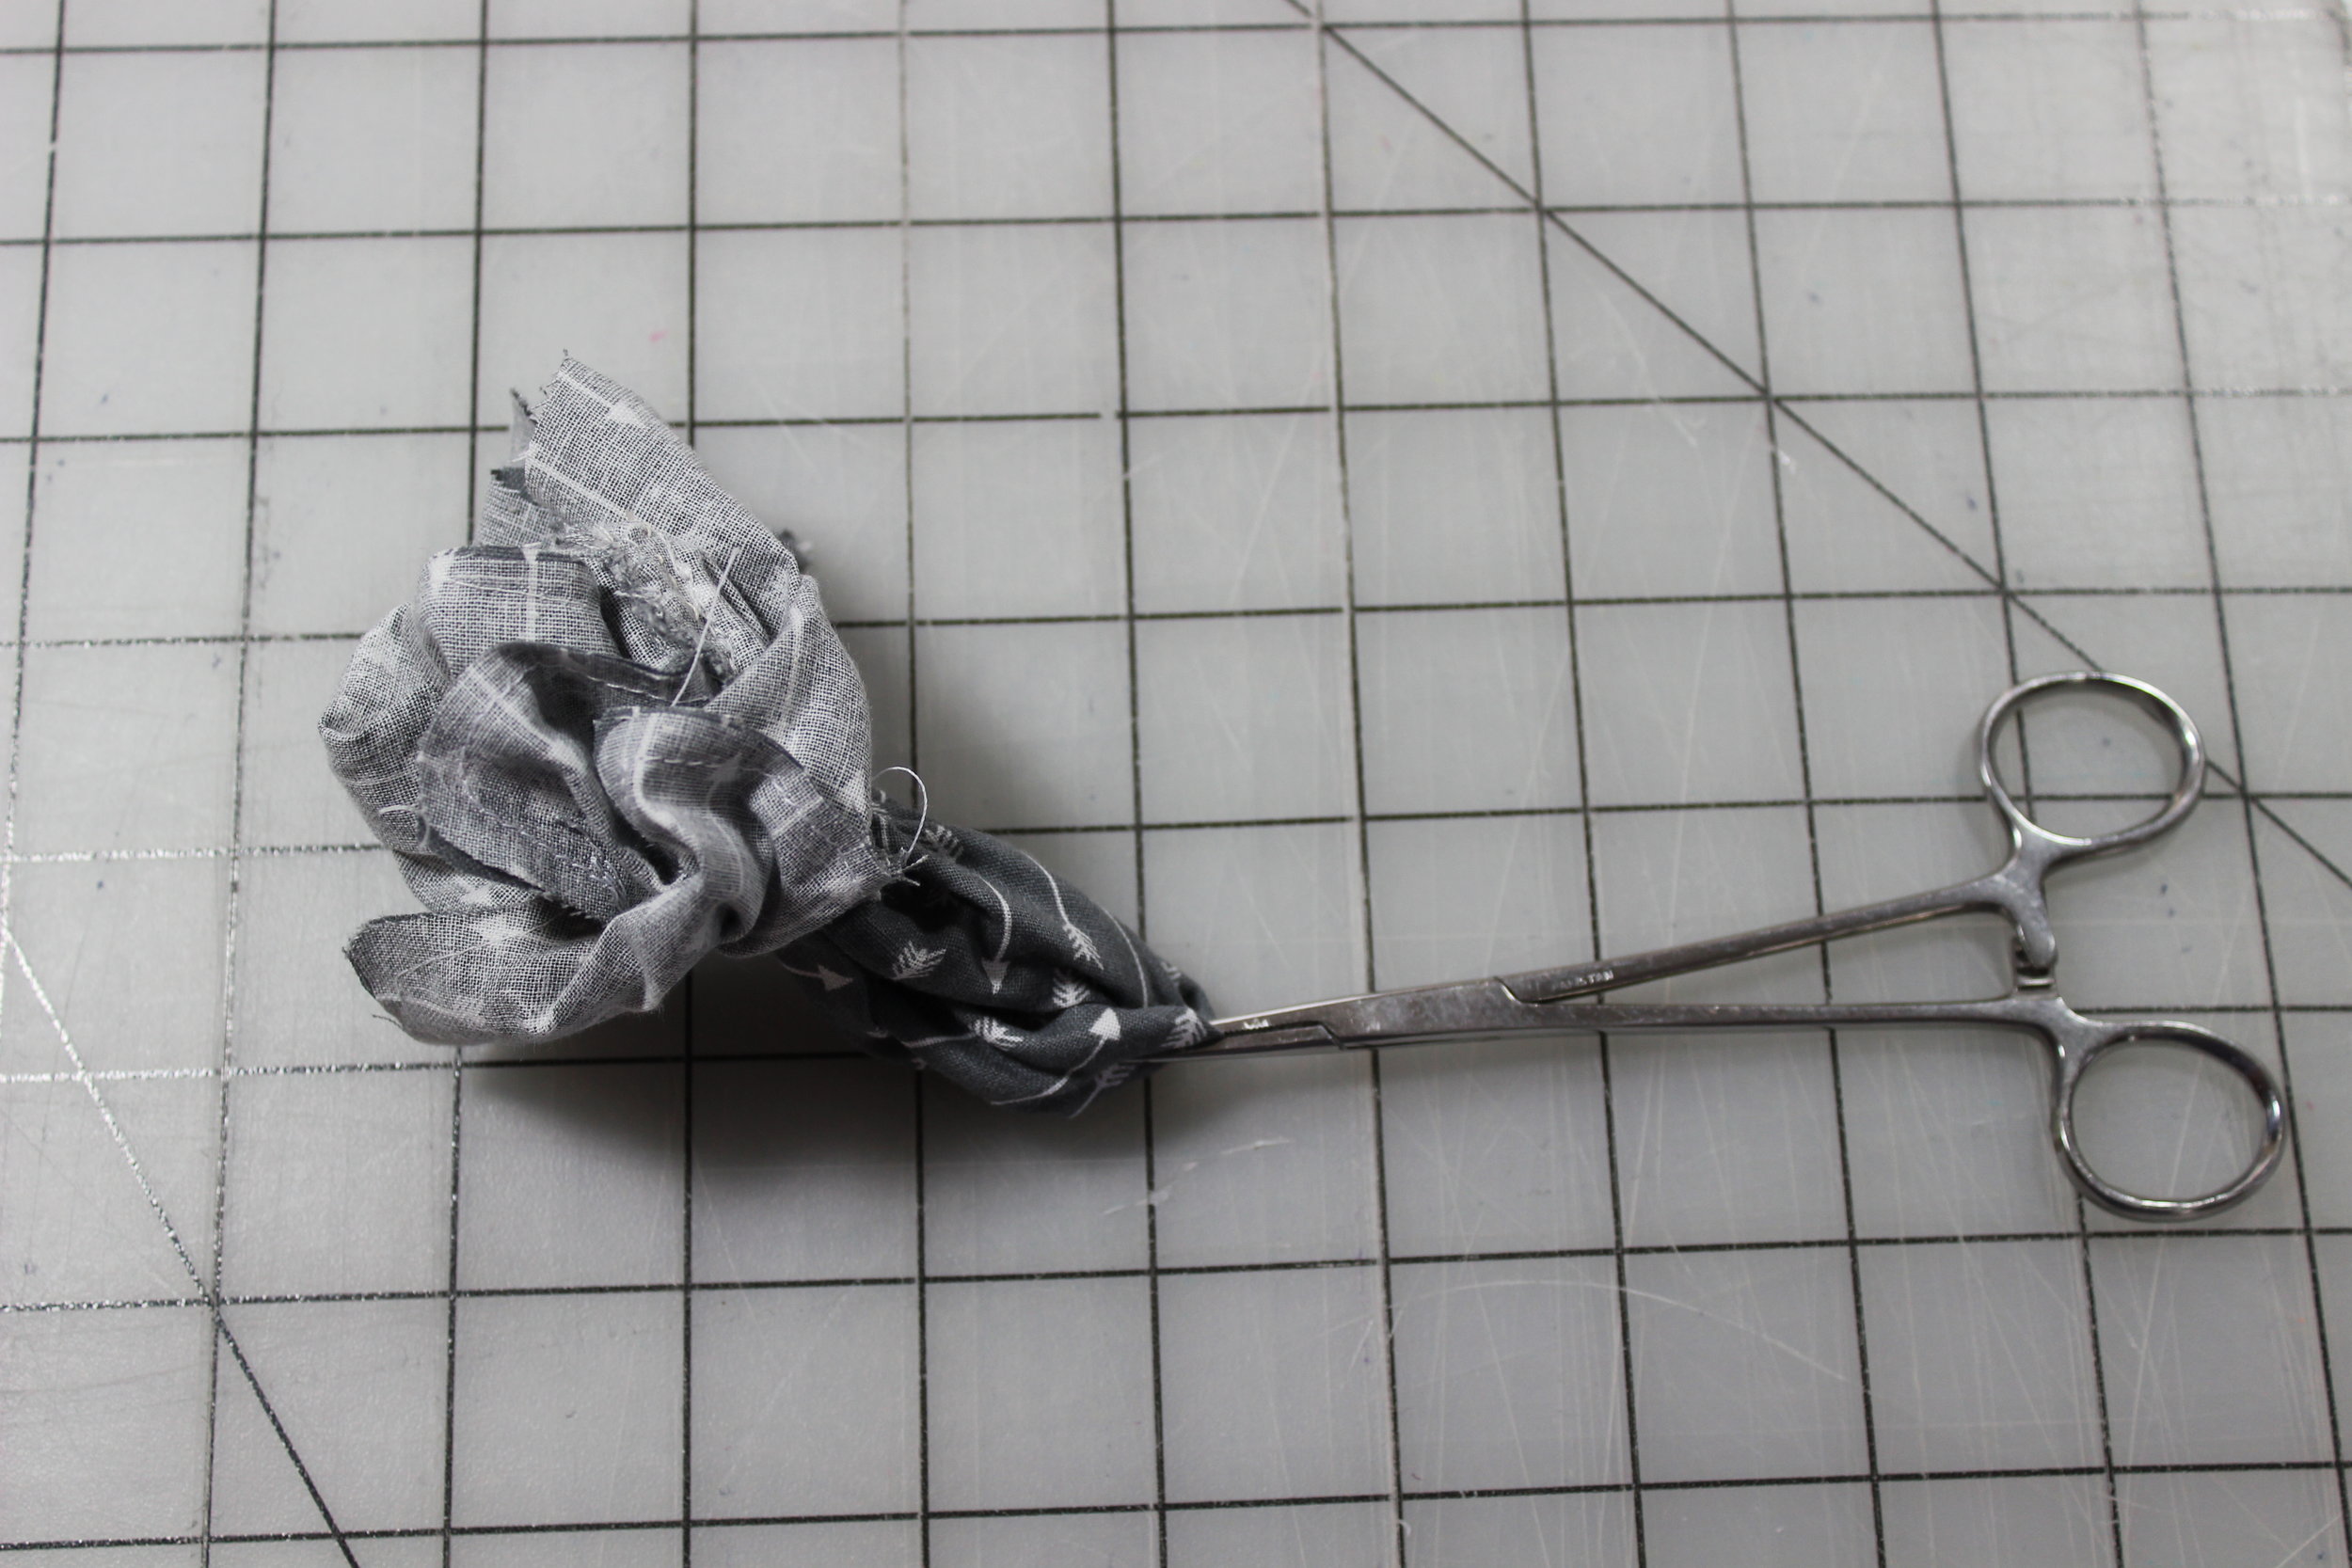
Shears & Trimming Scissors
Point turner or some other blunt, but pointed object
Pen or pencil for tracing the pattern
STEP ONE
NOTE:
This project uses 1/4” seam allowances.
You may press this fabric, but finger pressing is sufficient if you use cotton.
Please read the instructions below before beginning. Gather the materials and supplies. No need to pre-wash the main fabric.
STEP TWO
Download the template and print it. Cut it out along the solid lines.
STEP THREE
Position pattern pieces on fabric to verify the placement before cutting. Fold fat quarter cotton fabric in half. Place the gusset pattern along the fold. Pin in place. Cut out.
STEP FOUR
Place the hippo body and ear pattern over the remaining fabric, pin in place, and cut out. Using the Frixion pen, mark point A and B on the hippo body and gusset. Also, mark an opening on the hippo back about 2” long.

STEP FIVE
Cut out the inside of the ears from the scrap fabric.
STEP SIX
Embroider the eyes and nose with French knots on the body of the hippo.
STEP SEVEN
Place the two hippo body pieces right sides together. Pin along edges matching point A with A and B with B.
STEP EIGHT
Stitch from point A to point B, but do not sew over the opening.
STEP NINE
Lay the hippo body on its back with the underside up. With right sides together, pin the gusset to the underside, lining up point A with A and point B with B.

STEP TEN
Stitch the gusset in place.
STEP ELEVEN
Clip the curves and check that all seams are closed on both sides.
STEP TWELVE
Turn right side out and push out corners with a turner.
STEP THIRTEEN
Through the opening in the back of the body, fill the body generously with poly-fil.

STEP FOURTEEN
Stitch the opening closed.

STEP FIFTEEN
Place the outside fabric of the ear right side up. Place the inside of the ear fabric on top of it with right sides together. Stitch around the curve and not the flat side.
STEP SIXTEEN
Turn right side out. Fold the flat edge up 1/4" into the ear opening and finger press the flat edge to the inside of the ear. Stitch the ear closed.
STEP SEVENTEEN
Fold the ear in half lengthwise with the inner part facing the front of the face. Stitch the ear to each side of the head of the hippo.
Watch out! You never know where you may meet a hippo.

Have fun introducing Harry to his new family.