Appliqué is a wonderful sewing technique that allows you to sew one piece of fabric on top of another in a decorative manner to form pictures or patterns. It can be used on clothing, quilts, accessories, or basically anything that you can sew. The hard part is getting the two fabrics to stay in exactly the same place while you are sewing. Of course, for some people, it may be one of the other processes such as the actual sewing or the precision cutting, which is a challenge.

Appliquéing Cuddle® fabric adds another wonderful dimension of a plush nap that must also be taken into account when appliquéing, but the soft plush nature of Cuddle® makes it well worth an extra step or two to get perfect and easy appliquéing.
There are a few of you that read my blog that are relatively new to sewing, so I do not want to assume that you know what I mean by the term “Cuddle® fabric.” Here is a link to a blog post on Cuddle® fabric that is manufactured by Shannon Fabrics.
One great thing about Cuddle® is that it does not fray, which means that you can appliqué on the raw edge and do not need to take the extra step of turning the fabric under. That is an advantage that I love. I have always loved appliquéing wool for that same reason.
There are many methods of appliquéing Cuddle®, but I am only reviewing two of them in this blog post. Of course, they are the two that I use and love. One technique uses a sticky backing designed just for appliqué and the other does not. Using the backing is super simple, but I have included the instructions on how not to use it because sometimes you want to appliqué right away and you just do not have it on hand. I know that one all too well.
We live in a day and age where there is a product for everything and appliquéing is no different. There are so many different products for appliquéing. Since I am a machine embroiderer, I have a tendency to stay with a company that I trust for that purpose – Floriani (a division of RNK Distributing). I love all of their stabilizers for machine embroidery, so it was natural for me to try their Appli-Kay Wonder product and I love it just as much as I love all their other stabilizers. It is a double-sided fusible with an iron on fuse on one side and a sticky adhesive on the other. You iron the backside of the fabric that will be cut so you can trace the design directly onto the back and THEN cut it out. This saves the step of cutting out the paper design to trace.

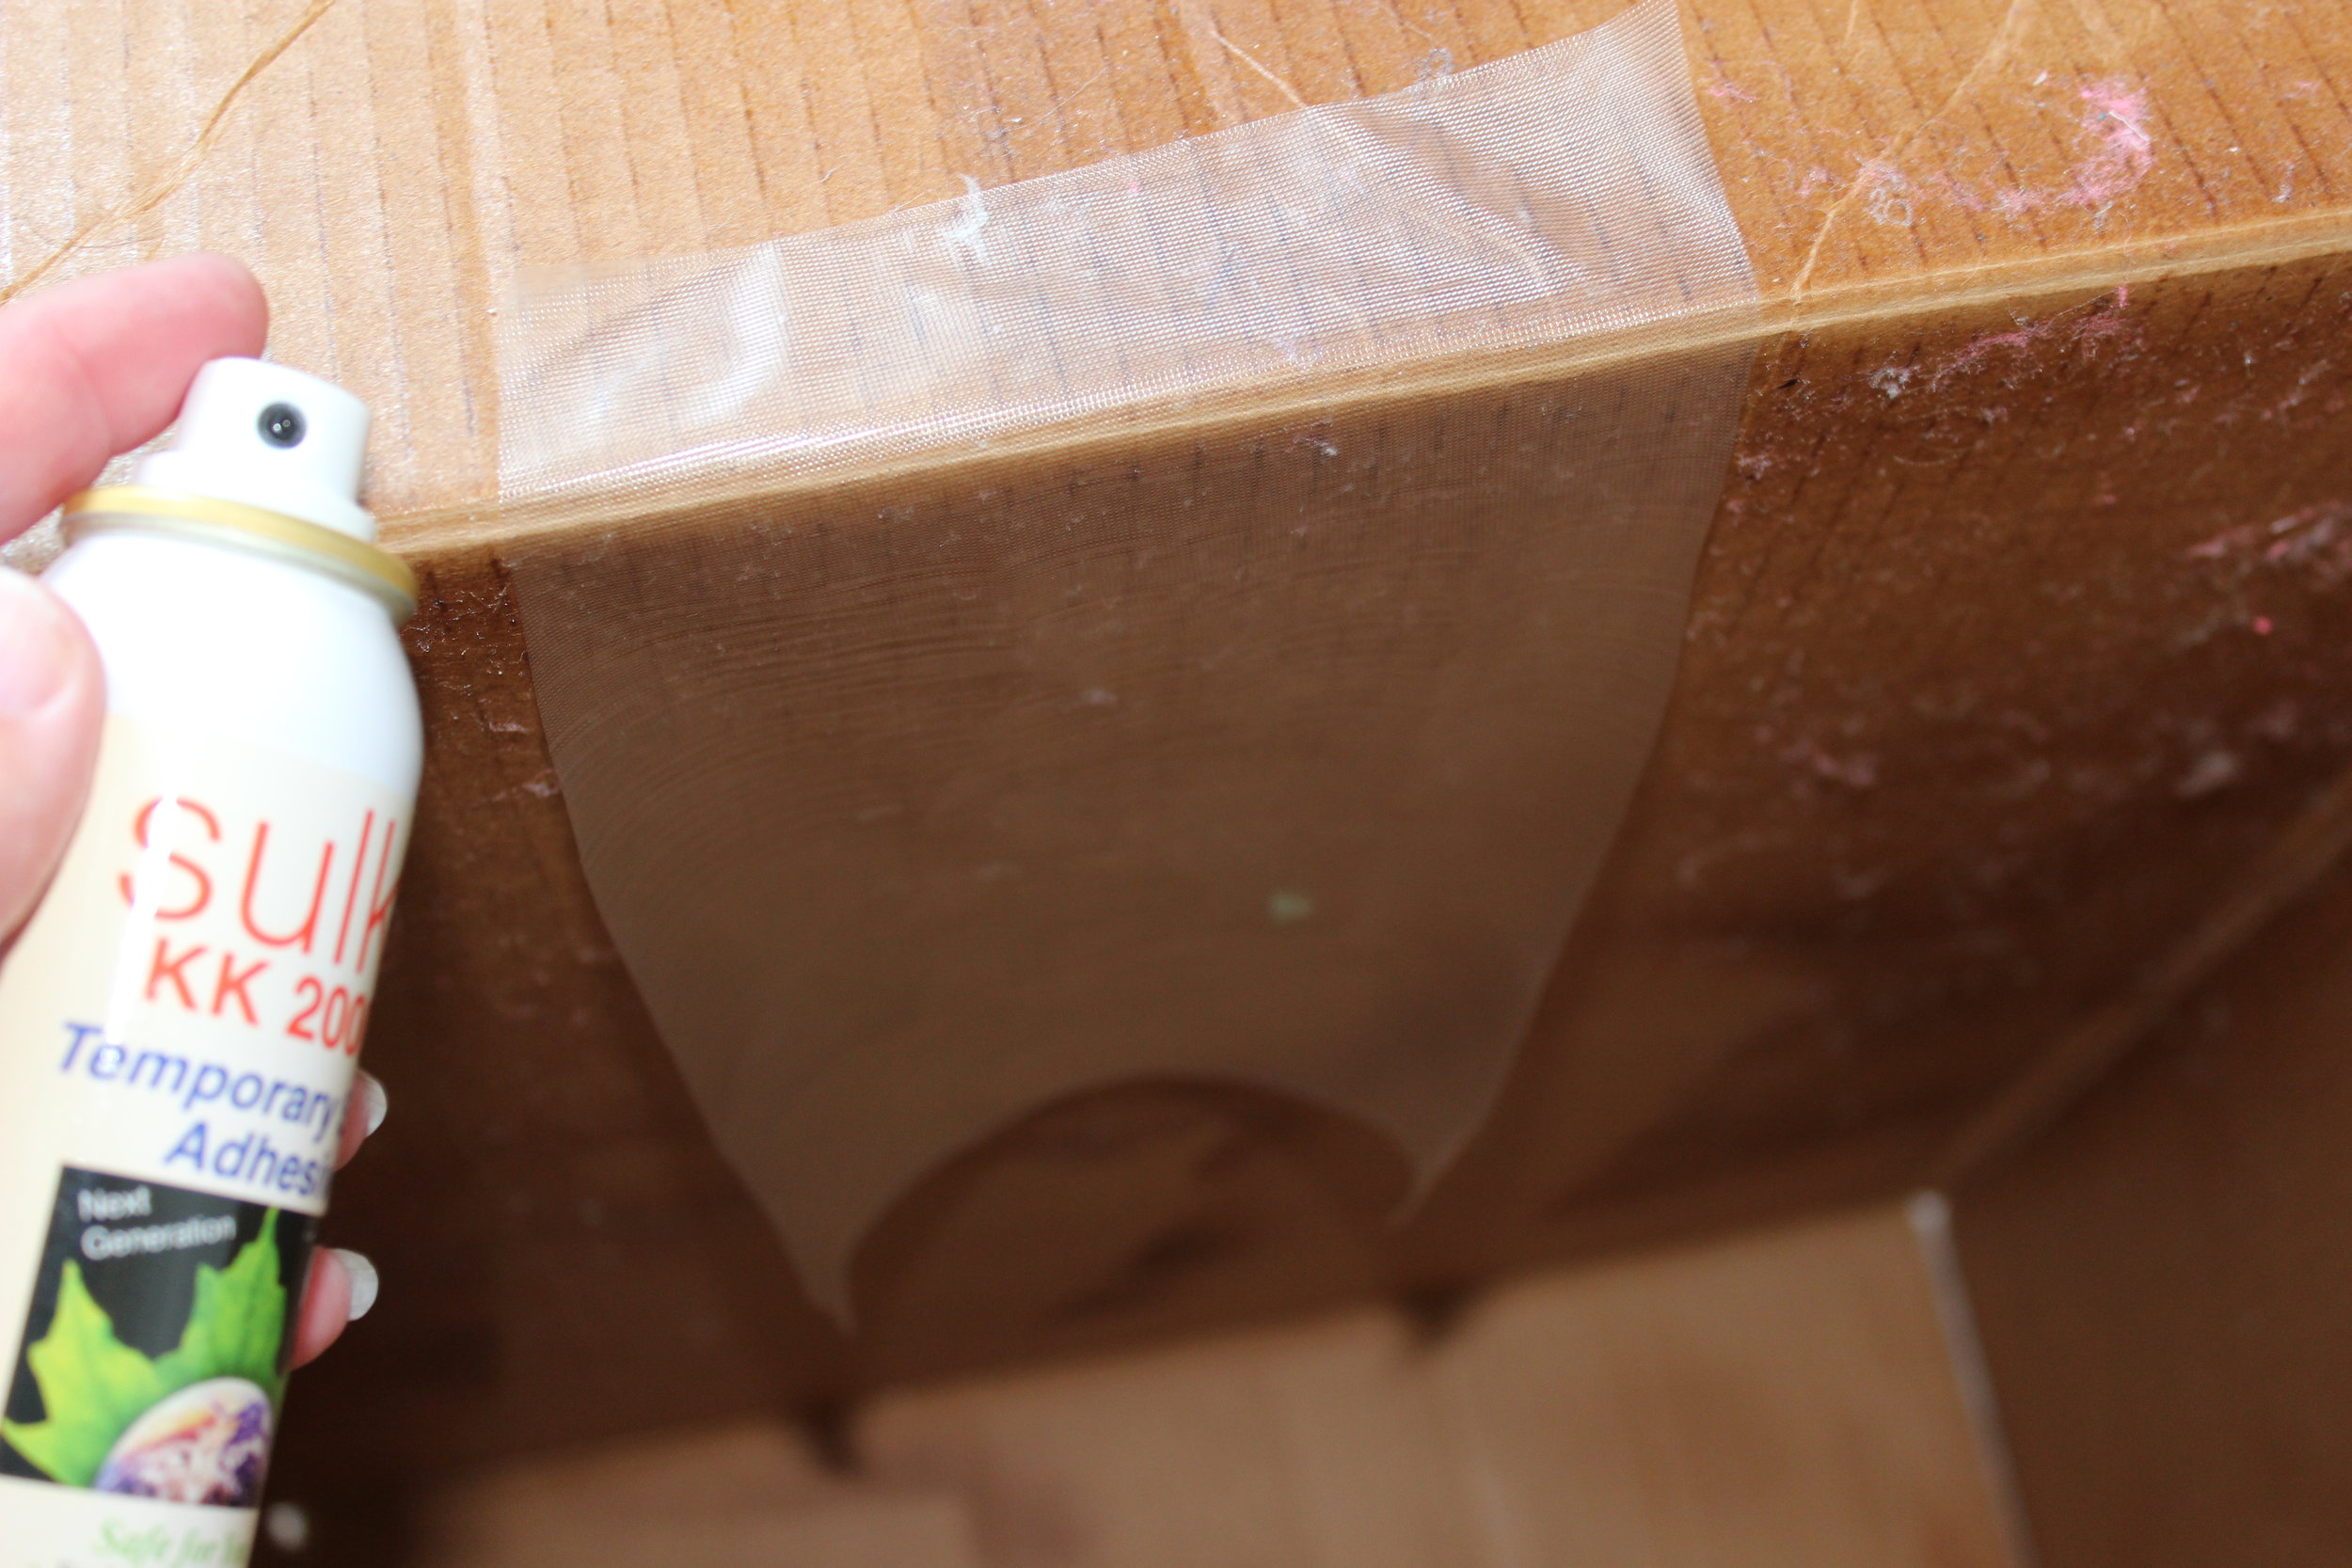
The other alternative to using a double-sided fusible product is to cut the appliqué out and spray the back of it with a temporary adhesive like Odif’s 505 Spray and Fix or Sulky’s KK 2000. Personally, when it comes to appliquéing, I love the Sulky just a little bit better. I have a tendency to use the 505 when I baste quilting and the Sulky for appliquéing.
You may feel timid about ironing a fusible on the back of a polyester microfiber plush fabric, but if you are using a good quality microfiber plush fabric like Cuddle®, you have no worries. Because it is high quality, the back can withstand a medium heat setting on an iron or even a high setting for a few seconds. Follow the manufacturer’s guidelines for applying the double-sided fusible for appliquéing. If the guidelines call for pressing on the top side of the fabric, please use a pressing cloth on top of the fabric. The Appli-Kay Wonder product has you press the backside of the fabric, so there is no need to use a pressing cloth. As always, it is a good practice to test the fabric with the fusible first.

At this point, it is the same for all appliquéing. Applying the appliqué to the other fabric is where it starts to make a difference for a napped fabric such as Cuddle®.
HERE IS MY TIP:
To be honest, if that was the end of the story, this blog post would not be any different than everyone else’s on how to appliqué. It is this next step that takes appliquéing Cuddle® to the level of precision. The key is using a product that machine embroiderers call a “topper.” It is a clear water-soluble product that looks like the plastic wrap that you use in the kitchen. It is usually manufactured by companies that produce stabilizers and in an instance where a stabilizer is recommended, a topper can possibly be used in lieu of the stabilizer, with the exception of machine embroidery where a stabilizer is always needed and the topper is just added to the others.

Now not all toppers are created the same. I have used just about all the different brands and let me tell you that most have almost brought me to tears when they rip while machine embroidering and I have to start all over again. I have found that the product, “Floriani Water Soluble Topping,“ is thin enough for the needle to glide through and yet strong enough not to rip.

It is an interesting product. The needle just goes right through it as if it does not exist. This is not true of all toppers as some are so tough the needle has to work to puncture it. I apply the topper with Sulky’s KK 2000. I cut the topper, spray it, and then apply it to the top of the entire piece to be appliquéd, i.e., the appliqué and the bottom piece of fabric. I proceed to appliqué as if the topper was not there. It keeps all the fibers in the same direction and leaves a distinct impression as to where you should appliqué the straight lines and the fingers of the stitch.

INSTRUCTIONS for Appliquéing for Cuddle®
STEP 1
BEFORE any cutting, determine the direction of the Cuddle® fabric. The bottom fabric and the appliqué fabric should be going in the same downward direction.
STEP 2
Cut out the Cuddle® fabric that will be the top appliqué using the traditional trace and cut method,

or adhering an appliqué product to the back and then cutting it out.

STEP 3
Lay the bottom Cuddle® fabric and the appliqué Cuddle® fabric next to each other and brush the nap in the same direction. This step is important. You want to smooth out the nap so that the fibers are all lying in the same direction.
TIP: Because Cuddle® fabric has a nap, you can trace the placement of the appliqué onto the bottom of the fabric with your finger or a blunt object. This allows for perfect placement without the need of using a tracing pen.

STEP 4
If you are using a temporary spray adhesive, spray the back of the fabric and then lay it on top of the bottom fabric.
If you are using a fusible, remove the paper backing and apply it to the bottom fabric.

Smooth the nap once again; making sure it is in the same direction.

STEP 5
Cut out a piece of water-soluble topper that is larger than the appliqué. Spray one side of it with a temporary adhesive.
TIP: Always spray temporary adhesives in an area where there is no computer equipment or anything that can be harmed by the spray. I always spray into a cardboard box that I have folded up in my laundry room just for this purpose.
Apply the topper with the sprayed side down on top of the appliqué. It should cover the entire piece of appliqué as well as several inches of the bottom fabric.
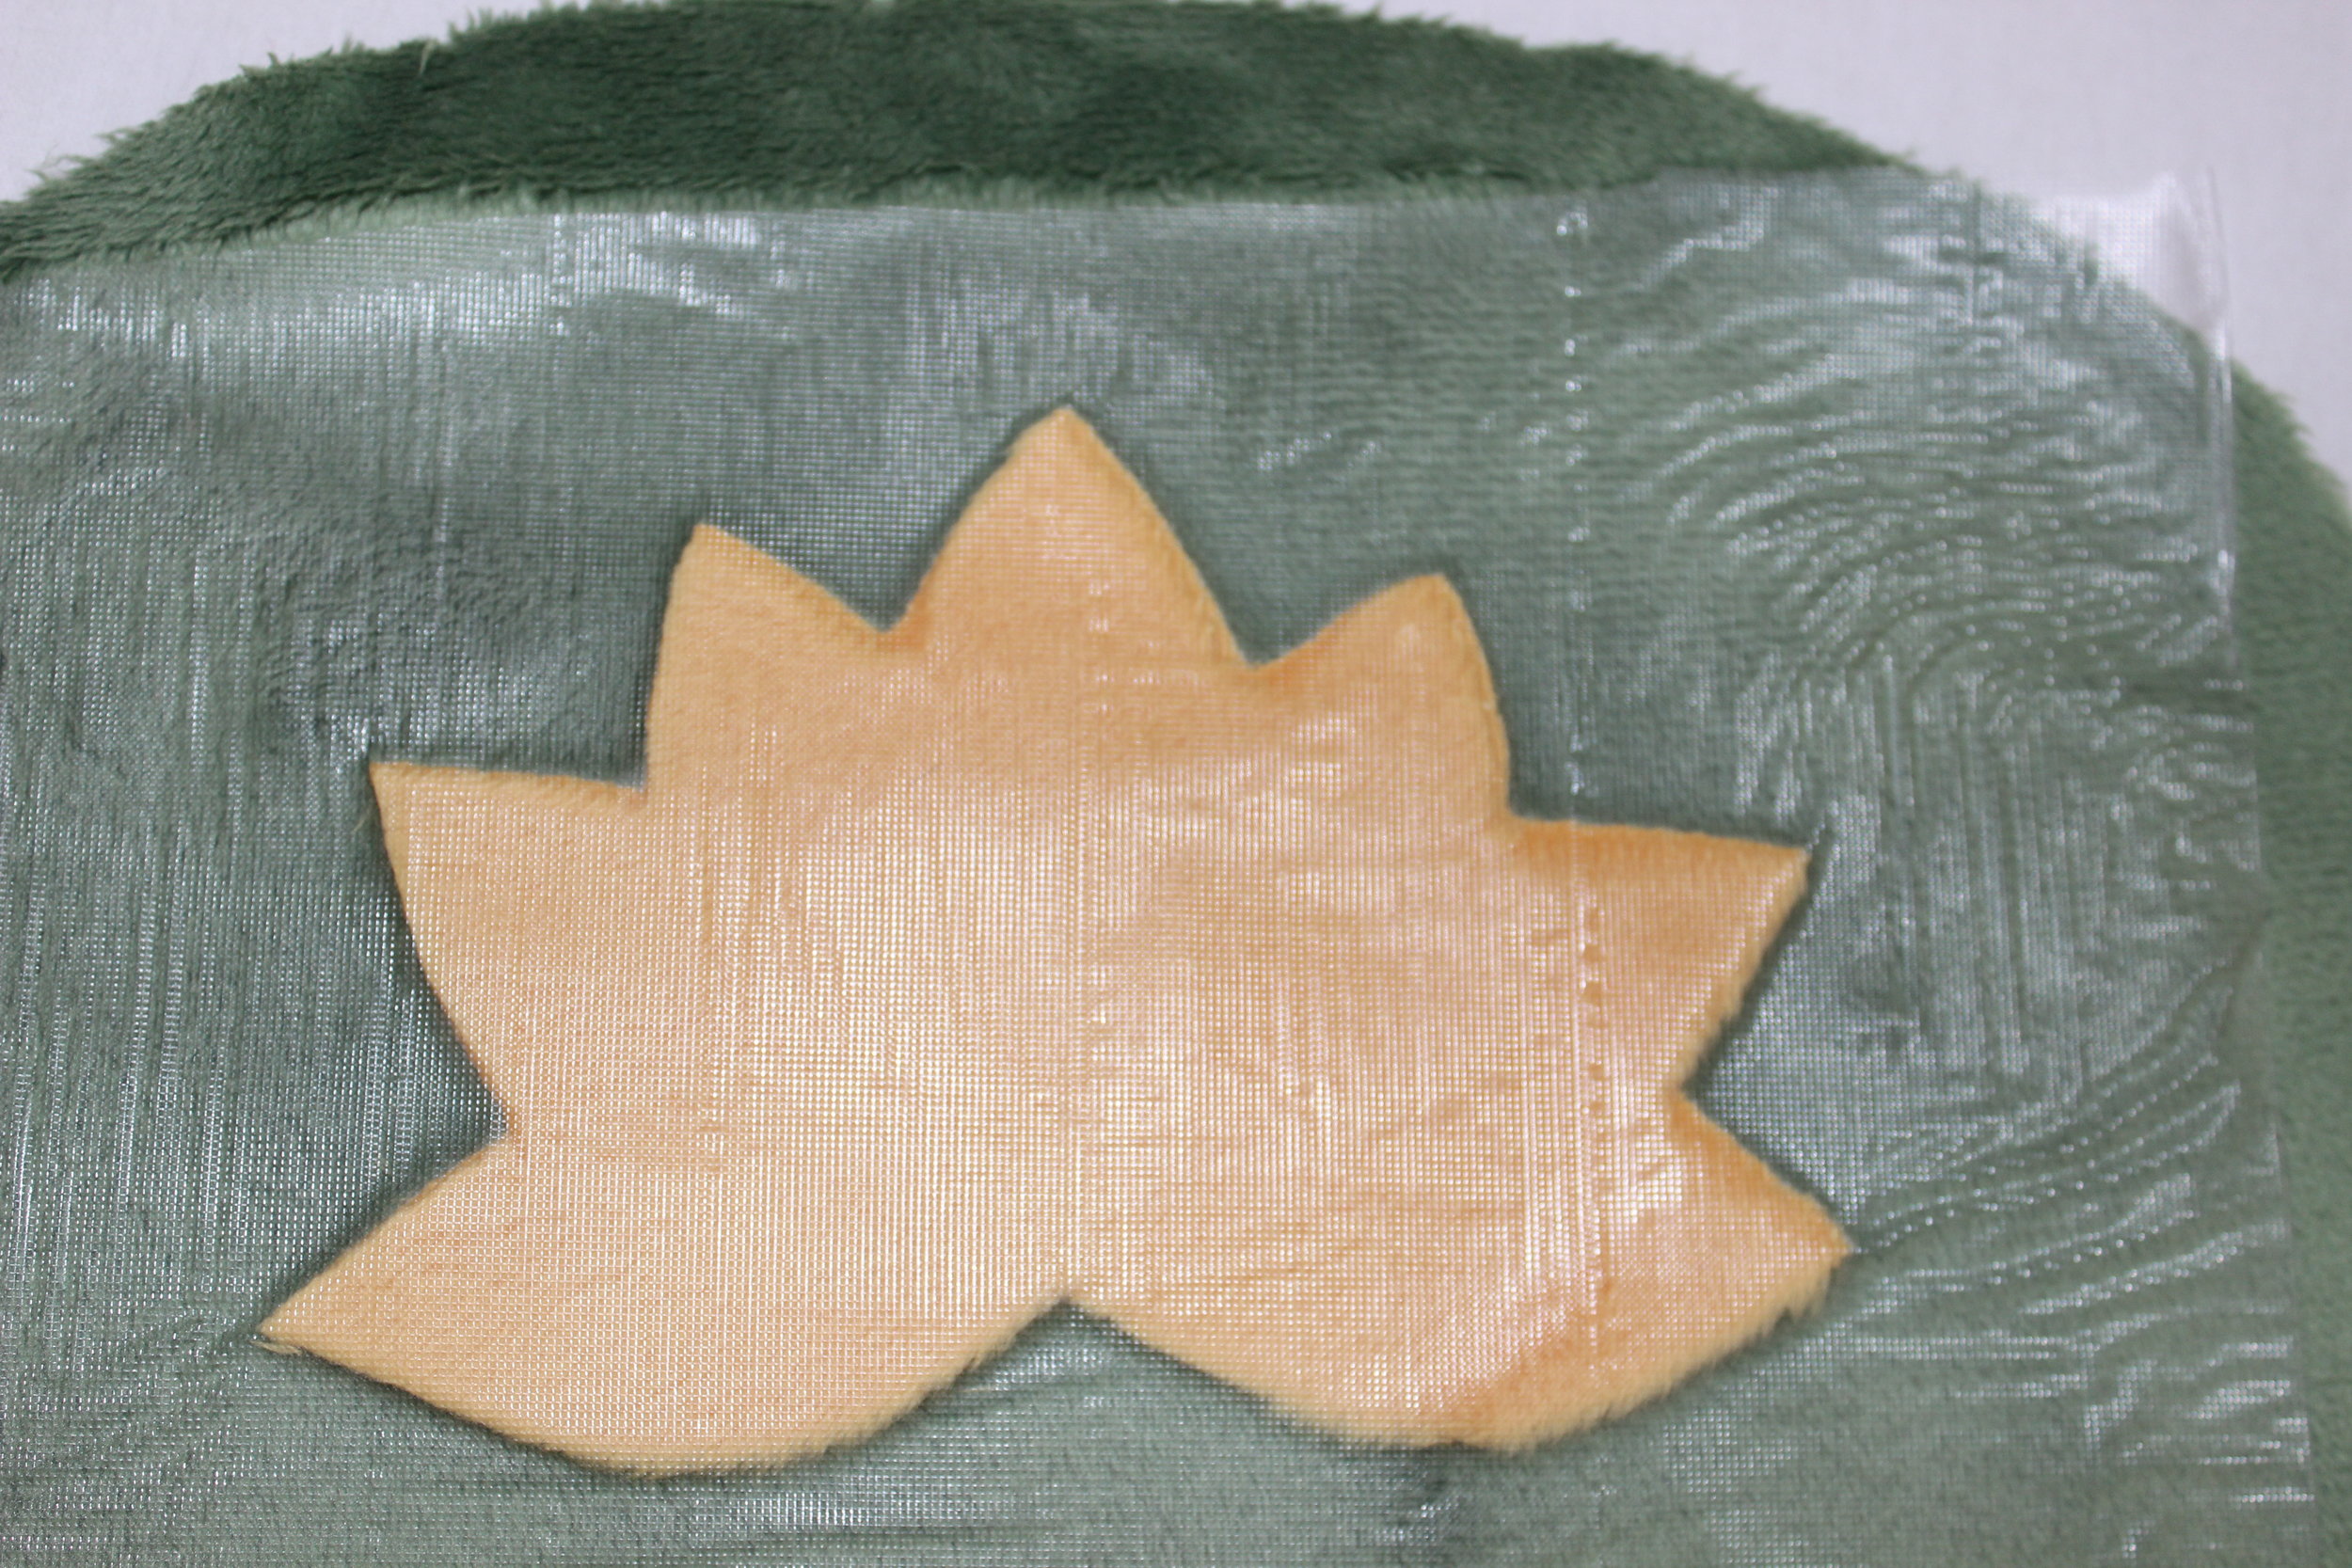
STEP 6
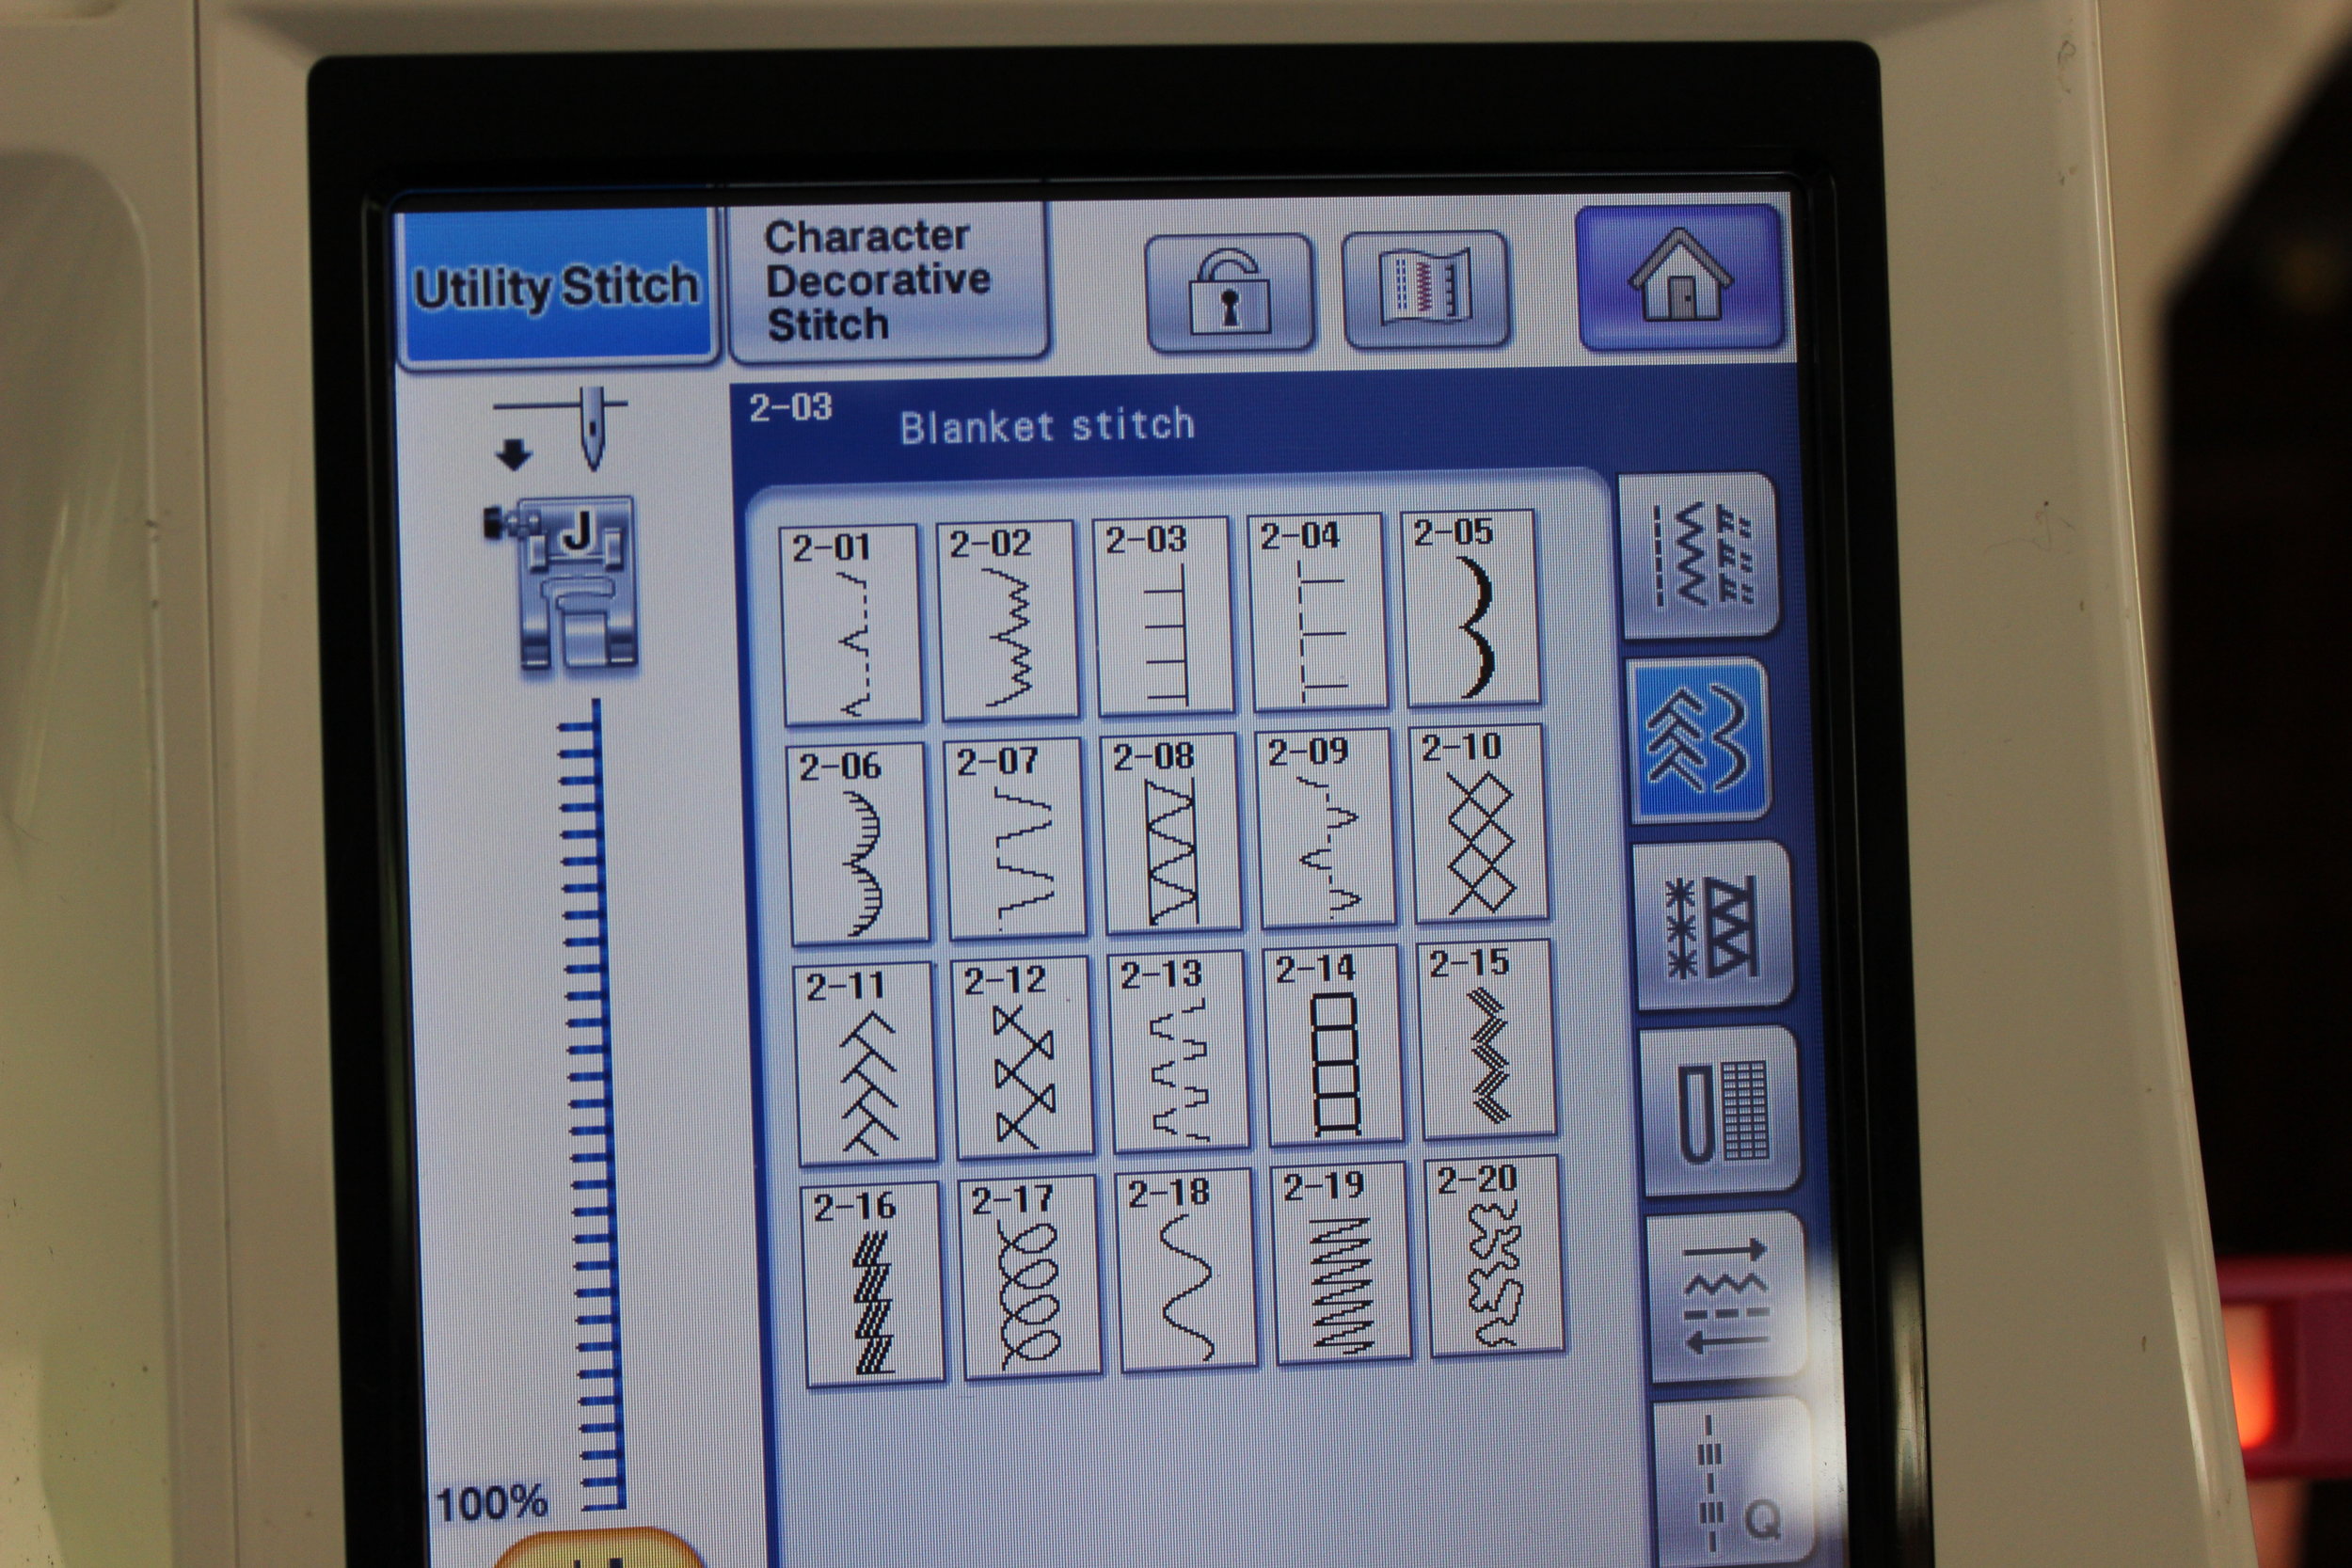
Appliqué like normal using a zig-zag stitch or your favorite decorative stitch like the traditional blanket stitch.

STEP 7
Once all the appliqué stitching is complete, gently tear the water-soluble topper away from the fabric. If any of the shiny filament remains, you can use a damp cloth to remove it or if you are going to be washing your Cuddle® fabric then it will quickly wash away then.

Enjoy appliquéing. Please let me know what you think of this technique.
By the way, technically this article is not sponsored by Shannon Fabrics. Sulky, Odif, Floriani, or any other company, as I am not getting paid to write it and I paid for all the fabrics in the pictures, but yes, I am a Shannon Fabrics Brand Ambassador, which means I get paid to be an educator for them when I teach at a fabric shop for them. There will be later posts on how to sew with Cuddle® and some of its unique properties.