
It is so much fun to entertain during the summer. Maybe because you can be outside and barbeque. One of my favorite summer dishes is “Deviled Eggs.” I have this scrumptious recipe for which everyone asks. It is so good that I serve them all year round.

Thank you to Fairfield Processing for graciously donating the Solarize Liner Fabric and Stiffen 2 used in this project and sponsoring this blog post. While they provided the impetus, all the opinions, comments and designs are mine. They did not influence me.

Deviled Eggs are the type of food that you can prepare the day before, so when it comes time to set the table, I like to put them out early and inevitably there is one or two that do not get eaten, so they wind up sitting on the table for longer than they probably should. This project is just the solution to solve that problem.
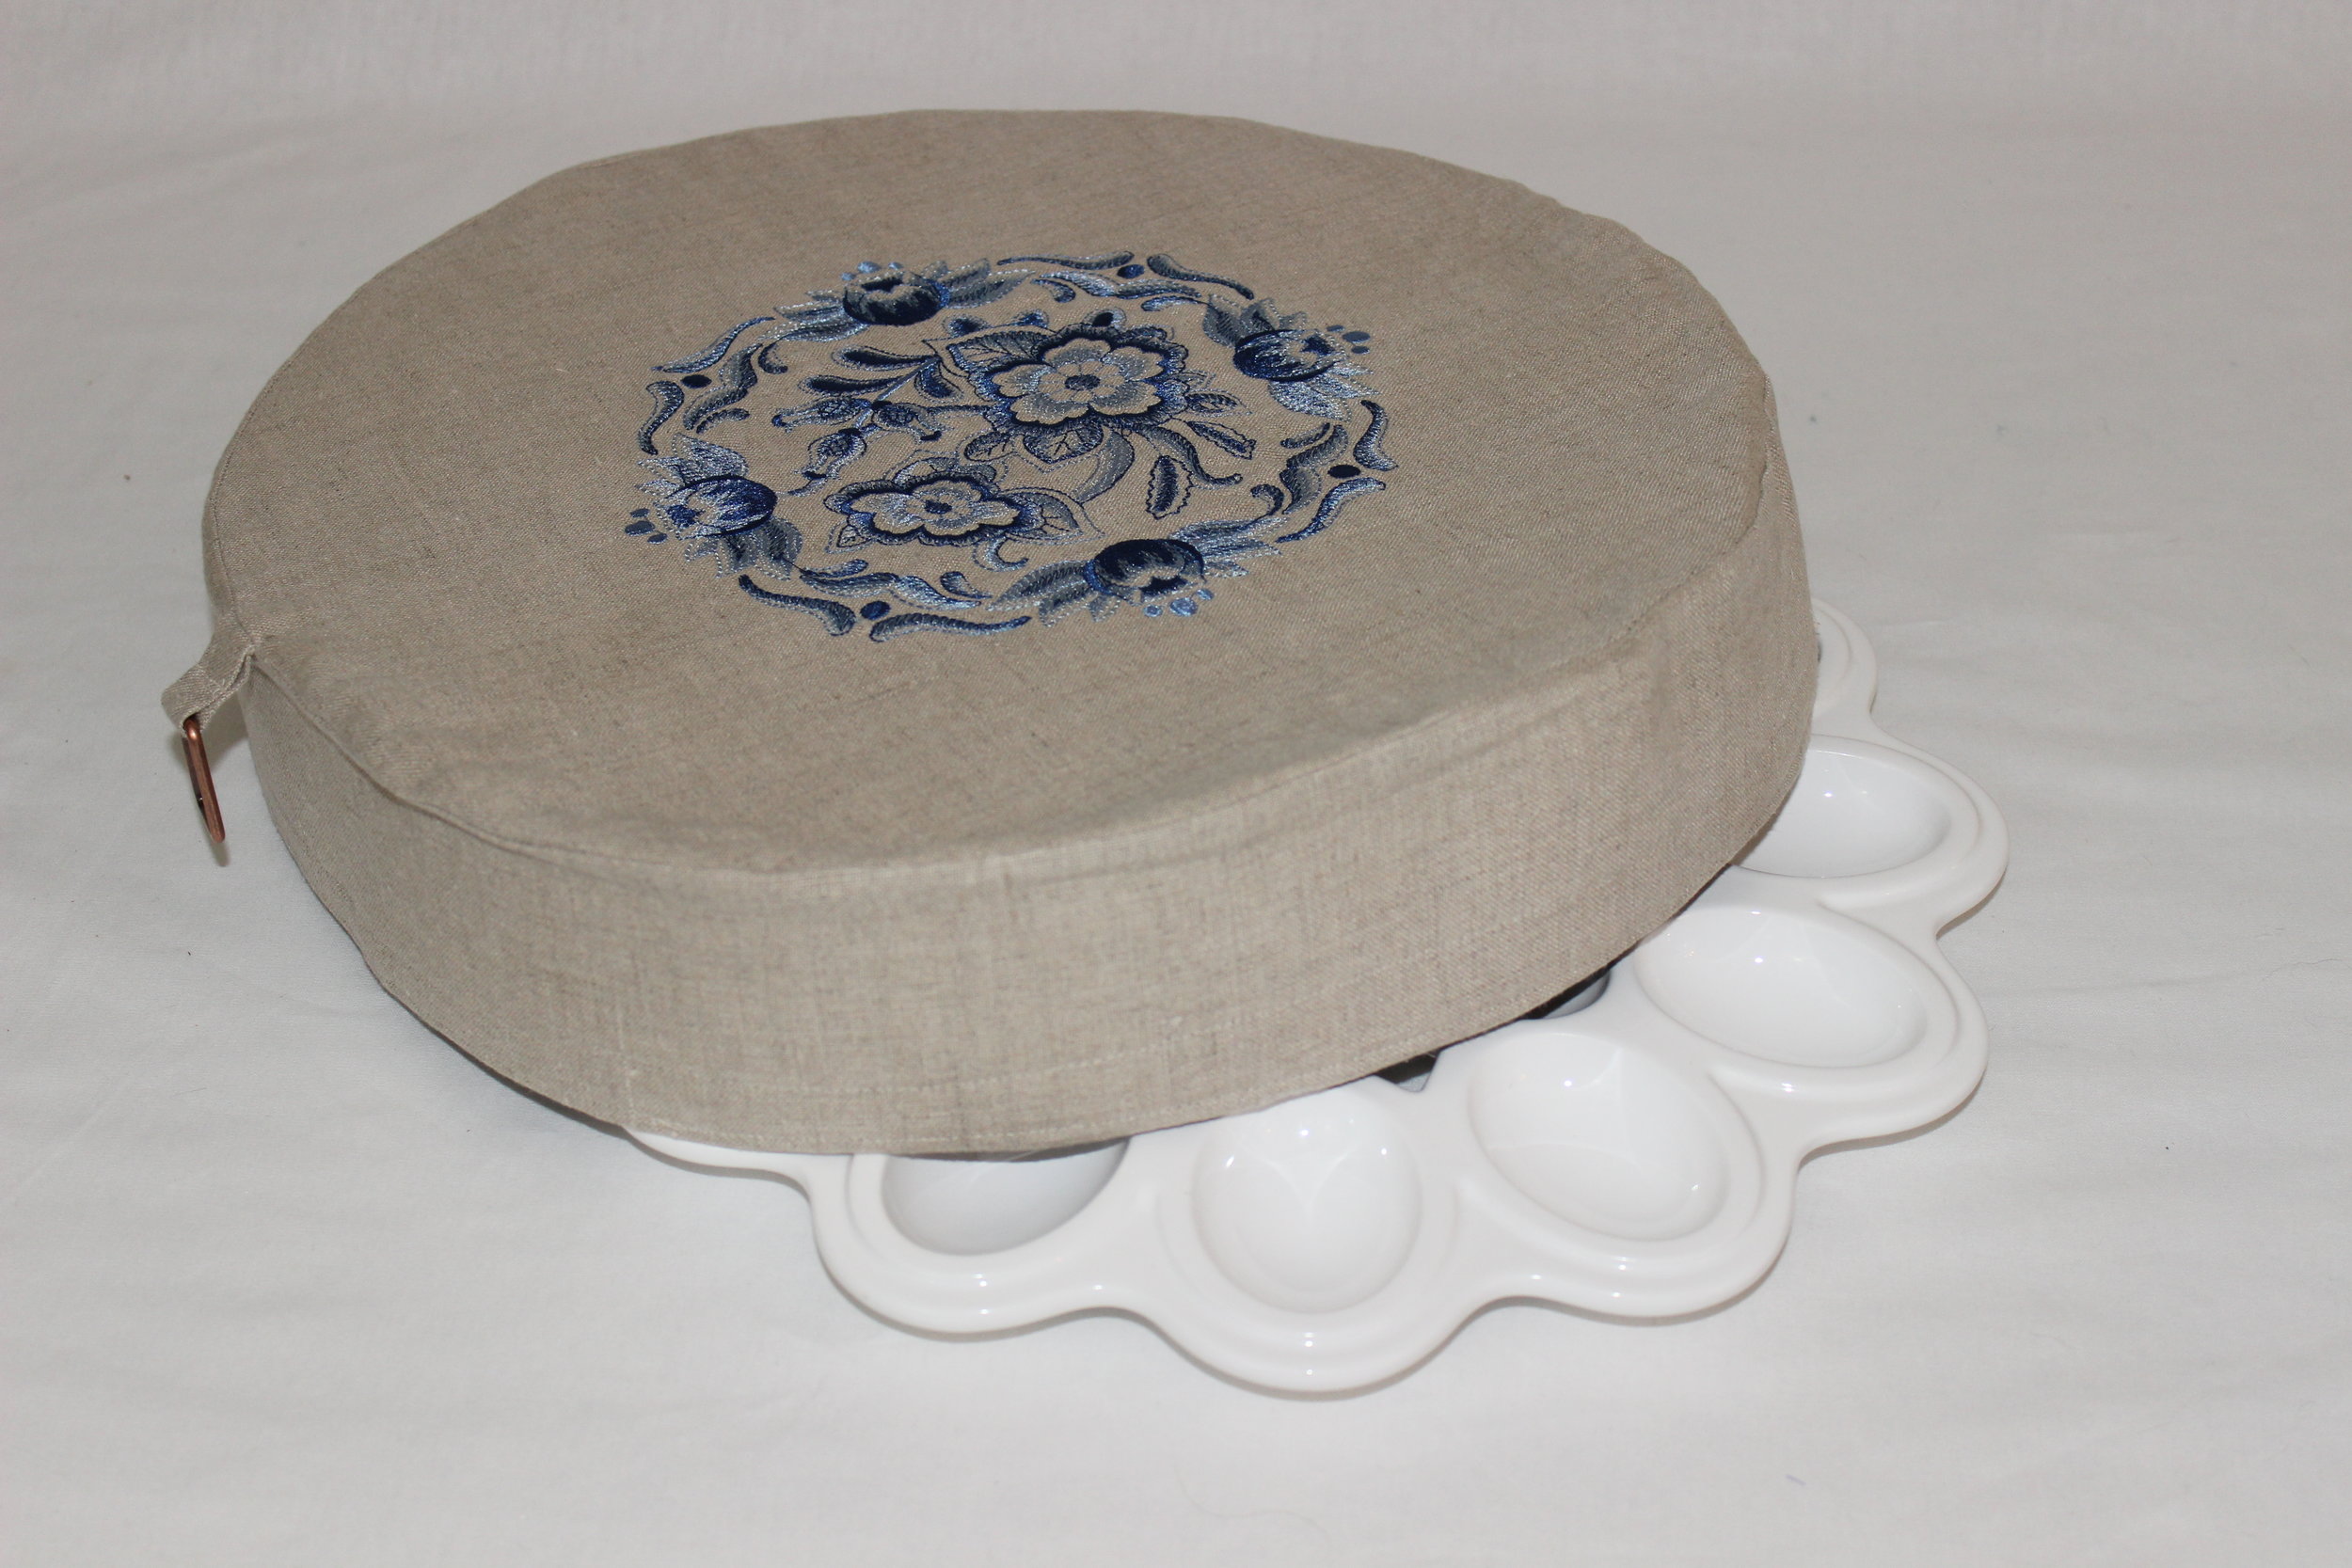
Machine Embroidery Design by Embroidery Library: Delft Blue Floral Medallion I (F8541)
My deviled egg dish is quite large – 14” diameter, so it is not easy to cover and if I use aluminum foil or plastic wrap, it has a tendency to flatten my nicely piped centers, so I thought a self-standing dish cover was just the trick. The best part is that this project uses Solarize Liner Fabric from Fairfield Processing. Not only do I now have a dish cover that will not touch my deviled eggs, but they will also be kept cool while they sit on the table.
While I created this dish cover for my deviled eggs, it is extremely versatile. The Solarize Liner Fabric maintains both cold and hot temperatures and is food-safe. When my children are home, I make 3-5 pounds of bacon each morning (there are 11 of us and their spouses) and this cover will be great to keep that platter warm while I am serving up the other dishes.
Here is the deviled egg recipe from our family’s absolute favorite cookbook, Spices of the World Cookbook by McCormick. I have not found a recipe in that book that I did not love.

Spices of the World Cookbook by McCormick
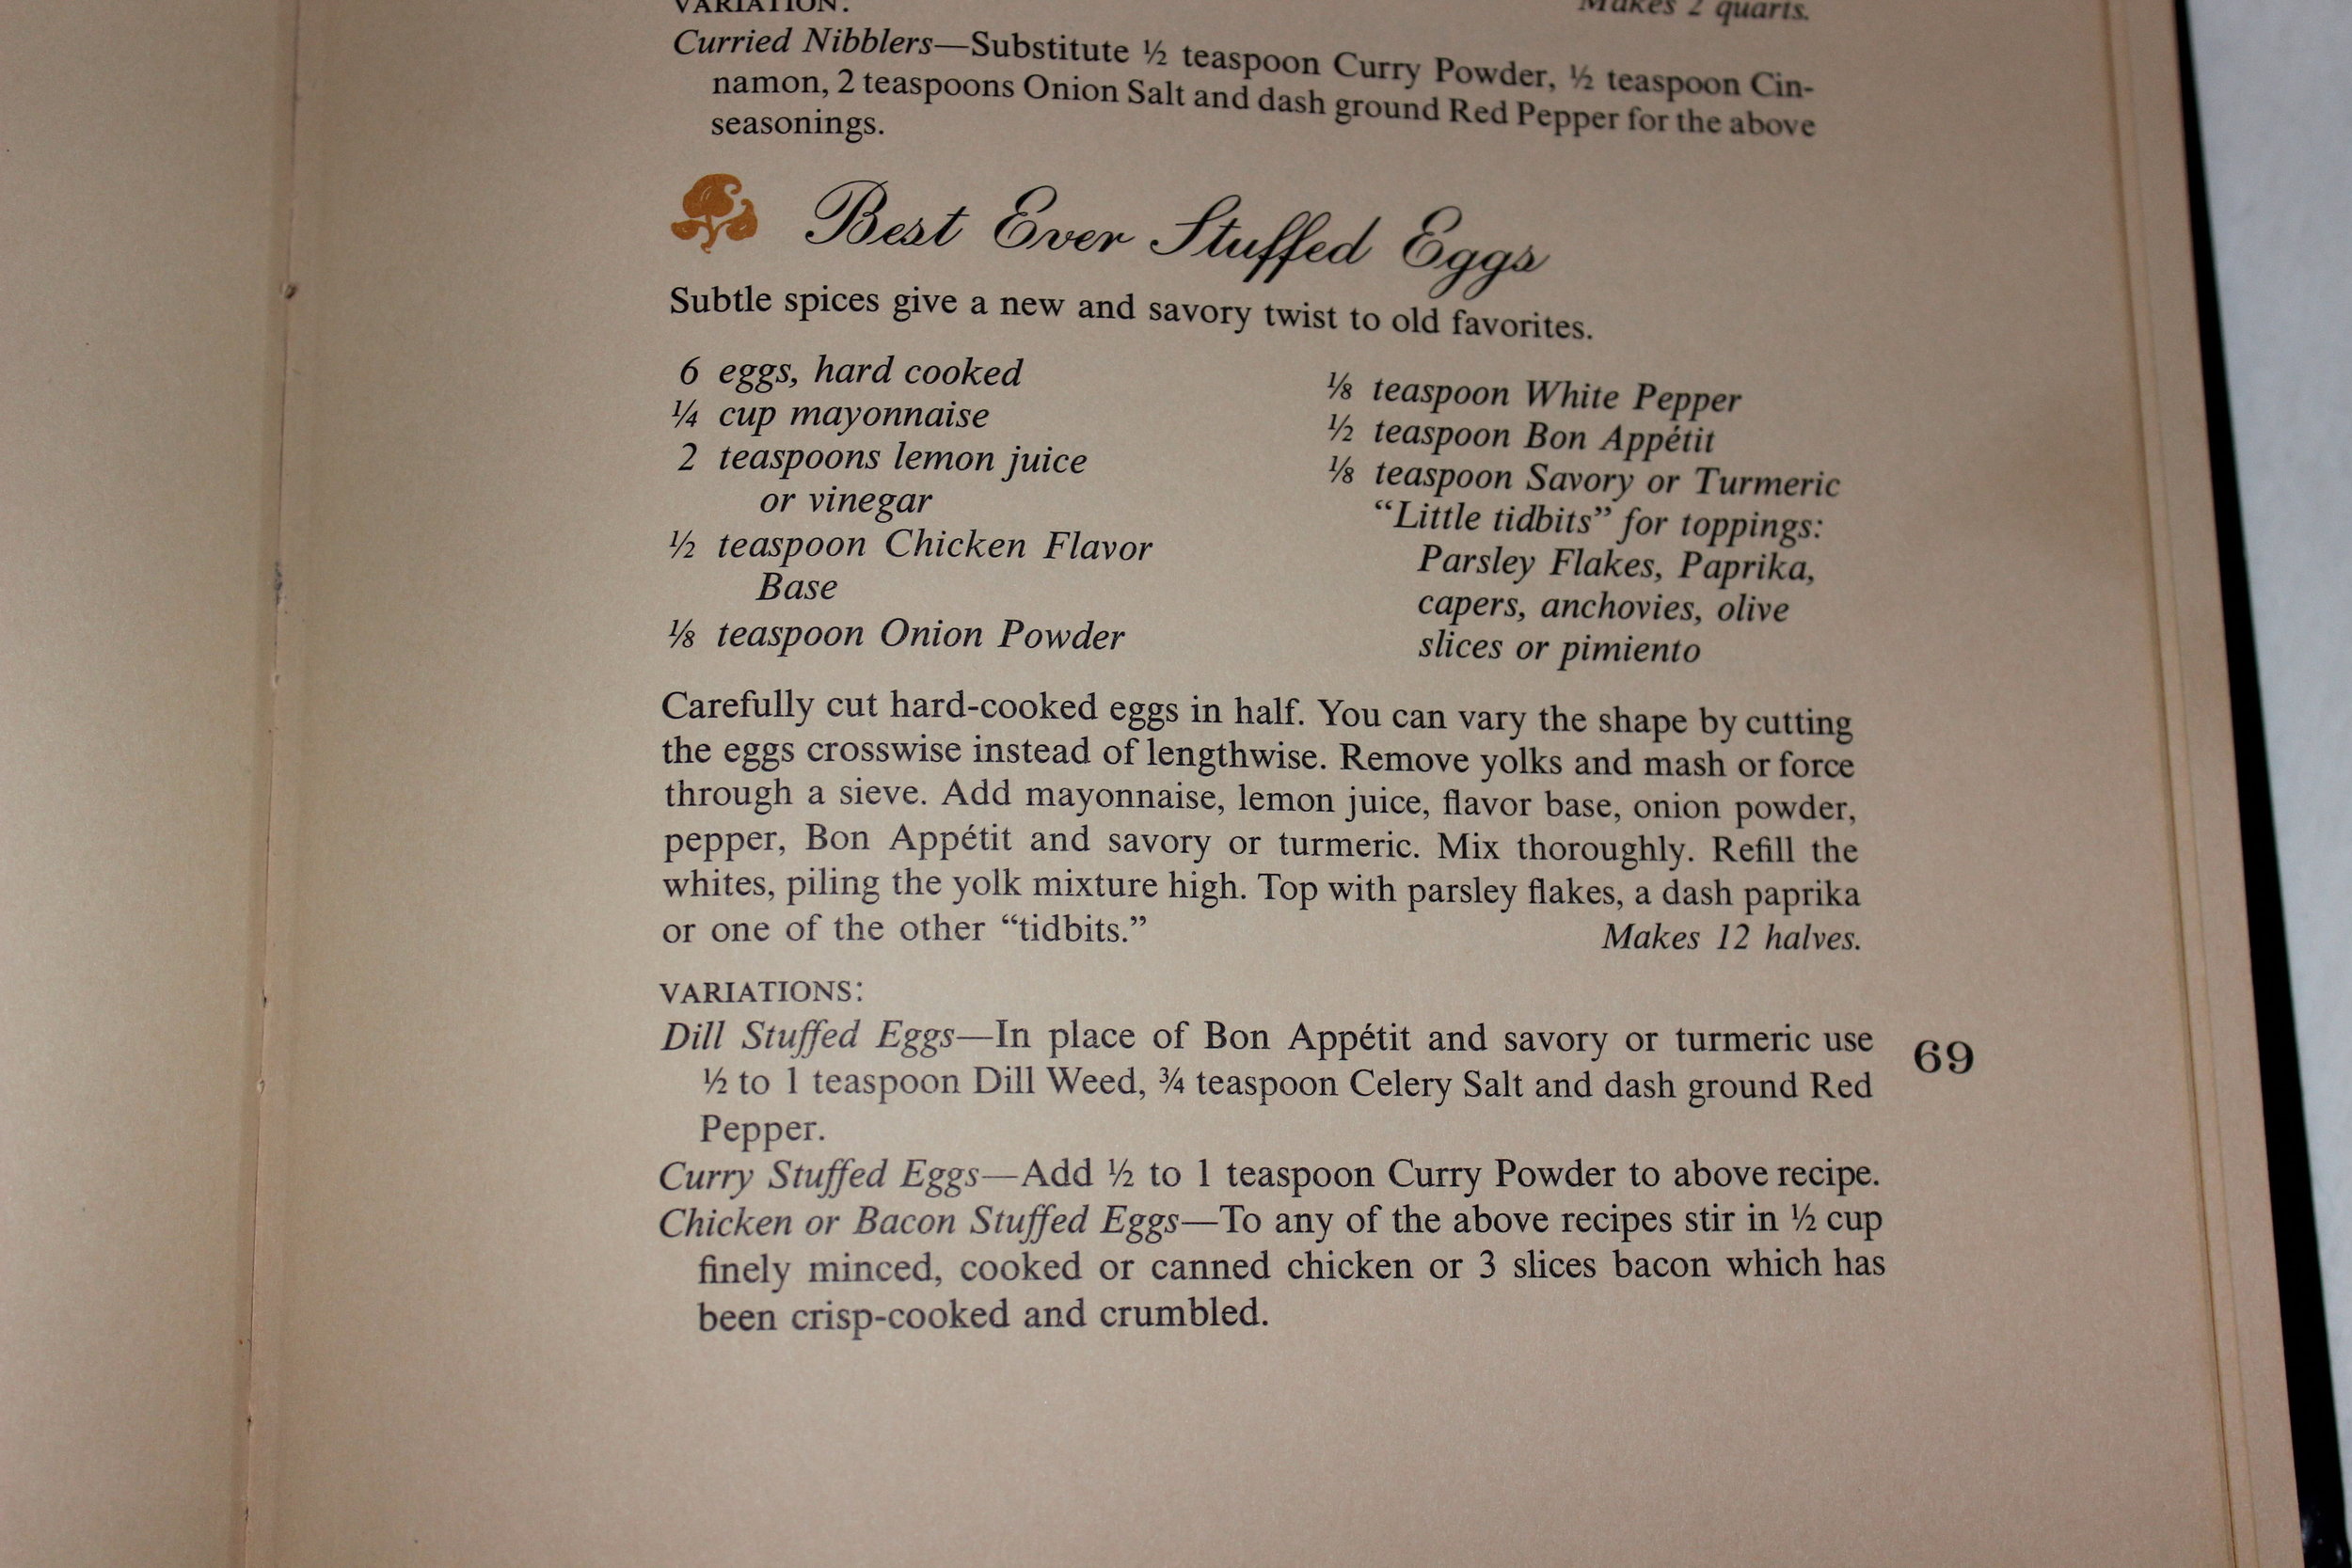
Deviled Egg Recipe from Spices of the World Cookbook by McCormick
Here is my own unscientific experiment to see how well Solarize Liner Fabric actually works. This is how I conducted the experiment:
· 11:123 AM - At the same time, I placed 10 ice cubes in a glass container and put them on the table with another 10 ice cubes in the same style glass container, but this one I put under the Solarize Liner Fabric dish cover.

· 11:53 AM - After 30 minutes the ice cubes without the cover were already starting to melt and the ice cubes under the cover were still whole. (I took off the cover just for the picture.)
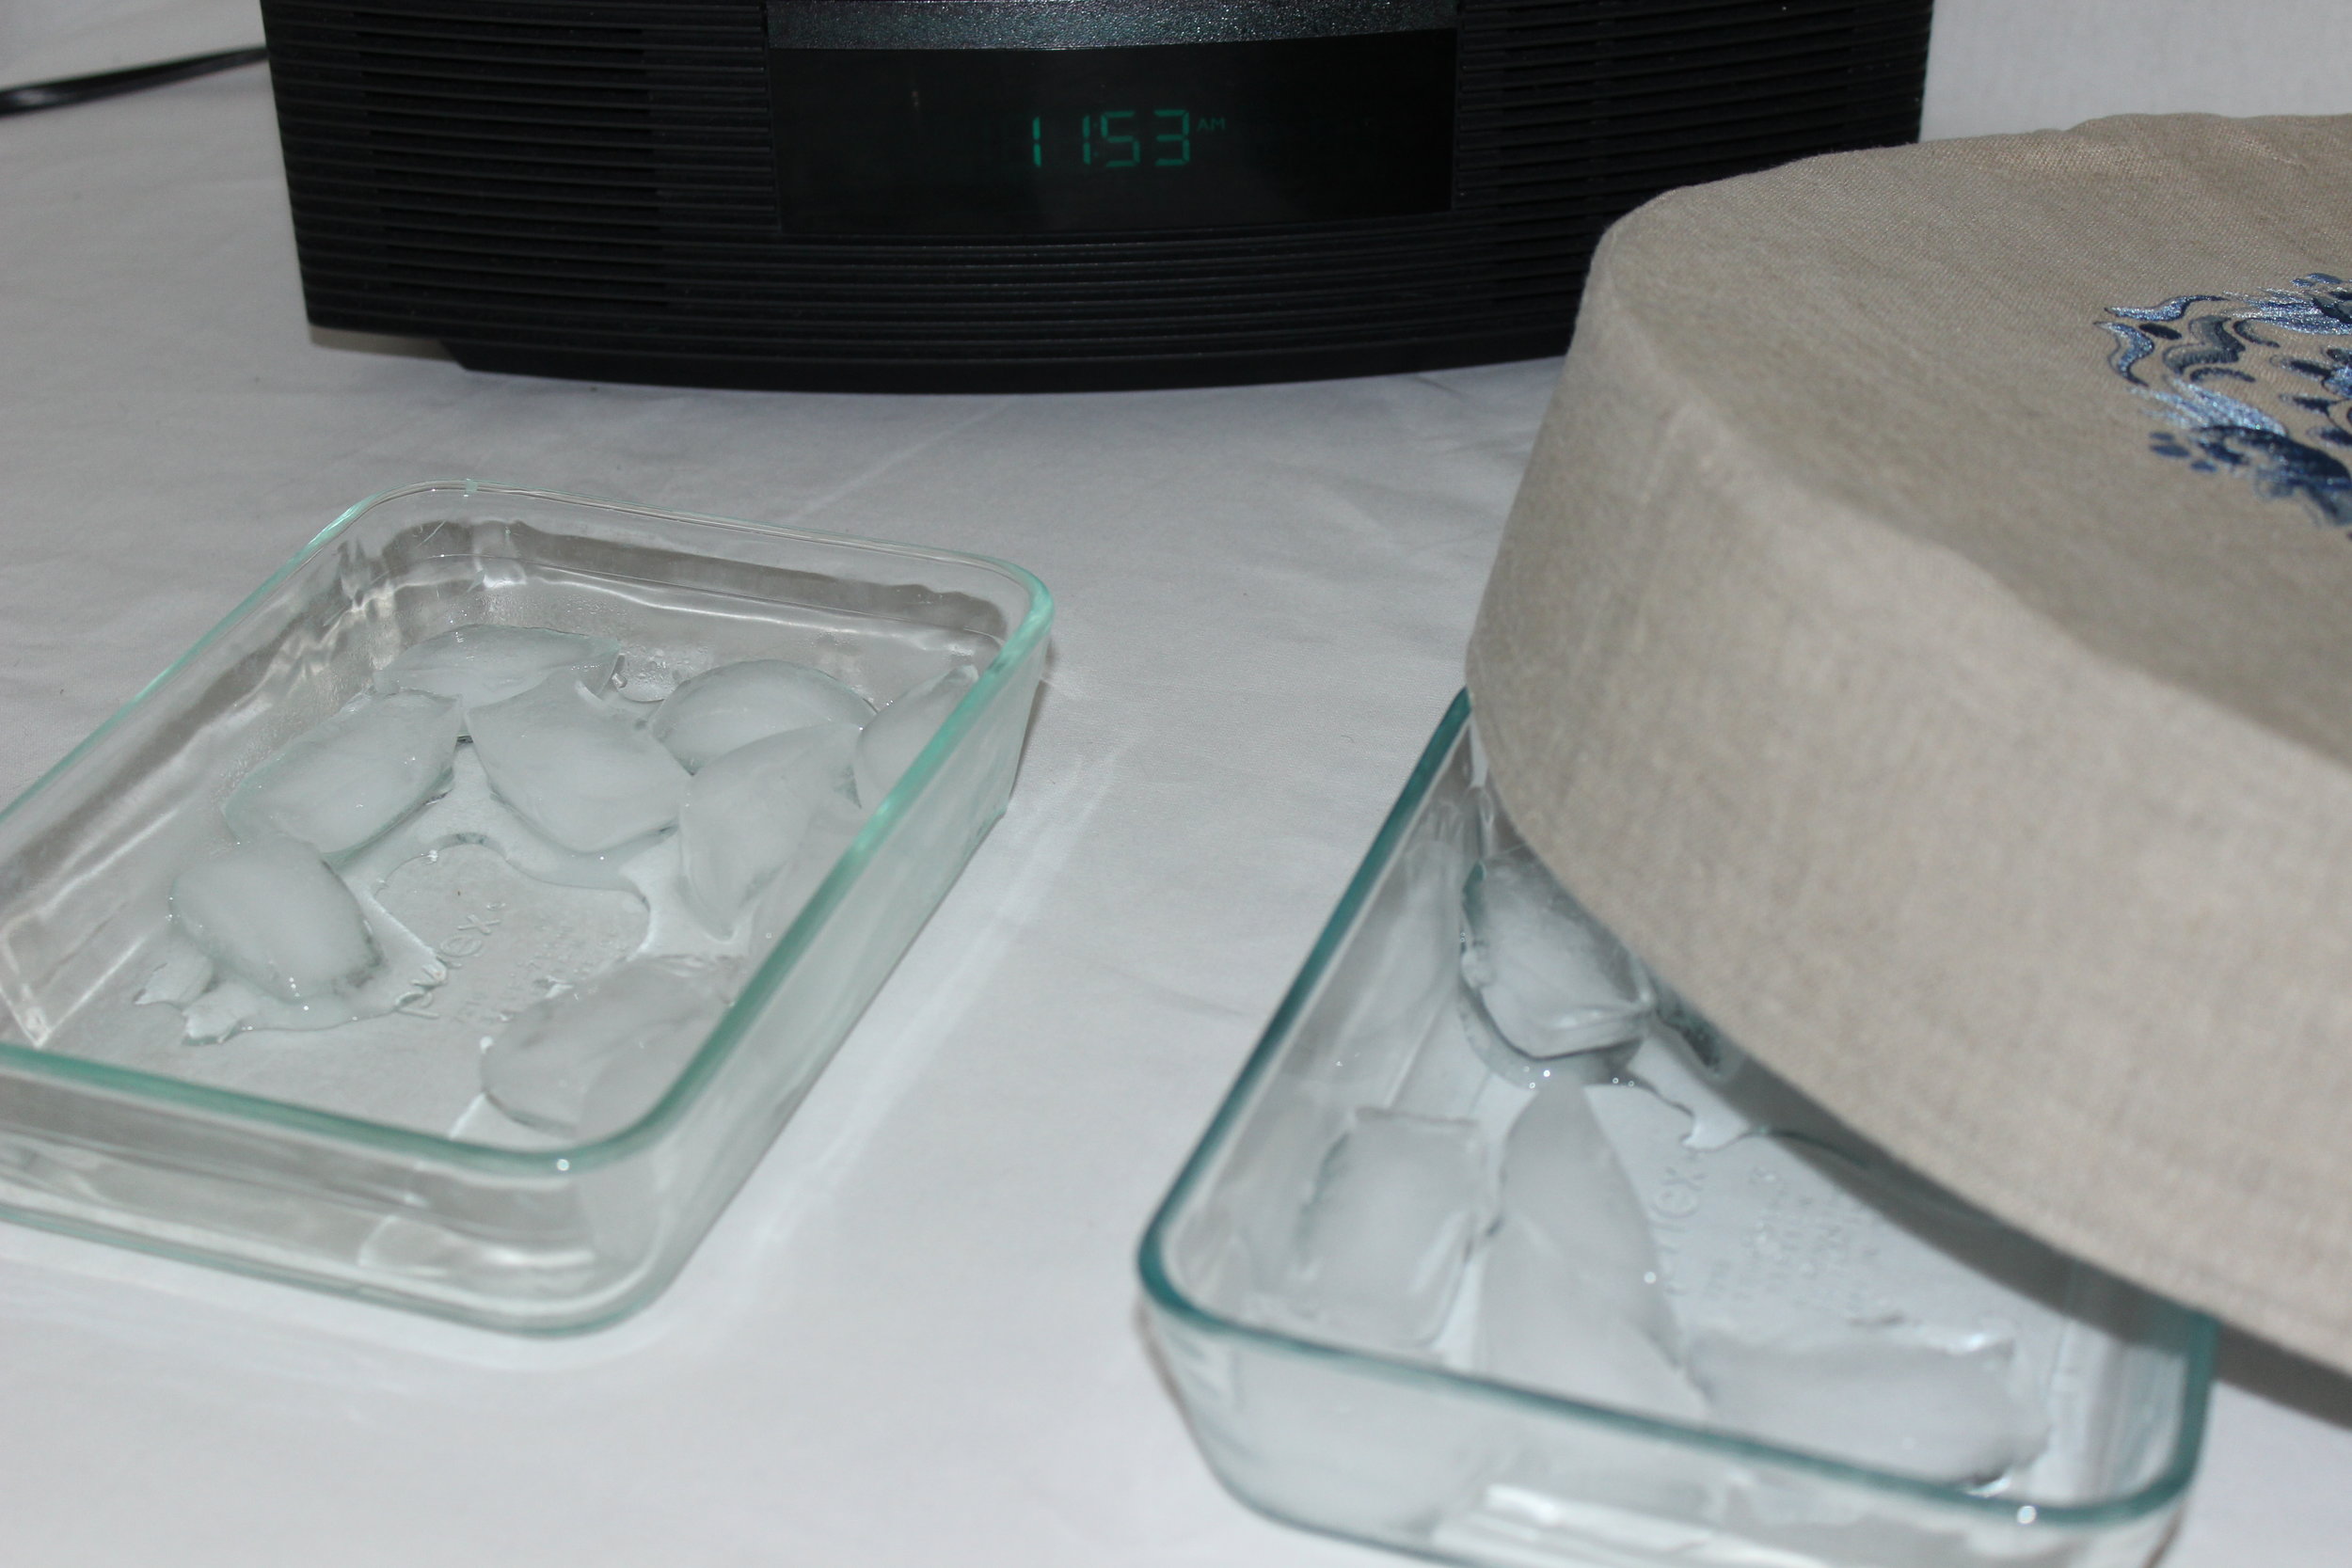
· 1:29 AM – It has been two hours and 6 minutes since I started the experiment, and the ice cubes without the cover are completely melted. The ice cubes under the cover are more than halfway melted.

Conclusion: The Solarize Liner Fabric definitely showed that it was able to keep the ice cubes cold longer when it was used.
DISCLAIMER: While this test showed that the ice cubes stayed frozen longer using Solarize Liner Fabric, it does not mean that all foods would be safe for extended periods of time, so please always be food-safe and follow the USDA Basics for Handling Food Safely.
INSTRUCTIONS
TEMPLATE:
Click here to download circle template
MATERIALS:
15” piece of Solarize Liner Fabric
14” piece of Stiffen 2 by Fairfield (a double-sided fusible, rigid material that is similar to cardboard)
½ to 1 yard of main fabric (I used 100% linen. Amount varies depending on if you want to piece your bias strip or have one continuous piece.)
Coordinating good quality thread
OPTIONAL: 2 Dritz 1” Rectangle Rings in Copper
SUPPLIES:
Sewing machine and related supplies
Rotary cutter and mat are helpful, but not necessary
Shears & Trimming Scissors
Ruler
Wonder Clips® are preferred, but pins are acceptable
Point turner or some other blunt, but pointed object
Iron & ironing board
Pressing cloth
Teflon or Applique Pressing Sheet
Painter’s tape
OPTIONAL: Tailor’s ham
STEP ONE
NOTE:
This project uses ½” seam allowances.
Use a pressing cloth and test all fabrics before pressing.
Please read the instructions below before beginning. Gather the materials and supplies. Pre-wash the main fabric, press, and starch. Do not wash the Solarize Liner Fabric. Also, please read the manufacturer's guidelines on how to use their products.
STEP TWO
Download the template. Print it twice. Cut one for a 15” circle. For the second circle, fold ½” under on both the straight edges. Now cut. This will be a 14” circle template.
STEP THREE
Cut the fabrics as follows:
· Using the template, cut one 15” circle from the main fabric (this is the top)
· Using the template, cut one 15” circle from the Solarize Liner Fabric (this is the lining)
· Using the second template, cut one 14” circle from the Stiffen 2 (this is the center support)
· Cut 1 band from the main fabric measuring 4” by 47”
· Cut 1 band from the Solarize Liner Fabric measuring 4” by 47”
· Cut 1 band from the Stiffen 2 measuring 3” by 46”
OR to be cost effective ... use 1 strip measuring 3" by 20" and 2 strips measuring 3" by 13"
· Cut a strip of the main fabric on the bias measuring 48” (or join several pieces to form this length)
· Cut 2 pieces of the main fabric to measure 2” by 7”
STEP FOUR
If you are hand or machine embroidering the main fabric of this cover, please do it now; otherwise, any other type of embellishment can be done at the end. I used a machine embroidery design by Embroidery Library: Delft Blue Floral Medallion I (F8541)
STEP FIVE
Adhere both pieces of the Stiffen 2 to both pieces of the Solarize Liner Fabric in the following manner. Place a Teflon mat on a flat ironing surface. Place the Stiffen 2 on the mat (either side, as both sides are fusible). Now place the Solarize Liner Fabric right side up on top of the Stiffen 2, making sure that it is centered. NOTE: the two pieces stick nicely together, so you can align them facing up and then turn them upside down to verify correct placement.

Place a pressing cloth on top of the Solarize Liner Fabric press to adhere the two fabrics together, following the manufacturer’s guidelines. Do this for the circle and the band. Set both pieces aside.

Please note that if you are using the three strips instead of one continuous piece of Stiffen 2 for the band that you should center the larger in the middle and put the two on each side. Also, I zig zagged mine twice on the seams to stiffen the seams.

STEP SIX
With right sides together, sew the seam of the band of the main fabric. It will now form a circle. Press seam open. Do this for the lining as well. Finger press the lining.
STEP SEVEN
To create the two handles, use the two short pieces of the main fabric (2” by 7”) and with right sides together sew each long side, then turn right side out and press.
STEP EIGHT
Fold each strip in half and slip the copper rectangle into the center. Pin each handle on each side of the circle with the raw edges matching raw edges and on the right side of the circle. Tape the handles in place with painters tape to keep them from getting sewn into a seam.
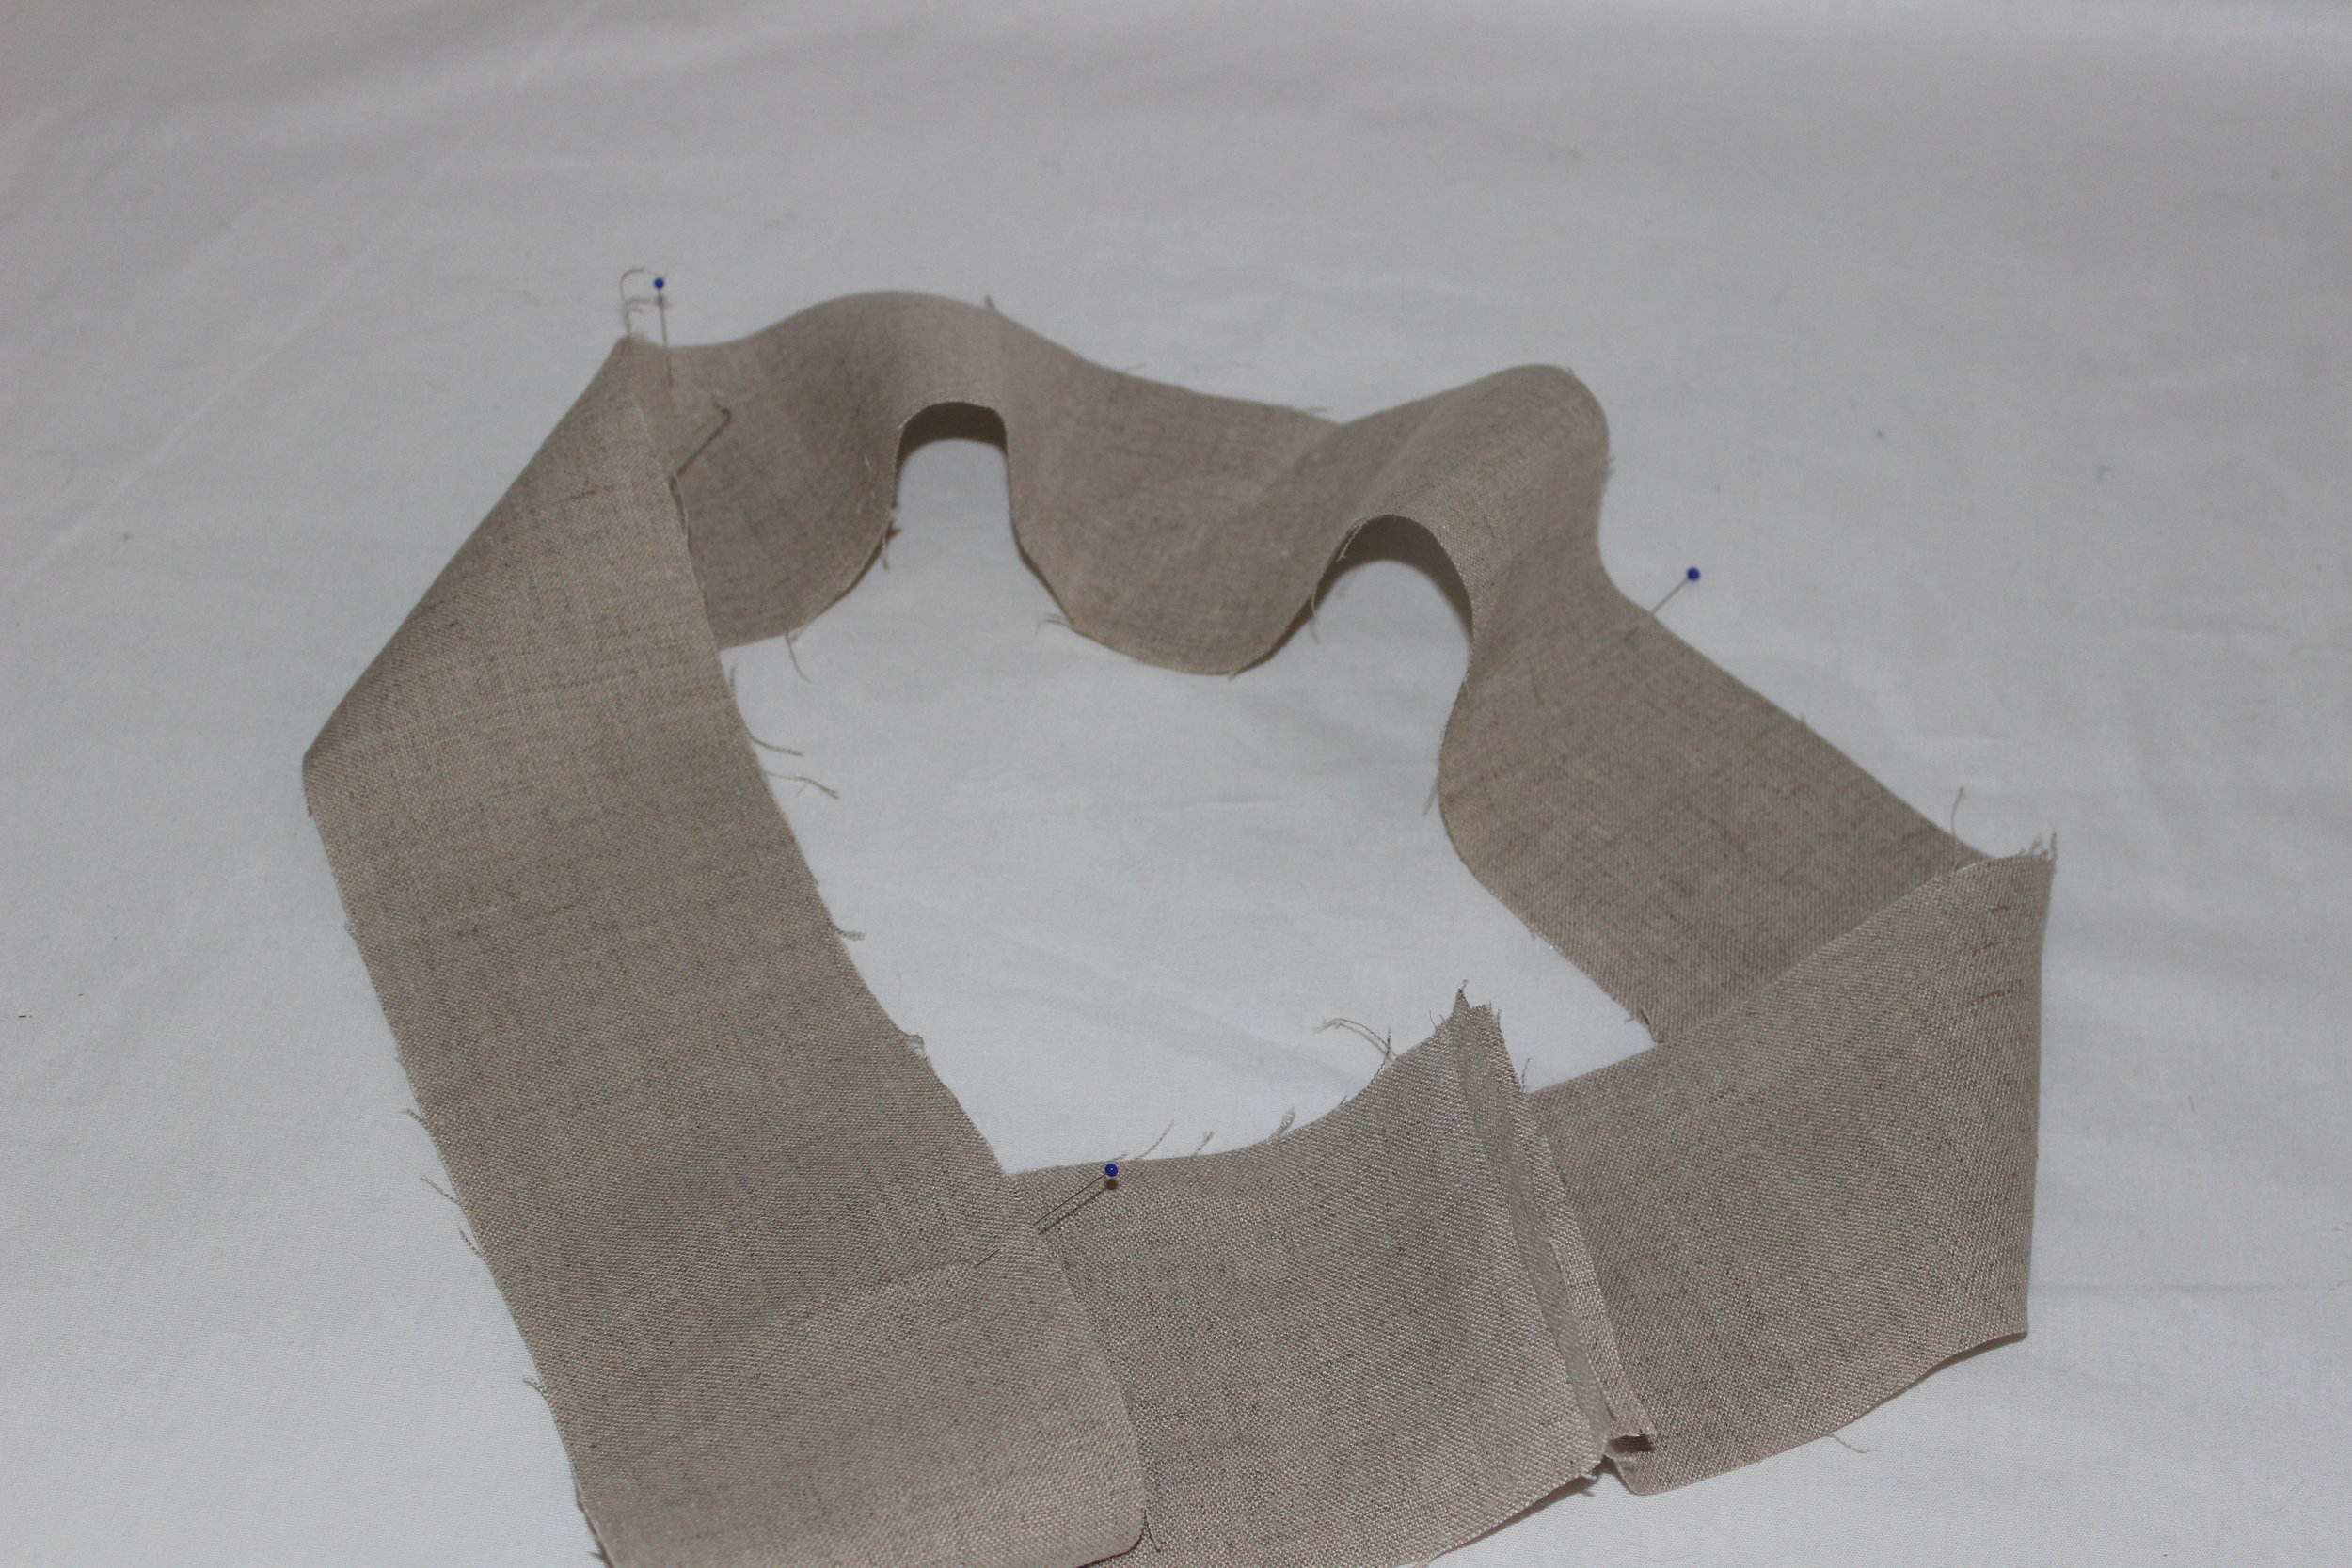
STEP NINE
With right sides together pin the band and the main fabric circle together along the edge.
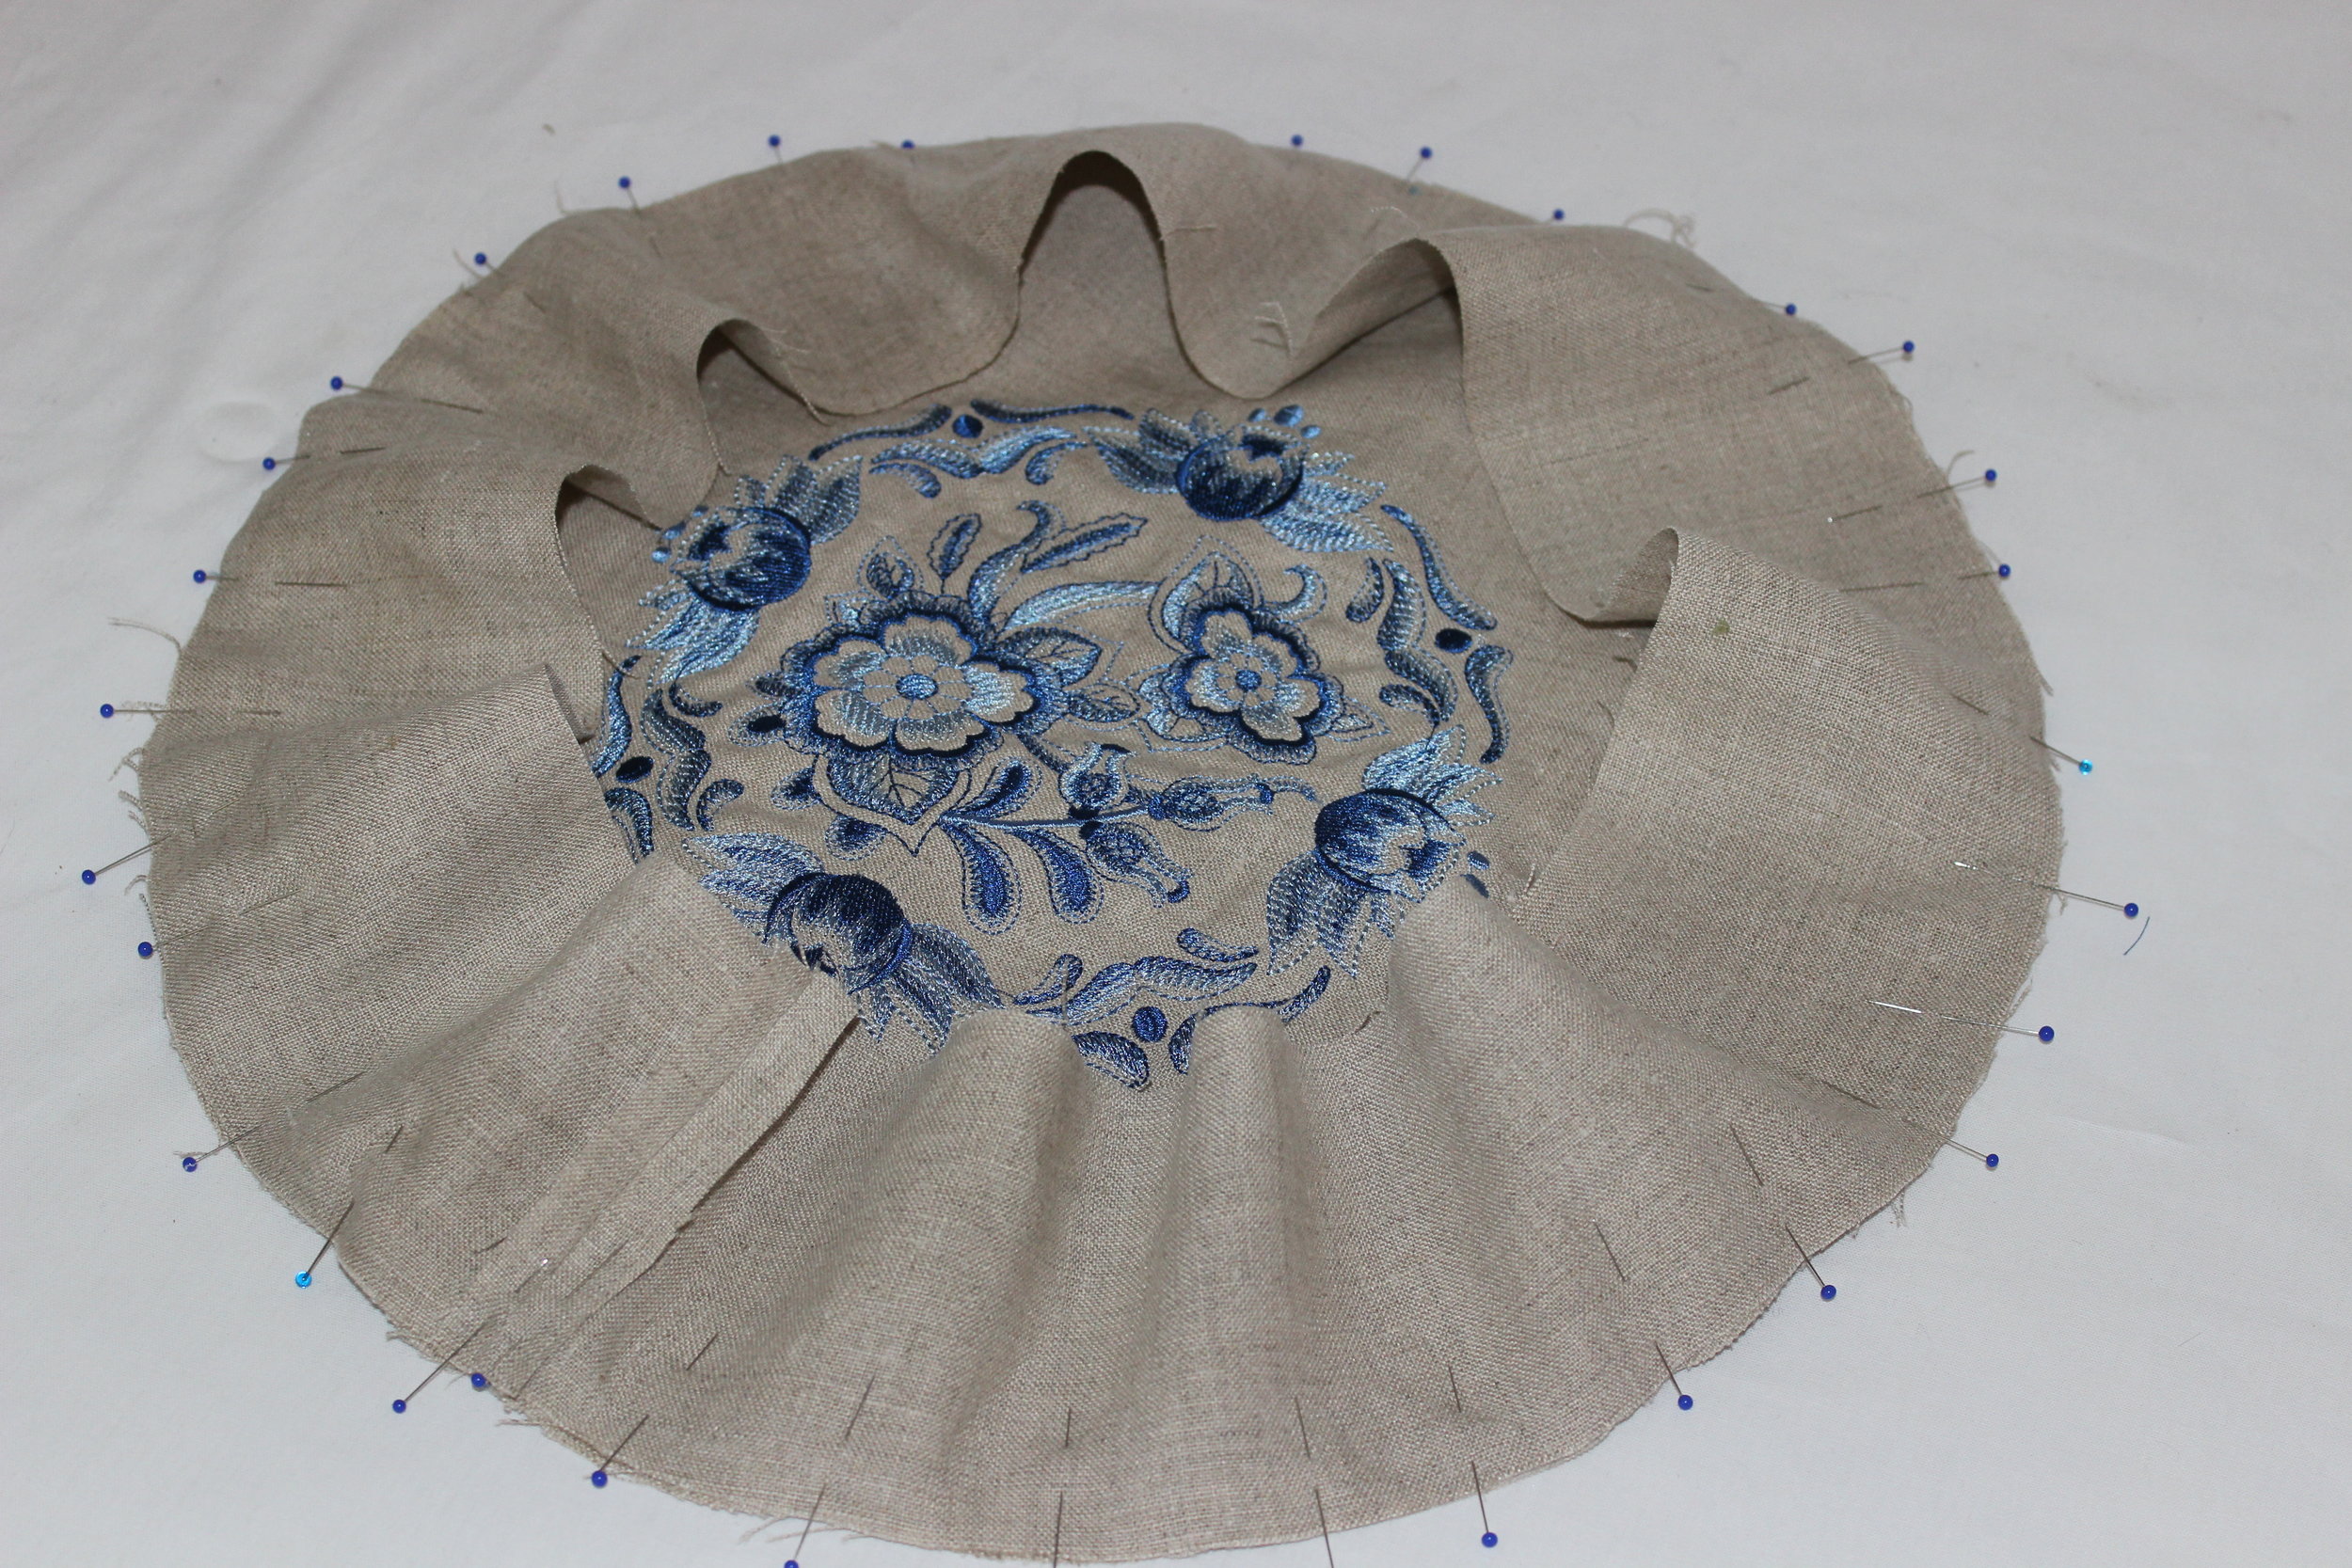
STEP TEN
Stitch in place, easing for a smooth seam. Using a tailor’s ham, press the seam down towards the band.

STEP ELEVEN
With right sides together pin the Solarize Liner Fabric band and the Solarize Liner Fabric circle together along the edge.

(It looks like a birthday cake.)
STEP TWELVE
Stitch in place, easing for a smooth seam. Do not press seams

STEP THIRTEEN
Slip the main fabric over the Solarize Liner Fabric and pin in place.

Turn inside out. Press the main fabric to adhere it to the Stiffen 2, being careful to smooth out any wrinkles. Turn right side out.

STEP FOURTEEN
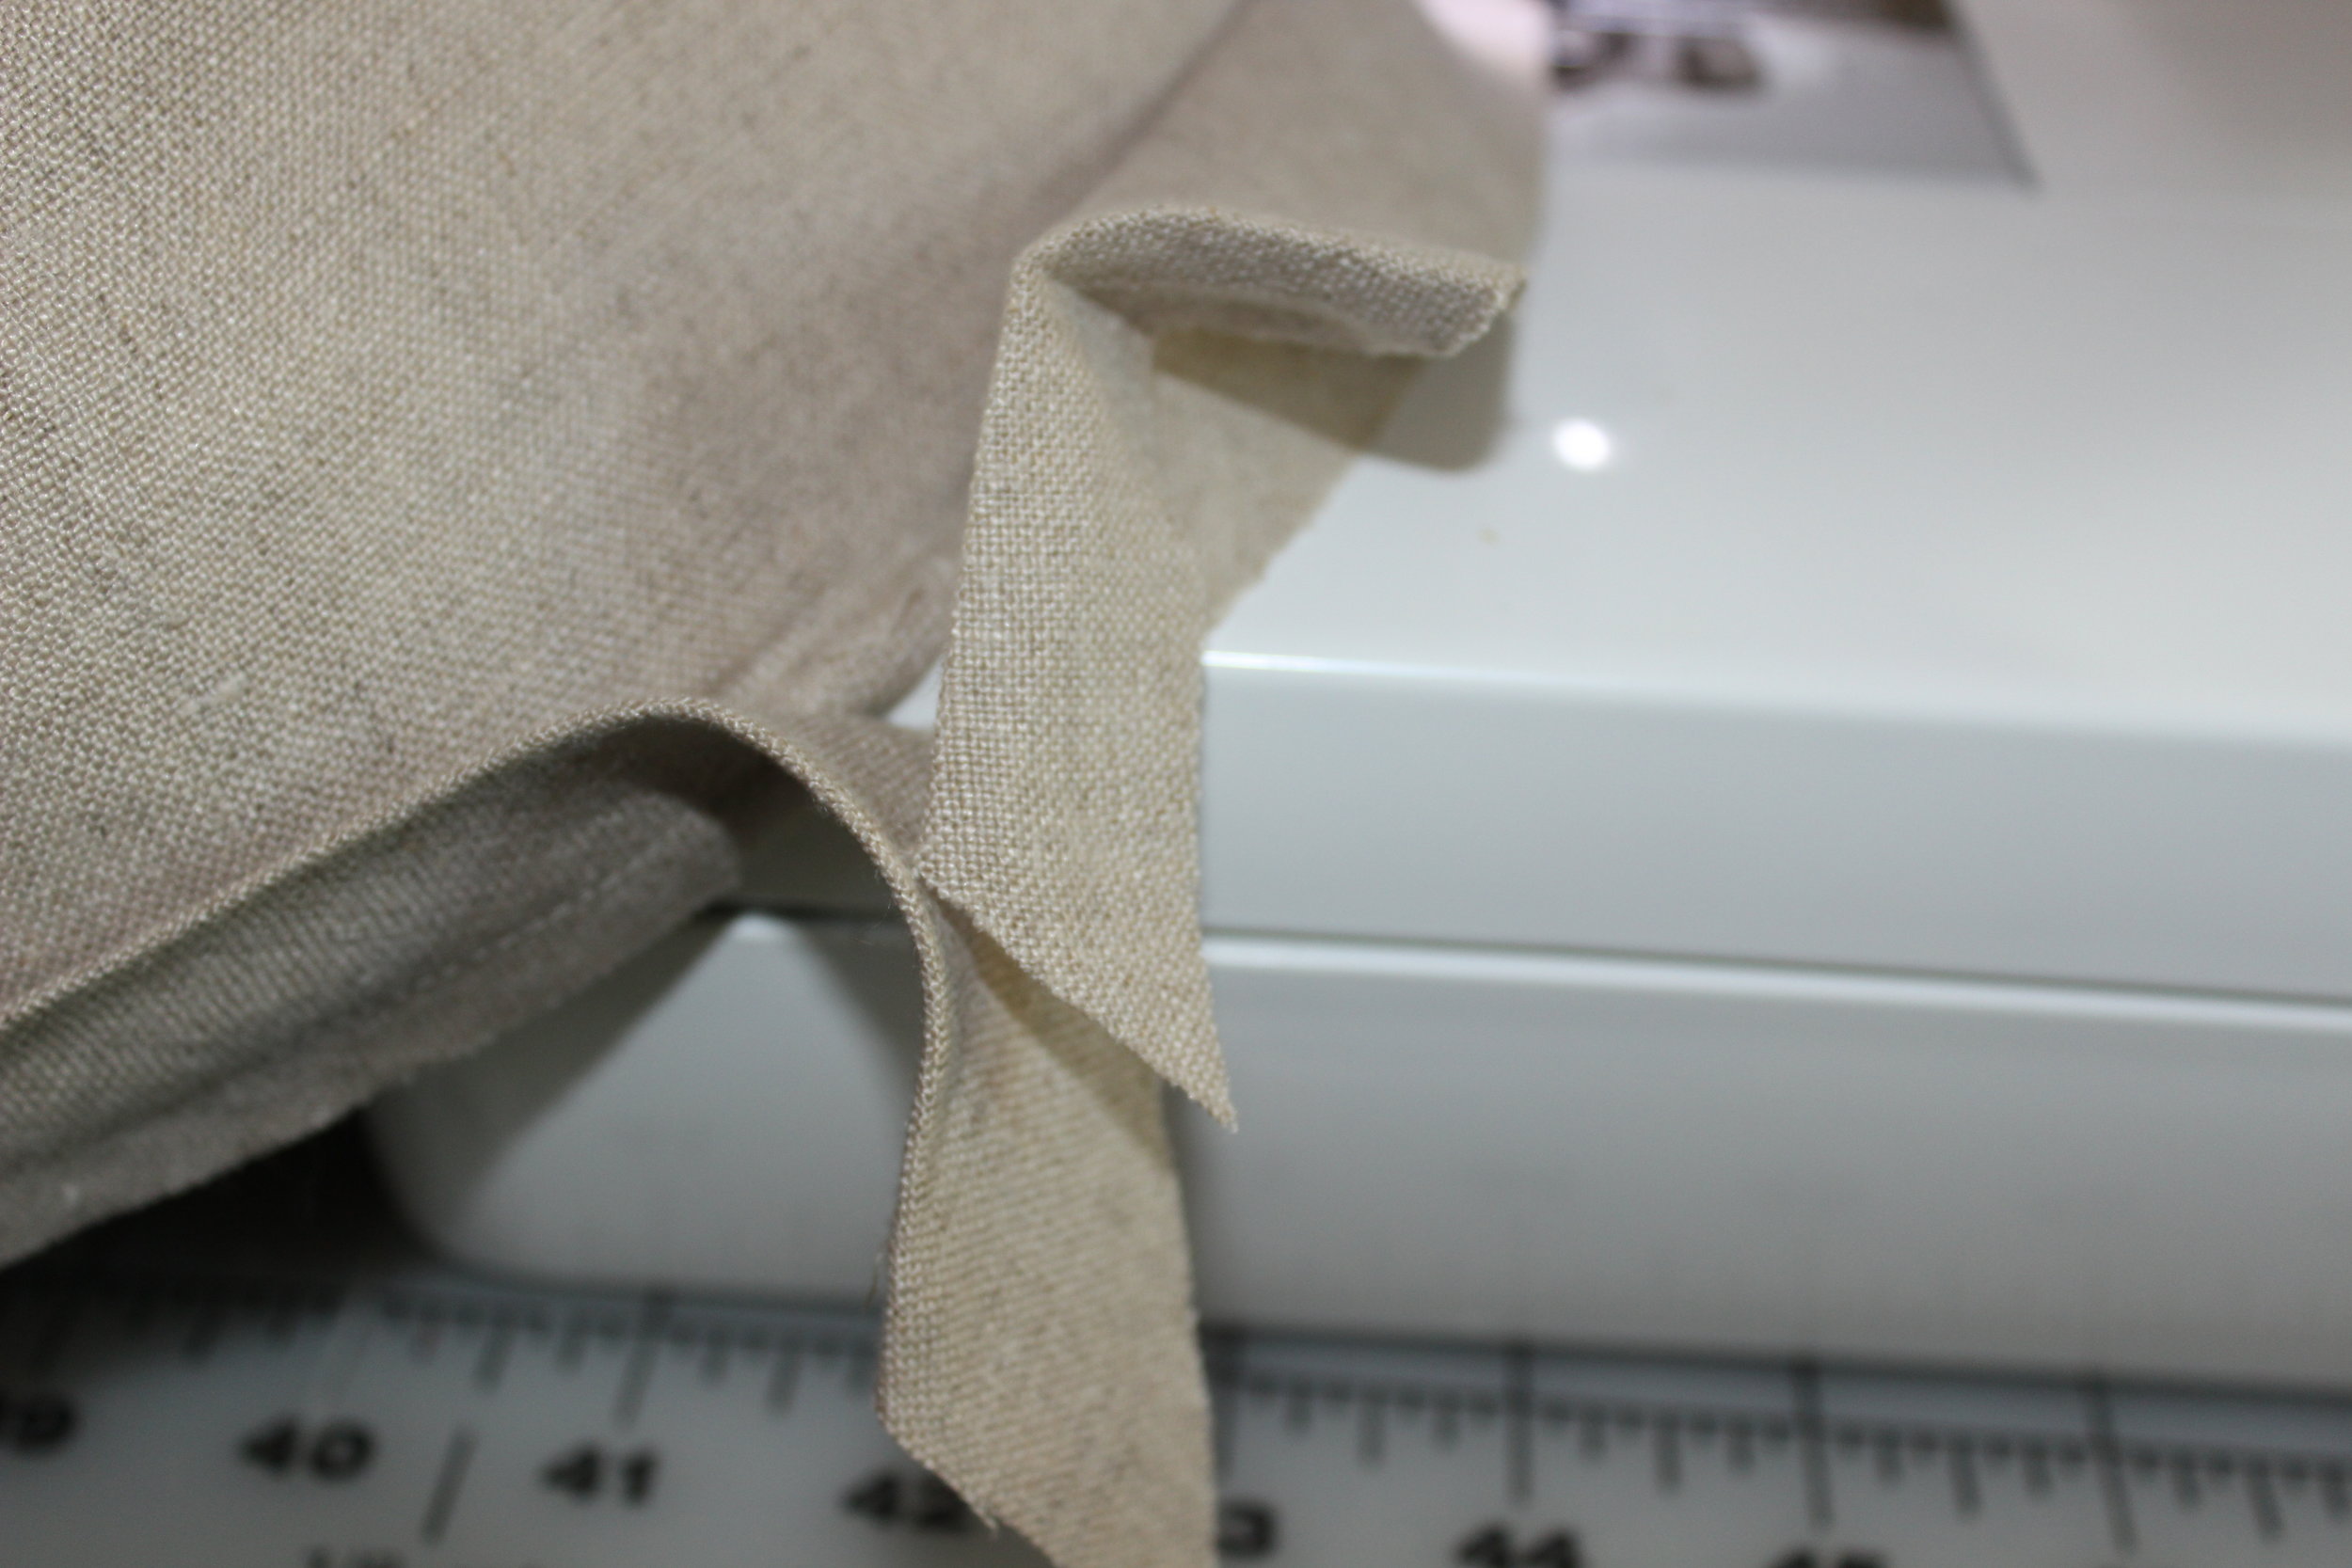
Fold the bias strip in half. With the raw edge of the bias strip against the raw of the bottom of the band, pin in place leaving three inches of each side. Sew in place, but do not sew the last three inches on each side.
STEP FIFTEEN
Fold the edge of one bias end a ½”. Place the other end of the bias inside this fold piece. Cut it on an angle if necessary.

Now stitch in place
STEP SIXTEEN
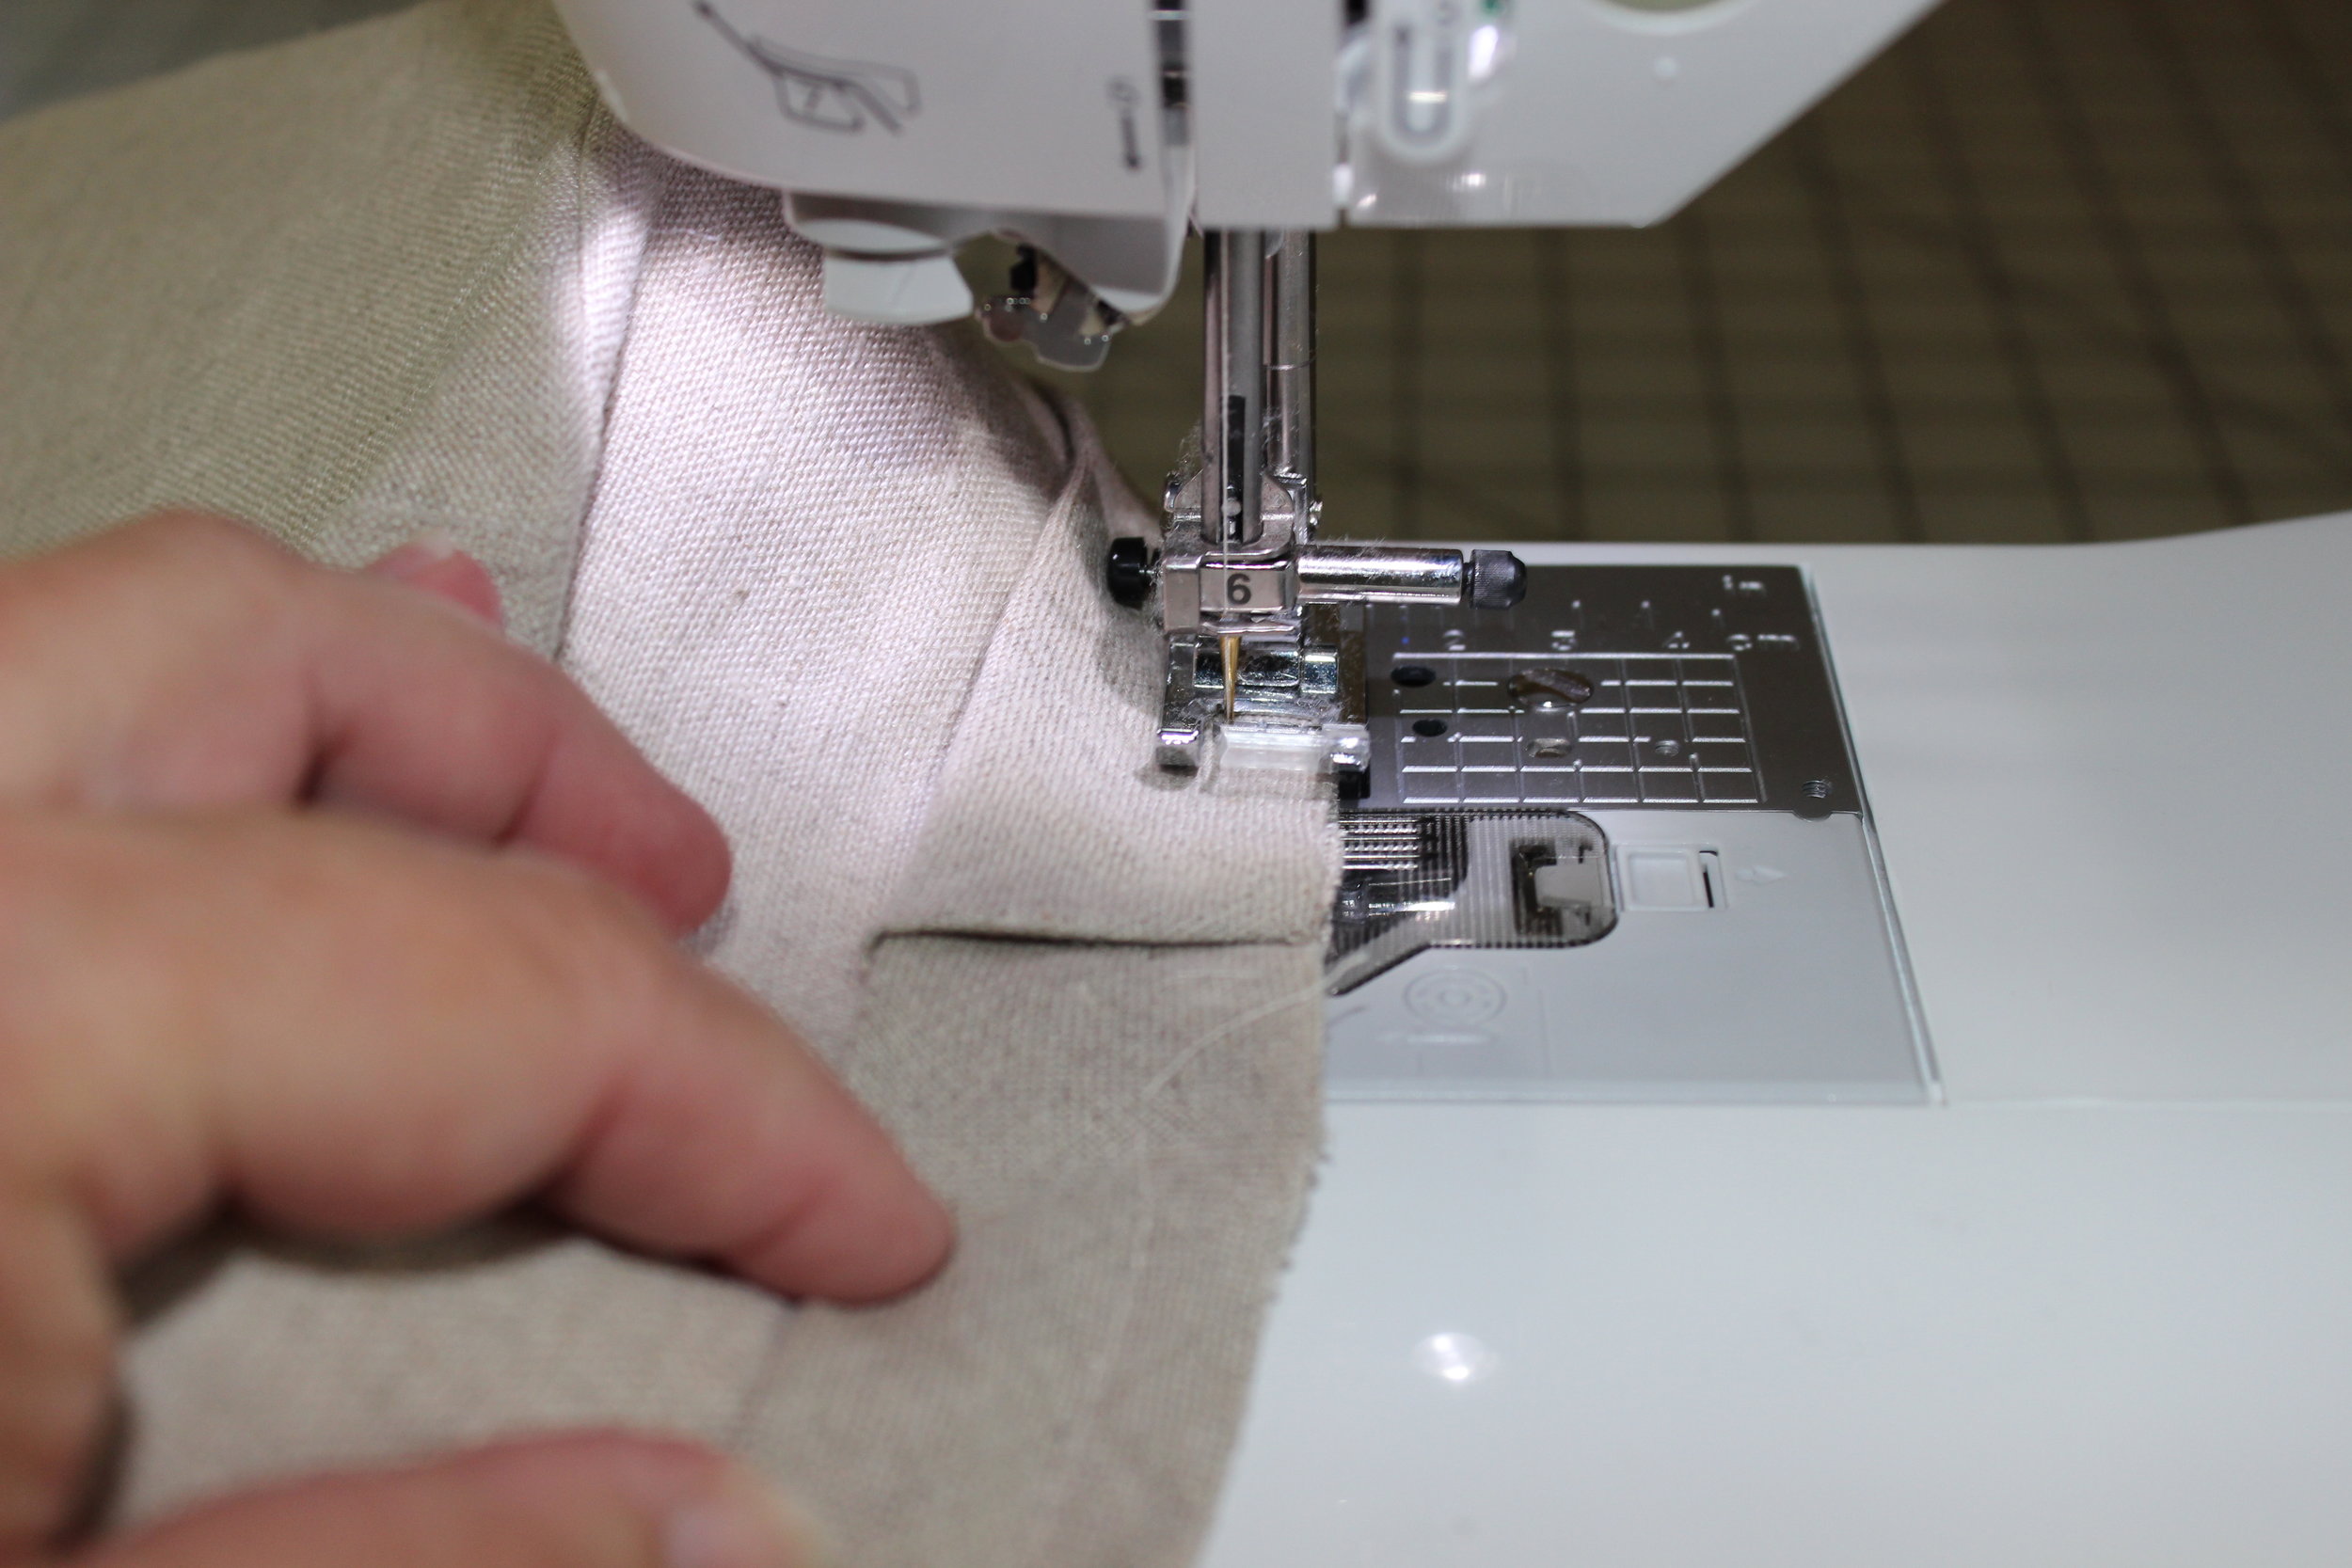
Fold the bias completely to the inside. Press.

Edge stitch and topstitch on each edge. Press.

Please do not put Solarize Fabric Liner or Stiffen 2, in the washing machine, please wash by hand and do not crinkle, keep flat while washing and storing.

Enjoy your summer holidays and travel safe!